First post, by Dragon Caesar

- Rank
- Newbie
The “Super” Socket 5 Build
Yes, I know this doesn’t exist but I am having fun.
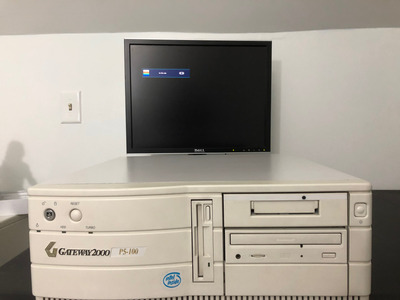
I have a very special place in my heart for this style of Gateway. I had a similar system a very long time ago and always wanted to get another one. With my newfound time indoors thanks to the great quarantine of 2020, I found this one at a reasonable price online.
It arrived to me with the following configuration:
~Original Specs~
Gateway 2000 P100
Pentium 100mhz @ 66mhz FSB
32 MB of RAM
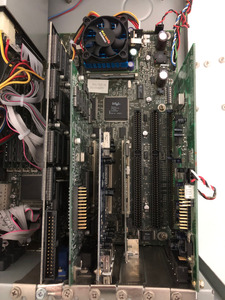
430FX “Zappa” Motherboard
5x CDROM
3.5 Floppy
Tape Drive
1gb WD Caviar IDE Drive with Windows 95b installed
ATI Mach64 PCI Graphics
3COM 3C905CX-TX-M
Sound Blaster Vibra16 with genuine OPL
I’d have been perfectly content with it as is, but opportunity also provided me with something powerful...
Enter S.P.E.C.T.R.A
~Upgrades Part 1~
64 MB of RAM
Spectra
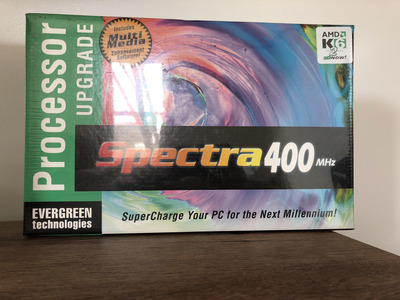
The installation process is interesting with the Spectra kit. It comes with a floppy and a cd. You must first boot the floppy where it analyzes your system and it will notify you if a BIOS upgrade is available. It will also advise you if any configuration changes are needed. This was where I ran into my first snag. The floppy disk was beginning to go. It would begin to boot but end up prompting for the location of COMMAND.COM. Thankfully a backup image is available on Vogons Drivers . With a fresh floppy, I was all set.

To help sell you on the upgrade, it also spits out some numbers.
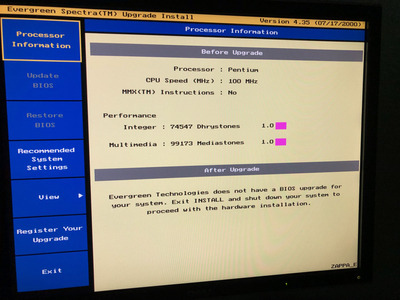
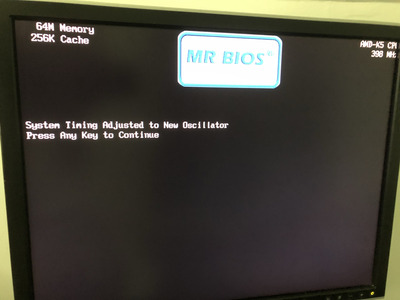
I checked out the recommended settings and I was prompted that I had to change the FSB speed from 66mhz to 60mhz. To do this, I adjusted jumpers 6 and 7 to off. After making the change, I booted off the floppy again and was notified that a BIOS update was available. To proceed with updating the BIOS, a reboot into Windows is required and then you run the executable provided on the cd. The cd will prompt for the floppy and then copy the appropriate update image to disk. Once that finished, I booted off the floppy and went through the prompts to update the BIOS.
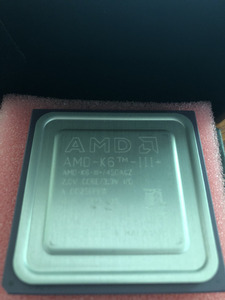
With everything all updated (now powered by MR BIOS), I powered the system off and installed the K6-2 upgrade. The jumpers on the upgrade kit were already configured for the proper voltage and 6x multiplier. All that I had to do was plug it in. I started the computer and got instant gratification with K6-2 358mhz displaying on the screen.
TO BE CONTINUED