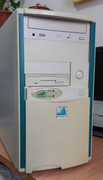
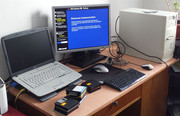
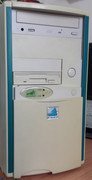
Ladieeeessssss and geneeeeeeeeeeetlemen (announcer type shout),
I present to you the finished results 😁
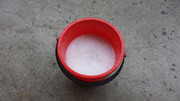
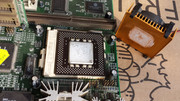
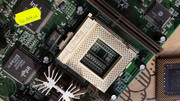
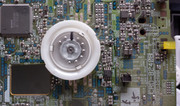
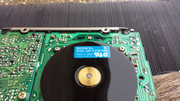
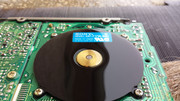
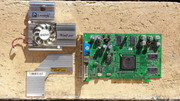
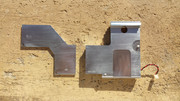
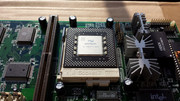
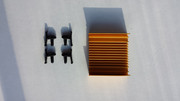
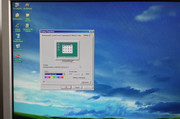
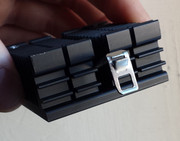
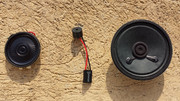
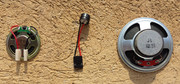
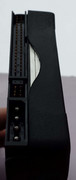
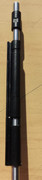
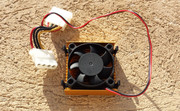
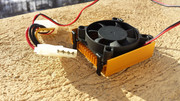
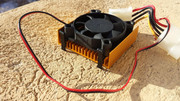
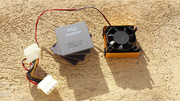
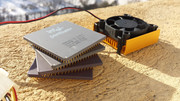
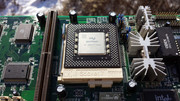
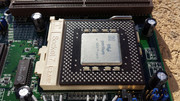
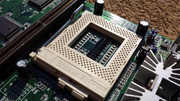
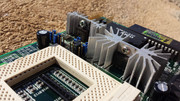
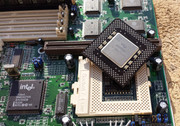
1. The complete socket 7 cooler
When I was at the flea market, this puppy was the main reason that made me to take a look at the motherboard and the other pieces of hardware. It was shining like a diamond in the goats ass 😁.
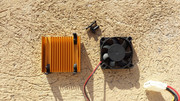
The first thing I did after I bought the heatsink and fan combo was to test it. I didnt like the sound of the fan because it was making a little noise, so with herculean power I ripped the wires off and dumped the smelly rotten fan into the trash bin. BIG MISTAKE!!!! A few days later I started to clean the parts thoroughly and I took a fresh 50 mm fan from my stash and tried to assemble the now clean gold heatsink. ?!?!?!??!?^#*^!^#*!^ the damn thing wouldnt FIT!!!
What could be wrong??? I tried to enlarge the holes of the 50 mm fan but NO DICE!!!
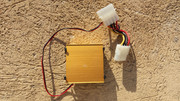
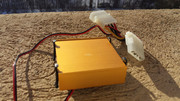
Without the fan, the four retaining clips simply fell off.
It became obvious that the fan was an odd size.
Hastily I calculated what day it was because on Thursadys the garbage truck comes and takes out the trash and THANK GOD it wasnt a trash day (literaly).
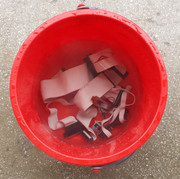
So with a pair of long gloves a big piece of cardboard here I was sifting the trash. There were three possible bins....
Luck was with me and in a matter of minutes I was rewared with the smelly rotten fan that I dumped a few days earlier 😁 YAY!!!!
I cleaned the fan really well and soldered the wires back. I made a concotion of a very small bead of silicone grease and thin oil and I greased the fan.
I tested again the fan and it was silent. Why did I dumped it in the first place? Hmmmm I have no explanation 😁
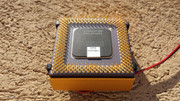
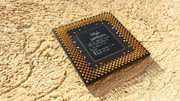
This heatsink was used on the black plastic Intel Pentium MMX 200MHz SL26J CPU from the pictures bellow but I think it was destined for flat ceramic CPU and not for plastic ones. I tested it with a ceramic Intel Pentium CPU and it fit like a glove.
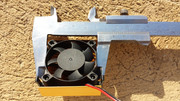
I also measured the fan and it was 45 mm x 45 mm. So not a common size fan. The quirks of ancient electronics 😁


gallery: https://postimg.cc/gallery/1l2uqbxnu/
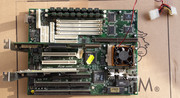
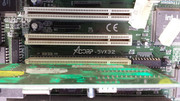
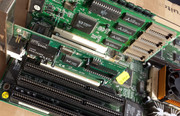
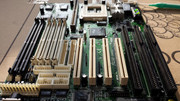
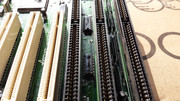
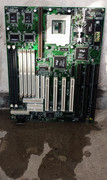
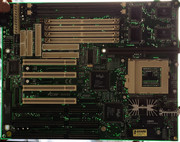
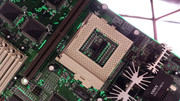
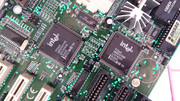
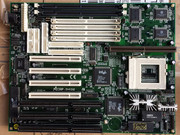
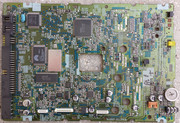
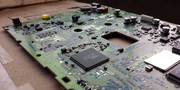
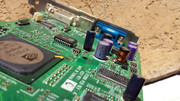
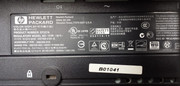
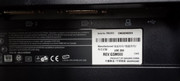
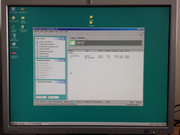
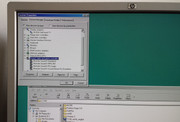
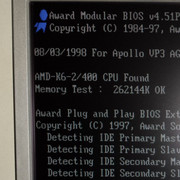
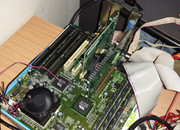
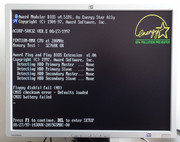
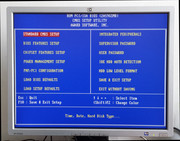
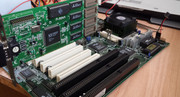
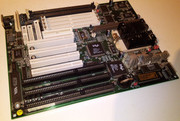
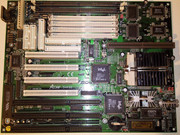
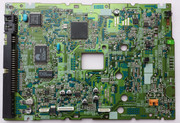
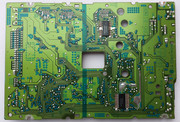
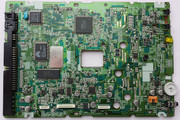
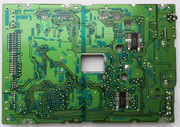
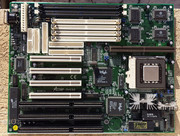
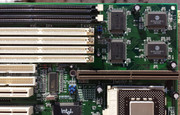
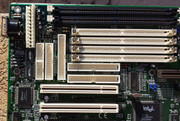
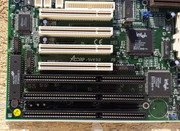
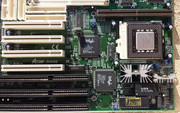
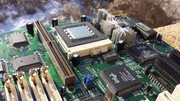
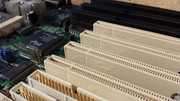
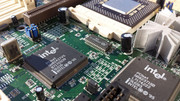
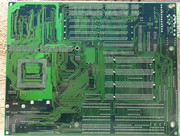
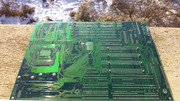
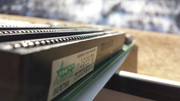
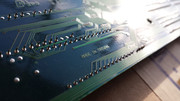
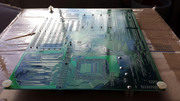
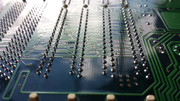
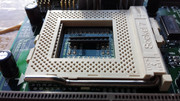
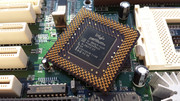
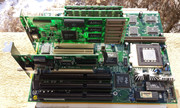
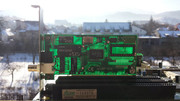
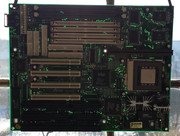
2. Acorp 5VX32 Rev 1.1 Motherboard
The motherboard was in great shape. I simply did my magic and I was rewarded with something bling bling I'm such an offensive thing 😁 You MUST see me!
I really like the green colour.
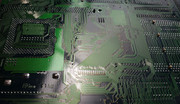
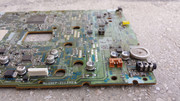
After I cleaned it, I saw that at some point it was repaired and a FET transistor was replaced. The repair was pretty well done. Some marks remained on the PCB but the sodler job was pretty professional.
The motherboard was without jumpers. Why do people take away these jumpers I really dont know. You cannot use them for something else ... the mysteries of the human mind 😁 Maybe the one that took them was jumper starved and he really needed some iron and some plastic to supplement his diet.... 😁
I didnt find a manual for this motherboard. The one that can be found online it is for another model or revision. On ebay I found another ACorp 5VX32 motherboard with an Intel 166 MMX CPU and from the pictures I determined the jumper locations/settings.


gallery: https://postimg.cc/gallery/2hsx02xaw/
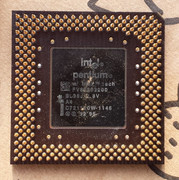
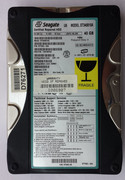
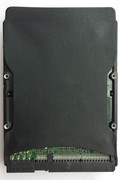
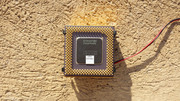
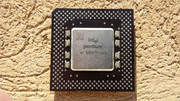
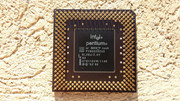
3. Intel Pentium MMX 200MHz SL26J CPU
It reminds me of my Celeron 366A black plastic 😀 my first Intel CPU.
gallery: https://postimg.cc/gallery/3ehf5wkym/
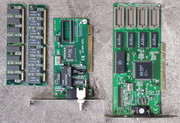
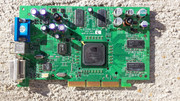
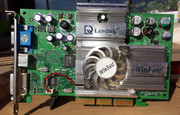
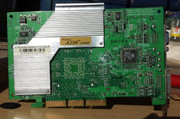
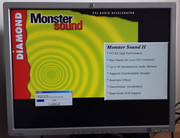
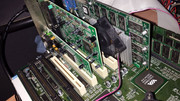
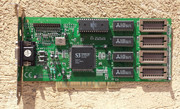
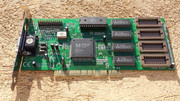
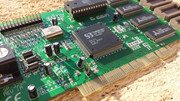
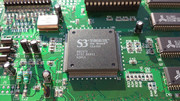
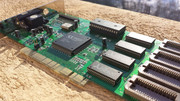
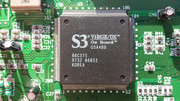
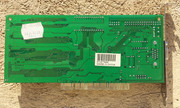
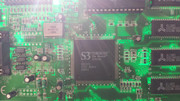
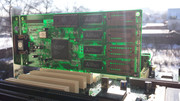
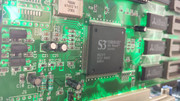
4. S3 Virge PCI - VGA - Sparkle SP-325A Rev. A
In great shape.
It begs for a VooDoo setup 😀
gallery: https://postimg.cc/gallery/wekb0kyg/
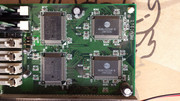
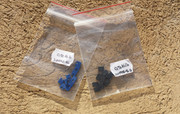
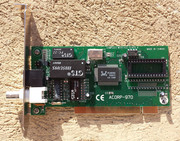
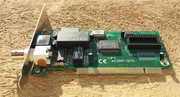
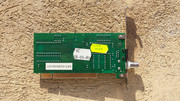
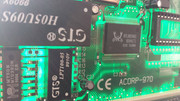
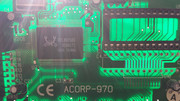
5. Acorp-970 PCI LAN card
Nothing fancy but it's nice it has the same name as the motherboard.

gallery: https://postimg.cc/gallery/cy9ukycg/
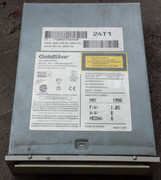
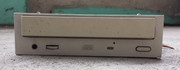
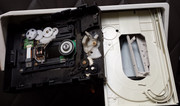
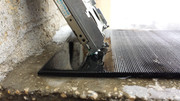
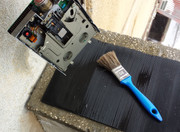
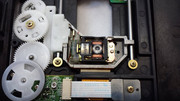
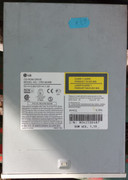
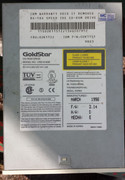
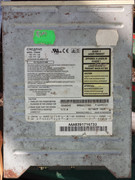
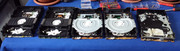
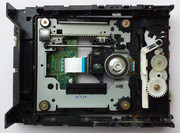
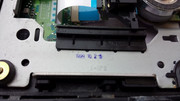
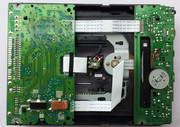
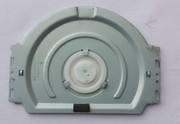
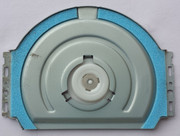
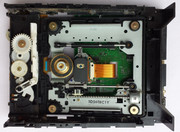
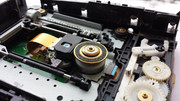
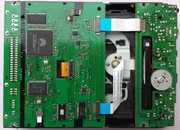
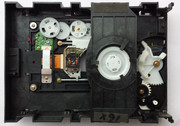
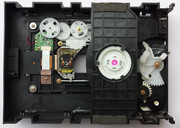
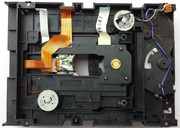
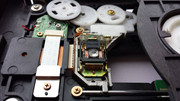
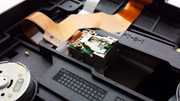
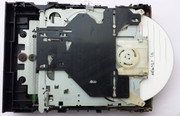
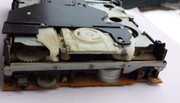
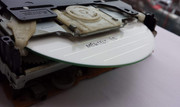
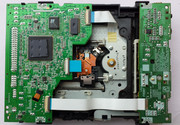
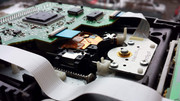
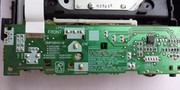
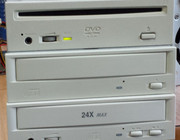
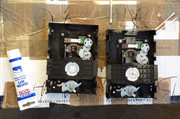
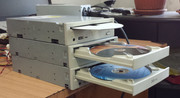
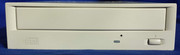
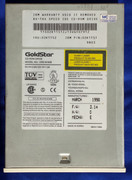
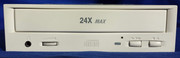
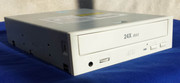
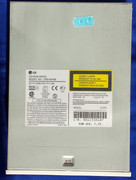
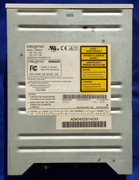
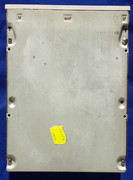
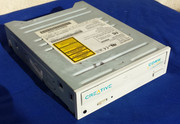
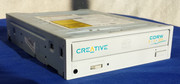
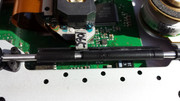
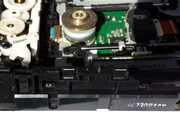
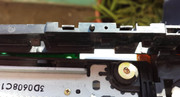
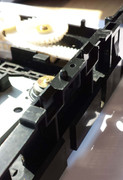
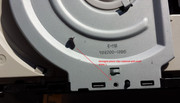
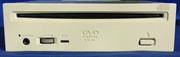
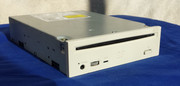
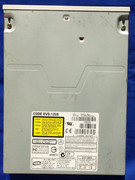
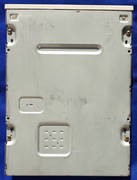
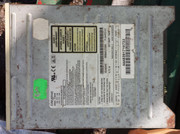
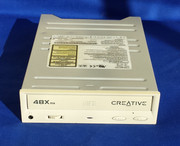
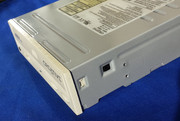
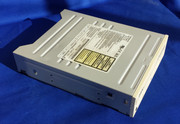
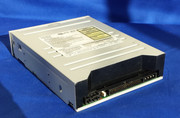
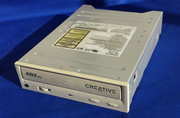
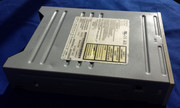
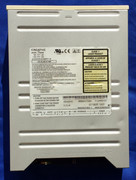
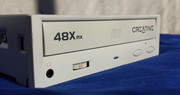
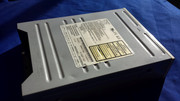
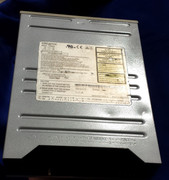
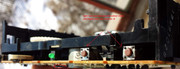
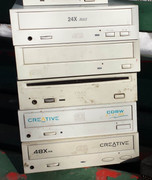
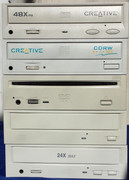
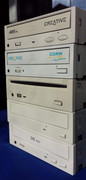
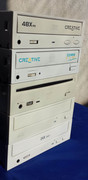
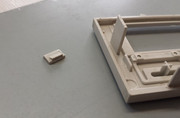
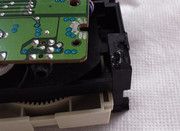
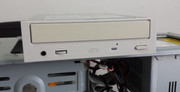
6. Goldstar CRD-8240B (CP1) - CD-ROM
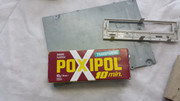
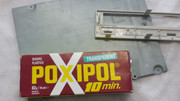
The unit had a few plastic pieces broken and I took my time and glued them back together.
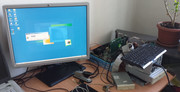
This CD-ROM completed the 5x86 build , the one that started all this madness 😀. Back in 1998 two years after I received the 5x86, I bought an LG/Goldstar CRD-8160B CD-ROM, so this Goldstar CRD-8240B is as close as it gets, for the recreation of my first PC. The Sony 52x was kind of new from the other components.
I still havent fully tested the unit, but the led lights up and the tray opens and closes nicely.
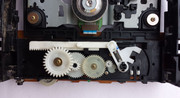
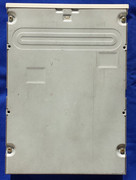
I had to replace the rubber belt with another that I had in my box of spare parts. I also cleaned the belt well to prevent slipping. With the original belt sometimes the door didnt open.
I have to buy fresh rubber belts just in case 😀
gallery: https://postimg.cc/gallery/mzzczq5w/
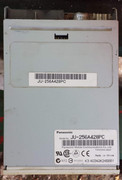
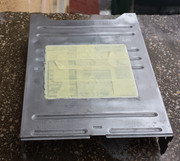
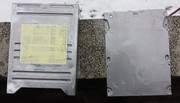
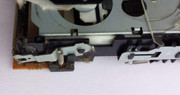
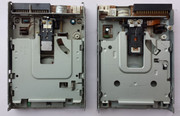
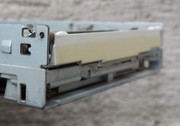
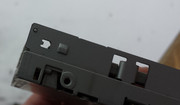
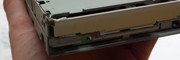
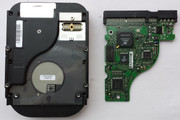
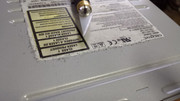
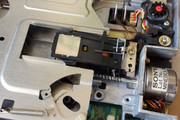
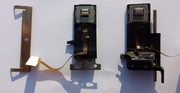
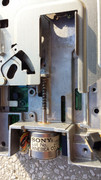
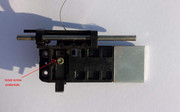
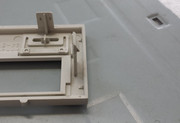
7. Sony MP-F17W-59D - FDD
Super clean but untested. I'm sure that it will work.
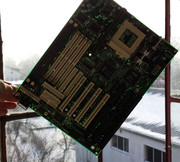
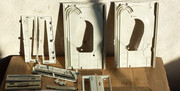
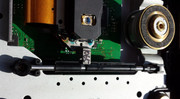
*** X-RAY PICTURES **** for your viewing pleasure


gallery: https://postimg.cc/gallery/xy72tuzc/
MORE LATER....