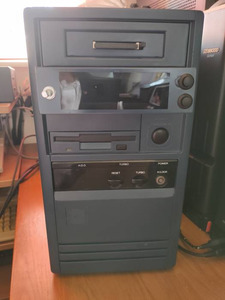
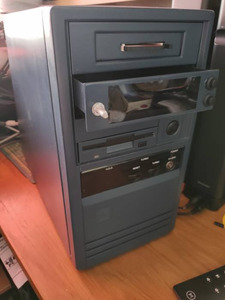
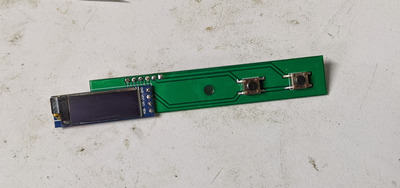
That's a nice clean design, I do recommend that you consider adding buttons though. Otherwise you can't switch from MT-32 to sou […]
Show full quote
That's a nice clean design, I do recommend that you consider adding buttons though. Otherwise you can't switch from MT-32 to soundfont mode, unless maybe you use MT32-pi-control software.
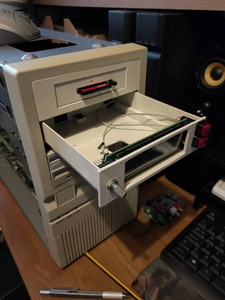
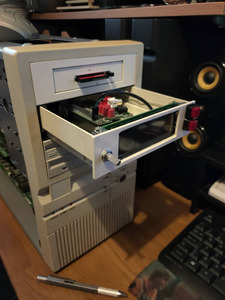
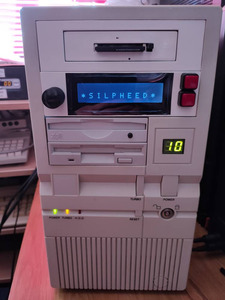
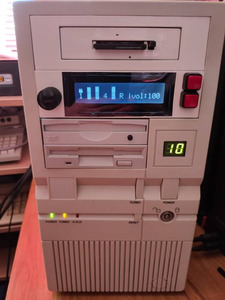
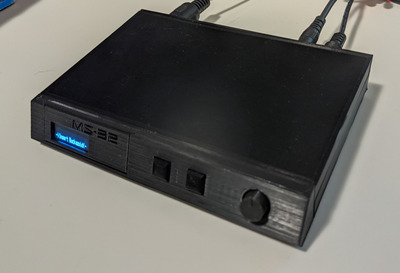
Here's what I've been working on for a few weeks now - my MT32-pi case which is designed to look like a shrunken regular MT32, but with the bigger 20x2 LCD.
IMG_0285.jpg
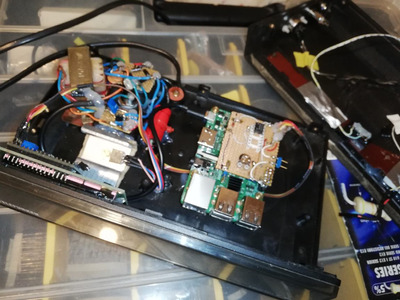
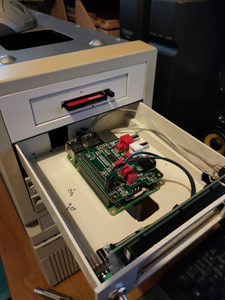
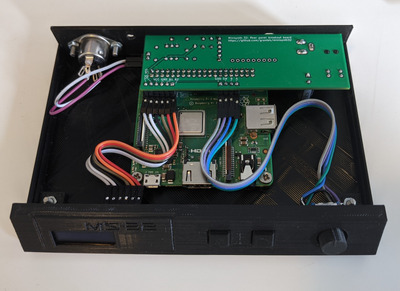
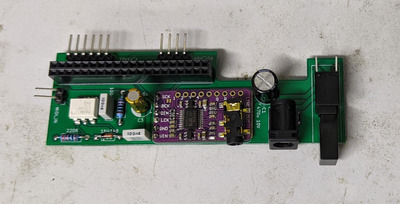
IT's been designed in Fusion 360, but the DAC and MIDI input PCB are currently just on some PCB stripboard that I knocked together. Digitising the physical objects is time consuming work, especially when a print of the top and bottom parts takes 6 hours each. The DAC's audio jack doesn't fit right for instance, but it's close enough to work.
IMG_0293-2.jpg
2021-04-02 18_23_43-Window.png
The Pi3 is screwed in there to be an MT-32PI forever, but on the underside I can get to the micro SD card to swap it out, and the MicroSD card can't fall into the case (very annoying when that happens).
IMG_0299-2.jpg
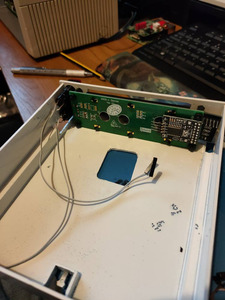
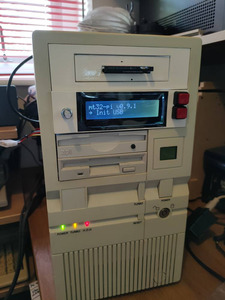
The front wouldn't look right with the 3d printing layer lines, and my attempts to print text with the 3d printer didn't work out, so I used my Brother QL700 label printer to print out the matte paper label, and the glossy plastic label. The end result looks pretty fantastic to me, but I'd love it if there was a better way to print the matte front part. I Was thinking maybe a PCB with no traces on it, in a black matte finish. That would be cheap-ish and the silkscreen would work perfectly for the button labels.
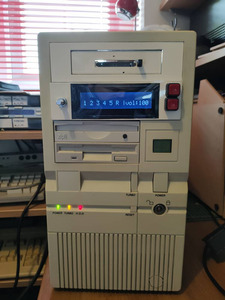
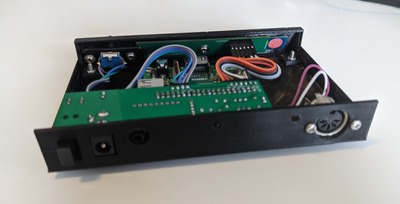
Something I'd like to look at next is making a PCB that doesn't sit on top of the CPU so it can cool better, there's room in the case for that. But this one works and I can use it now 😀