First post, by Niborius
Rank
Newbie
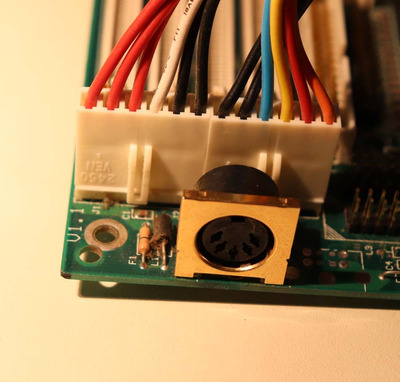
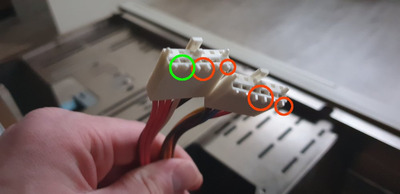
So basically, I have an AT-form factor setup, but I can't for the life of me plug the 12-pin (2x6) connectors to the motherboard. It's like the little plastic thingy's on the cable are too long so they're in the way, but I'm not sure.
Below is an image of the connector and the cables. Am I being stupid or is this a known issue?