First post, by PotatoHandle
Ahoy there guys and gals,
I was recently fortunate enough to liberate a complete Slot 1 Pentium 2 system from a friend's clothes storage. Works great, but I've been trying to tidy it up a bit and install some modern conveniences (New PSU, CF-IDE adapter, Gotek FDD emulator, etc)
The main problem that remains is the failing and extremely noisy CPU fans, which are about as effective as a mouse blowing through a drinking straw. Embarrassingly I ordered a passive Slot 1 cooler on ebay and only later decided to research if all slot 1 coolers are the same; which as it turns out, they're not.
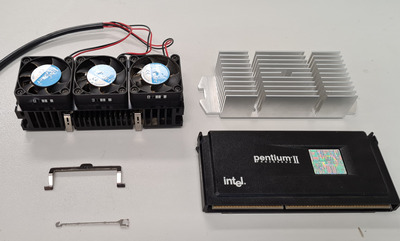
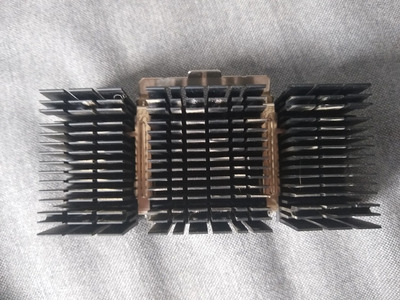
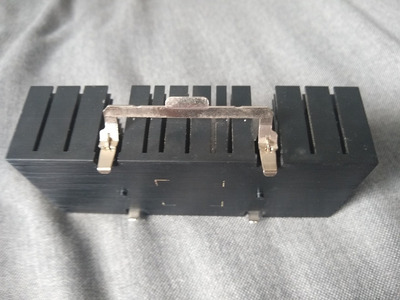
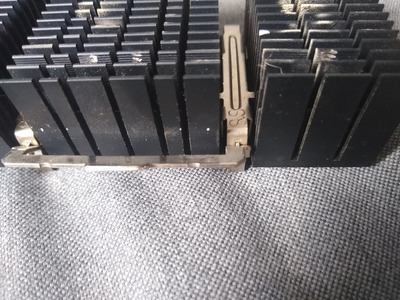
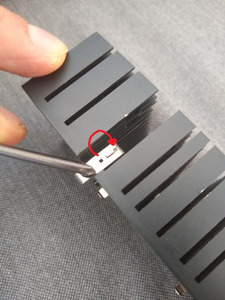
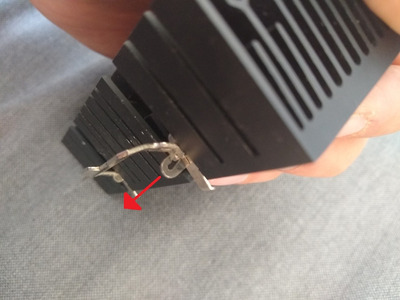
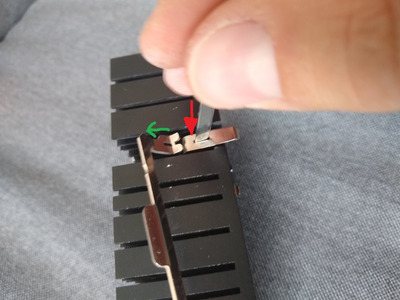
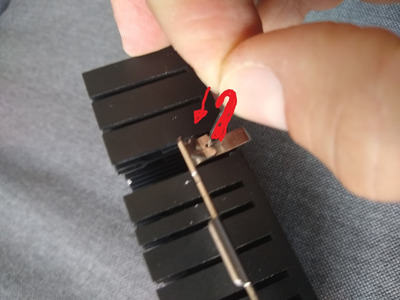
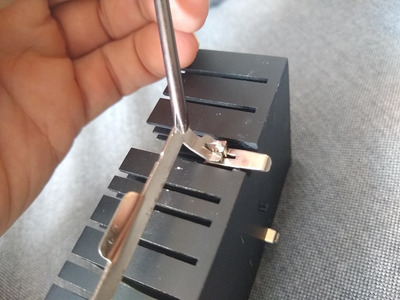
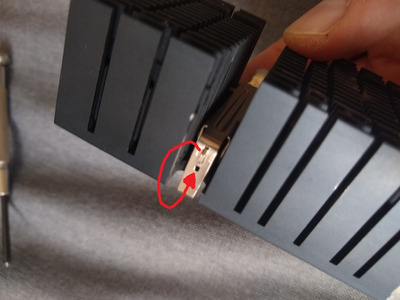
So the attached picture is what I have left. Top-left is the original cooler (In multiple pieces because I thought I could move the metal clamp hardware to the new cooler, I can't figure out how to get it back together), top-right is the passive aluminium cooler from ebay, which if I understand correctly now, is SECC2 when I need SECC1.
Is there any hope for either of these, or should I accept my losses, and order another one? If so, are there any more things I should take into account when ordering a new one?
Thankee for any help. o/