First post, by 386_junkie

- Rank
- Oldbie
Well,
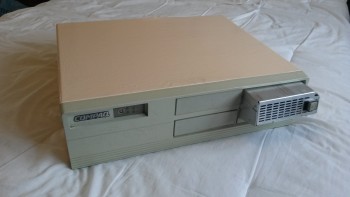
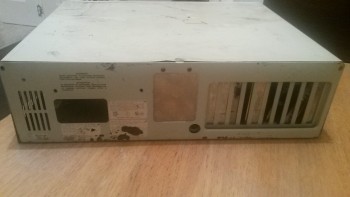
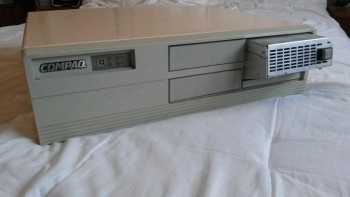
After a lot of off and on over the course of the last 12 months, I can now say that the project is finally (more or less) complete. Behold… the modified (duo 386) Compaq Systempro.
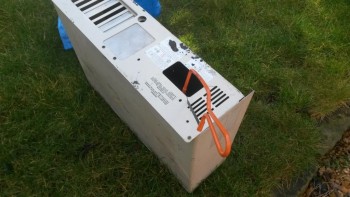
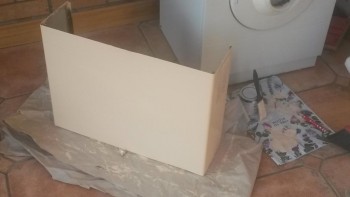
The Case
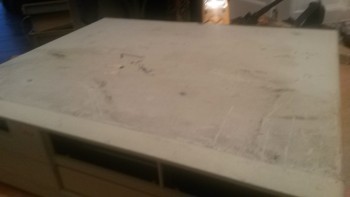
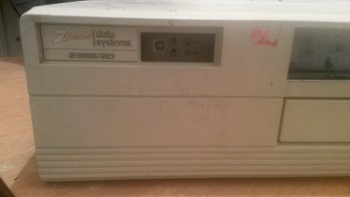
So where it all began… was with the case and finding one suitable. The Motherboard that was to be mounted has 7 EISA slots and 4 proprietary Compaq slots (all 32 bit), so a case was required that was large enough to support 11 expansion slots. These are not all too common and I found myself looking around towers from Highscreen and several other server type cases that could have possibly served as having enough space to mount the motherboard. Not all were entirely suitable / feasible… though I came across this Zenith desktop case that had clearly seen better days: -
It arrived without a PSU which helped keep shipping costs down, so after giving it a general clean I set about sizing it up with the Systempro motherboard… which turned out to be quite a good fit! There were of course some minor modifications to the case required including space for mounting the massive 370W PSU which was a task not too big for a junior hack saw: -

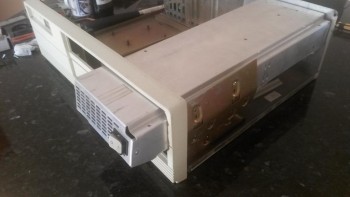
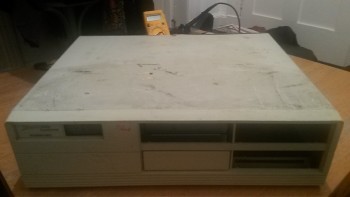
After a clean, the case still looked like it was ready for the dump, so I gave it two coats of gloss. With the case coming together I started get familiar with and look at my mod options for the hardware inside.
Hardware
The basic system I had in mind to build was to be using: -
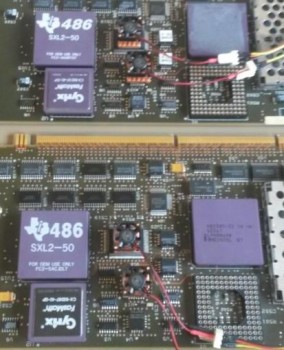
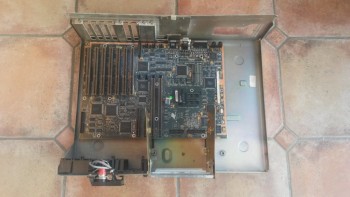
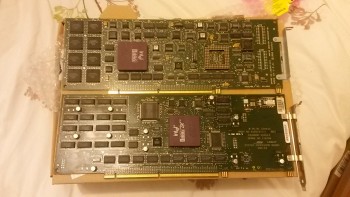
EISA Motherboard
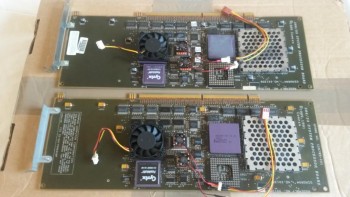
2 x 386 CPU boards @ 40MHz FSB
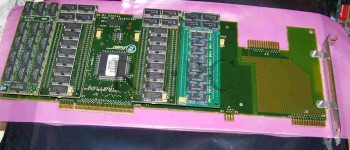
RAM board; 16Mb => 96Mb @ 70ns / 80ns
Graphics card = ATI Mach 32 EISA
1.44Mb Floppy & 400Mb HDD
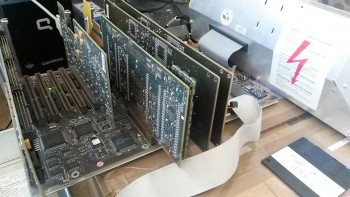

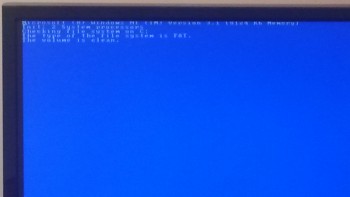
I was having some compatibility problems with the EISA Adaptec SCSI adapter spending a lot of unproductive time trying to get it going, in the end… I chucked the SCSI idea temporarily, and with the motherboard having onboard IDE… I decided to go with that instead. This saves a lot of time as with every time there is a new device on your EISA bus, the system configuration needs to be run which can take a while. There is not enough room for the HDD and FDD to be loaded into the drive bays so I have found them temporary placement inside the case away from the CPU & system mem boards which are all kinda in the way of the drive bays, the system can’t run without the CPU’s & mem so we will just have to make do for the time being.
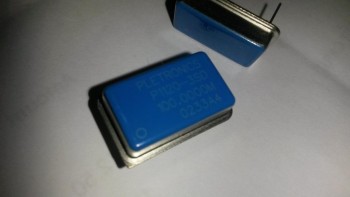
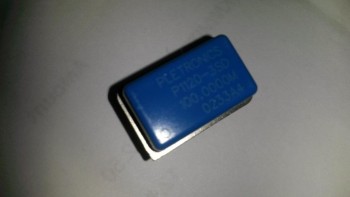
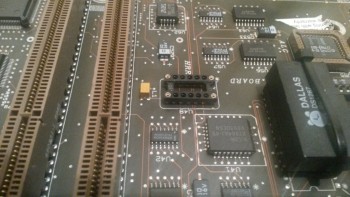
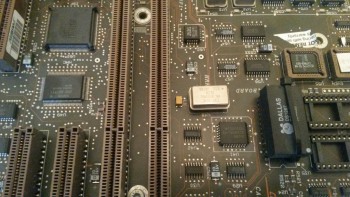
So to upgrade the FSB it was a simple case of de-soldering the original 66.66MHz crystal and solder in a new DIL socket so that crystals can be interchangeable depending on system run. In this case, I have inserted an 80MHz crystal to bring the FSB up to 40MHz.
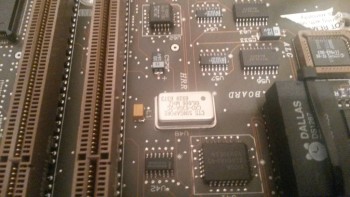
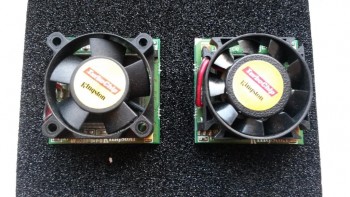
Next was to prepare the daughter cards, both the processor boards and the system memory board. I had initially tested the system with two 386 (40MHz) AMD’s… and went round the motherboard / daughter cards for any heat signatures, and addressed them with heat-sinks & fans where required.
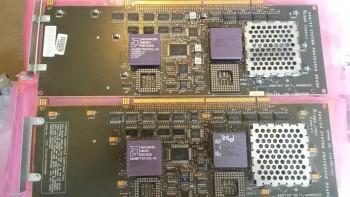
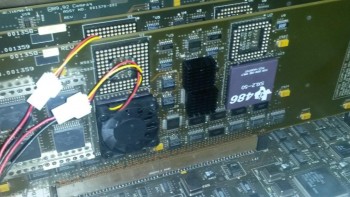
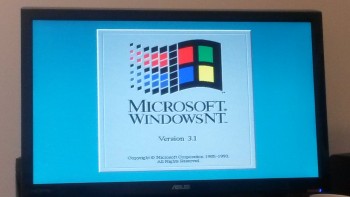
All being well, I changed out the AMD’s for two SXL2-50’s, keeping the FSB at 40MHz. The system proved to be stable and had run for hours without problem going through several EISA hardware configurations, before going on to install the OS; NT 3.1. This is the only OS that can be used which will utilize both processors simultaneously.


Final touches
After putting everything together I was on the lookout for a Compaq case badge, and managed to find a modern looking chrome type to replace the Zenith badge which originally resided, I do prefer the original older badge design, but this is a little bit different and gets away with it’s different design somewhat. I also had to rummage around and find the best matching drive bay covers filling in the holes.

Further over-clocking
Since taking all the pictures and more or less finished the system, curiosity got the better of me and I managed to satisfy myself by taking out the 80MHz Crystal and swapped it with a 100MHz crystal giving an FSB of 50MHz with the two SXL2-50’s remaining in the system. It was not slow by any means when booting up but the system did get hotter than before which lead me to go OTT with additional cooling using copper heat-sinks and fans where necessary. If I were to do this again, I would make sure to use a fan-card or have additional system fans inside to circulate and condition the air a bit better.
Testing suggestions?
I have run 3dbench a couple of times to bench each of the EISA graphics cards I have, the ATI coming out on top along with the Matrox scoring 18.5. Speedsys refuses to run and I suspect it is due to the (proprietary Compaq) system memory checks as it can’t get past this point when loading. Though I’m more inclined to do Windows NT 3.1 benchmarks instead and to see if there is any enhancements in performance between the various CPU pairs and each FSB.
When I have the time available, that will be the next phase of this project. Of course if anyone has any suggestions or are keen to test other capabilities I will look to incorporate in later testing’s.
For now, I’m just glad she’s now together! 😁
EDIT 2016-5-28 @ 22:09: -
Next phase of project
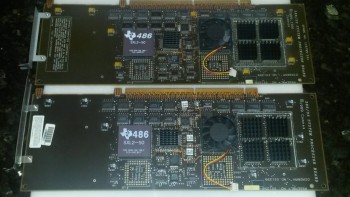
The main reason for building this system wasn't only to build a duo core 386 but also for the system to serve as a platform for additional testing on other combined CPU pairs from 2 x 386DX40's all the way upto 2 x 586/133's using the various FSB's... 33, 40 and 50MHz. I have three 386 processor boards and two 486 processor boards;
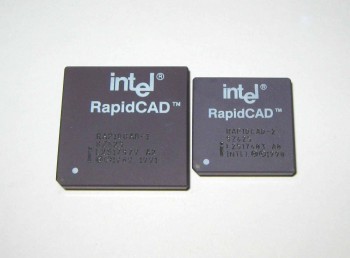
... hopefully when I'm done, I still will have three 386 boards and two 486. In terms of further options and possible scope of this project, things can and will get quite expansive but I intend to document and record all my results. I'm especially curious to see how two sets of RapidCAD CPU's perform together under NT 3.1 and if they effect the frame rates any of both Doom and Quake... would be interesting to see!
Anyways, I have not yet found a set of these so this will be later... watch this space.