First post, by Nikola99
Hello everyone,
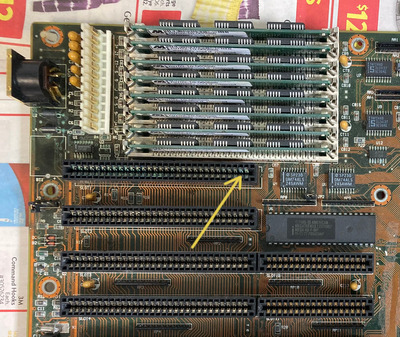
I have an MST-386AWP motherboard fitted with an AMD 386 DX 40 which I can't get working.
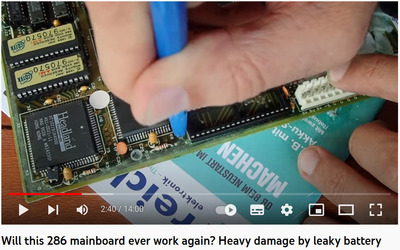
I removed the leaking battery when I got the board a few months ago and cleaned up the battery acid using rubbing alcohol.
When I power the board on all I hear is one beep from the PC speaker regardless of whether the board is fitted with ram or not. My POST card always gives a code of 06 or 02.
My POST card's manual indicates that a code of 06 means "Uncompressing POST code next" and it does not say anything for a POST code of 02 for an AMI bios.
I looked around online and found information which suggests that one beep indicates a DRAM refresh error for AMI BIOS.
Thus, I have tried four different sets of 30 pin simms but I still get the same behavior regardless of what ram I use, how I install, or whether I install any ram.
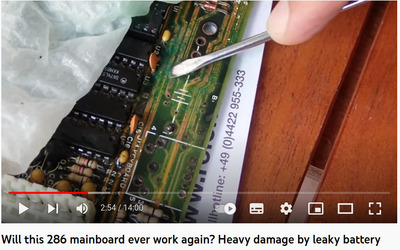
I have checked the continuity of any traces that were near the leaking battery and they all appear to be fine.
I also checked the integrity of the traces which have been scratched near the ram slots on the bottom of the board and those are also fine. I was able to fix a socket 4 pentium board recently by repairing broken traces near the ram slots and was hoping this would also be the case here. Sadly, I don't think that is the issue with this board.
I then started to wonder if maybe the bios is corrupted so I pulled the bios chip out of the board and dumped it using my eeprom programmer. Based on what I can see the BIOS appears to be fine. I have attached the BIOS dump so you guys can have a look and give me a second opinion.
Please let me know if you have any ideas what else I could try? I am really hoping I can get this board working so I can build my first 386 system. I have a few other 386 boards as well but they are in much worse condition than this one.
Here are some pictures of the board and the POST card I am using:
https://imgur.com/a/9pcJy6o
This appears to be the closest match to my board in terms of component and jumper layout:
https://stason.org/TULARC/pc/motherboards/A/A … ache-DX-Ve.html
-Thank you