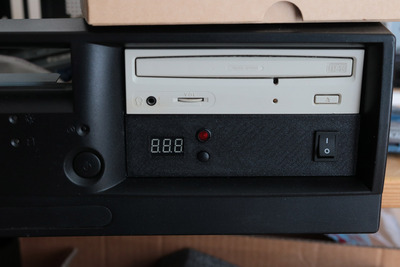
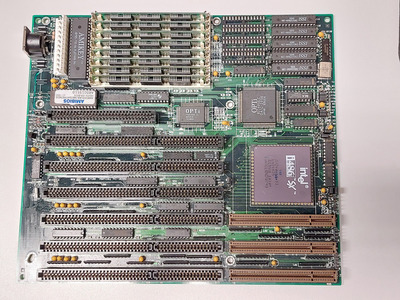
The other day I made this 3d print for the 486 DX4 100 VLB, AT motherboard I jammed into this MicroATX desktop case:
I have a box of spare 5.25" blanks and one of them happened to fit so I modelled up its clone in Fusion 360 and put in some cutouts for the power switch and turbo button. I forgot the reset switch so it looks like this version is going to use the power button for reset instead.
Unlike the last time I made one of these things that adds a turbo display, this time I have time to make the display actually do something. I bought a bunch of 3 digit 7-segment displays a few years back for my 1st 3d printed case front, but it sat unused because back then I didn't know enough about electronics or arduino to make it work.
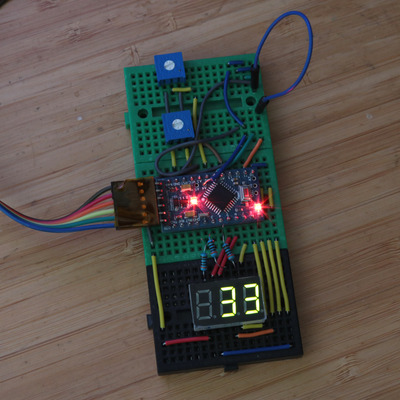
This time though, I have lots of parts and a bit more knowledge - here's where I'm at:
This thing is now working pretty reliably using just the arduino micro clone board to drive the LEDs and it has a very open-ended way to set the turbo speeds:
- Like Wiretap's turbo display, I've chosen to use the turbo LED high/low state as the selector between high/low speed
- And it relays the turbo LED in the same way
- There are two speed dials, that on toggling the turbo mode get sampled so the speeds can be changed while the computer's running
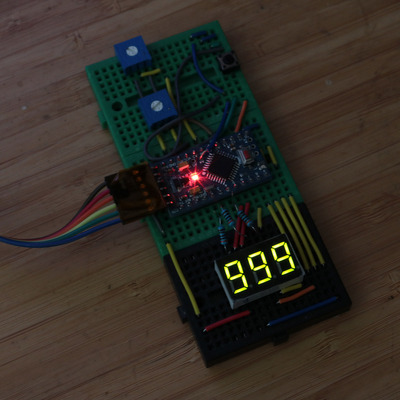
- Turning a dial moves the value between 8 > 999mhz, from a set of 50 pre-set values to round the sensor reading to a nice value
- Two of the spare IO pins are used as jumpers to set either value to be high range (8 > 999) or low range (8 > 233) to make it easier to select the low values
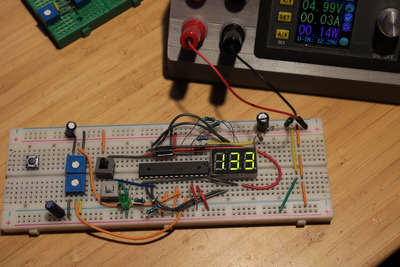
Now to see if it'll work on the breadboard with this spare atmega8a MCU I've got, then see if it could work well on a PCB potentially 😀