First post, by CkRtech

- Rank
- Oldbie
Finally pulled out some old systems I picked up in an estate sale many months ago and starting doing restore work. I like to start by opening them, poking my head around, and then finally powering them on to see how they run - and I usually do that by using an ATX power supply I keep on the bench for testing. For AT mobos, I just use the same test PSU with an adapter.
With the case and its included PSU selected, I decided to build a 486DX2-66 VLB machine. The King of the Mountain for quite some time. I never had one back in the day - I jumped from a 486SX-33 to a Pentium.
After getting the desired motherboard from another case and cleaning off corrosion thanks to the battery, I mounted the board, tested some configurations, messed around quite a bit, and finally decided it was time to take it off life support and refresh the capacitors in the power supply.
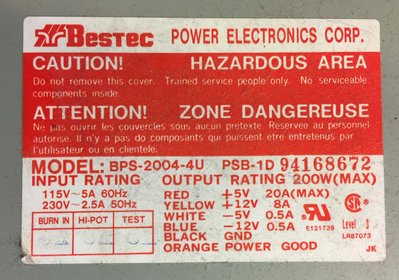
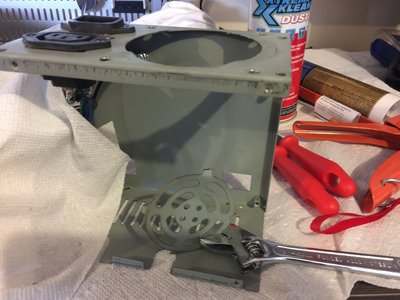
Inside the Besttec BPS-2004-4U that was originally running a Pentium 90 machine was a ton of dust and dirt. I easily pulled large dust bunnies out of it by hand before starting to hit it with compressed air. The following photo is after cleaning it for a little bit.
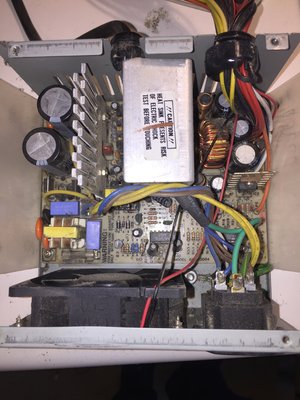
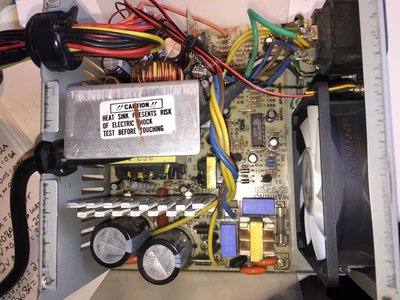
The capacitors inside were Panasonic on the primary side and Nicon's for the rest. None of the Nicon caps were bulging at the top, but caps that aren't bulging simply means - that they aren't bulging. That is no indicator of bad or good. They are old, not exactly an award-winning brand, and need to be replaced.
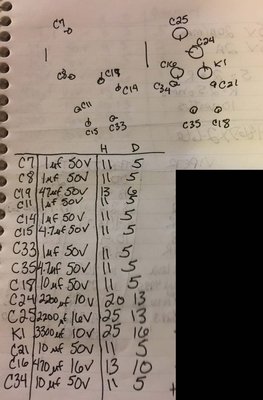
For the replacement caps, I went with Nichicon UPJ for most and Rubycon YXJ for the 1uf ones. My approach when I recap something is to make a "cap map." I draw the board I am recapping, draw circles representing the cap's location and polarity, and then make a chart either to one side to use for recording values. If I can't get the cap's name on the PCB (i.e. "C34") due to it being obscured by another component/glue/etc, I just make my own label just to have a reference for it in the chart. "K1" in my example was a made up name.
The H and D on the page are height and diameter in millimeters. The diameter is pretty important to me when ordering. The height - at least in the case of this power supply - allows for a bit of wiggle room if necessary.
The cap list is later consolidated and a quantity column added to make ordering easier to manage.
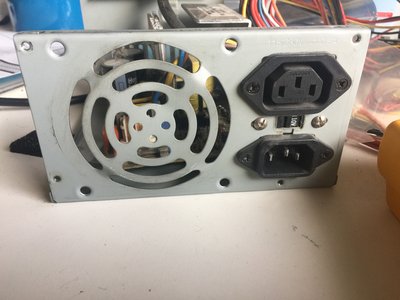
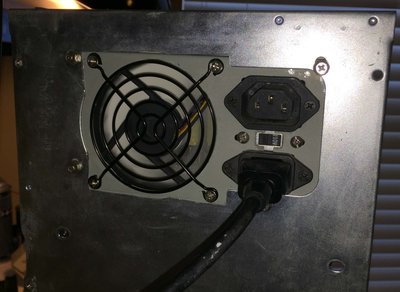
This unit also has a pretty loud fan - that is pretty much how it is/was/still is when it comes to AT power supplies. Let's take a look at the fan.
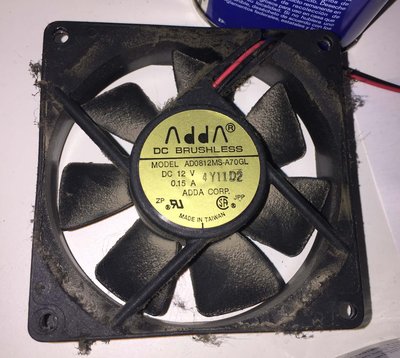
It was pretty easy to find some stats on it by looking up the model number.
31.4 CFM
28.3 dBA
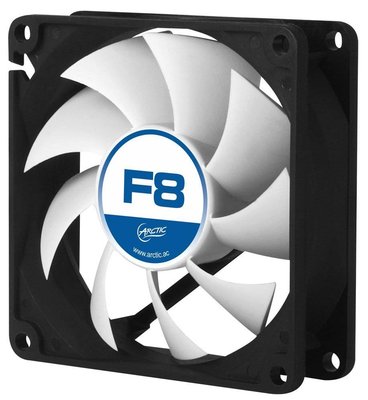
Man, that is loud. I know some of you guys may have nostalgia for loud power supplies in vintage machines. I definitely do not when it comes to and IBM PC clones. The replacement fan I used was an Arctic F8 (not PWM). It moves slightly less air (31 CFM) but does the job at ~22.5 dBA. Wow. Much quieter.