Reply 200 of 852, by Robert B

- Rank
- Oldbie
Repeat after me: mi mi MI MI(clears throat) mimimi (in fast succession)tsu tsu TSU TSU(slow succession) mimimimi -ahem, cough, cough- MITSUMI!!! 😁
At one moment I thought I wont be able to say it: MITSUMI. Try to say it with a japanese accent 😁. You see, the name Mitsumi makes me remember the Good Old Days, yep Good Ol' Mitsumi. The name might even be the name of a character in an ecchi anime 😁 yeah baby you dont know Mitsumi? Who the F..K is Mitsumi? Eeeeeehhhh M-i-T-s-U-m-I Chan! 😁
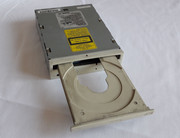
Today I'll present to you the complete restoration of a Mitsumi optical 4x CD-ROM unit. Among many of my hardware obsessions, vintage CD-ROM units also have a top spot.
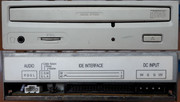
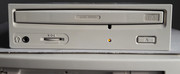
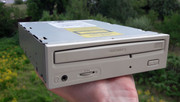
Mitsumi Quad Speed (4x) CD-ROM unit - CRMC-FX400E
Hey, nurse check out this patient! Look at his coated tongue, something is not right here. DOCTOR LETS OPERATE! Prep the OPERATION ROOM!!! - Is it time for another sponge bath DOC??? 😁
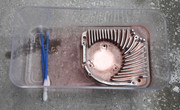
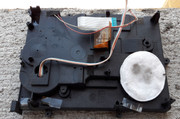
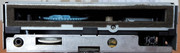
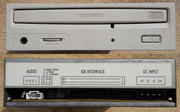
Arrival state
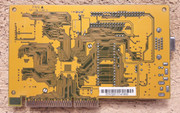
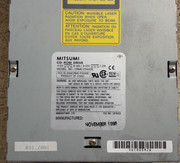
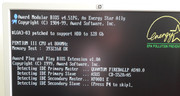
The unit came dirty but in good working condition. It is manufactured in November 1995. Yeah baby I was 16 back then. 🤣!!!
gallery: https://postimg.cc/gallery/39jbw1qhy/
Cleaning
At first, the dismantling of the unit was a straight forward job. Just some screws needed to be taken care of.
Ejecting the tray was another business who made me go, what the HELL is going on! First I took a good ol' paper clip and I tried to eject the tray as I always did with CD-ROM units. In the case of the Mitsumi unit you could feel that something was sliding inside but the tray would not come out no matter what I did. When I powerd the unit, the tray came out without problems. WHAT GIVES? hmmmm I said to myself with a raised eyebrow. HMMMMMMM!!!
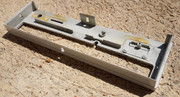
So I left the unit with the tray out and then I detached the plastic front bezel and the screws from the metal cover.
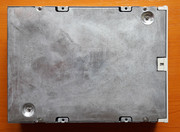
The metal bottom cover came out first.
Removing the top metal cover was tricky. As stated above, first I left the unit with the tray out but when I tried to remove the top cover three black plastic hooks from the black plastic body of the CD-ROM mechanism wouldnt let me slide it out.
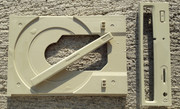
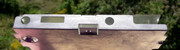
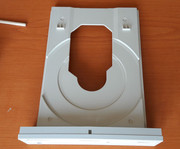
So I took off the removable plastic front plate of the tray. The one with the "Quad Speed" and CD-Compact Disc logos. It was a case of careful used force and a little bending. I also removed the front bezel.
Then I powered the unit and I closed the tray.
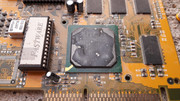
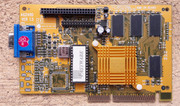
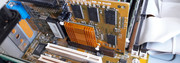
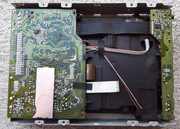
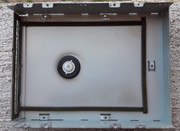
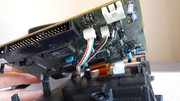
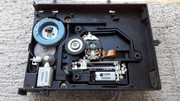
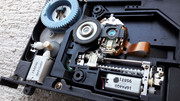
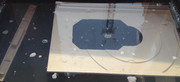
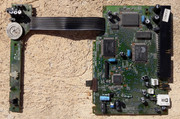
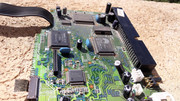
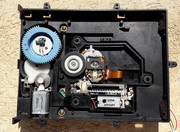
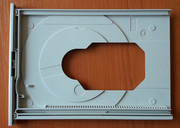
After this, the top metal cover was easily removed. Behold the inner workings of the CD-ROM unit. The CD centering mechanism is an integral part of the top metal cover.
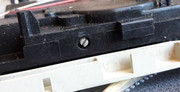
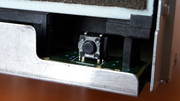
I tried to slide out the tray by hand but I couldnt do it. Checking closely I saw that the manual ejection of the CD-ROM disc was something new to me. It had a head like a regular screw. I used a screwdriver and I saw that if you turn it clockwise the tray would stay in and the laser head assembly would rise. If you turn it counterclockwise the tray would start to move slowly. WOW!!! what sorcery is THIS?!?!?
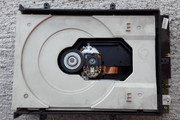
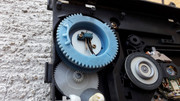
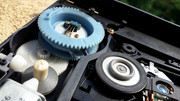
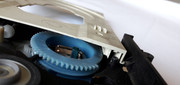
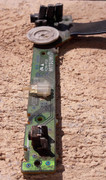
After I released the lock that held the tray I managed to slide out the tray by hand. It required some force and I was sure that the rubber belt would be toast. To my surprise there was no rubber belt in sight. THIS IS AWESOME. The open/close mechanism of the tray relies on a big light blue sprocket with a system of grooves and an exposed contact. WOW!!! How mechanical of her 😁
I slided the tray all the way and I tried to remove it completely but at first I wasnt able to do it. I looked for some hooks that held the tray like some newer CD-ROM units but I couldnt find any.
I tried to push pull and you name it, nothing worked.
I took a pause and looked closely at the problem. I slided again the tray all the way and I used force like this: with one hand I held the sides of the tray and with the other I raised the middle of the tray so that it would clear the teeth of the sprocket. PROBLEM SOLVED. Take pictures or notes so that when you put it back you will know over how many teeth you would need to place the tray.
After this I had a better look at the manual eject mechanism. Simple and efficient.


gallery: https://postimg.cc/gallery/2qjcddtye/
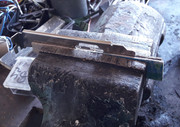
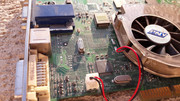
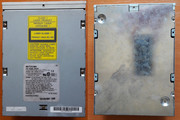
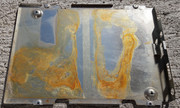
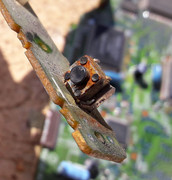
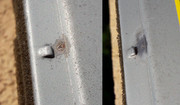
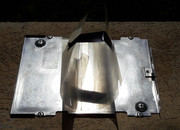
RUST MY ENEMY No 1! For this I had to use surgen gloves and thicker rubber gloves. HEALTH HAZARD DETECTED!!!
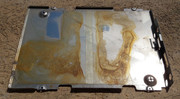
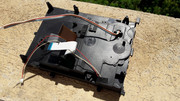
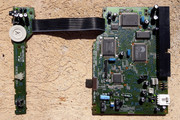
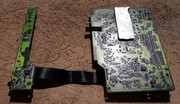
As soon as I removed the bottom metal cover and the plastic front bezel I saw a lot of rust. At one moment this unit had contact with water or was stored in a humid environment. What to expect from recycling centers....😁
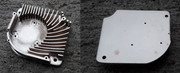
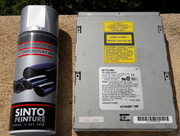
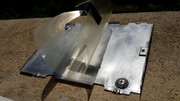
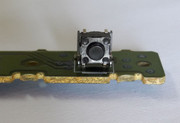
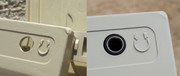
I carefully used my slightly corrosive rust remover solution in small quantities and I cleaned all the metal surfaces. On the bottom metal cover the rust was mainly embedded in the clear plastic protection film. I had to use fine grit sandpaper 1000 and water to remove it. To remove the superficial rust I also wet sanded the metal cover and I tried to remove as little as possible from the remaining silver coating as I didnt want to paint it or clear coat it. The eject button came out very well. The rust from the plastic parts was cleaned with CIF cream and cotton sticks or a soft sponge.
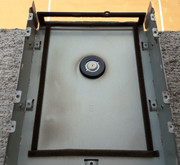
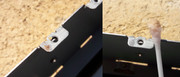
Deep rust was removed and the surfaces were painted with a cotton stick soaked in spray paint.
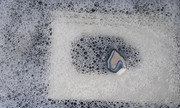
All the plastic parts and metal parts were washed with soapy water. CIF cream was also used to remove some spots. The sponge strips were thoroughly cleaned. I also took the time to soften some damage done to one of the corners of the bezel.
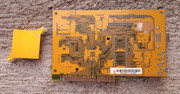
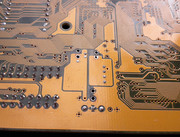
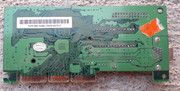
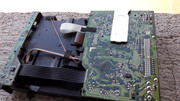
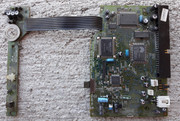
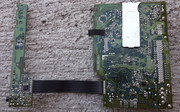
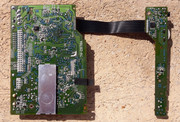
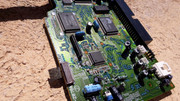
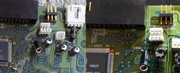
The PCB was washed with isopropyl alcohol 99%. It came out as new.
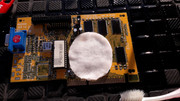
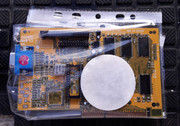
The insides were cleaned with cotton discs, cotton sticks and isopropyl alcohol 99% until they were spotless. I didnt want to take all the thing apart.
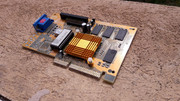
The motors and other mechanical components were pretty clean. The original grease was still soft and I reused the excess to grease the places that had little grease.
Such an elegant construction. I LIKE IT!!!
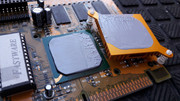
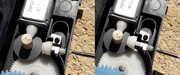
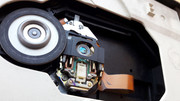
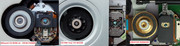
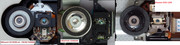
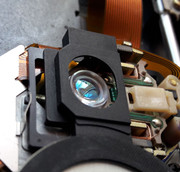
The laser lens was GENTLY cleaned with isopropyl alcohol 99% and a microfiber cloth. THE LENS IS HUGE. See a comparison with some newer units in the pictures bellow.
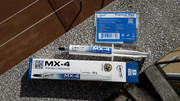
Assembly was a breeze. I used some silicone grease on the rails of the tray.


gallery: https://postimg.cc/gallery/1lcvowi5i/
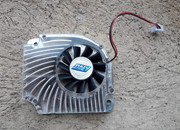
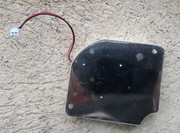
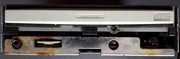
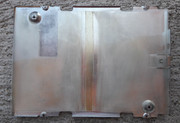
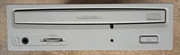
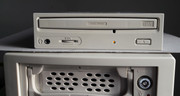
Final results
The results speak for themsleves.


gallery: https://postimg.cc/gallery/2pc5s7lra/
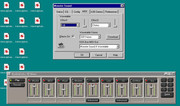
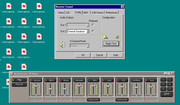
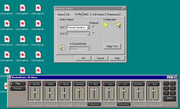
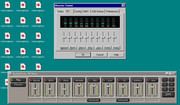
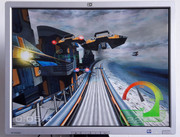
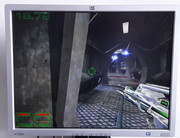
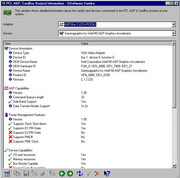
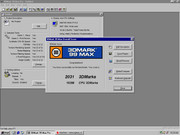
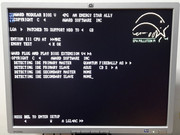
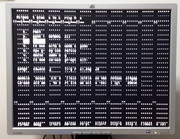
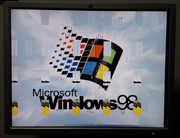
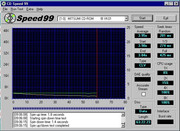
Testing
Another success story. Ignore the 100% CPU usage for 4x and 8x it's just a quirk of the CD Speed 99 program.
gallery: https://postimg.cc/gallery/lxlq6die/
More later 😁