First post, by ReeseRiverson

- Rank
- Member
It's been a long time since I've really worked on any of my retro gaming projects, especially since I've been busy playing Splatoon more than anything these days. The chassis is the same one I used back in 2014 f0r this old build project:
Leaping Lab rats! Another build progress of some kind by Reese!
I've stopped using that ever since it would never detect a keyboard anymore, which since then I did remove all the hardware and decided to re-assemble the case more properly.
This build did lead to some rather complex situations, which all but one have been resolved. I'll explain more on that later.
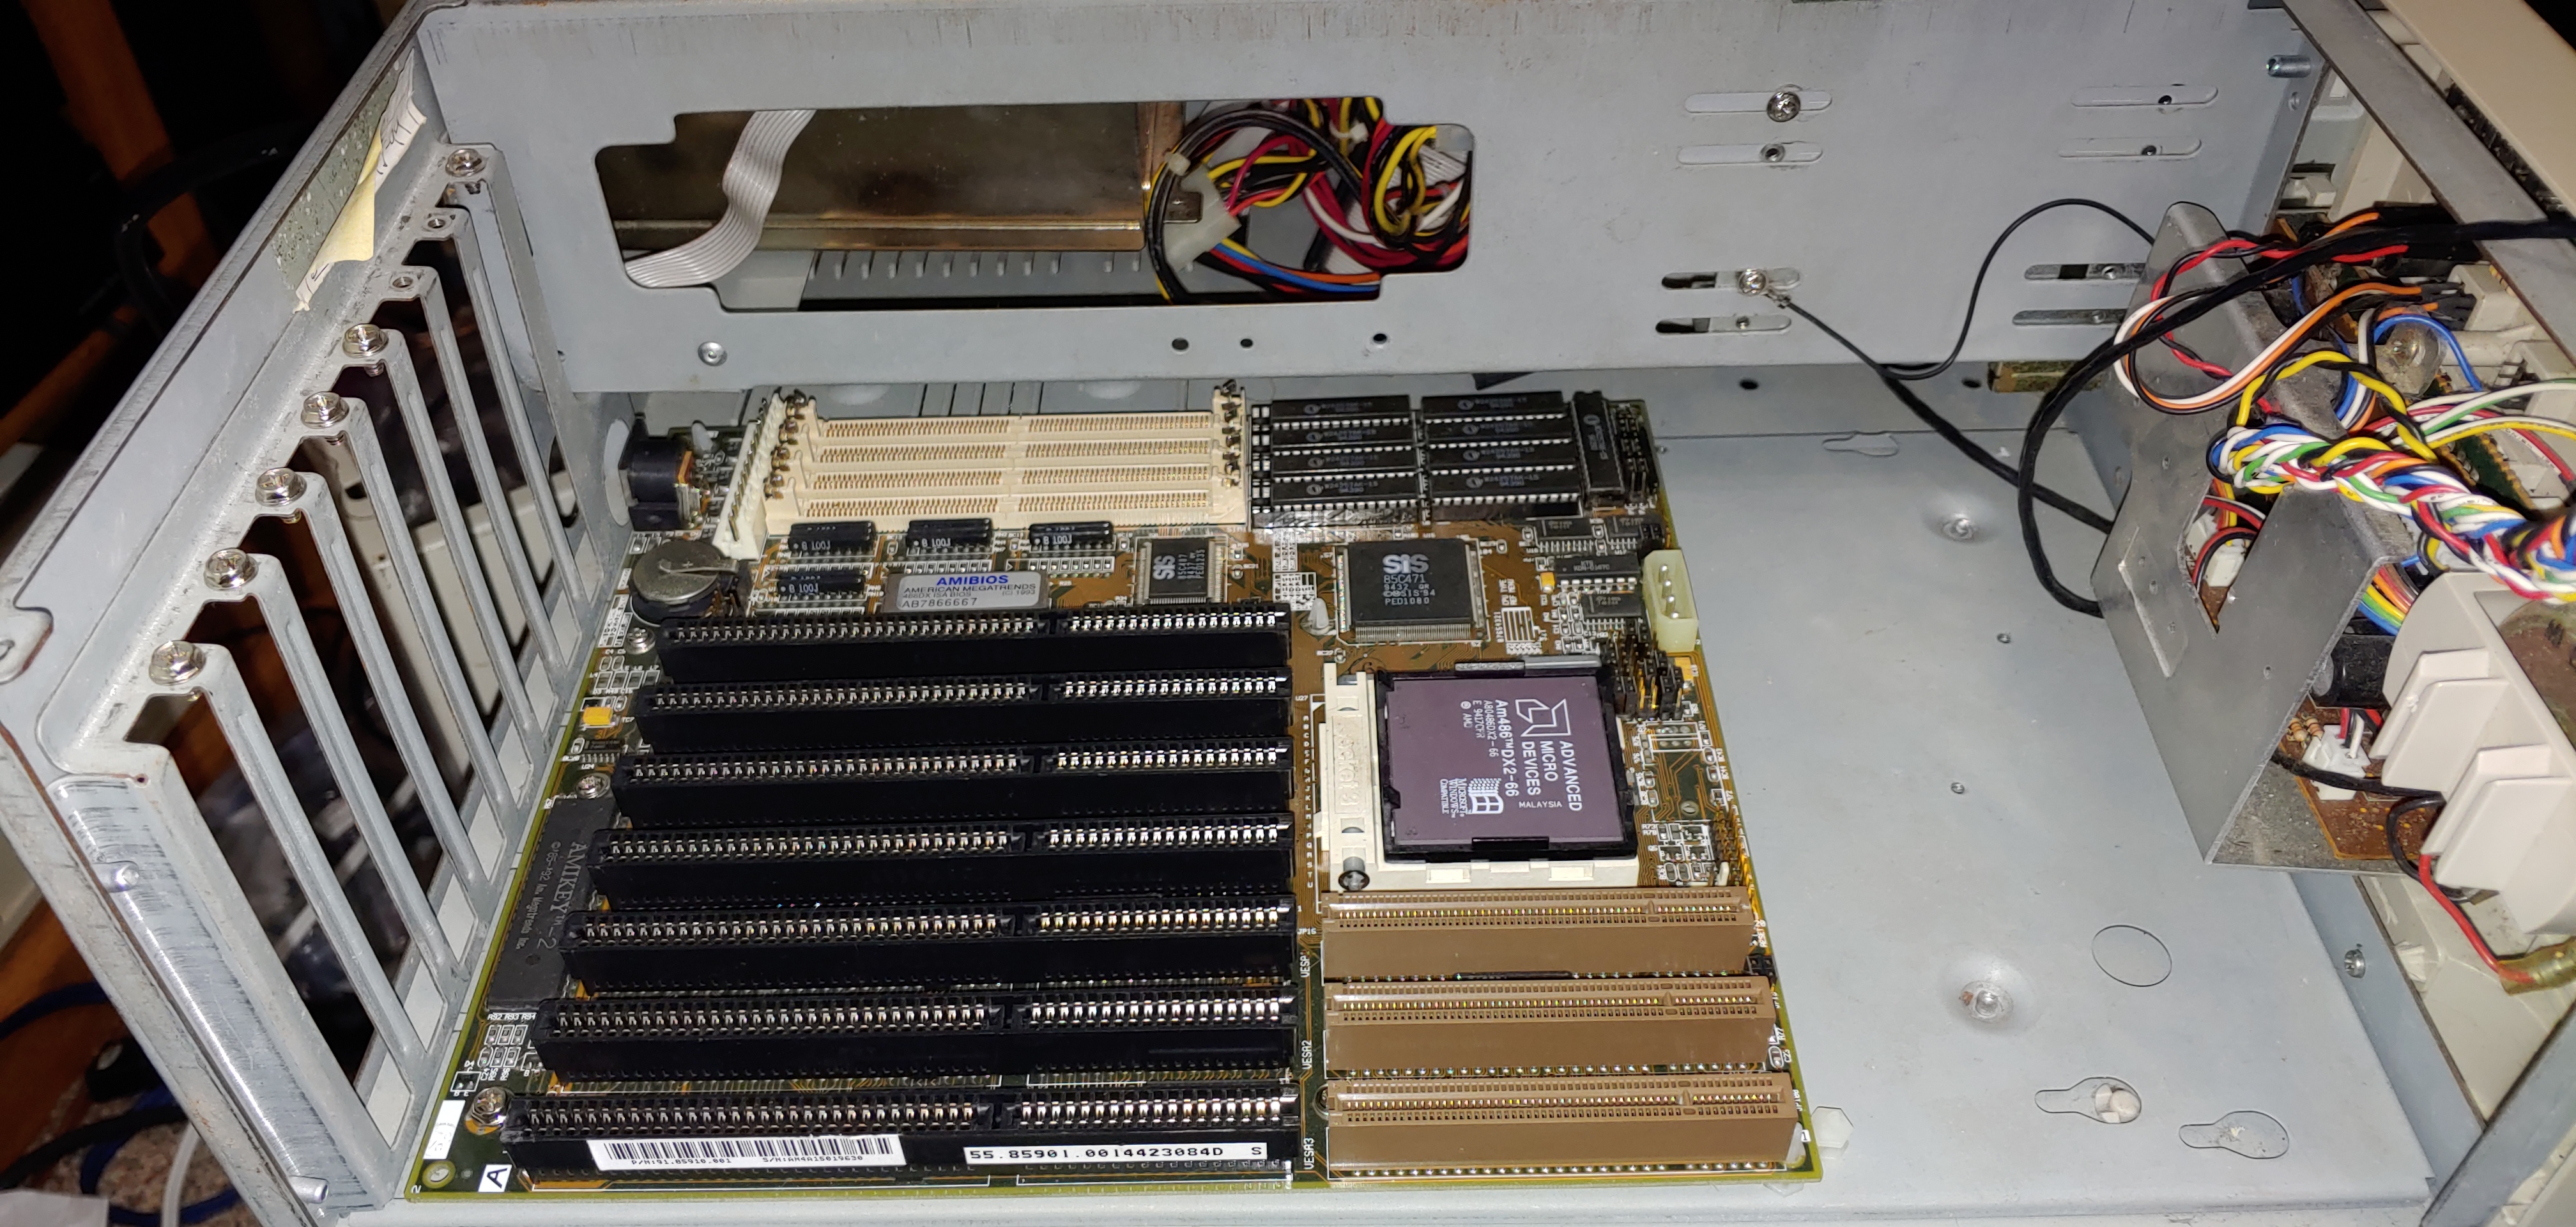
To start off with, the AOpen Vi15G VLB motherboard, I originally got this motherboard a while back due to the inspiration of LGR's woodgrain 486 build, plus I never had an actual VLB based 486 system running. The chassis I'm using did originally have a VLB based board in it, but one day it decided to simply quit working years back. I still have the motherboard and would like to attempt to repair it sometime. That'll be another thread once I reach that point.
(Further details provided within the spoiler tag. TL:DR is: Complete vs incomplete jumper setting documentation, resolving reboot issues due to using correct CPU jumper setting, links, etc.)
Though I would like to point out that the documentation I found online for the Vi15G on the typical sites were not complete. Specifically elhvb and stason.
I know at least two versions of this motherboard exists, the 5V only version, which is the one I have, and then the 3.45V version, which is what LGR has. This in itself really isn't a deal breaker, let alone an issue in the grand scheme of things. However, this does mean the documentation also is missing a lot of jumper settings for the 3.45V version. Which also is applicable to the 5V version when it comes to using CPUs beyond a 486DX2*.
(Asterisk on that to state that you must use a CPU that supports 5V, an Overdrive chip, or an Interposer. Since the latter two have a voltage regulator.)
That said, I wanted to make sure to document this because I've searched all over Vogons and other internet sources and I could not find any accuracy in settings to match my configuration specifically. The issues caused by this resulted in the system to not be capable of rebooting via CTRL + ALT + DEL nor by software issued reboot command. This was resolved by using the correct jumper settings for my 486DX4 CPU listed by AOpen's actual documentation hosted on their FTP:
ftp://ftp.aopen.com/pub/tech/jumper/vi15g/default.htm
To preserve these settings in the event that anything could happen to an ftp site these days, I did save the documentation and made a screenshot for anyone to reference this:
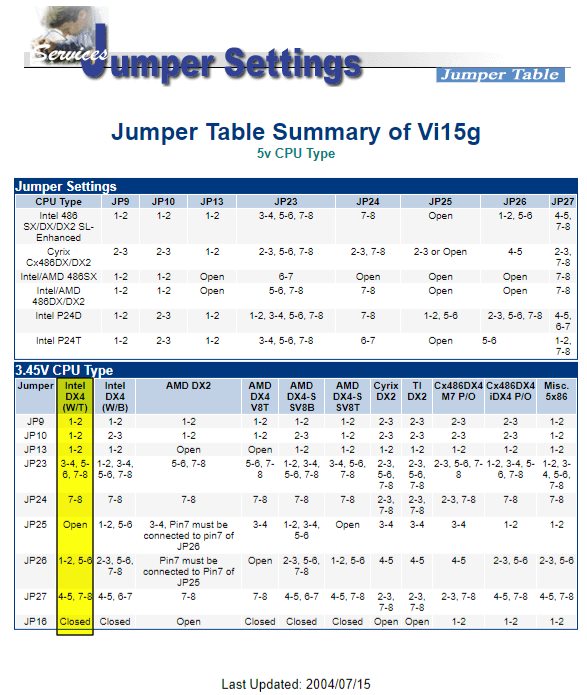
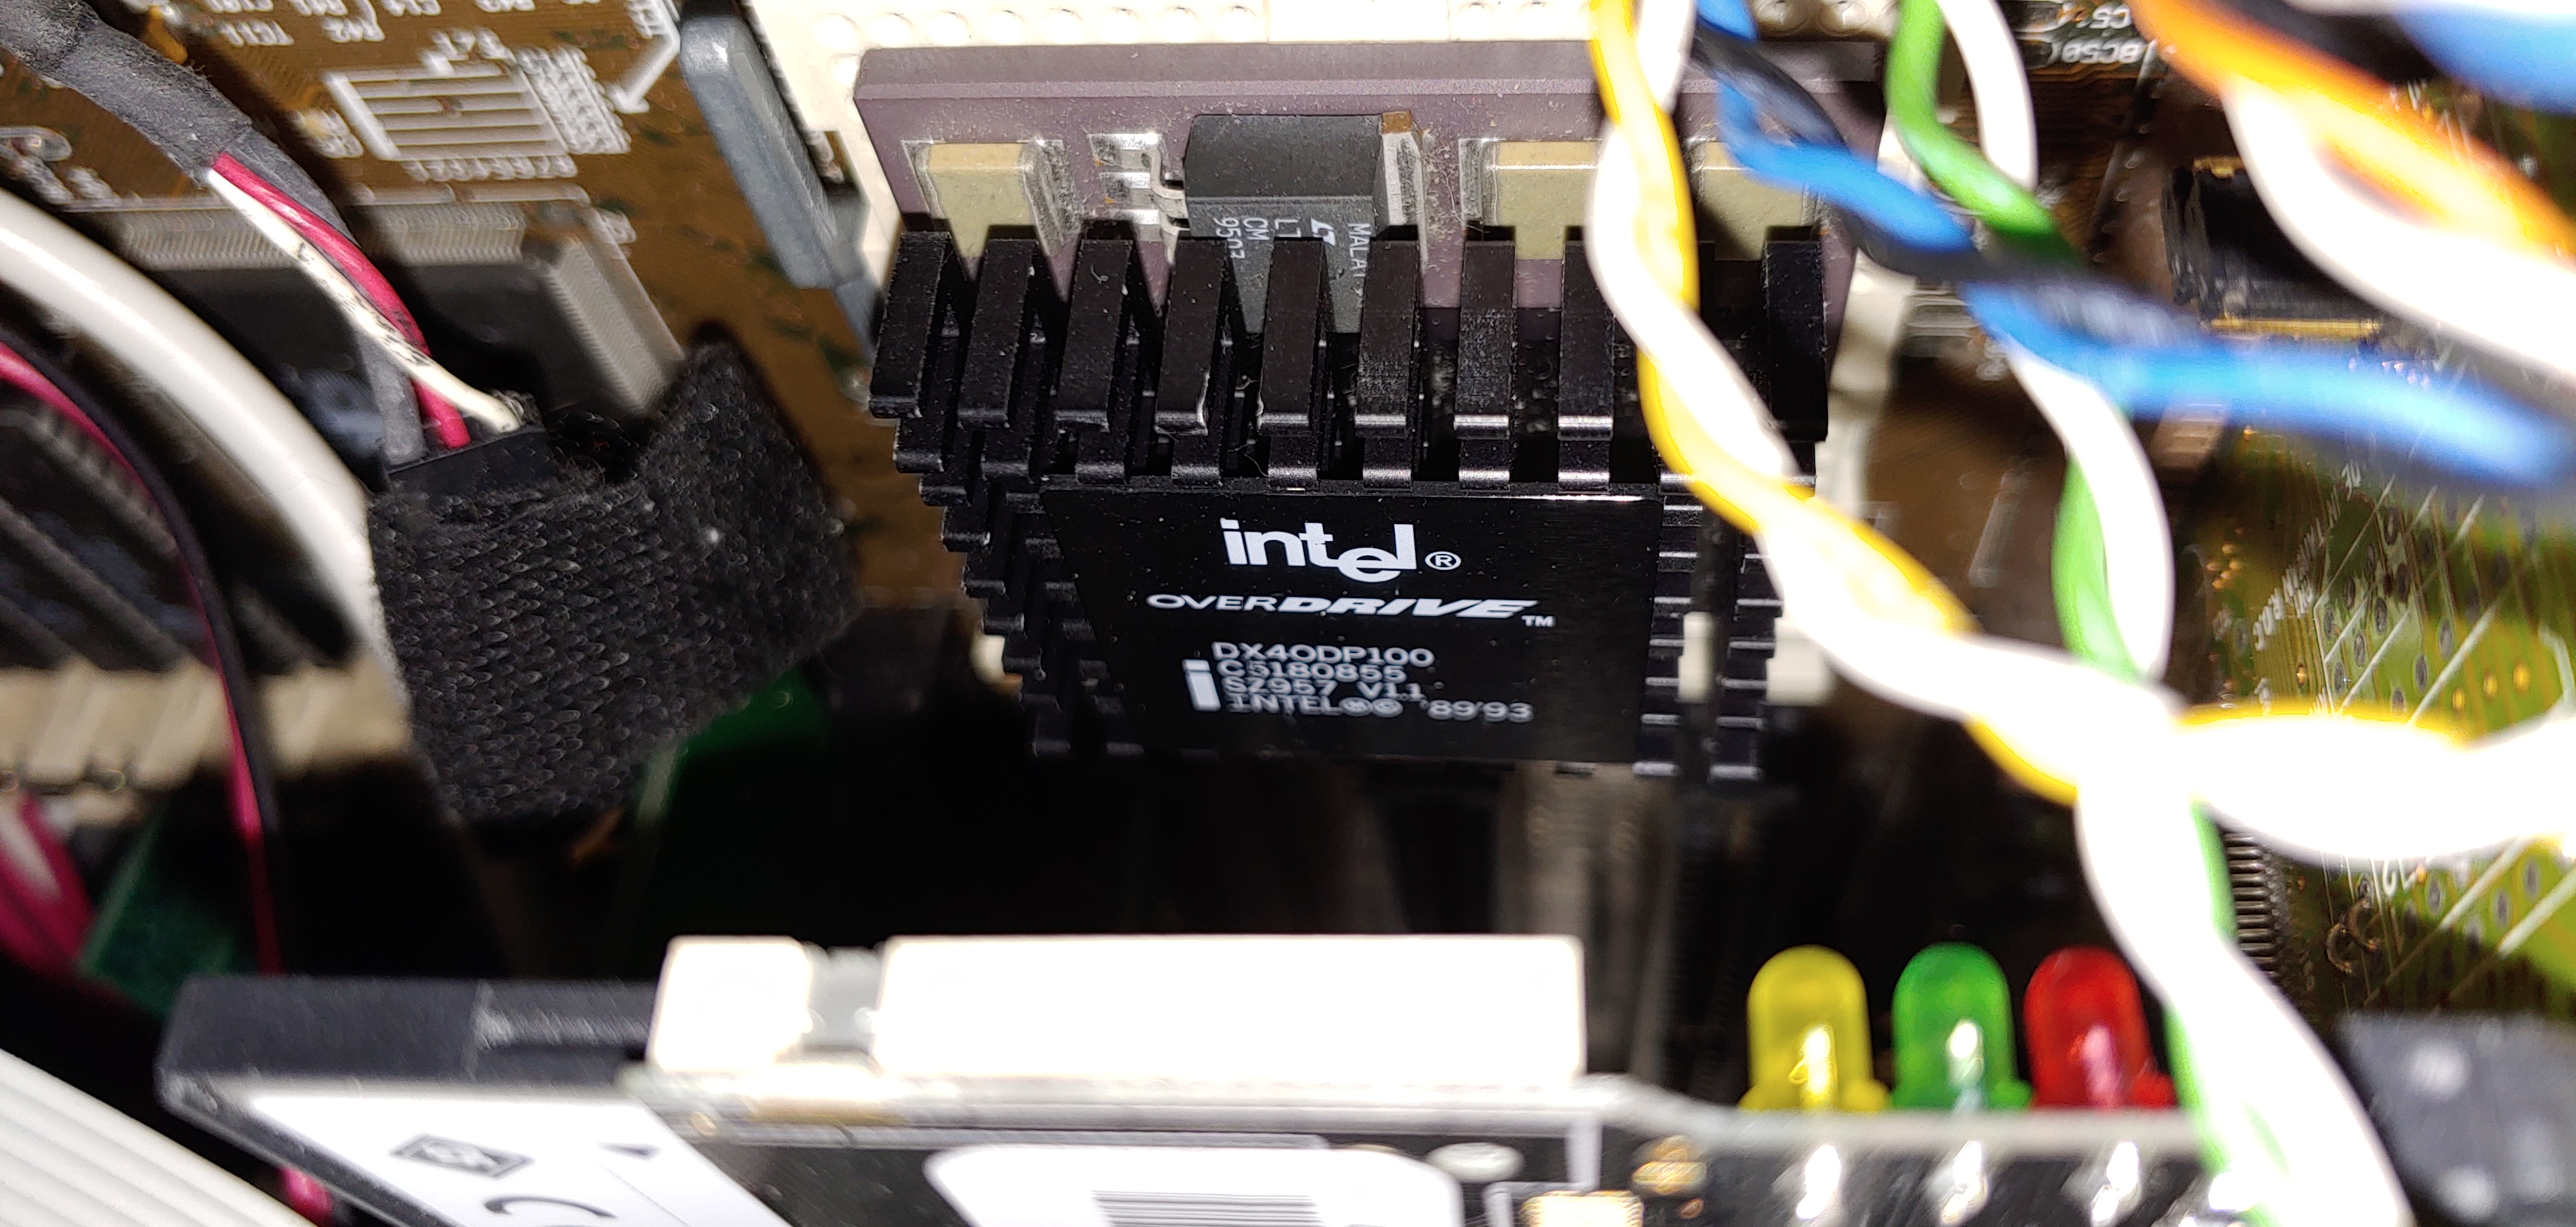
The CPU I have installed is the Intel 486 Overdrive. (DX4ODP100 - Sz957).
So I definitely hope this will help anyone who happens to have the same motherboard as this, either version they may have. I've already given the settings I've found to LGR as well.
- Motherboard
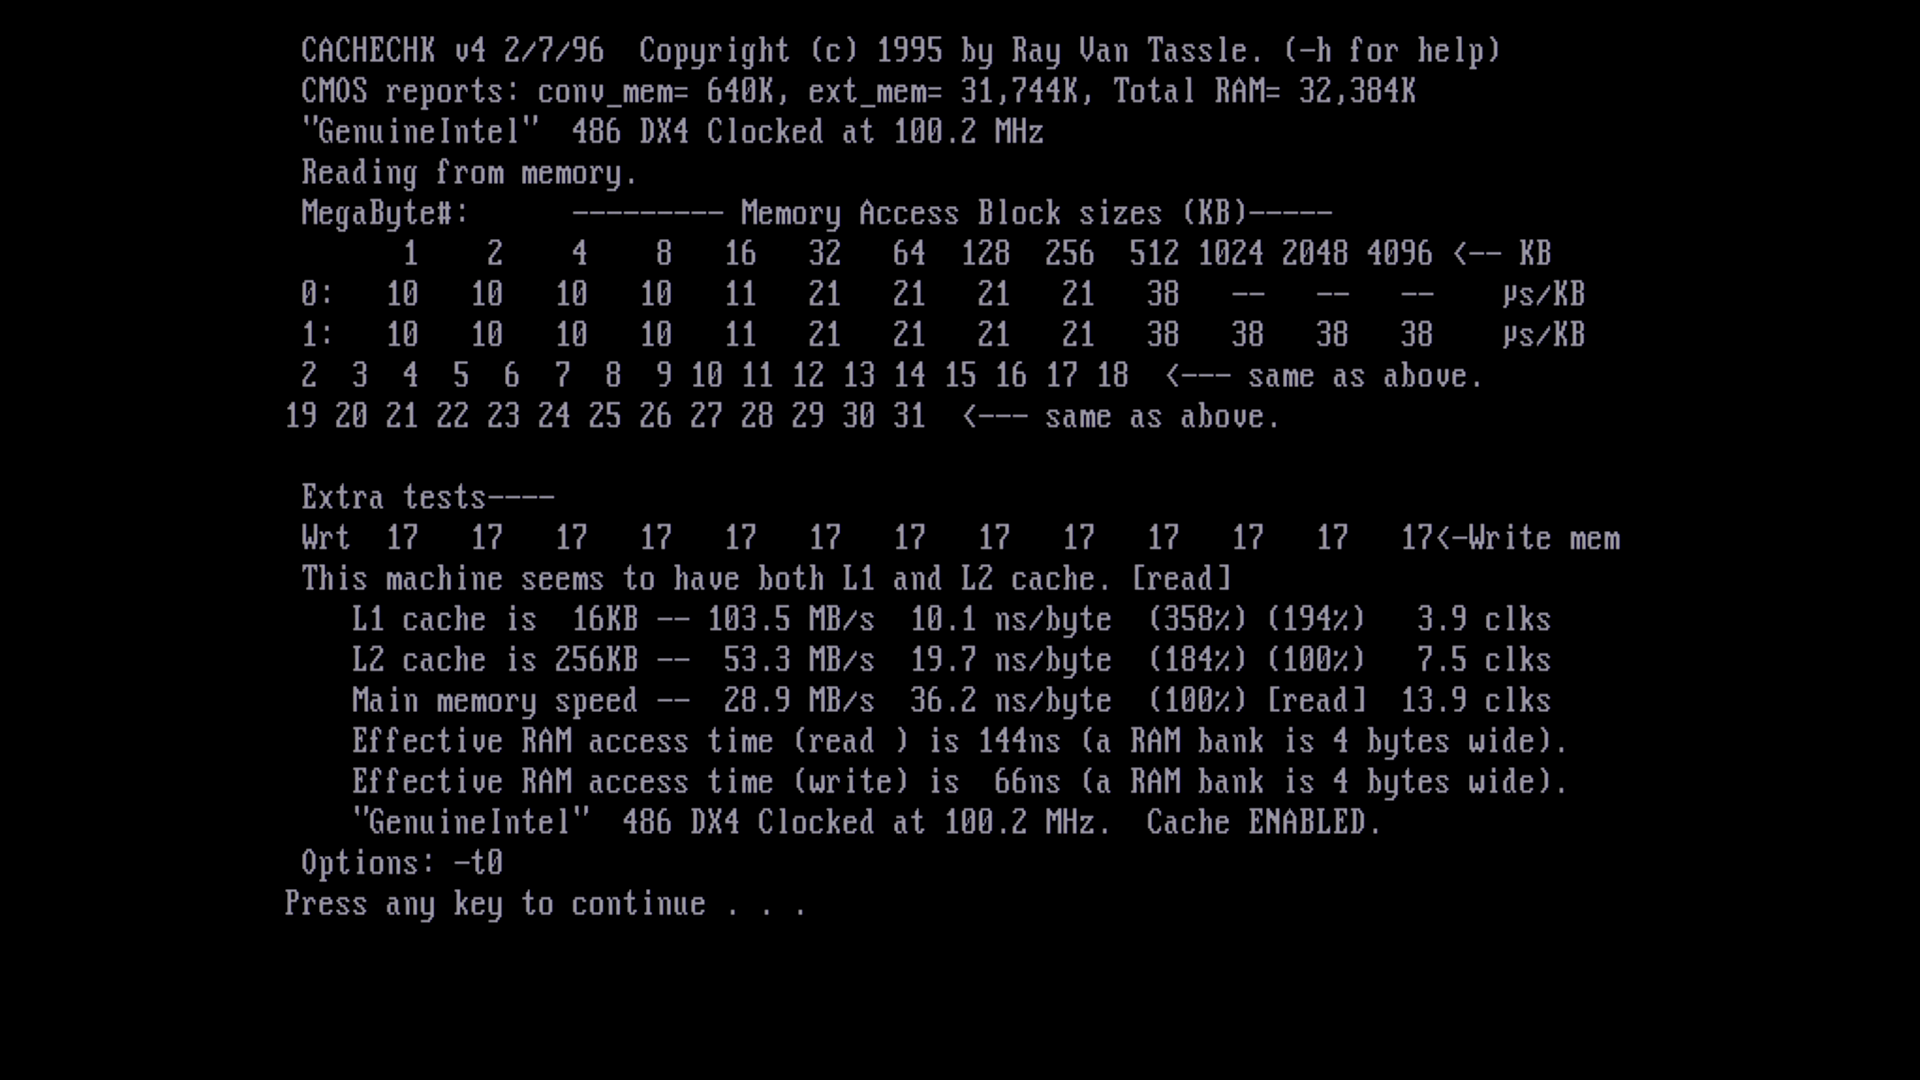
AOpen Vi15G (5v Only, no 3.45v support.) - CPU
Intel 486 Overdrive: DX4 100MHz (DX4ODP100 - SZ957) - MEMORY
2 x 16MB 60ns FPM RAM (32MB total) - CACHE
9 x W24257AK15 (32K x 8 SRAM) chips. (One used as TAG) - STORAGE
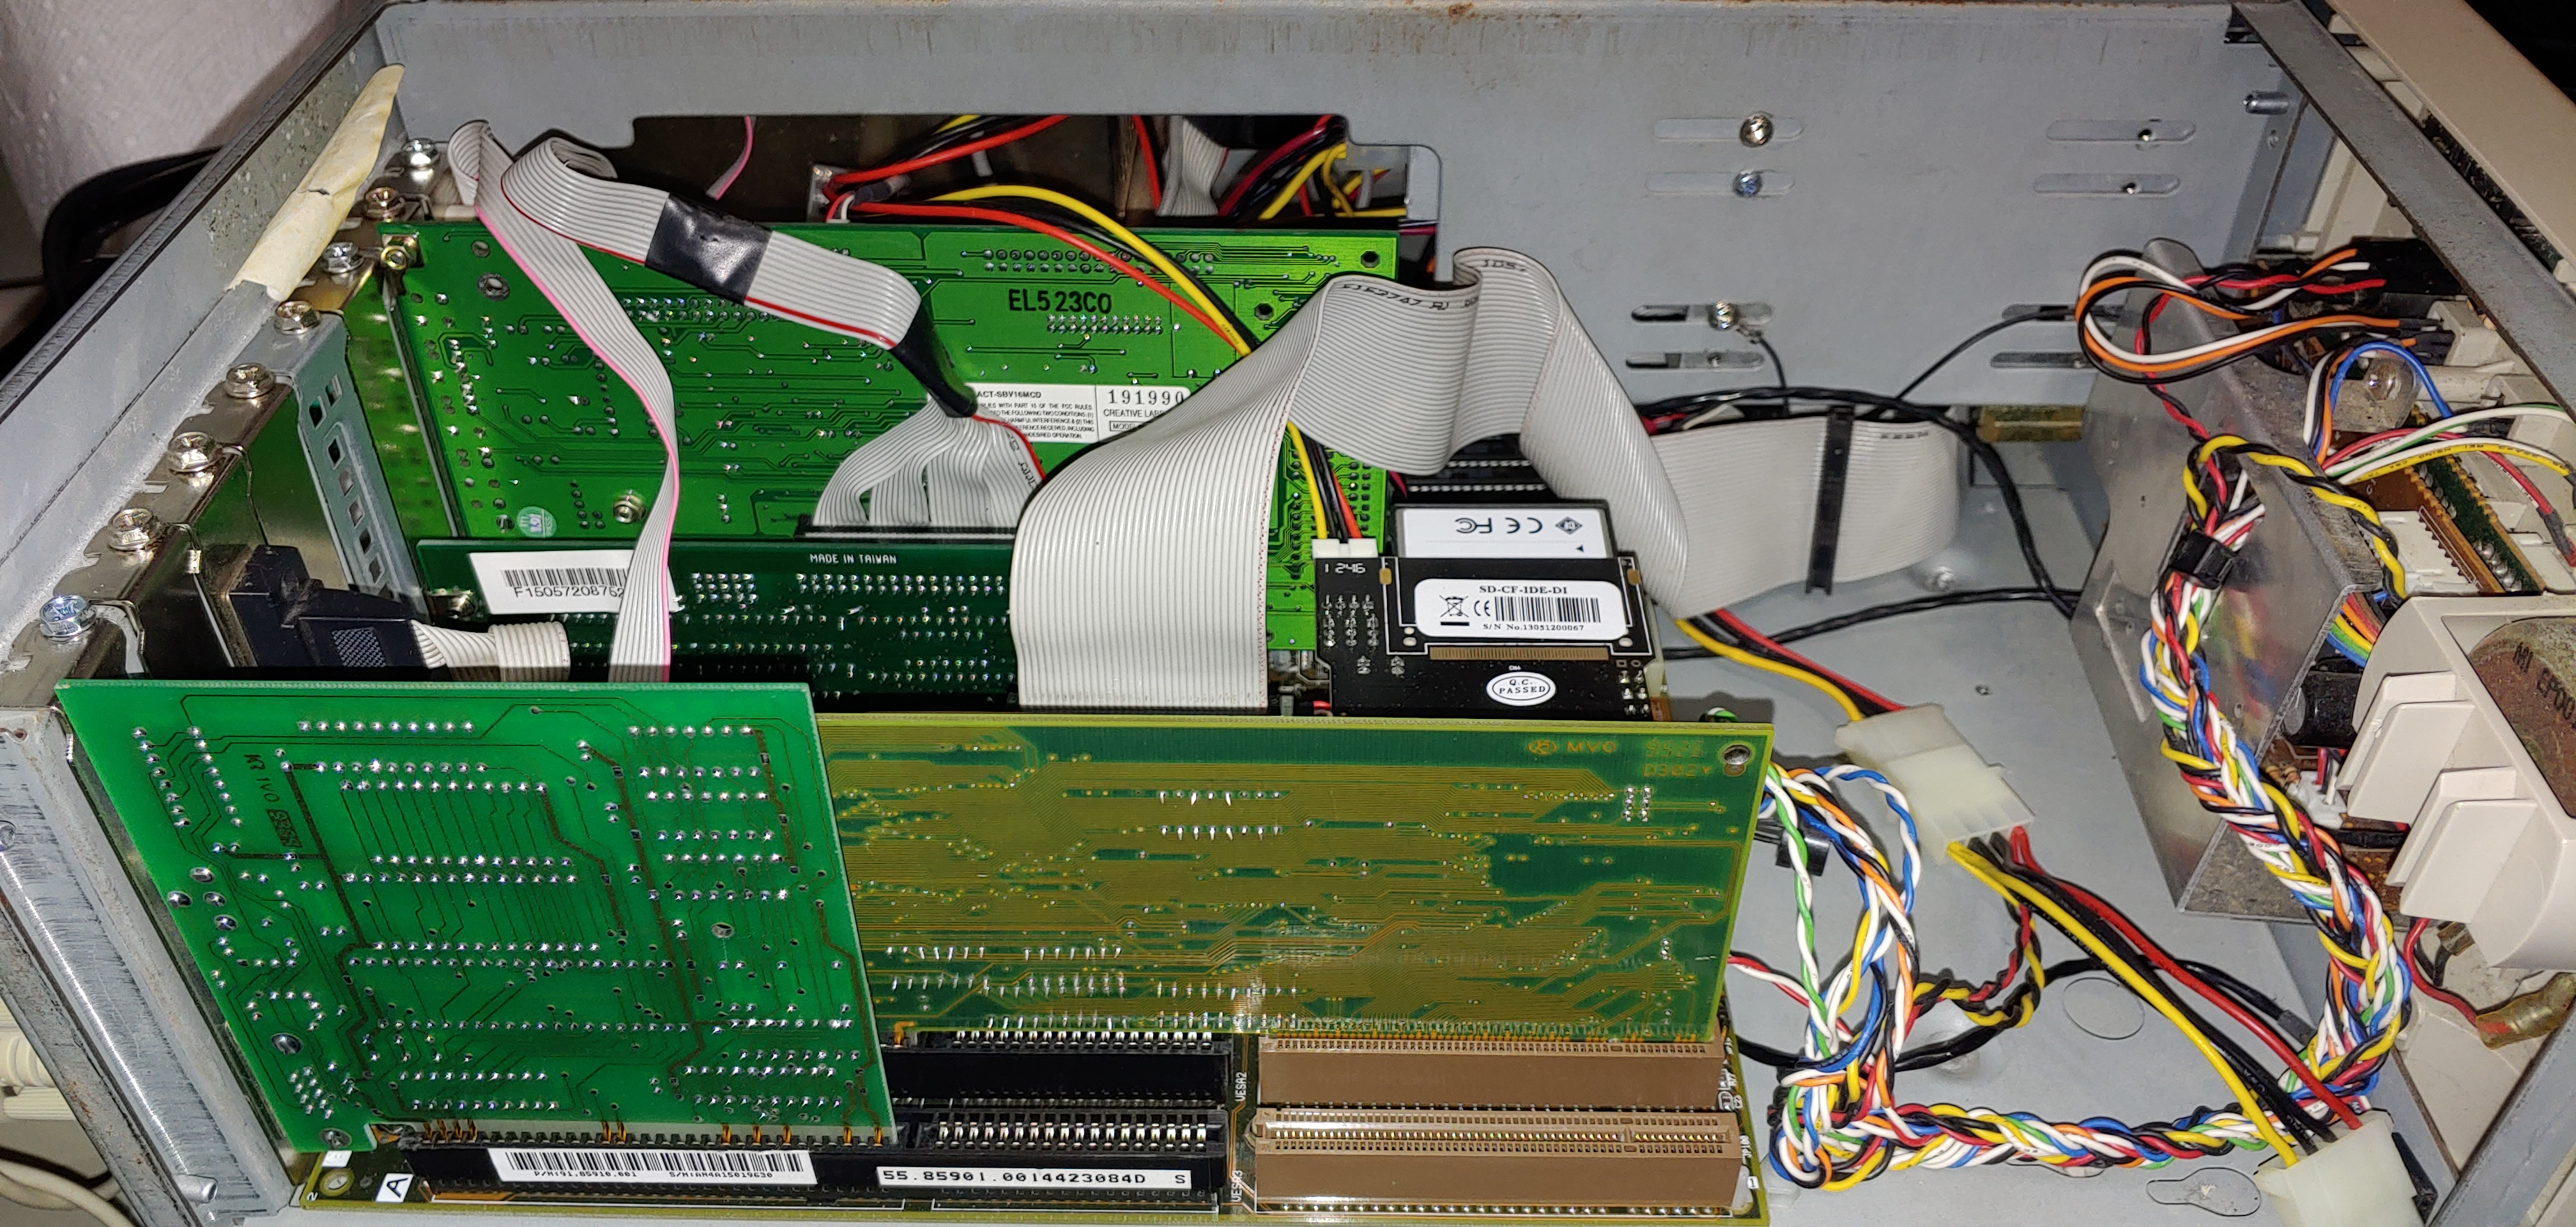
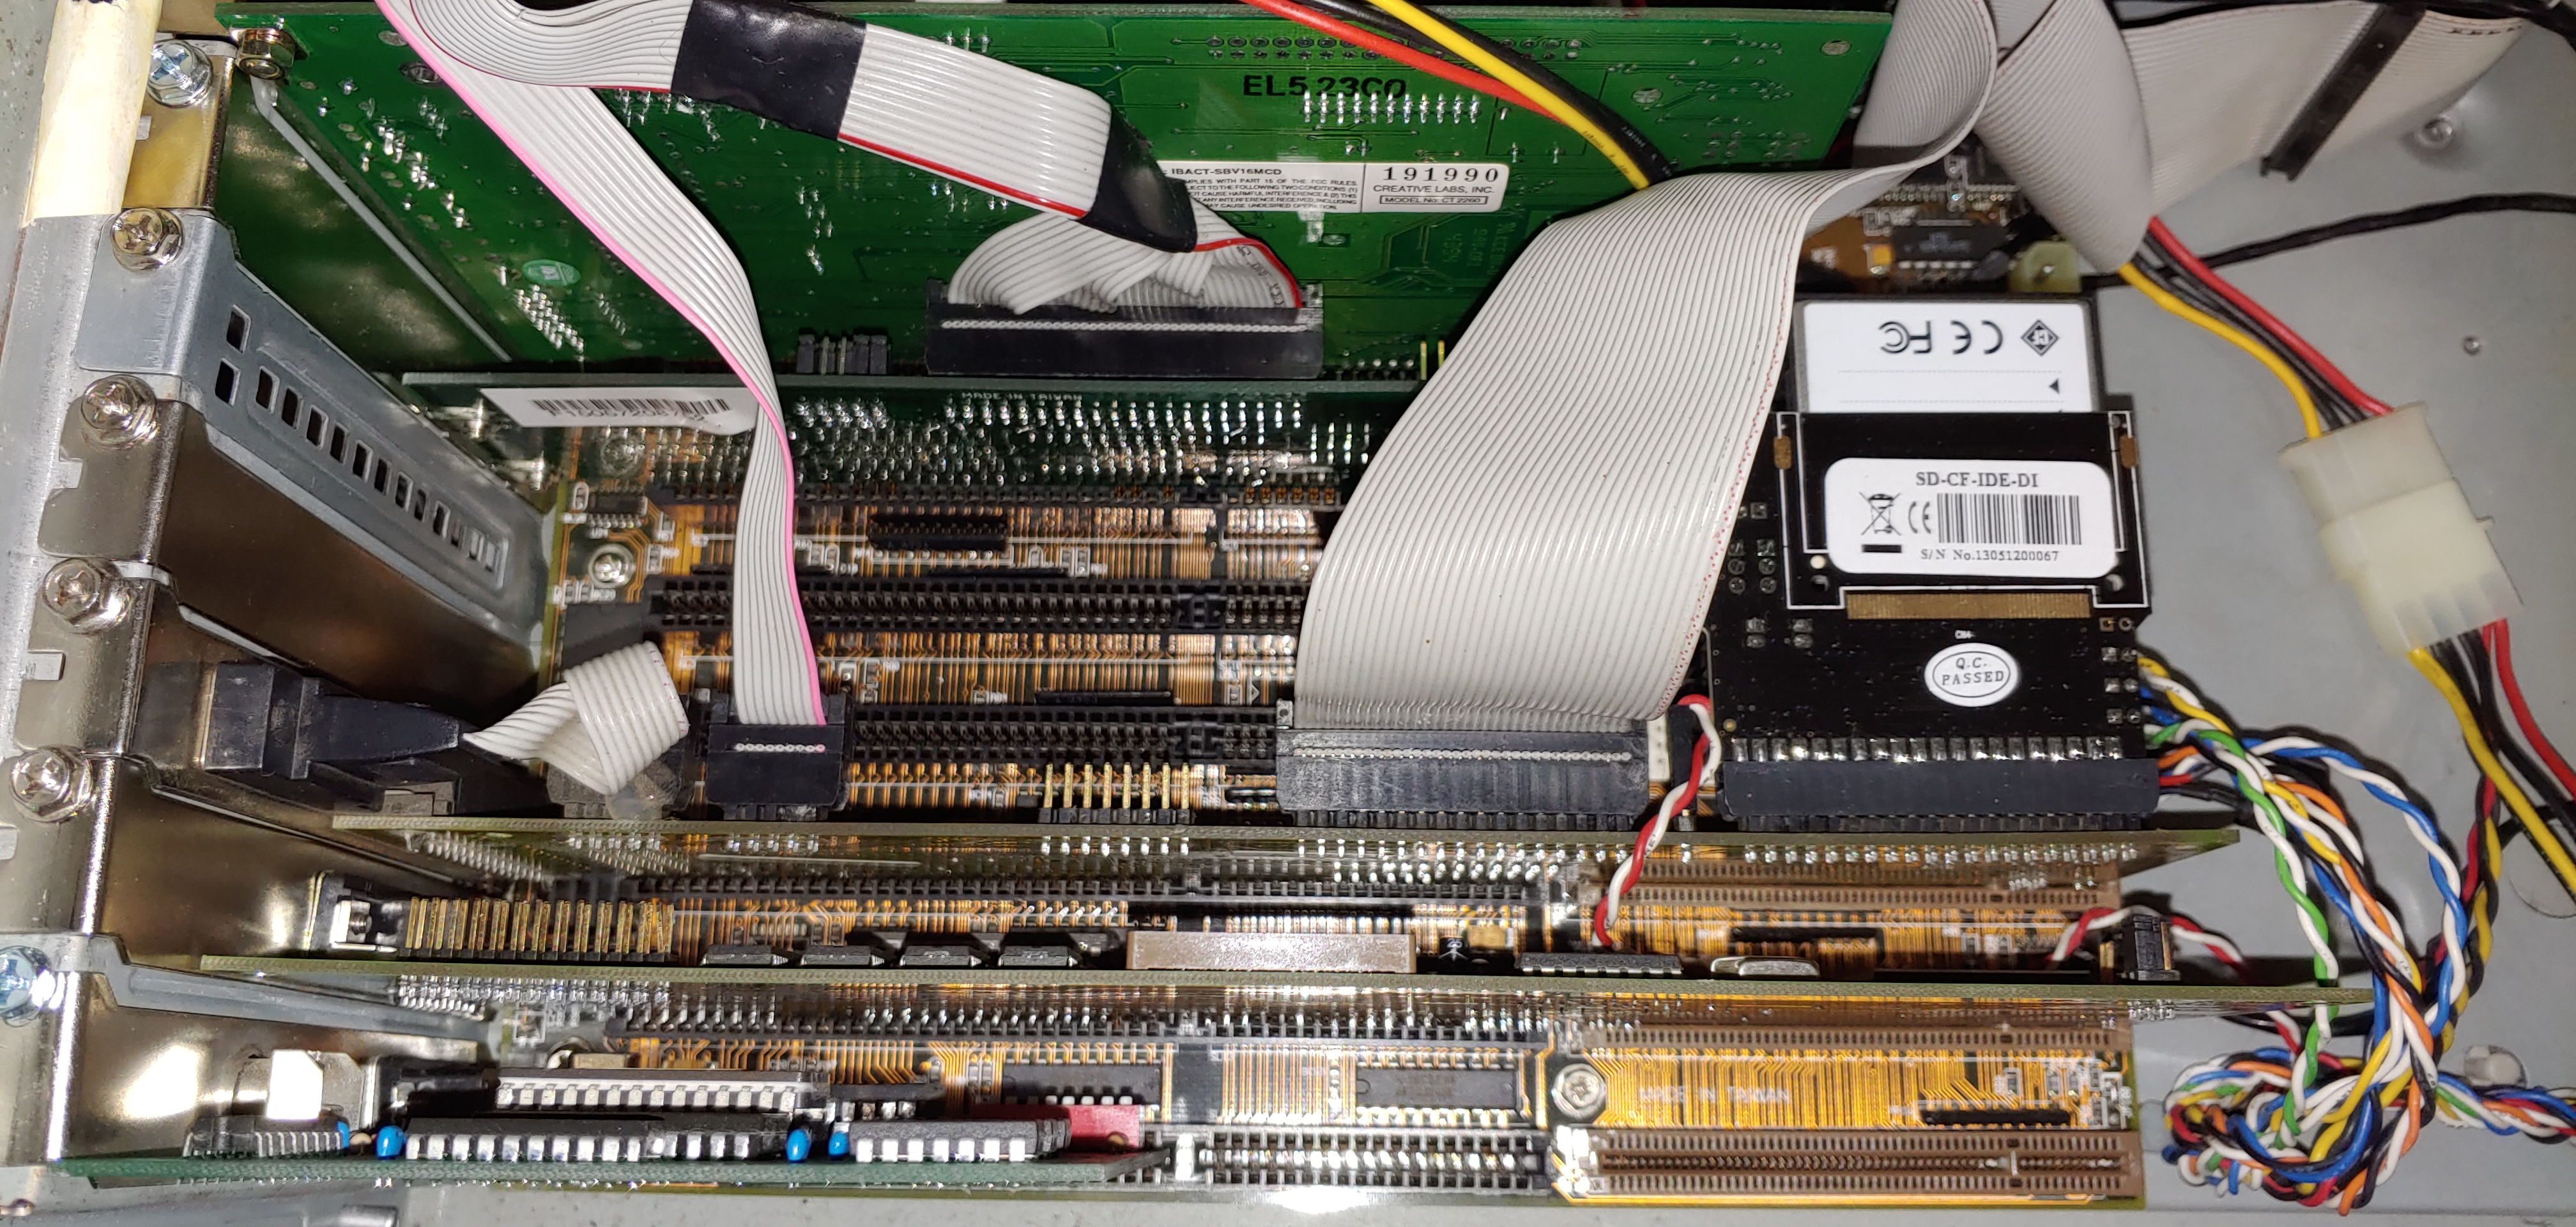
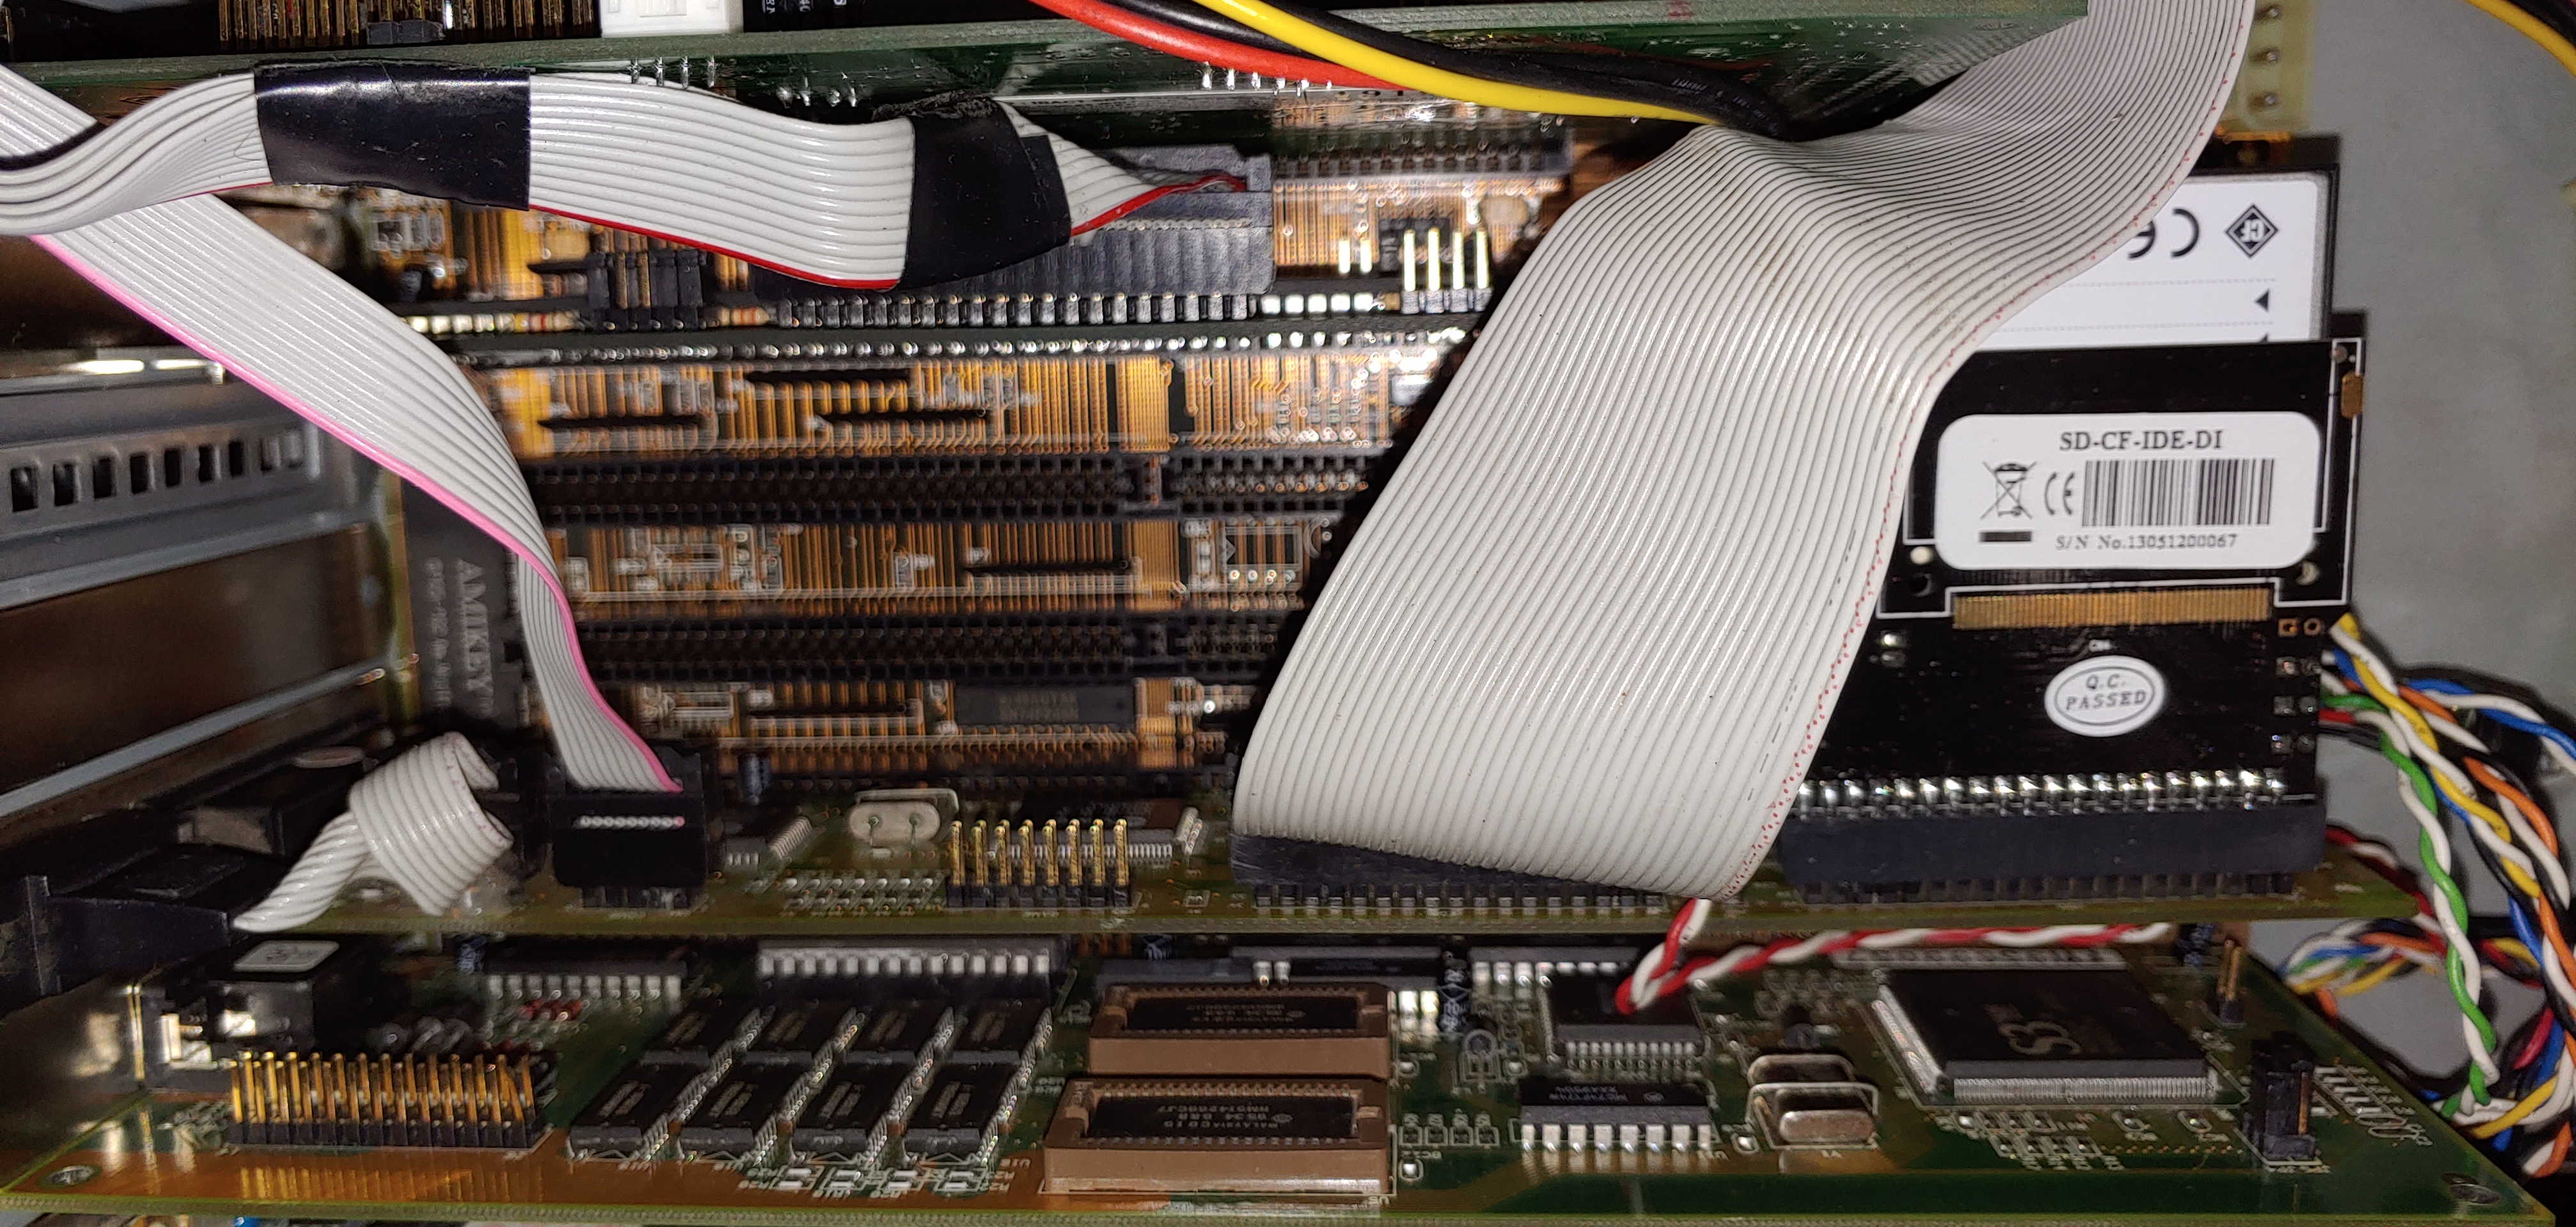
Syba SD-CF-IDE-DI + Transcend 2GB Compact Flash Card - I/O, FDD, & HDD Controller
Some kind of Promise VLB I/O FDD HDD controller, no BIOS onboard like a lot of other PROMISE controllers. - 2nd IDE
Promise EIDE (2nd IDE provided for the CD-ROM) - GRAPHICS
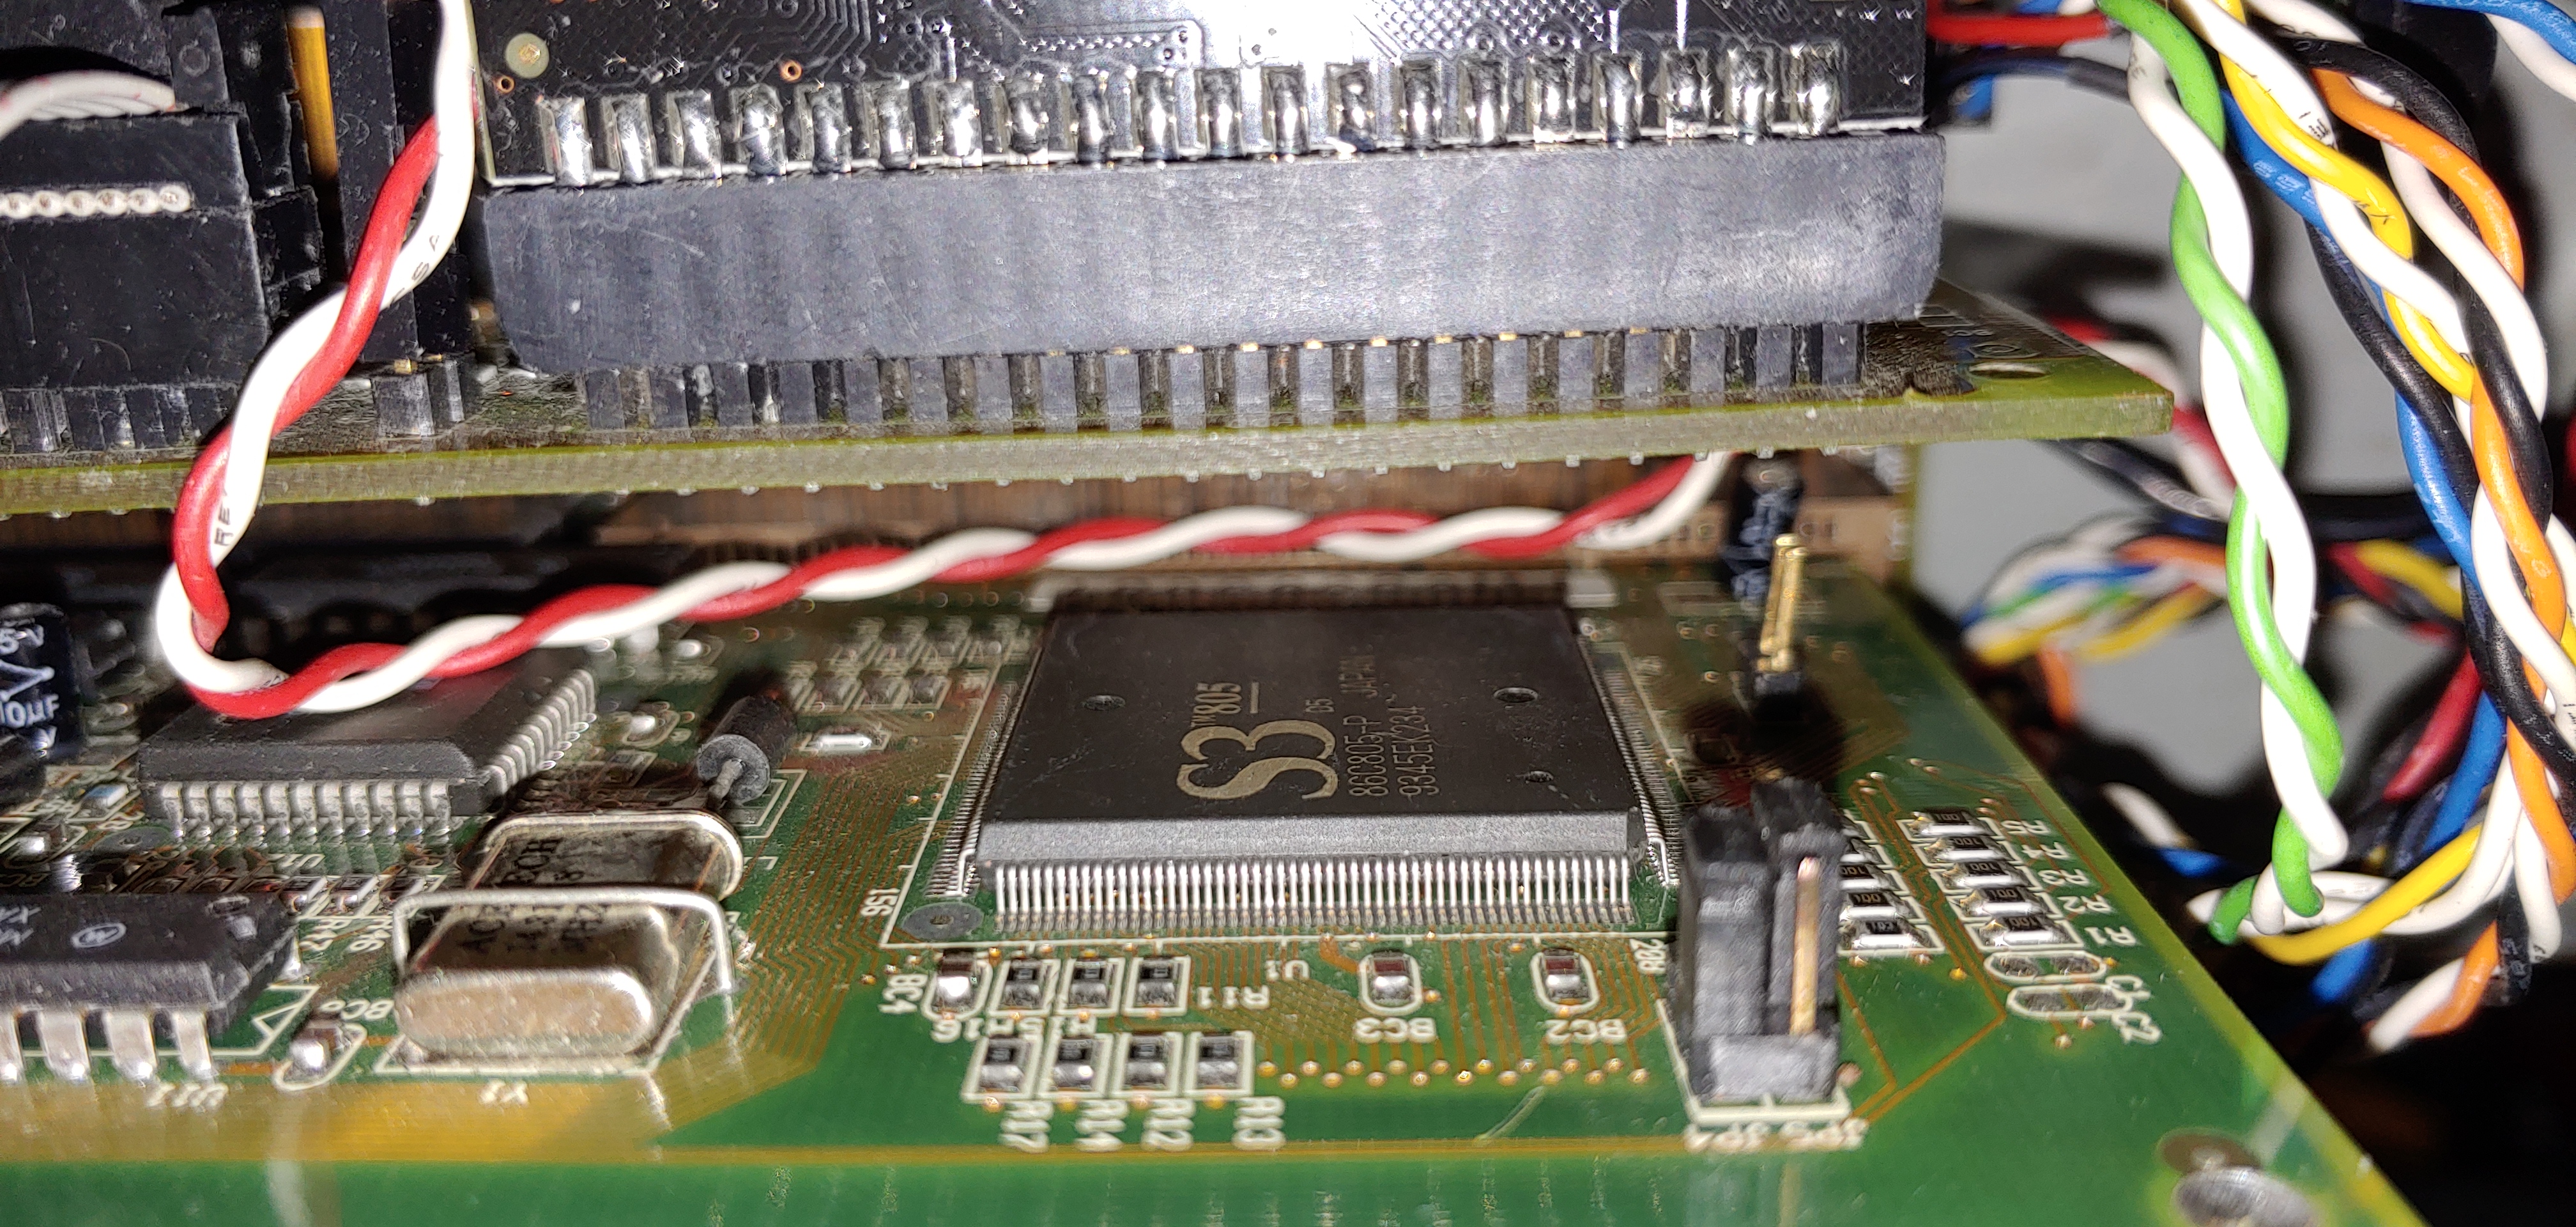
S3 805 (86C805-P) VLB VGA card, 2MB total memory. - SOUND
Creative Vibra 16 CT2260 (For now.)
MIDIMAN MPU401
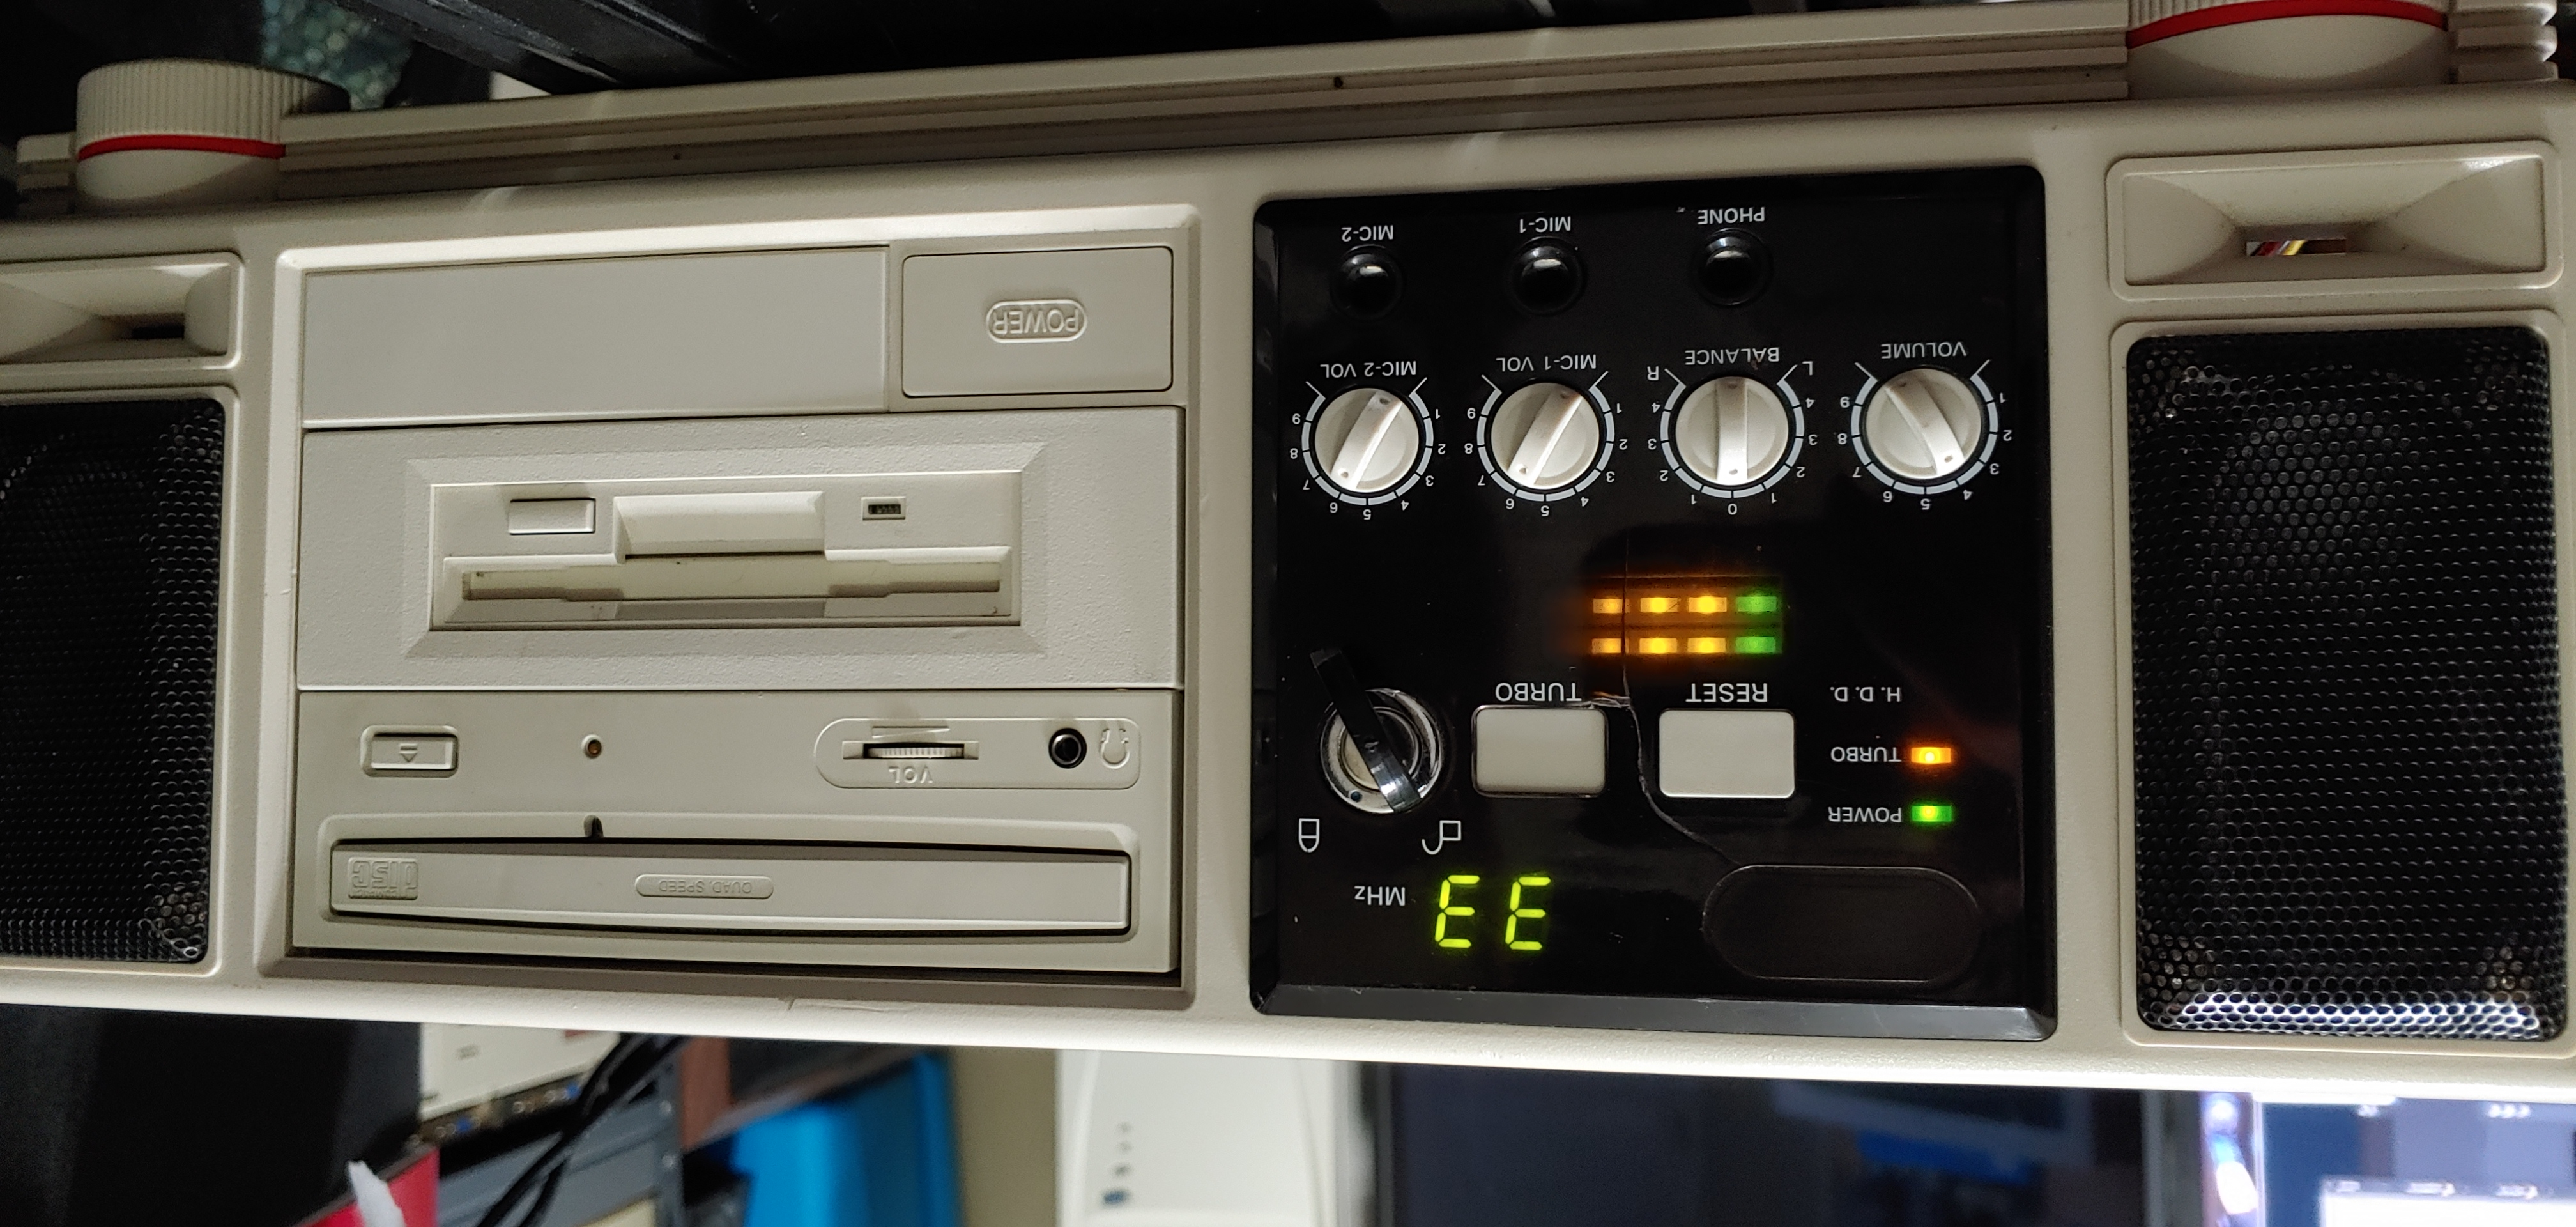
This chassis ended up being my favorite retro computer case ever since I got it, which was roughly back in 2005, if I remember correctly. At one point, between then and that 2014 build thread is when the MHz display either was removed or not connected. I found it and installed it at a later date. It used to have a couple of 3.5mm audio jacks that ran through a small opening near the serial port by the PSU, connected internally to a 3-pin connector for the front of the chassis where the amplifier is located. At some point those disappeared, and I hooked the speakers up directly to an AWE32's MB_PRO header to feed audio from after re-pinning it. Now I'm using a bracket and had adapted the 3.5mm jack from the bracket to have a clean external connection since the current audio card doesn't provide any headers on it.
Audio LED VU Meters in Action:
https://youtu.be/2rnXY3tvLlo
It was a bit of a lengthy process to diagnose issues I had with the system, where I wasn't sure what the deal was/what things were related to. The details in the above spoiler have corrected the reboot issues. The issue that's left is The Adventures of Willy Beamish, the CD-ROM edition (Not the Floppy Disk version). I'll explain below:
This particular issue isn't related to issues where the speed issue/game lockups can happen, though I do have that patch installed. This is like a weird graphical bug where it's like... missing graphics, or graphics isn't updating properly. There's missing credits text in the intro, some missing animations entirely, and some background updating issues.
Recording:
https://www.youtube.com/watch?v=ikW8VbCjEow
To point out a few:
- At 1:57, you can see the background isn't updating like it should, it ends up being where Willy skateboards on the incorrect background before crashing into the school, where you see a small square of that update.
- At 3:03 you can see a scene common between the CD-ROM and Floppy Disk version of this game. Willy daydreaming the Nintari Championship. You can see this scene glitching out graphically. (The Floppy Disk version works perfectly on this same machine.)
- At 8:05 you can see another background issue. Again, no such issue on the Floppy Disk version on this systme.
Attempted Fixes/Tests:
- I've tried running the CD-ROM version directly off the Compact Flash card and the CD-ROM itself.
- I've tried bypassing the Autoexec.bat and System.cfg, I've tried running off a MS-DOS boot disk and loading the game off the CF and CD-ROM. Even a different CF card.
- I've tried the version from GOG.
- I've tried with multiple CPUs. Intel 486DX2, the currently installed Intel 486DX4 OD chip, and even the Intel Pentium OD chip.
- I've tried different RAM combinations.
- I've tried with L1, L2, and L1 + L2 cache disabling combinations.
- I've tried a few different VGA cards. The currently installed S3 805 VLB card, an ATI Mach 32 VLB card, and a Western Digital ISA card...
- I've even tried different I/O, FDD, HDD controller combinations between VLB/ISA, with/without the Promise EIDE I was using for the CD-ROM.
- I've tried optimizing the BIOS settings, no changes here.
- I've tried different Sound Cards.
- I went as far to even try a different PSU. No change.
- With and without the audio driver hack to allow for Roland MT32 in the CD-ROM version. (Especially when running from CD-ROM directly.)
The only component left is basically the motherboard itself...
These issues do not happen on my other 486DX4 system, which has a PCI board. Nor does it happen on my Gateway 2000's EISA based 486 system. I did replicate this issue on another 486 PCI based motherboard though. All of this with the same exact CD-ROM game disc. DOSBox runs the game without issues as well. I'm extremely baffled by this.
Does anyone have any idea what's going on? The only theory one of my friends can think of is motherboard chipset compatibility at this point.
As for other games, Descent works beautifully well, both I and II. Duke Nukem 3D works well after figuring out the issues I had were related to the audio card using high sample rate + MPU401.
Write issues I had apparently were never HDD controller related, but either a bad ribbon cable or too long of a ribbon cable for the CF to IDE adapter. Since I used a direct connect adapter, things have been working rather well.
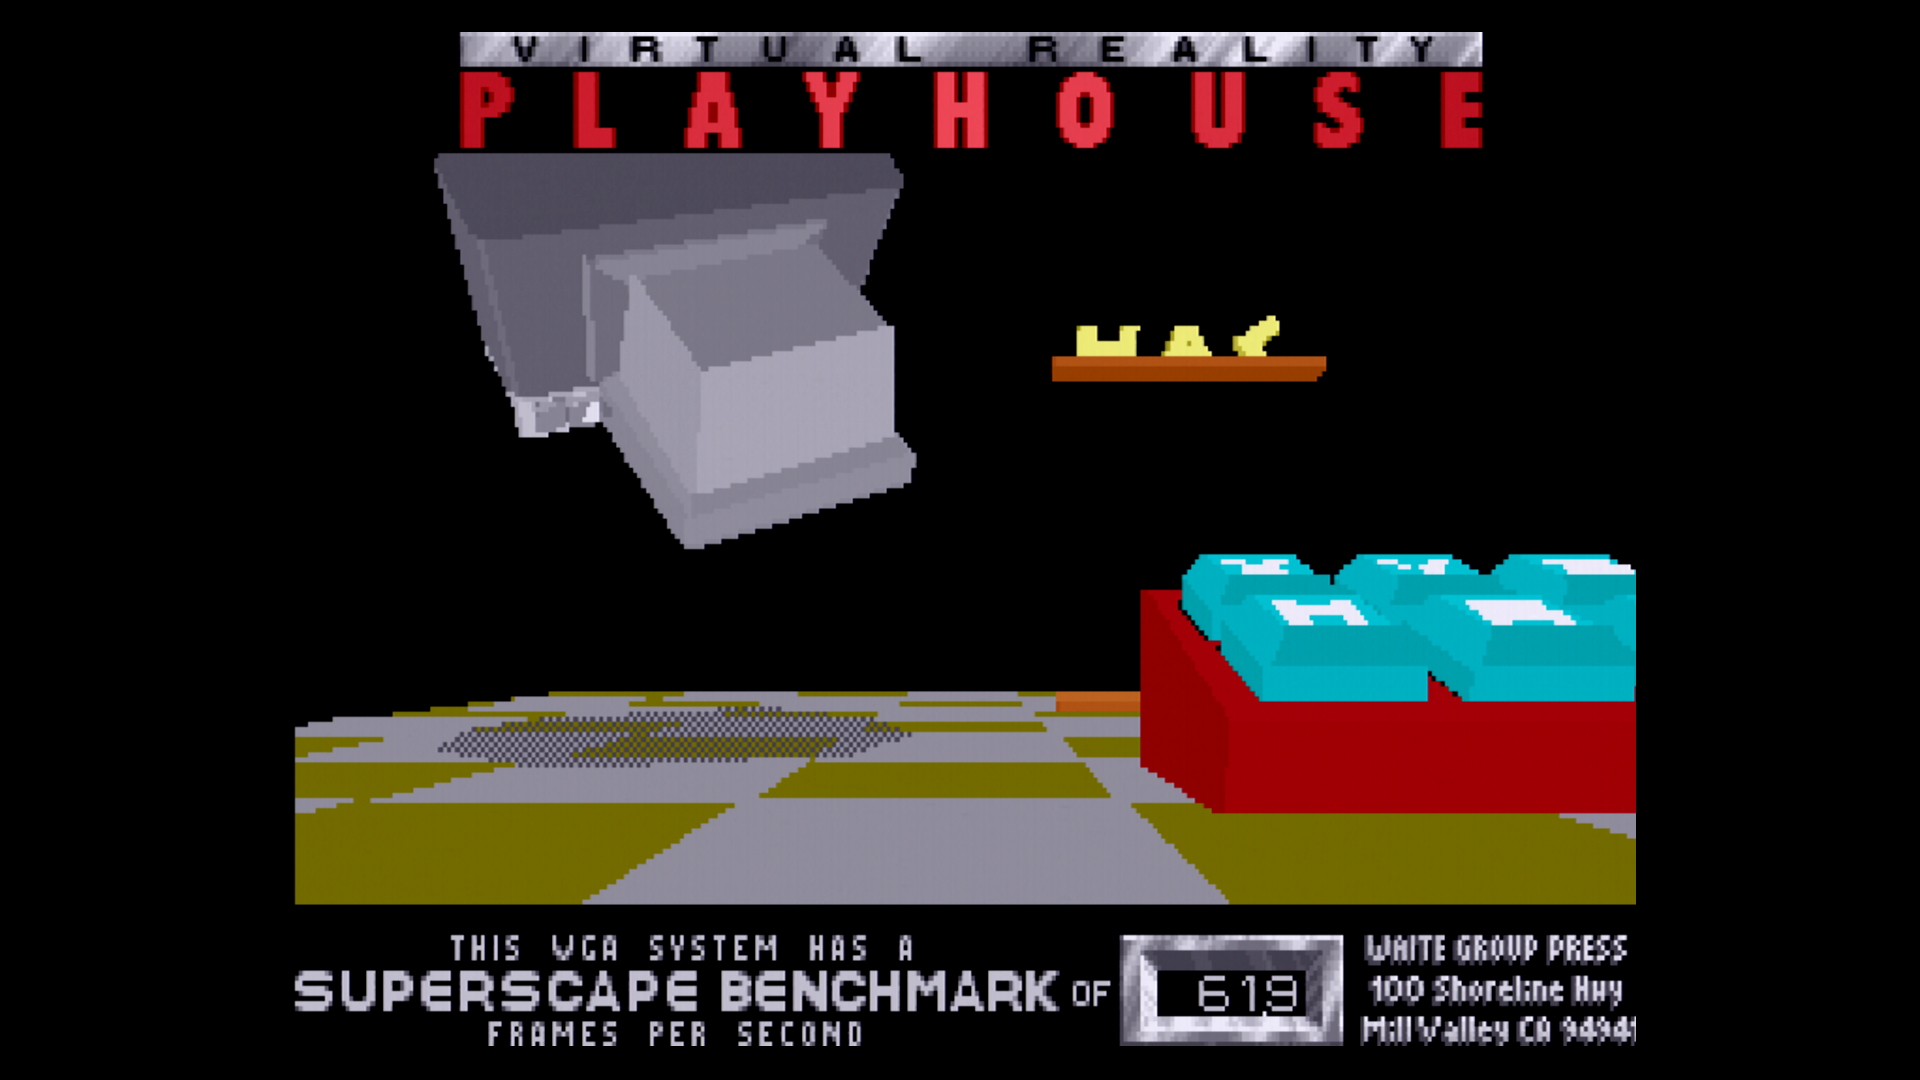
One of the neat utilities I've found out about, called The Draw, I used to help make my own custom 'main/welcome' screen. I also found out about LaunchBox for MS-DOS here on Vogons and ended up liking it. This was a fun little project:
https://youtu.be/NKT4XjD8sgU
Plans for this machine:
- Replace the aging capacitors on the PSU for obvious reasons.
- Get the Orpheus Soundcard, I really would like the features it offers.
- Get some shorter IDE cables so I can have the CF to IDE brackets installed on the back for easier access.