First post, by DonutKing

- Rank
- Oldbie
After a bit of fiddling around and scrounging for parts I've finally got a working dos box 😀
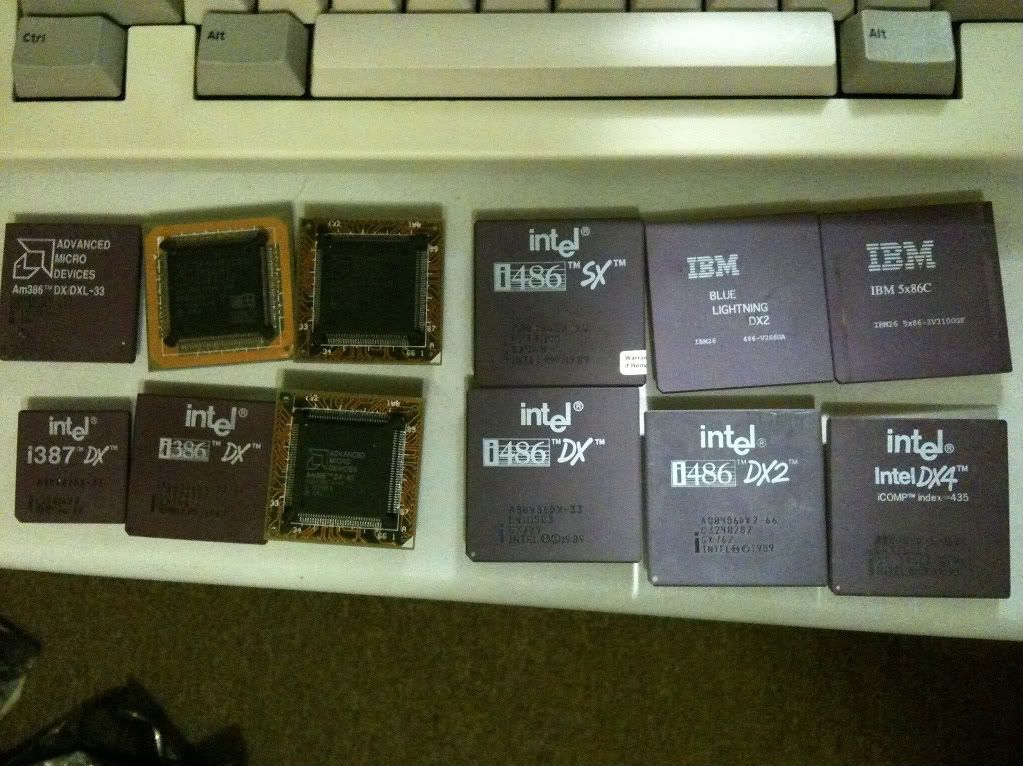
I decided to go for a 486DX2. The 486 is interesting for a couple of reasons- the 486DX was the first Intel CPU to include a maths coprocessor (aka Floating Point Unit) inside the CPU. The 486SX did not include the maths coprocessor, (or it was there but disabled) which was its only difference.
The 486DX2 was also the first Intel CPU to be clock multipled- that is, running at a multiple of the speed of the motherboard. In the case of the DX2 it was double, for the DX4 it was triple (just to be confusing). modern processors often run at 10x-20x clock multiples.
The 486 also included 8kb of on-die L1 cache; another first for Intel processors. (The DX4 upped this to 16kb). This was in addition to the cache that was installed on the motherboard- a practice that became popular with the 386. This motherboard cache became L2 cache, and has basically disappeared since the days of the Pentium Pro and Pentium 2 which included L2 cache in the processor, as has nearly all modern processors since.
There were also a variety of processors you could run in a 486 board- Cyrix and AMD both had their 486 variants but there were also 586 processors available at speeds up to 133MHz. Early 486 CPU's ran at 5 volts and later ones, especially 586's ran around 3.3 volts so you had to get a voltage regulator if your motherboard didn't support it. You could even get Pentium Overdrive processors to fit in your 486 board, some of which included voltage regulators so they'd fit in older 5v only boards.
Finally, there was the VESA Local Bus (VLB), a type of expansion card slot that was pretty much exclusive to the 486 (There were apparently some Pentium boards that supported VLB but were quite rare- VLB lost popularity to the PCI bus around the time the Pentium became common). The VLB slot is a standard 16bit ISA slot with what looks like a PCI conector on the end; this made for very long expansion cards. (Not as long as full-length cards from the eighties though). VLB didn't like going above 33-40MHz which was probably one of the driving factors behind the clock-multipled CPU's like the DX2.
Anyway, on to the build. I had a few boxes of parts in my shed but I was missing some important parts- mainly a case and motherboard.
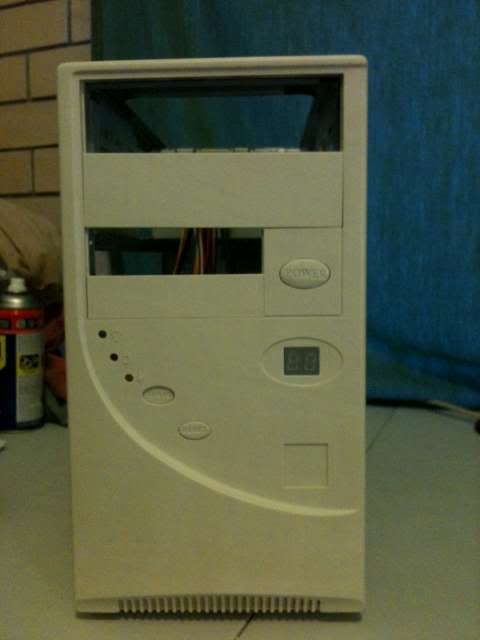
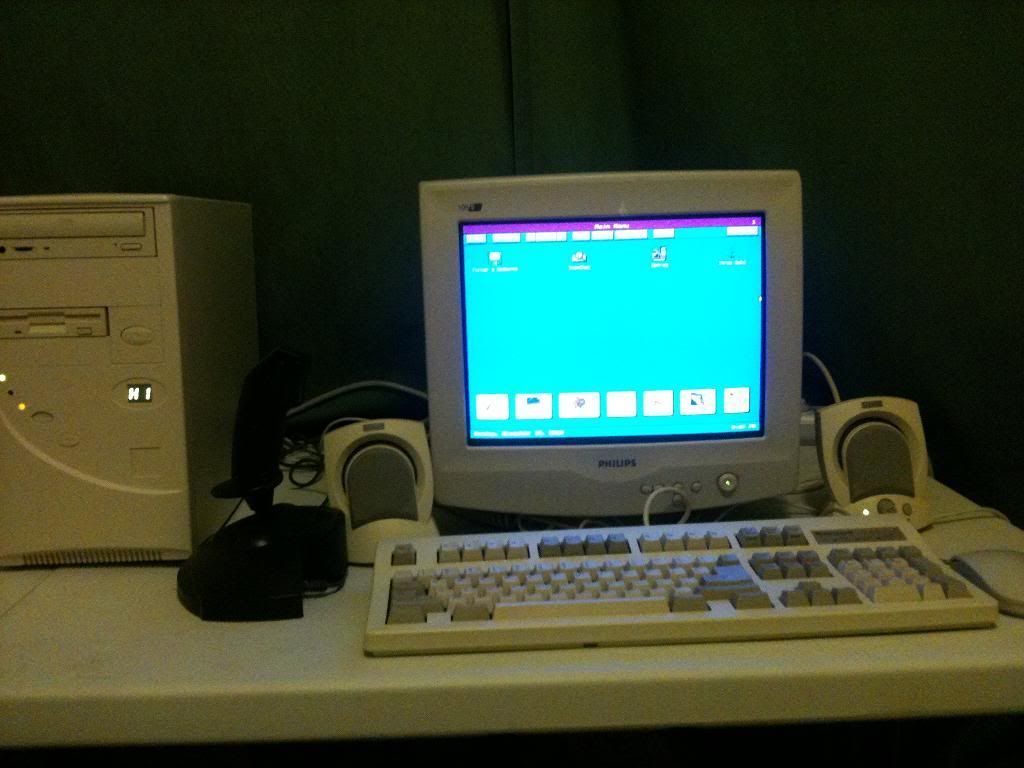
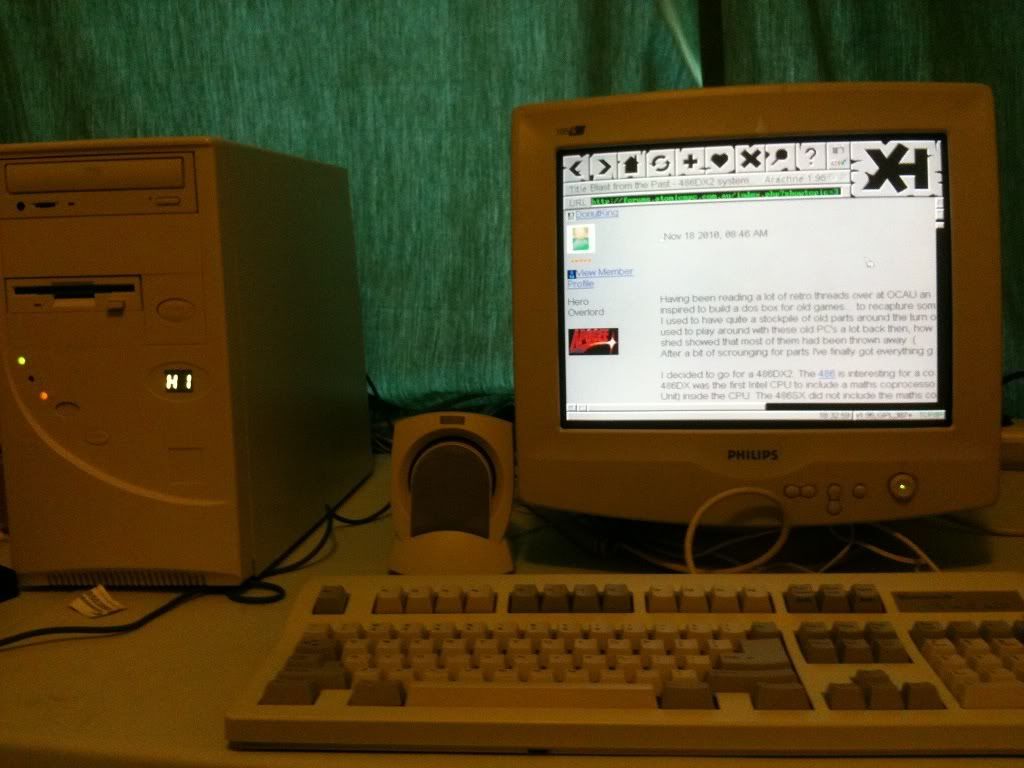
Fortunately the local tip shop had a few AT machines for about $5 each; this one was in exceptional condition so I chose it to house my system. A quick cleanup and it was almost like new:
Opened the PSU and gave it a quick cleanup too, wasn't too dirty for its age. Checked all the voltages with a multimeter and everything seemed ok.
Now I needed to track down a VLB motherboard- luckily I found a Shuttle HOT407 on Ebay, unused, still in original packaging, for about $25. Also had 256kb of onboard cache, in sockets (This is important because fake cache boards were common in this era; the general rule of thumb is if the chips are soldered rather than socketed, and they say WRITE BACK or similiar in big letters on the chips, they are usually fake).
Snapped that board up and within 2 weeks I had it in my hot little hands:
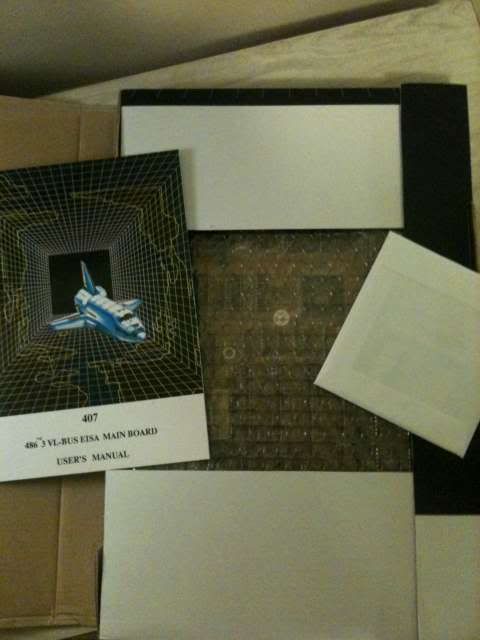
This is what you get when you buy a new 486 motherboard- bundle is a bit tight compared to todays boards 🤣 A manual and a utility floppy disk.
I eagerly stuffed a processor and a couple of sticks of 72-pin RAM into the board. Hit the power and.... nothing. Damn. Dead board? Its possible, if its been sitting in a box on a shelf for 15 years I guess. Quick check of the manual and they said they supported 36 bit wide SIMMs. Something clicked and I remembered that means parity- basically the precursor to modern ECC RAM. So this board needed parity SIMMs. I had a stack here to go through but the general rule of thumb is an odd number of chips on each stick- because a byte has an even number of bits, and 72-pin SIMMs were 32 bits wide (4 bytes), while parity added an extra bit to each byte making 36 bits wide. Non-parity SIMMs would usually have 2, 4 or 8 chips to hold the data and Parity SIMMs would have one extra chip to calculate the parity bit for each byte of data.
Anyway, once I found a pair of parity SIMMs the board booted without issue.
Except that the CMOS battery was dead- fair enough for a 15 year old battery.
It was one of those barrel batteries that was soldered to the board. Luckily it hadn't leaked or corroded anything so I could simply remove it, and plug in an external battery and all should be well.
So I whipped out the soldering iron and pulled off the old battery:
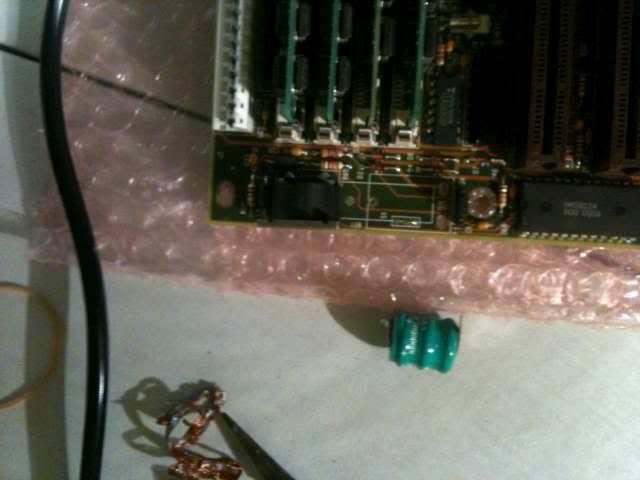
Plugged in an external battery pack from Jaycar and it was happy 😀
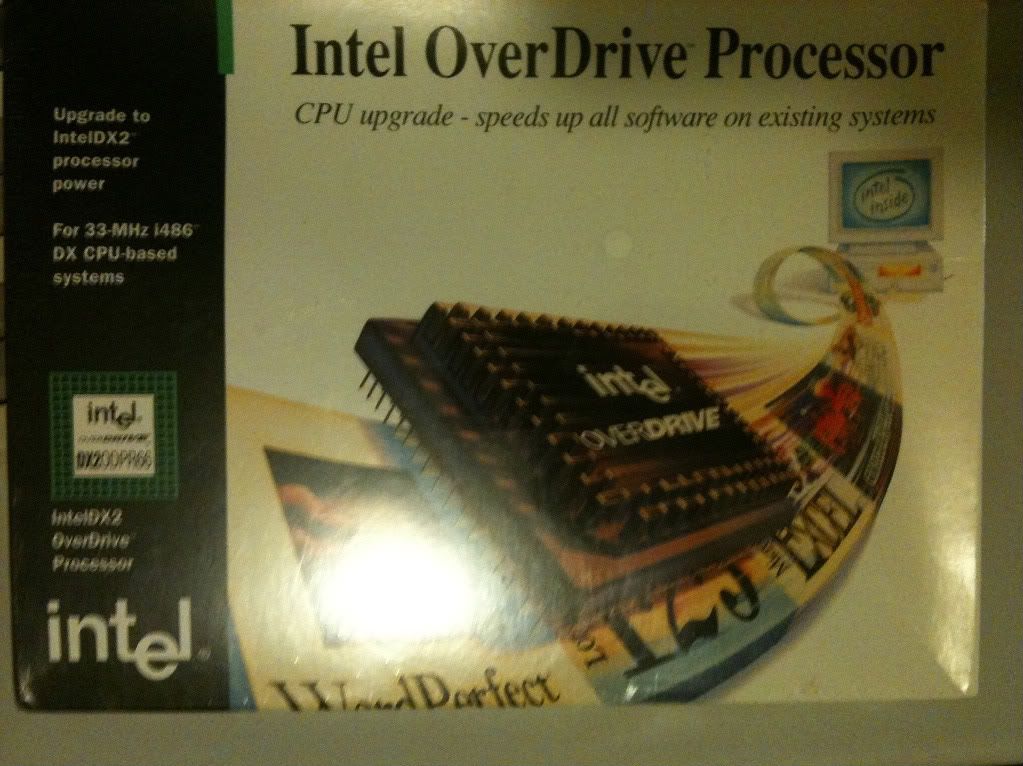
At this point I swapped from the standard DX2 to the overdrive model, purely because it had an integrated heatsink and the CPU was getting very hot to the touch:
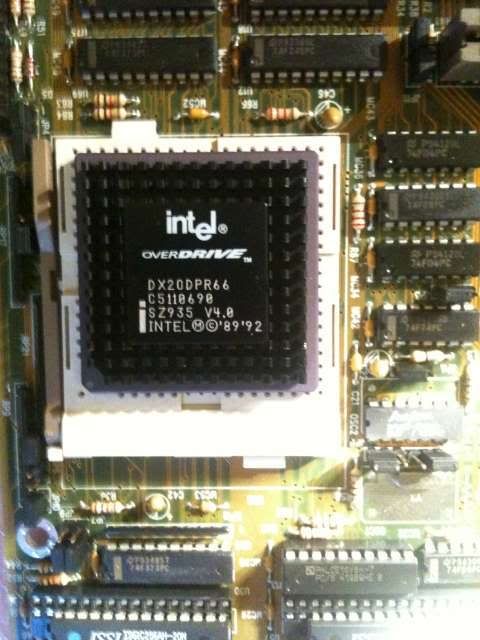
As far as I'm aware, the DX2 Overdrive is identical to the standard DX2, (apart from the heatsink) but all the retail boxed DX2 CPU's were Overdrive models.
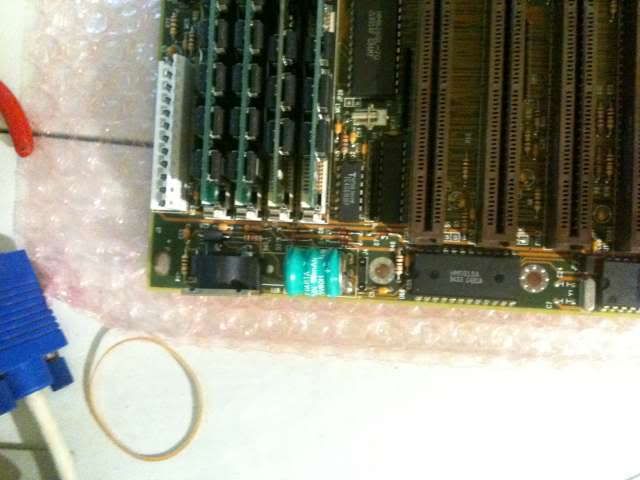
Now for other components. I had a box of VLB cards and I had to go through a few before I decided which ones to use.
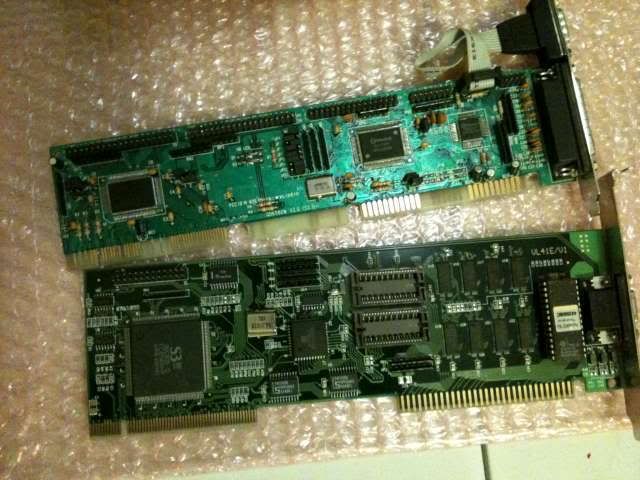
The top card is a Winbond IDE/IO controller card. I had to go through about 6 of these before finding one that worked properly. One would read the hard disk but would fall over as soon as you tried to write to it...
This particular one worked fine, and even had the jumper settings silkscreened on the back. 😀
The bottom card is an S3 805 video card. In my testing with 3dbench and PCPBench this card was one of the fastest that I had compared to various Cirrus Logic and WDC cards. Notice the empty sockets on the card; back then you could upgrade your video card's memory instead of buying a whole new card. This one already included a whopping 1MB which was fine for my purposes.
Now a sound card- a Creative Sound Blaster 16

This one is an ealier, non- PnP model so its IRQ/DMA settings are configured by jumpers rather than software- which is what I preferred as I wasn't going to need to fiddle with it once its installed. It also means less software to load when your computer boots.
Notice the connector on the left edge- its a proprietary interface for a Sony CD ROM drive. Because CDROM drives used the IDE standard you needed a CDROM controller card to connect them to. Often different companies had different interfaces which were incompatible with each other. This one has a few less pins than an IDE connector too. Often, sound cards would include a CDROM controller onboard- you could get them for different CDROM drives- Sony, Panasonic, Mitsumi etc. There were also sound cards with SCSI controllers on them too. Luckily I had an IDE CDROM drive so I wasn't too worried about that.
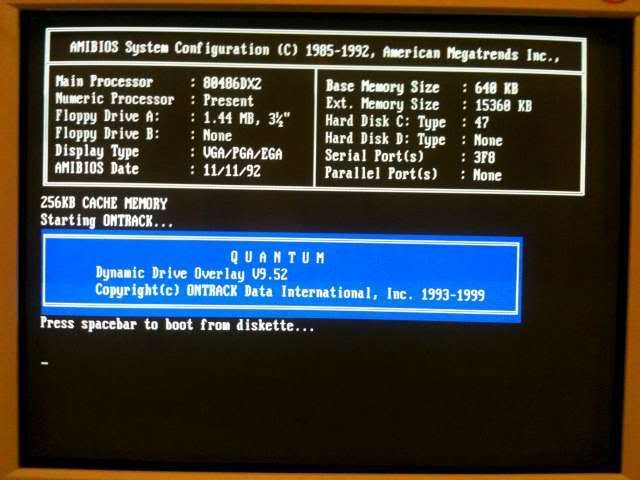
On to the hard drive. I stuck in an old Quantum Fireball 1.2GB drive I had. A little anachronistic but it would allow plenty of space for the games 😀 I had a 486 back in the day that came with a 200mb drive, which we upgraded to a 1GB drive a few years later so its not impossible.
However, this machine wouldn't recognise any more than 504MB of space- basically a limitation of the CHS addressing scheme that the BIOS and drive use to store and retrieve data on the disk. So I tracked down a copy of Quantum Disk Manager which included Dynamic Drive Overlay software- basically, a software solution that translates the addressing scheme so you can access the full capacity of the drive. Its installed to the MBR of the hard disk, and loads before the operating system starts:
Now that everything is sorted out its time to put the thing together:
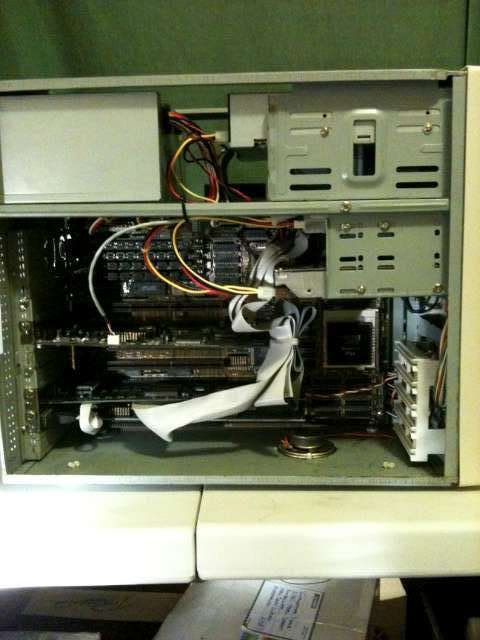
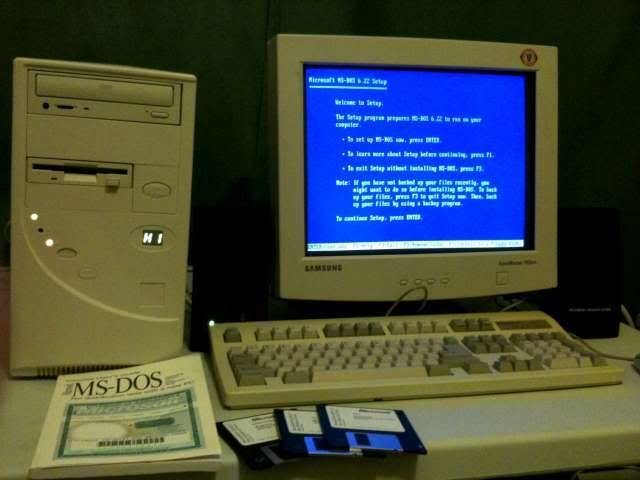
Everything connected and good to go 😀 Now to install an operating system- so I dug out my old MSDOS 6.22 disks and off we went:
Install went without a hitch. Now the fun part, installing all the drivers and software. First thing I did to make things easier, was to install the XTreeGold file manager program:
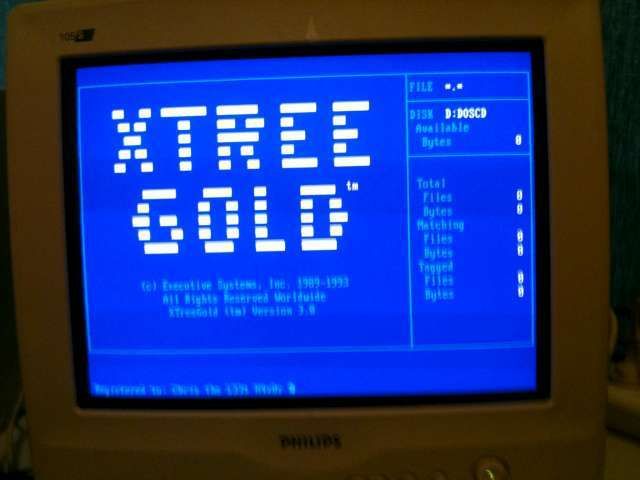
This was far superior to DOS Shell or Win3.1's file manager back in the day.
I talked about config.sys/autoexec.bat setup in a previous thread so I won't repeat it here, but basically I just loaded everything high, used the EMM386 switches mentioned in that thread and set it to AUTO mode, and used VIDE_CDD.sys for my CDROM driver. I was going to use UIDEJR.SYS but I had an issue in Return to Zork where it would just lock up when trying to play CD music, the VIDE_CDD.sys driver didn't have that issue and was still under 7kb when loaded. The official Sony CDROM driver for my drive was nearly 30kb so this new driver is a vast improvement. I didn't end up using DOSMAX, QEMM, or any other fancy memory managers, because I still had 617kb conventional memory free.
By setting EMM386 to AUTO and having 16mb of memory to play with, I can basically run any DOS game I come across without using a boot configuration menu. So you can play any game without rebooting, or knowing which config you need to choose- a great step for usability in my view. The ONLY game I've had trouble with is Ultima 7 which has a funny memory manager that clashes with EMM386 so I just use a boot disk for that.
Anyway, everything was chugging along so I decided its time to actually play on this thing and dug out my original copy of Sam and Max
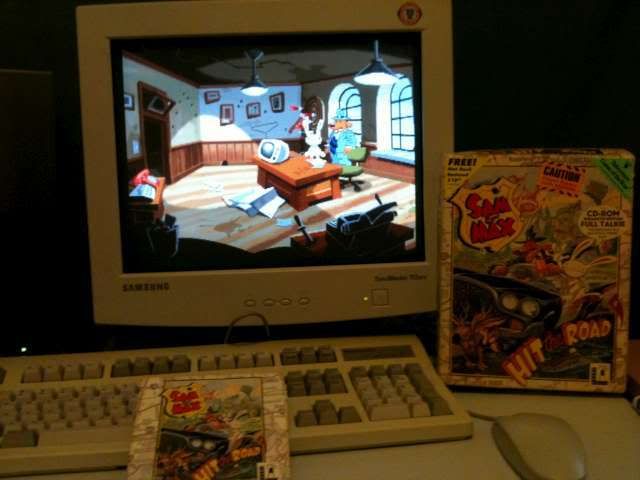
This thing cost me $110 back in 93/94... still remember saving up for it for ages 🤣
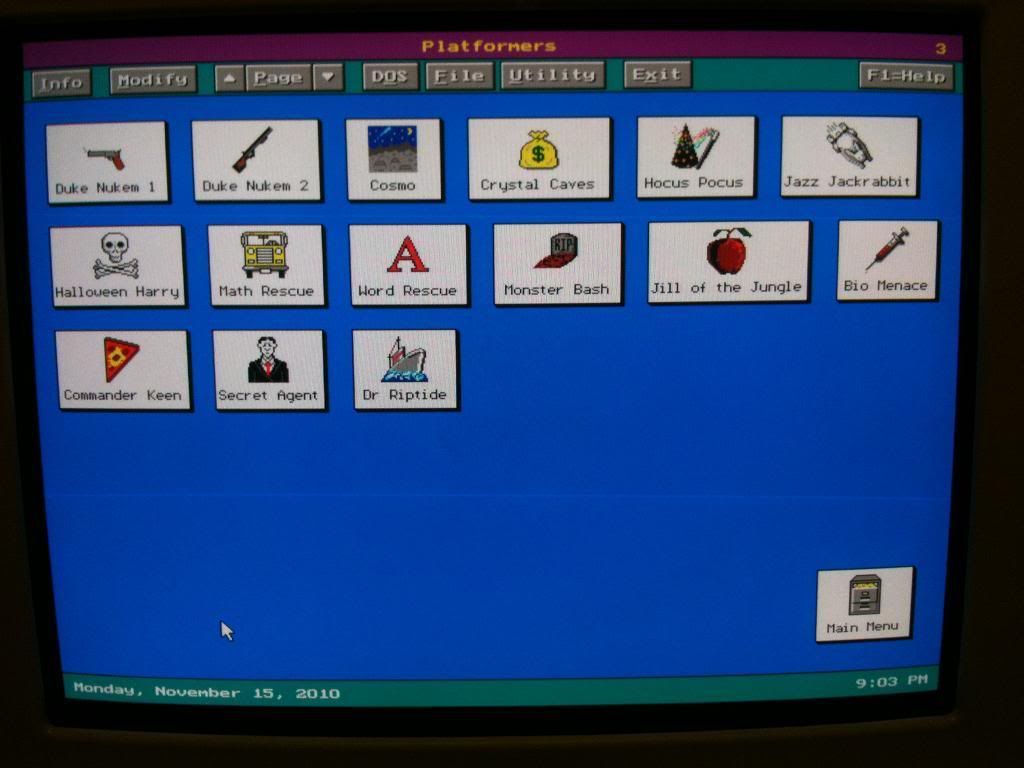
Anyway, next step was to install QuikMenu 3 - I had this menu program installed on my 486 back in the day and it was an excellent little utility, and it seemed to unload itself when launching a game so you never had problems with memory usage. It was also much simpler to install, configure and use than Win 3.1
Here's a screenshot of Quikmenu:
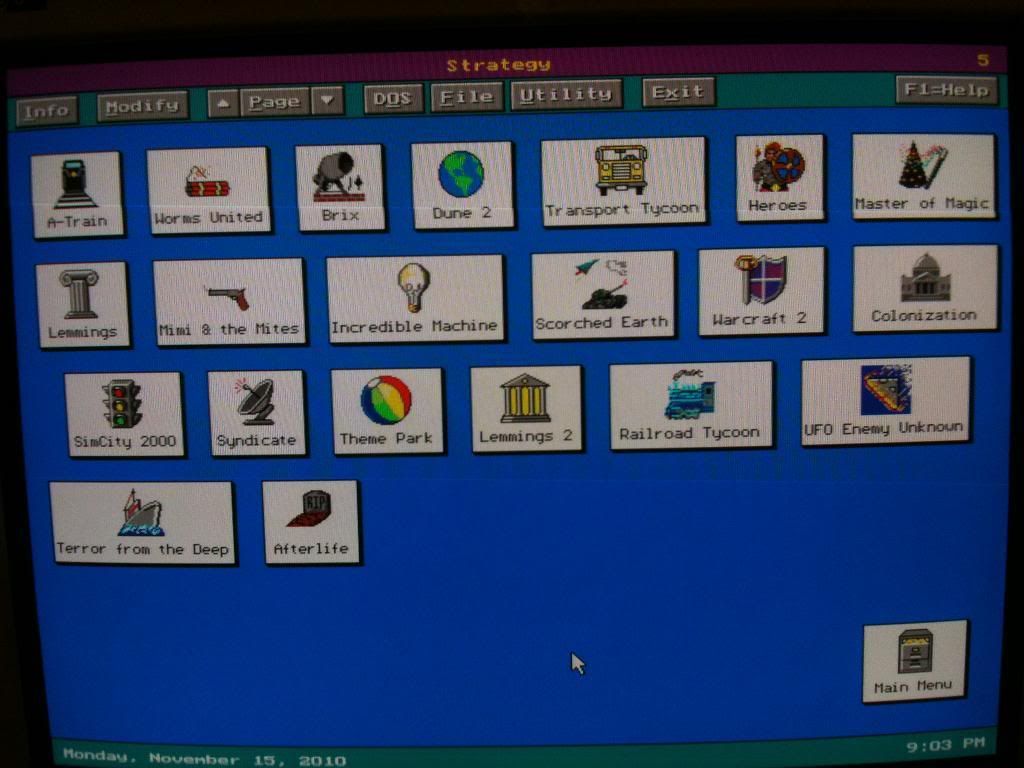
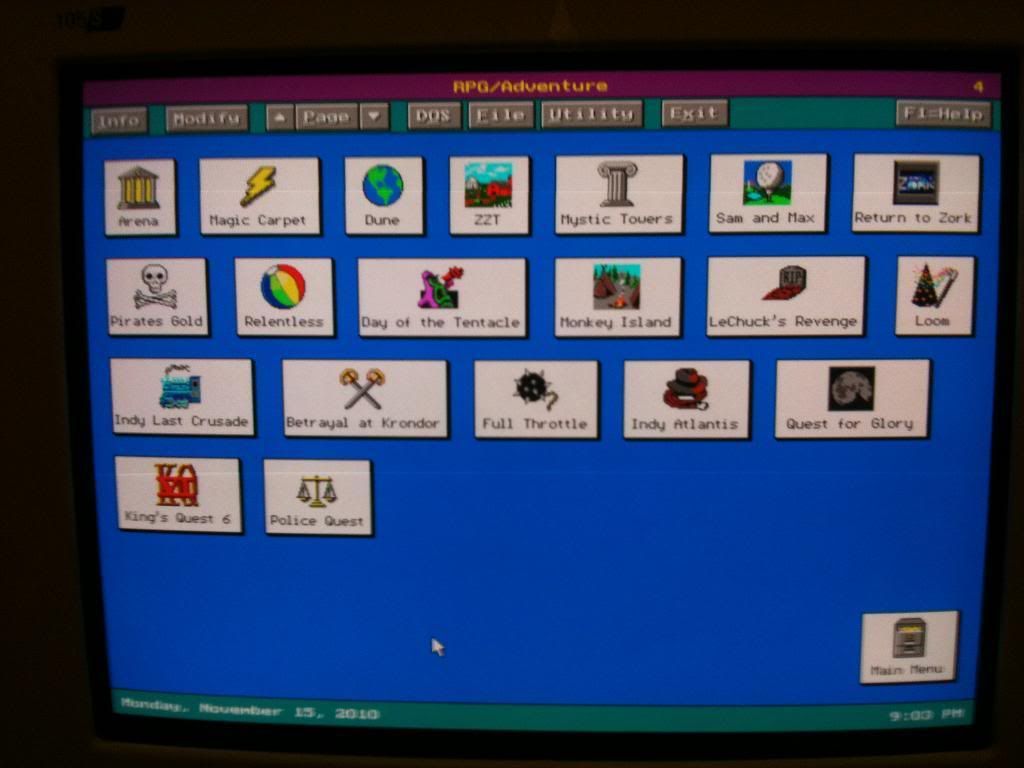
Here are a couple more screenshots showing various games installed. The games with mutliple episodes like Keen, Quest for Glory, I just wrote a simple batch file which uses the CHOICE command to prompt which game to play, and executes the correct file accordingly.
After a couple of weeks of digging up my old copies of games and installing them the machine is running perfectly, with a HEAP of old games on it and still ~200mb of free space.
I've still got a few parts left over so I might try to build another one and whack a network card in each, so I can play multiplayer Doom/Warcraft2/Command and Conquer etc 😀
I haven't bothered to install Windows 3.11 despite having disks for it... purely because none of the games I have require it. If I do get a network card and I get bored one day, I might try to track down an old copy of Winsock Trumpet and Netscape Navigator and try to get on the internet with it, just for shits and giggles - there's probably few sites left that will work properly with it, if the poor machine doesn't grind to a halt trying to render them 😜
In the meantime though, I'm loving revisiting the games of yesteryear 😁


