VOGONS


First post, by Nvm1

User metadata
Rank Member
Rank
Member

A new project from me since I got an oppertunity last week to get two old notebooks for a couple of beers. 🤣

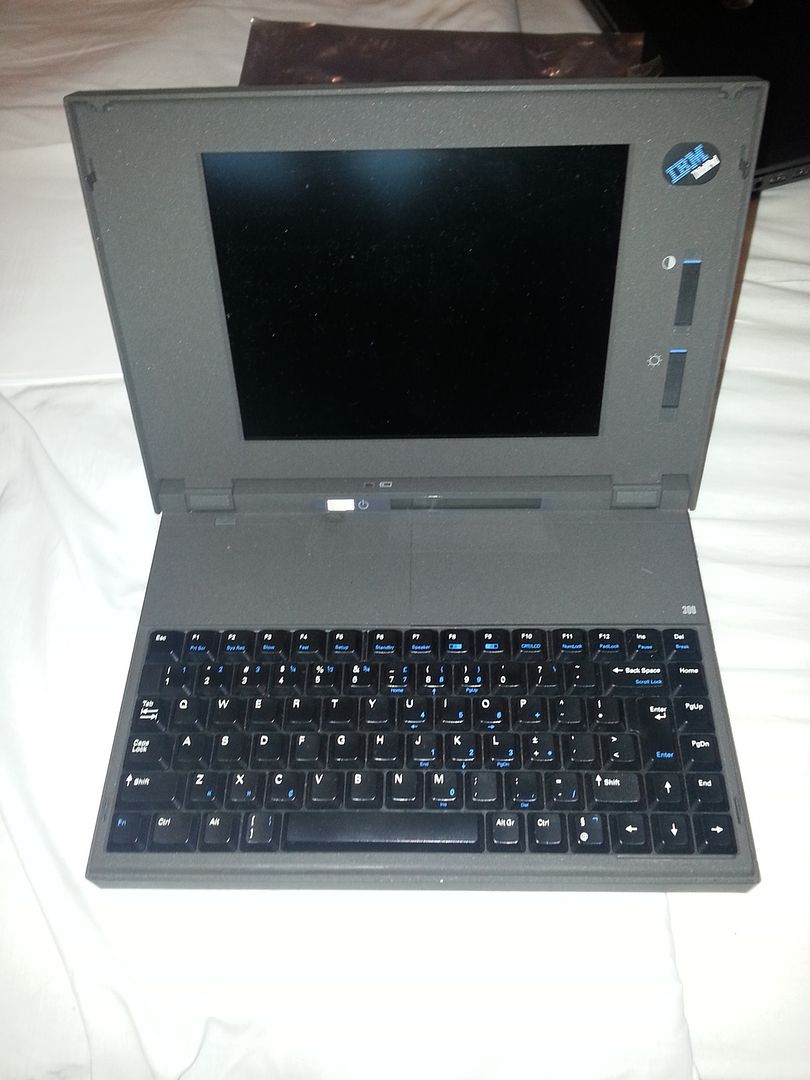
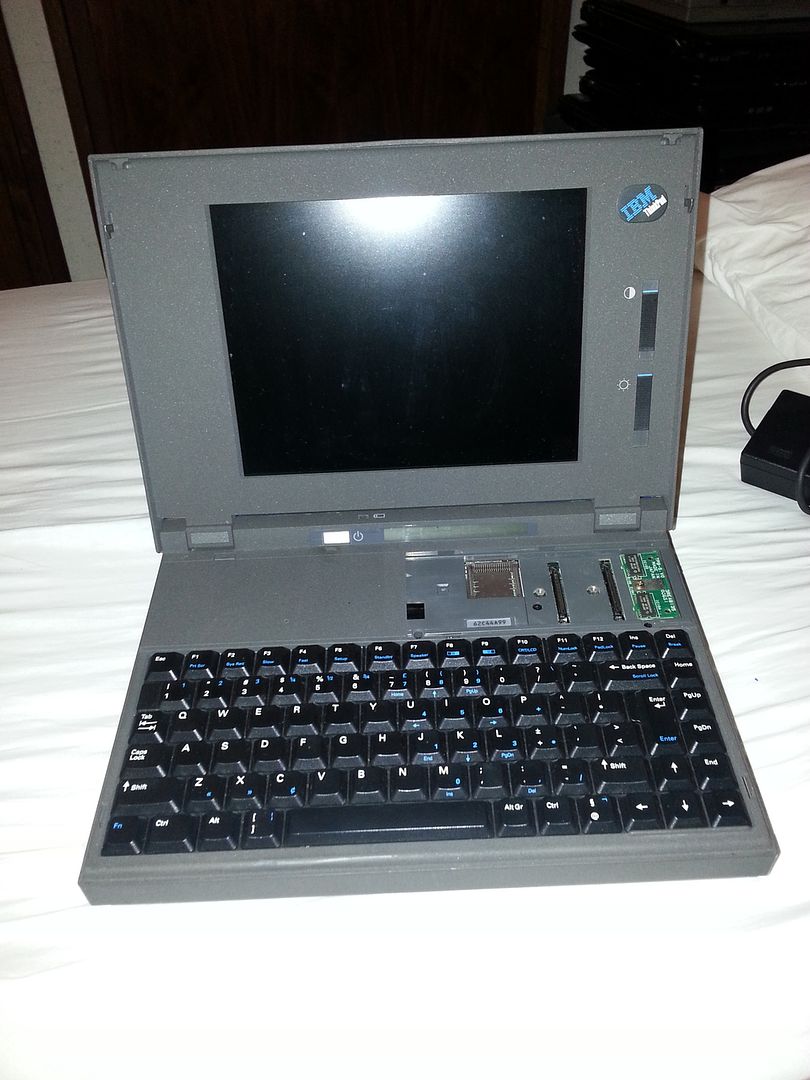
One of them is a Toshiba T3200 which still works flawless, I will intruduce that one later. This thread goes about the IBM Thinkpad 300 I got.
The thinkpad 300 was the first in the 300 line of thinkpads that would follow but a bit of a strange system. It was produced by Zenith and from the info I found it was so badly made that every unit needed rework before being sold. It's specs are:
CPU: 386SL
RAM: 2mb on board with a max of 12MB (3 expansion slots available)
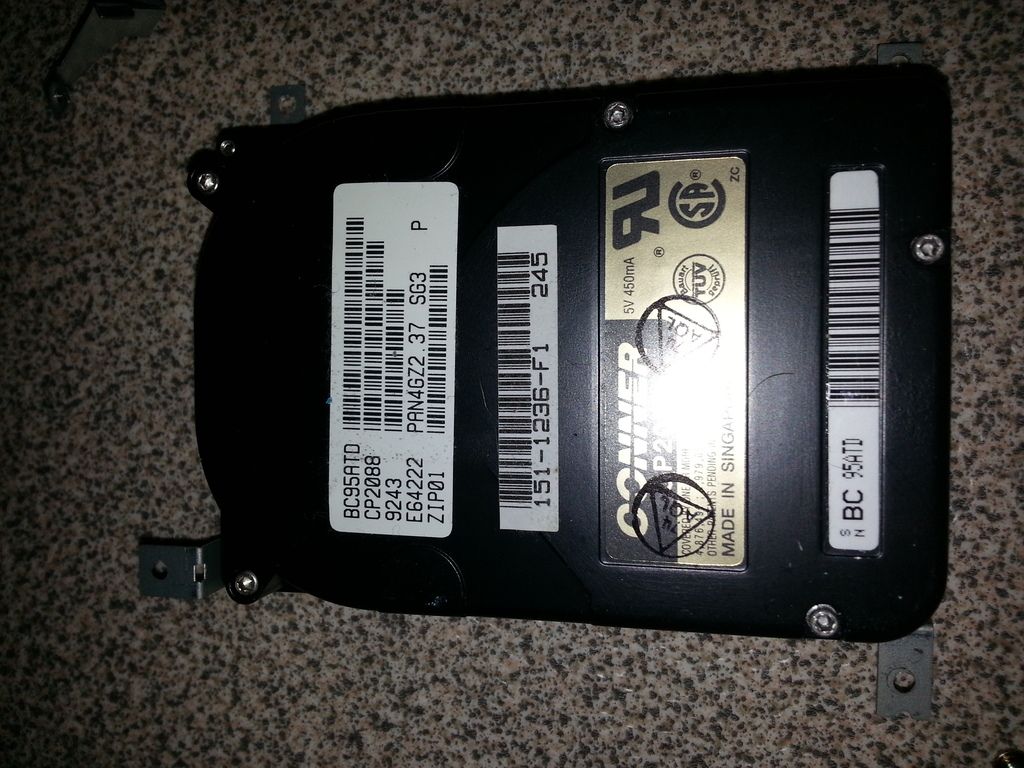
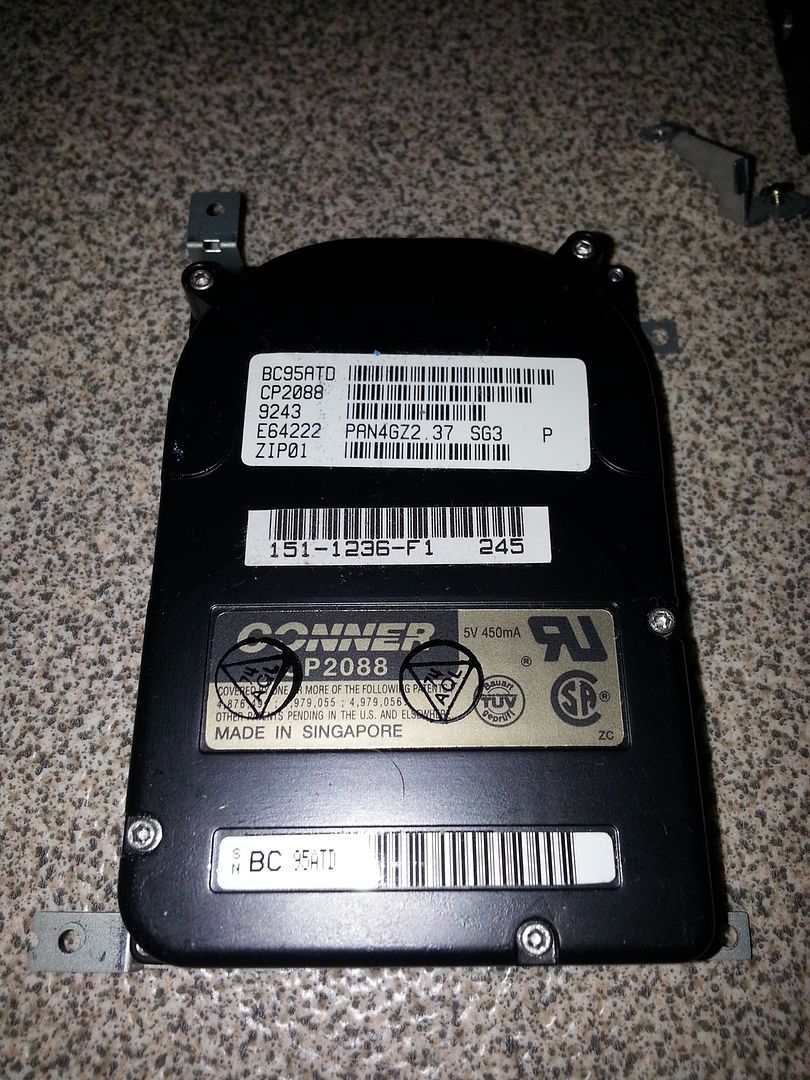
HDD: 80mb or 120mb
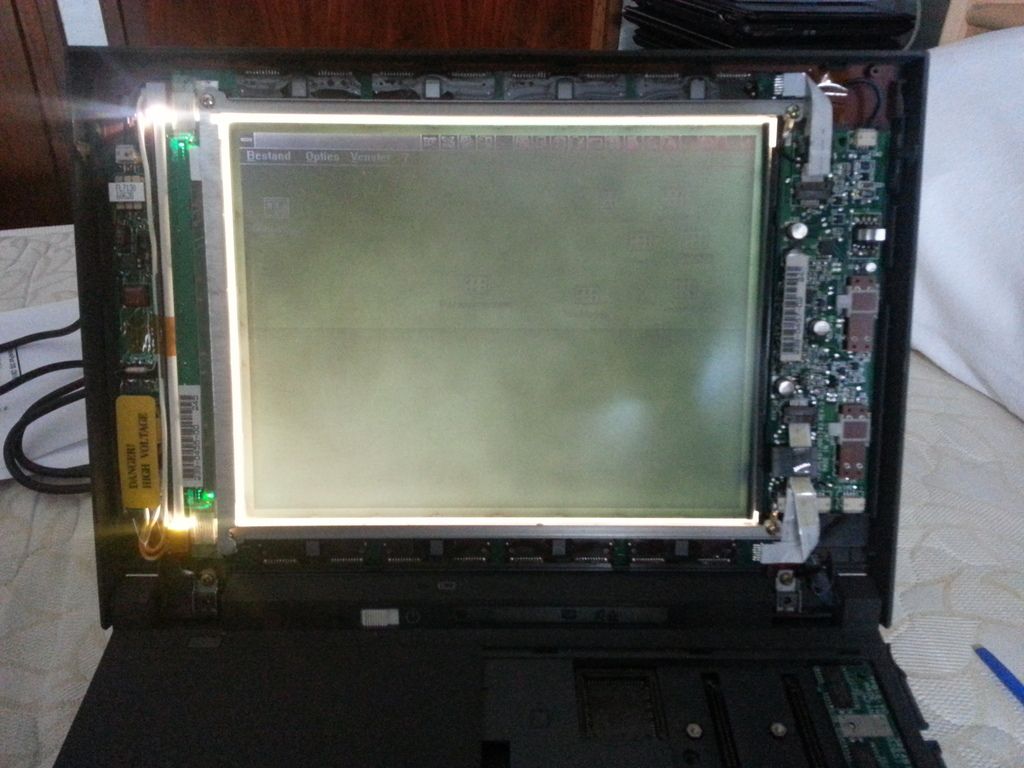
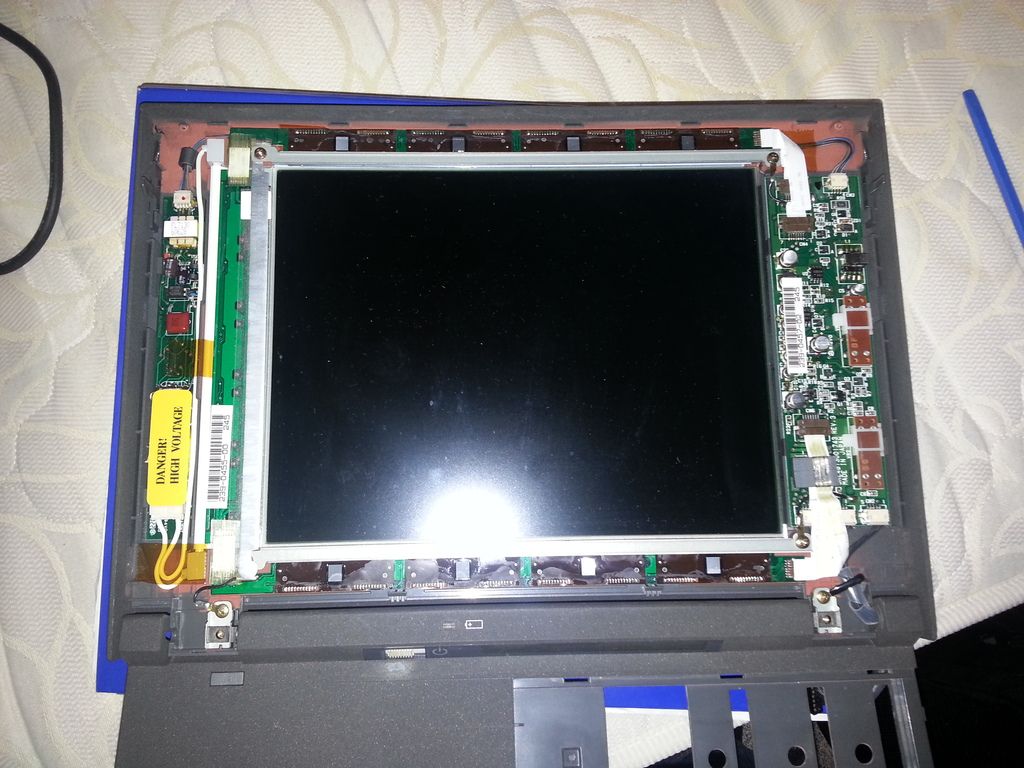
VGA: 256kb with a 9,5" monochroom display
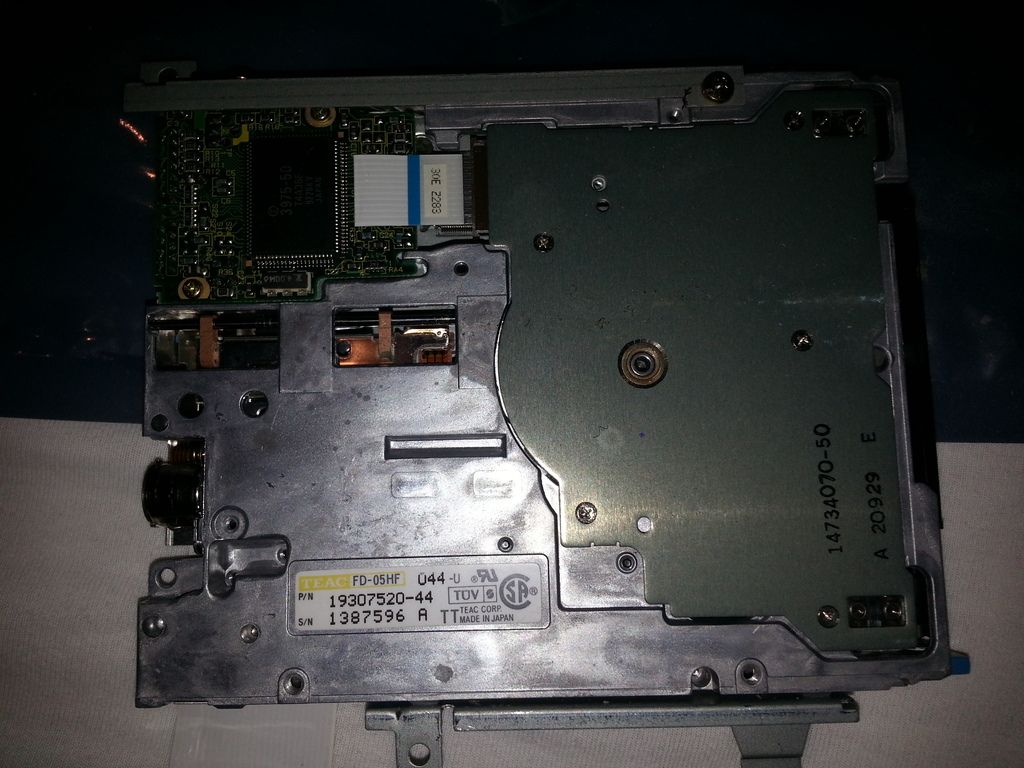
FDD on board
One planar card position in the notebook for a modem or network card.
From the documentation that was with the notebook it originally had a twisted pair network card in it, which unfortunatly has been removed somewhere during it's life.

For the rest I only found the maintenance manual and specssheet on the archived IBM sites. Not much info for the rest to find..

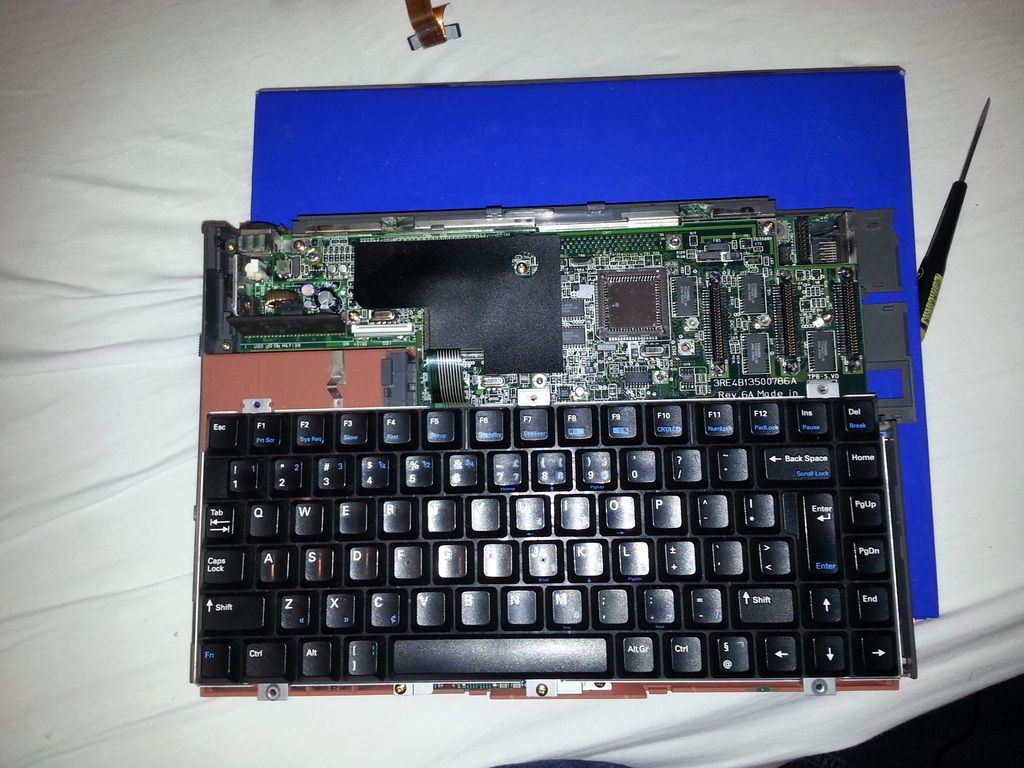
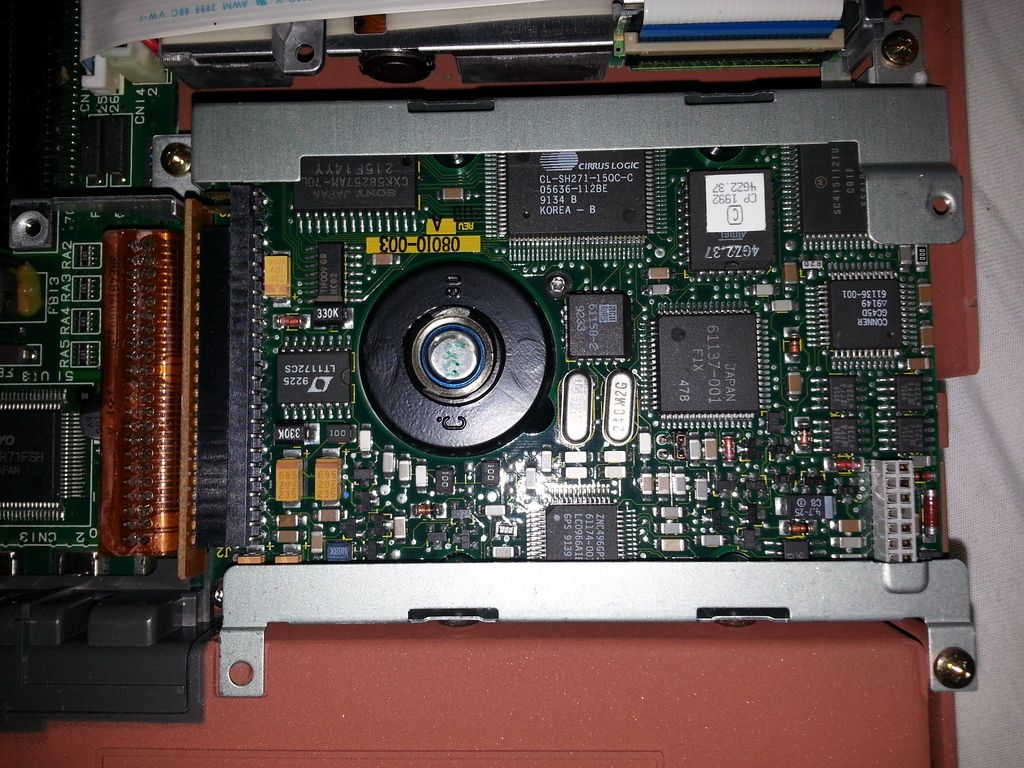
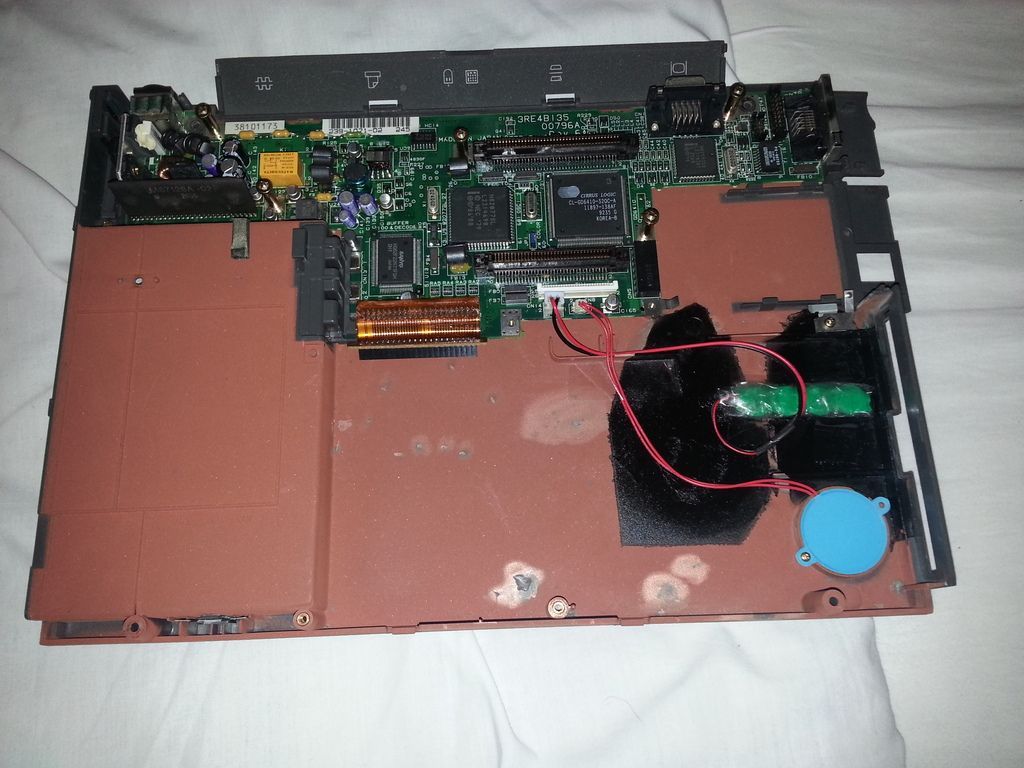
The system I got didn't work well when I got it, it sometimes tried to boot, sometimes just simply beeping and shutting down with some hissing noises. 😠 Also the rattling inside warned me of some loose parts in it, and the HDD sounded bad with a severe knocking sound.
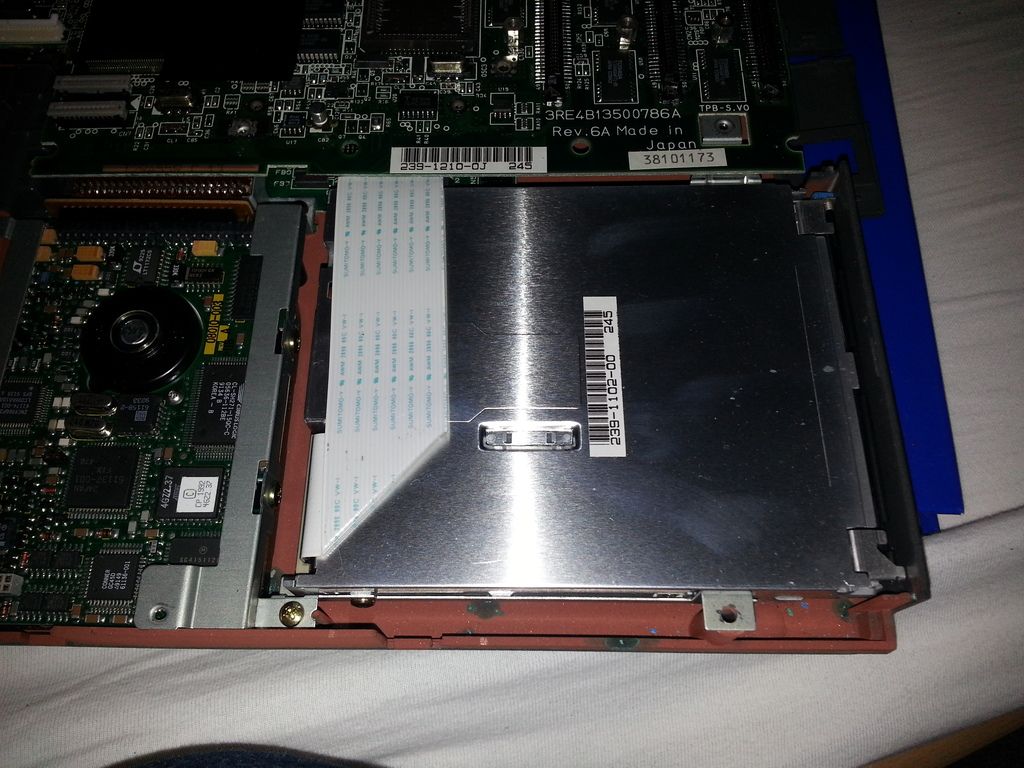
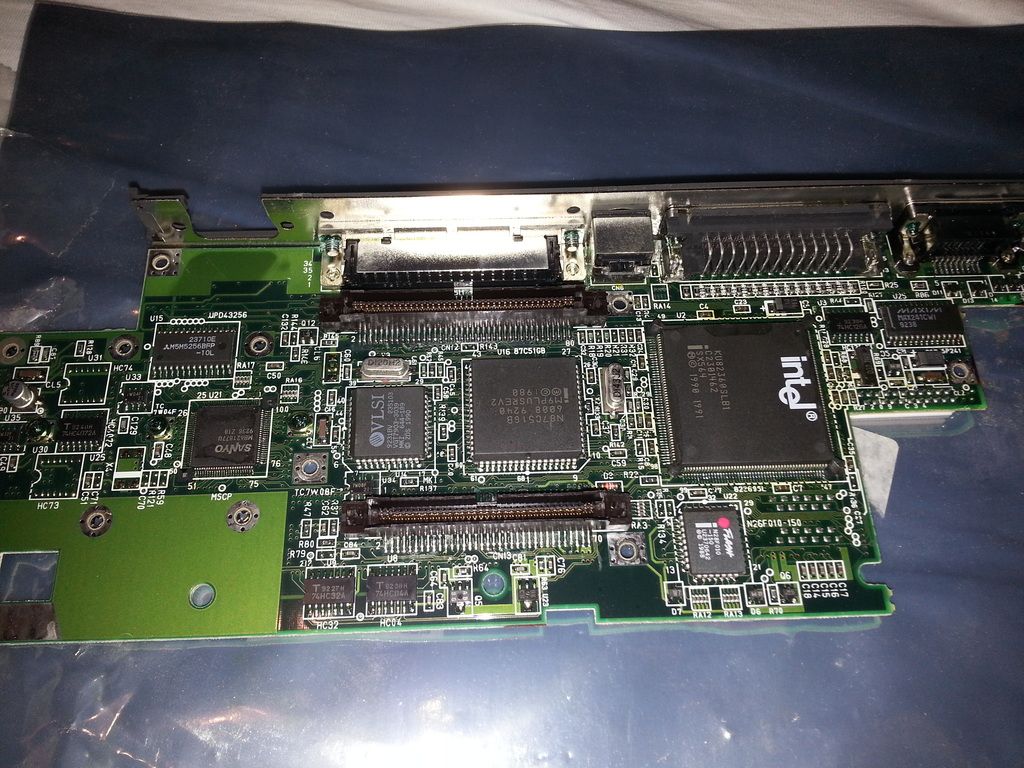
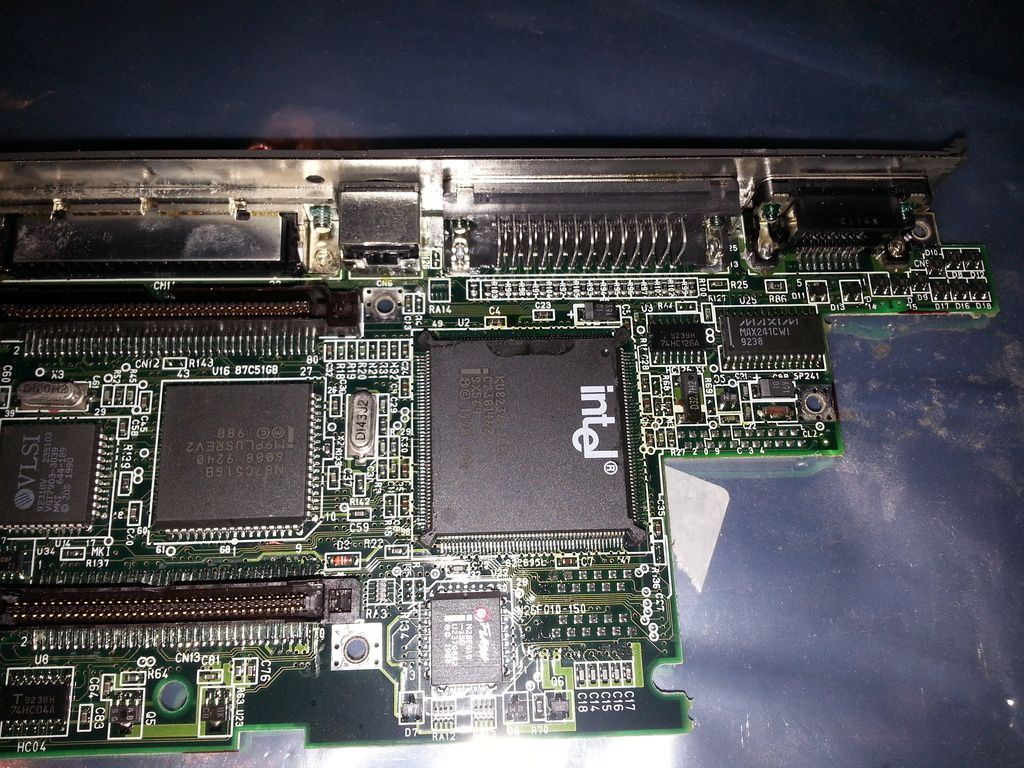
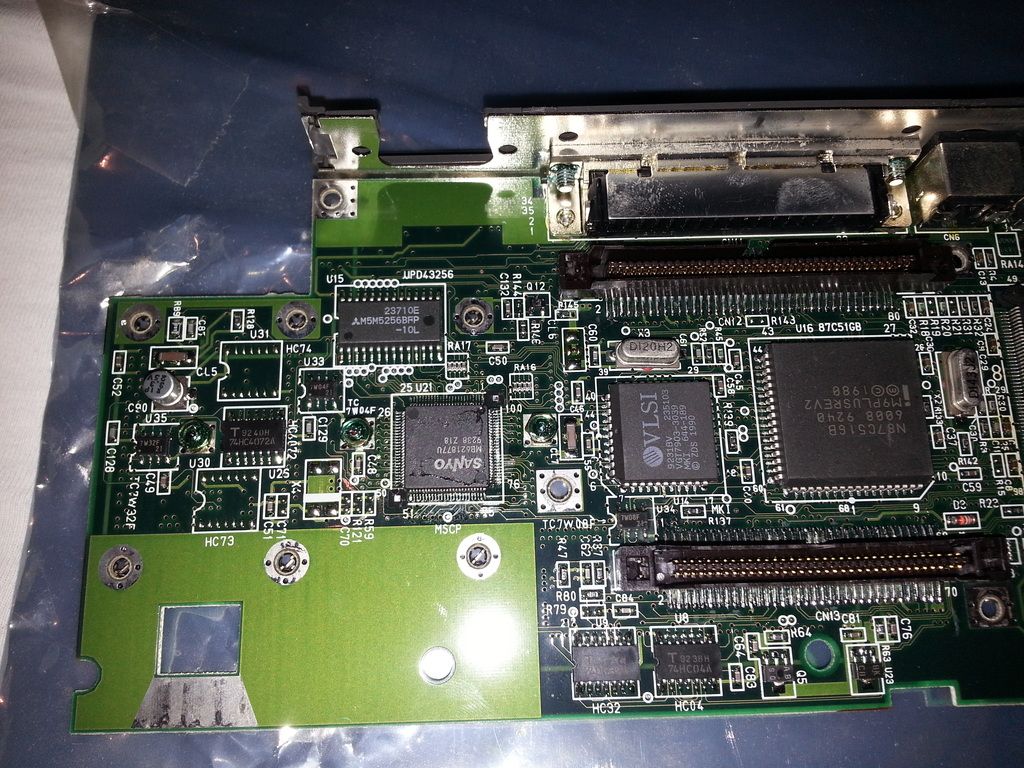
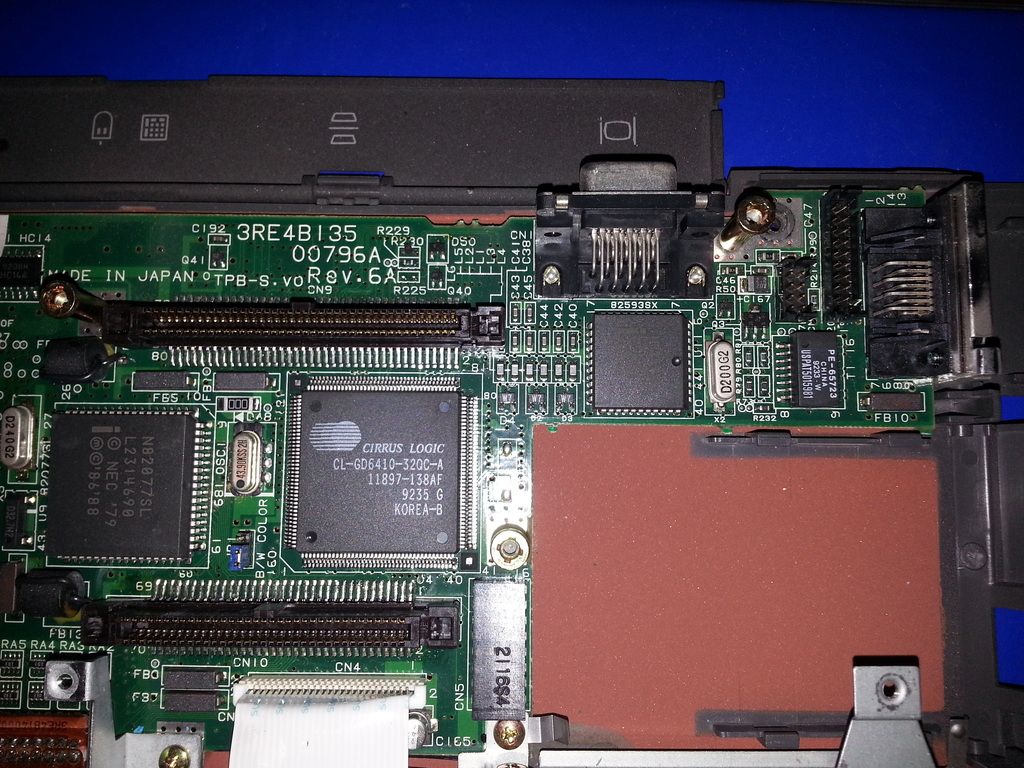
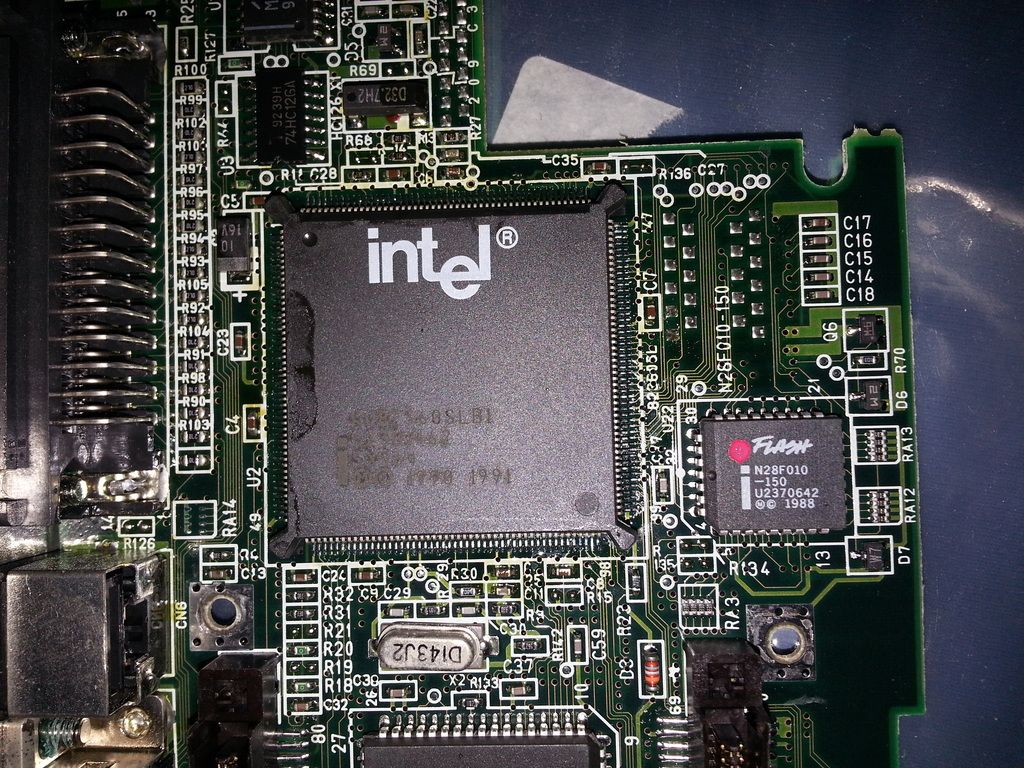
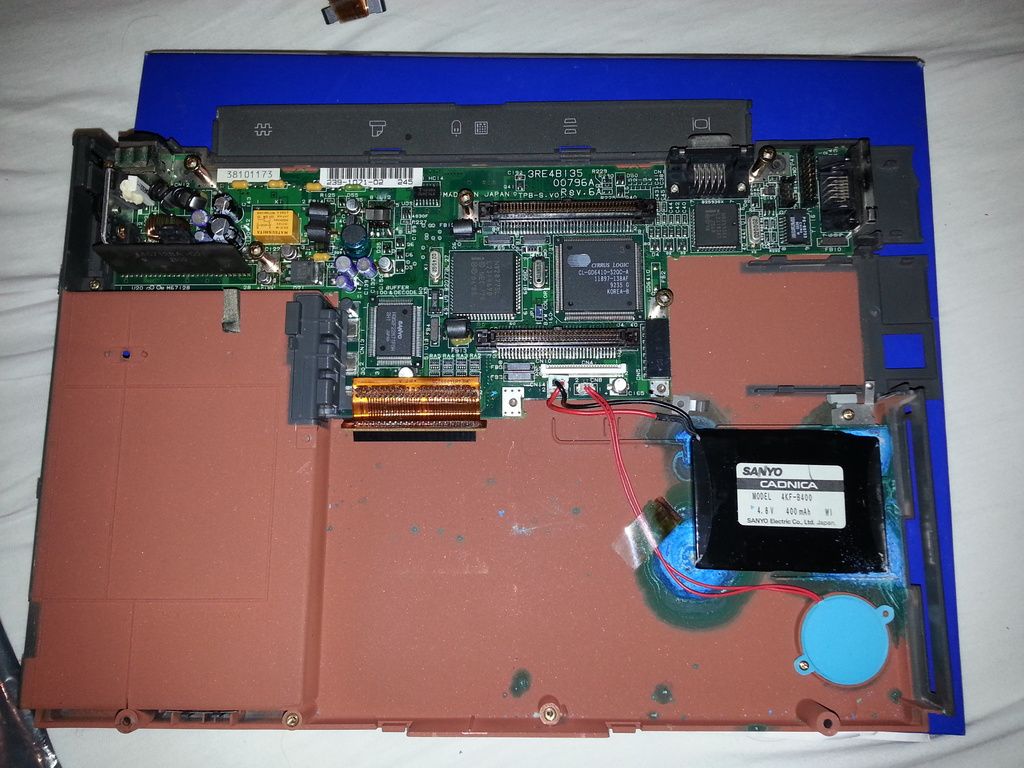
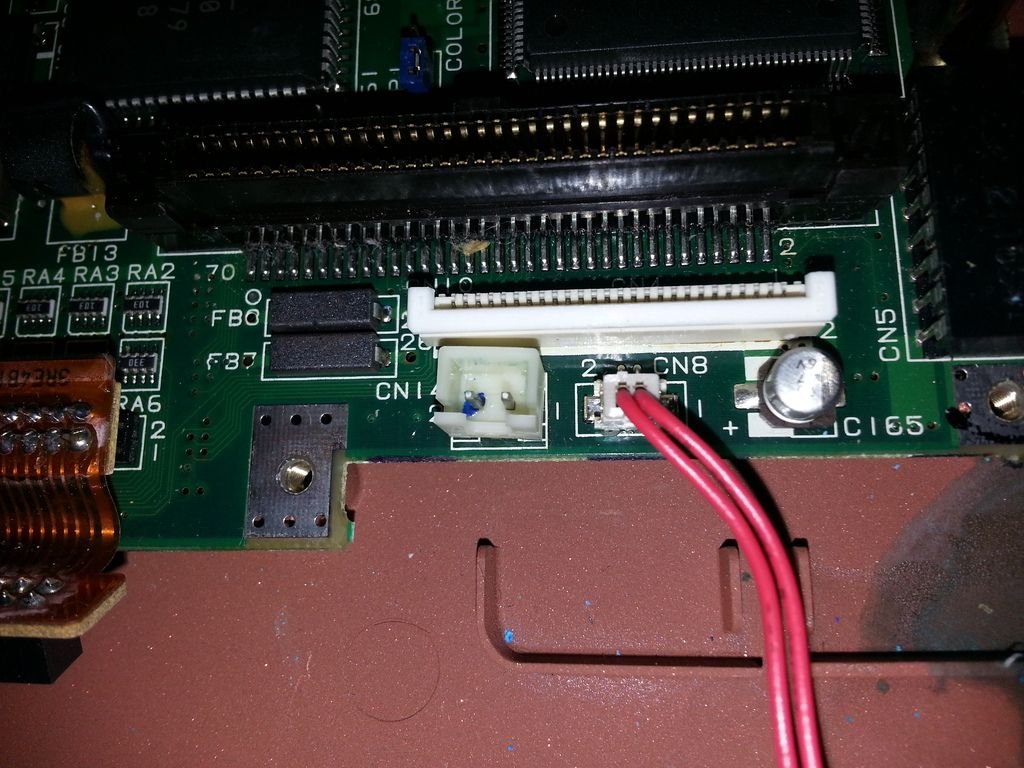
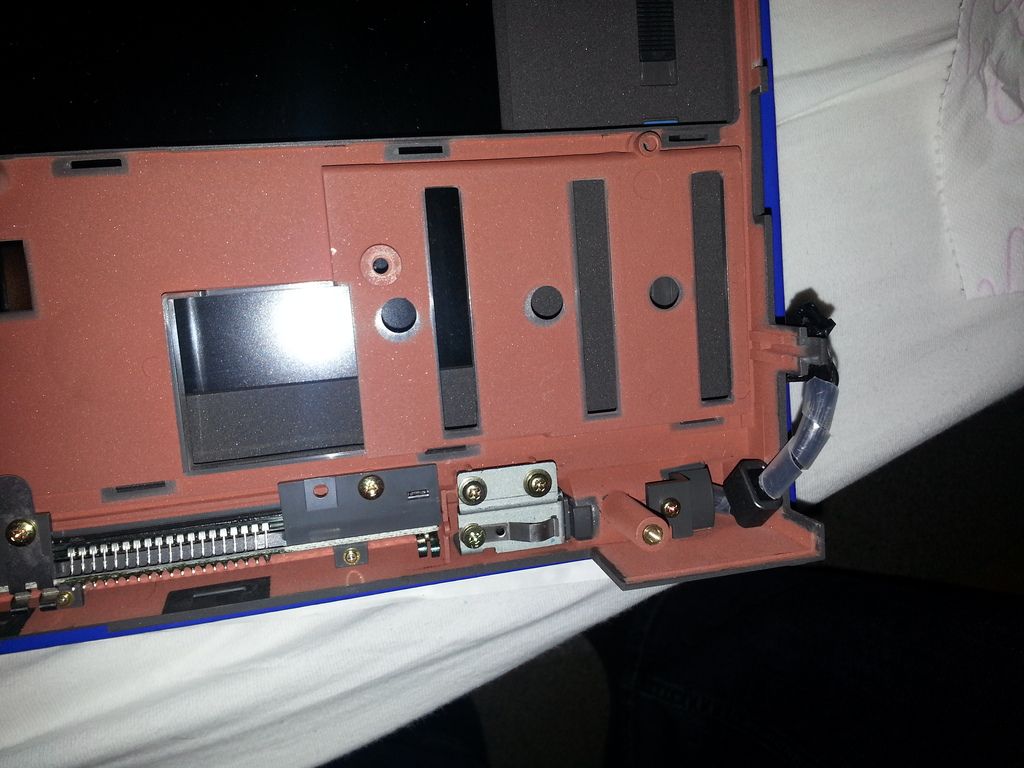
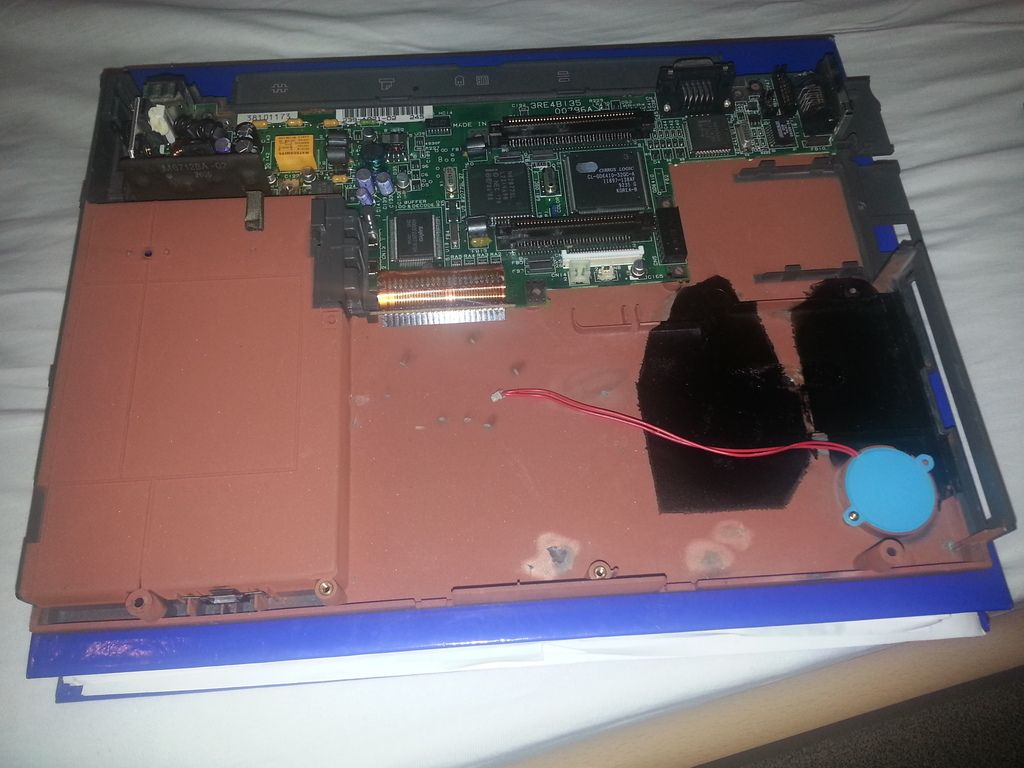
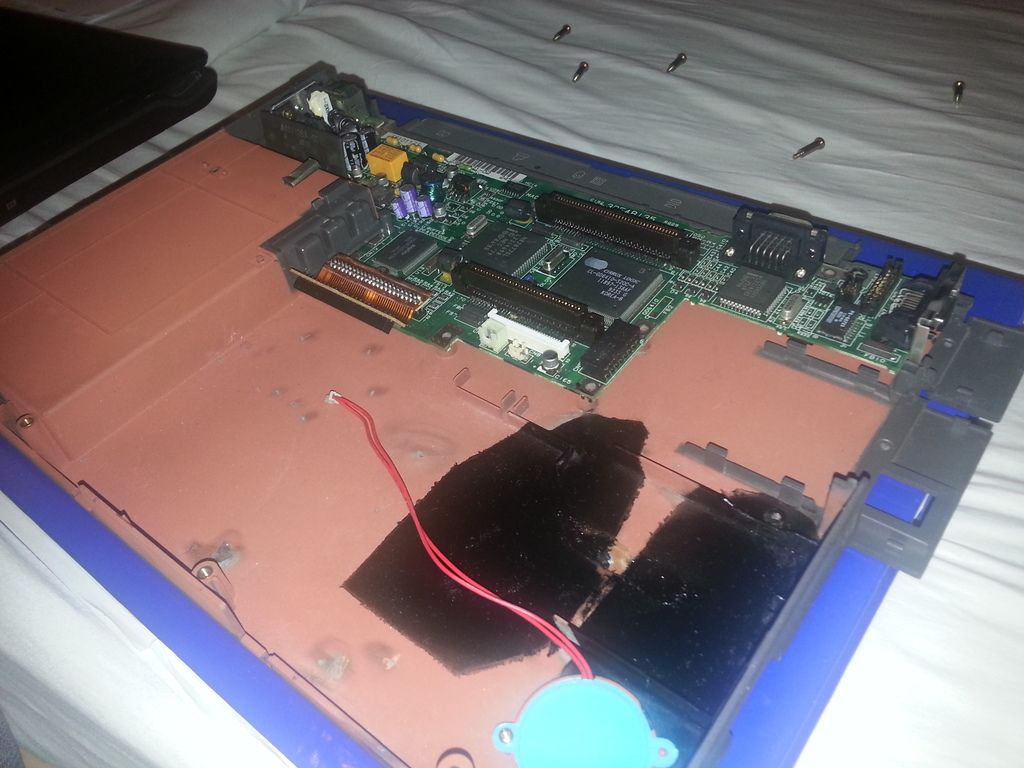
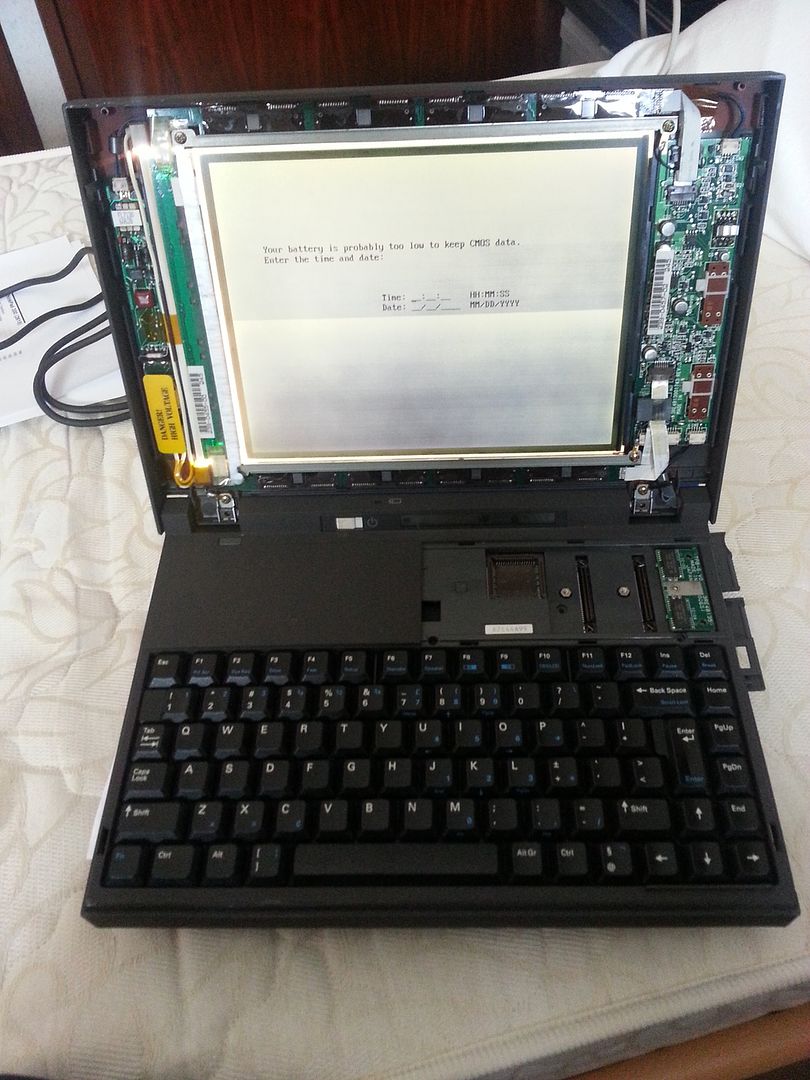
Here is a picture with the co-processor cover removed and one extra 2MB memory module visible:
20160321_2230231_zpsrw4qf86t.jpg

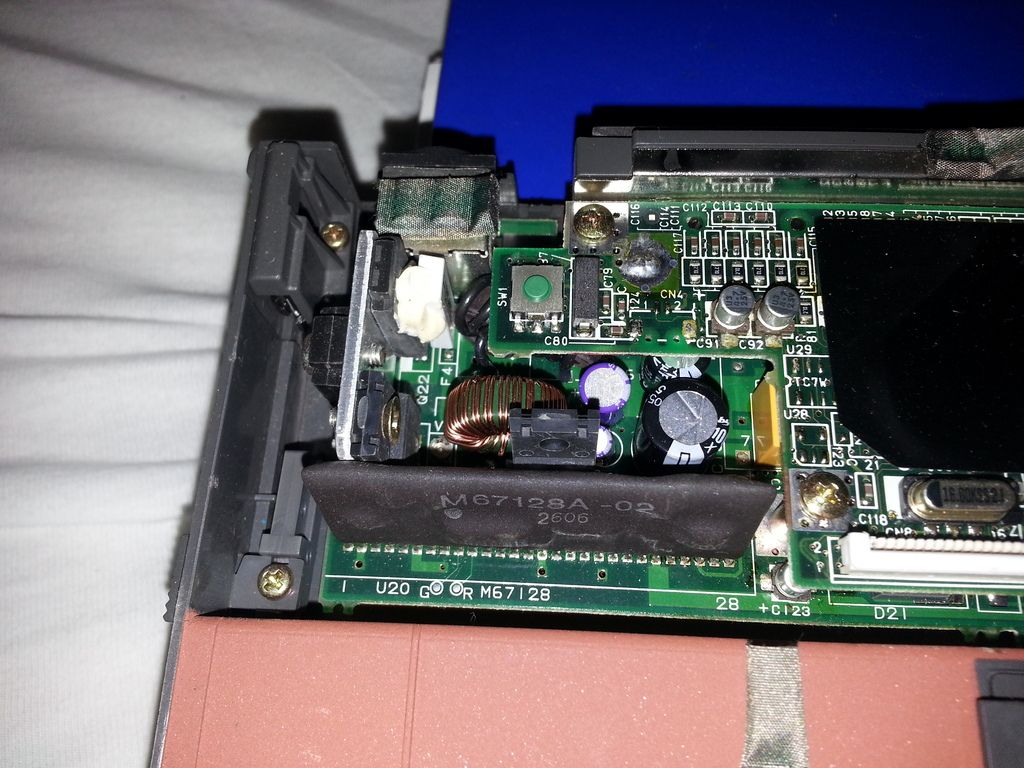
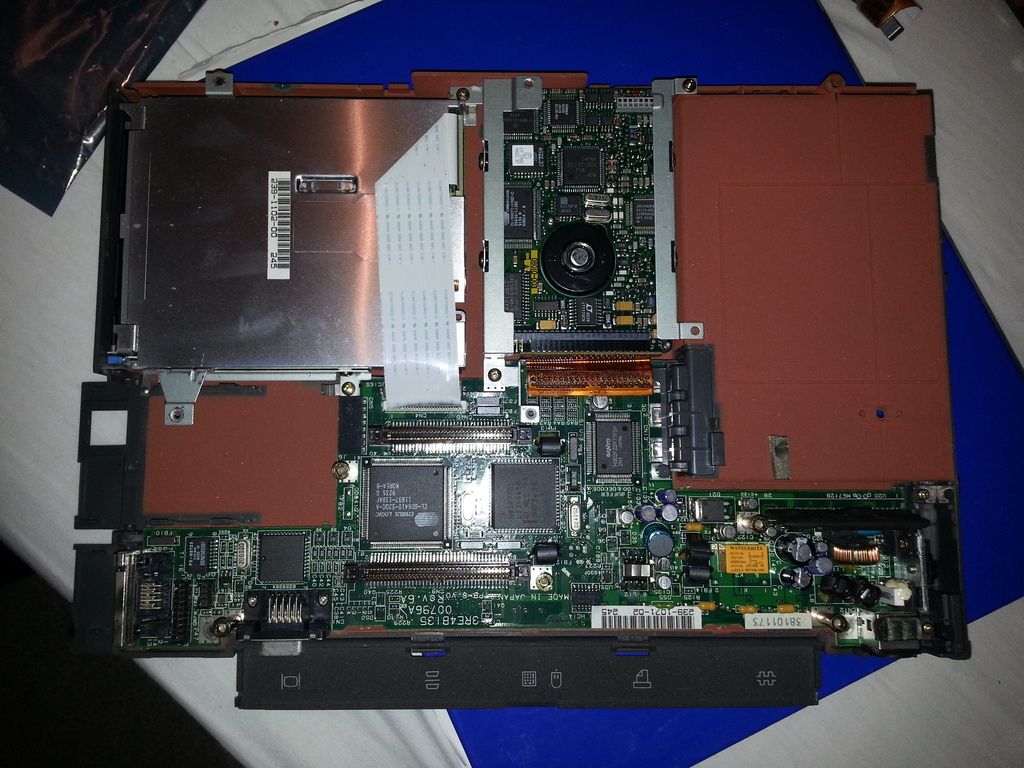
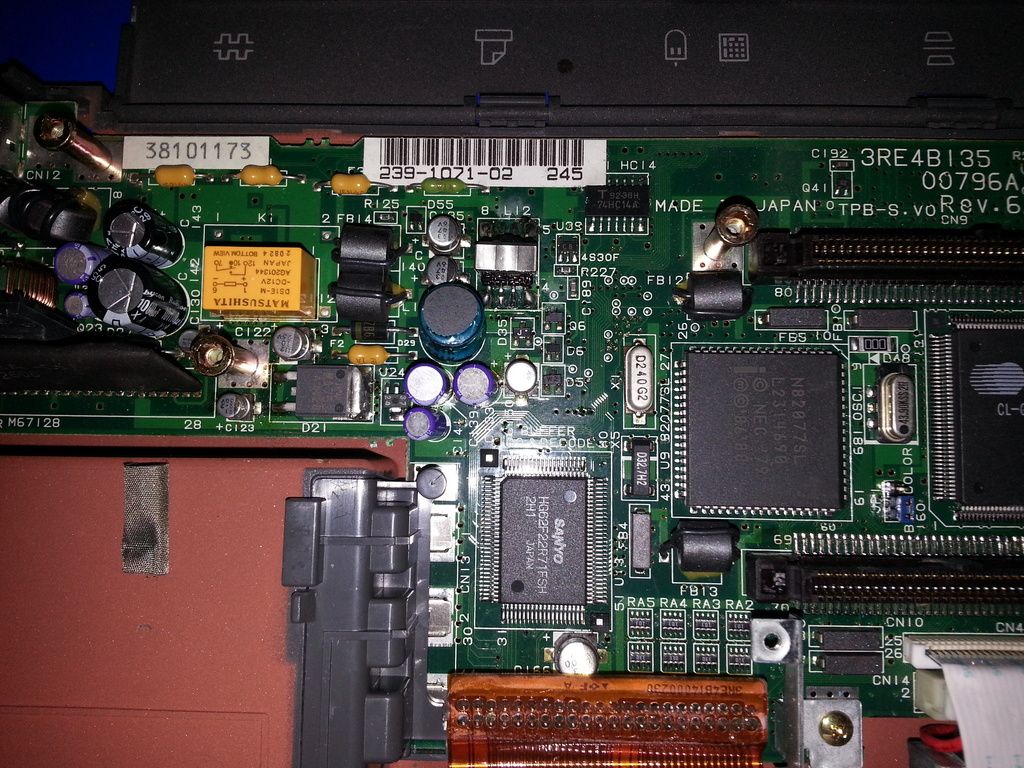
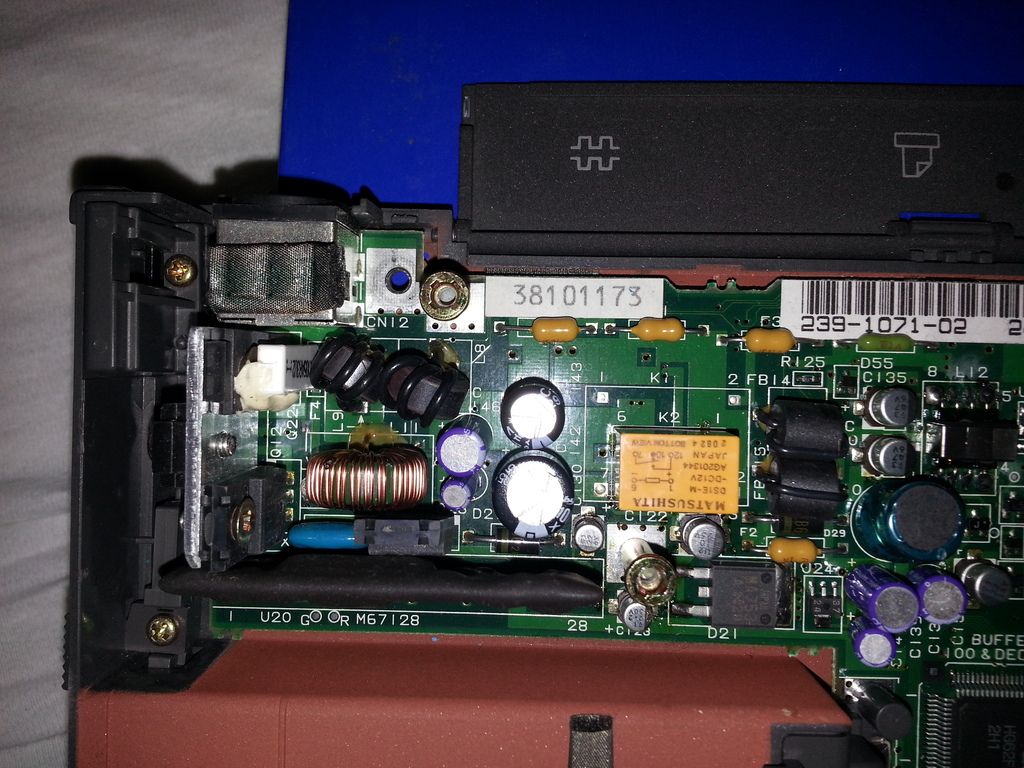
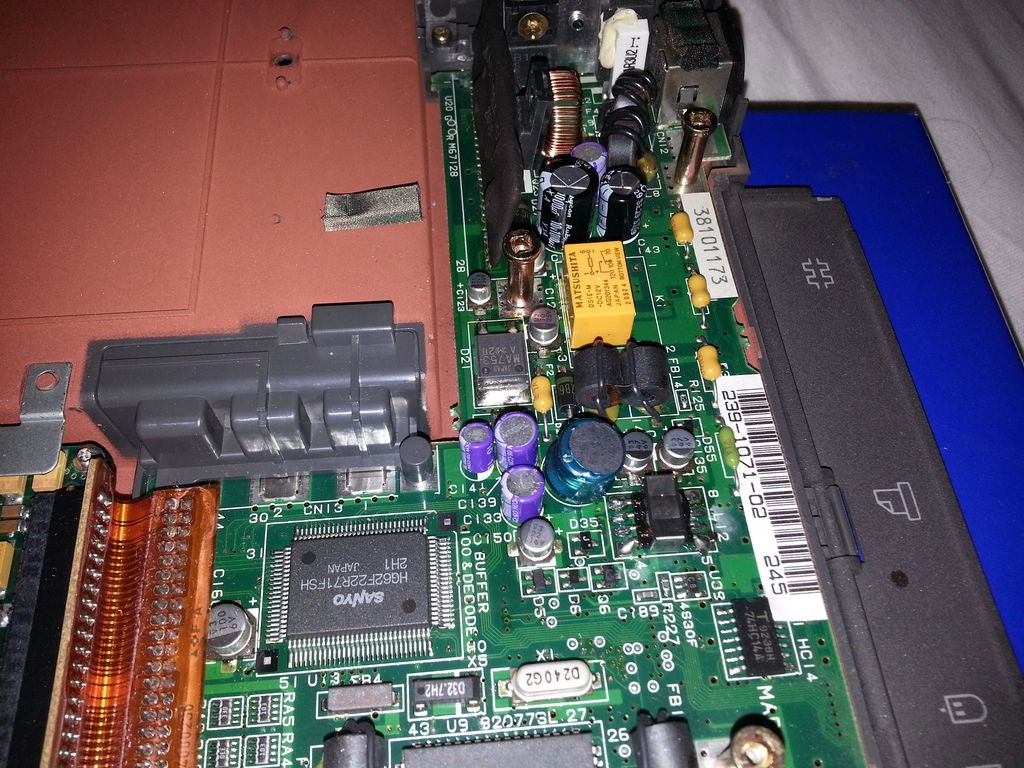
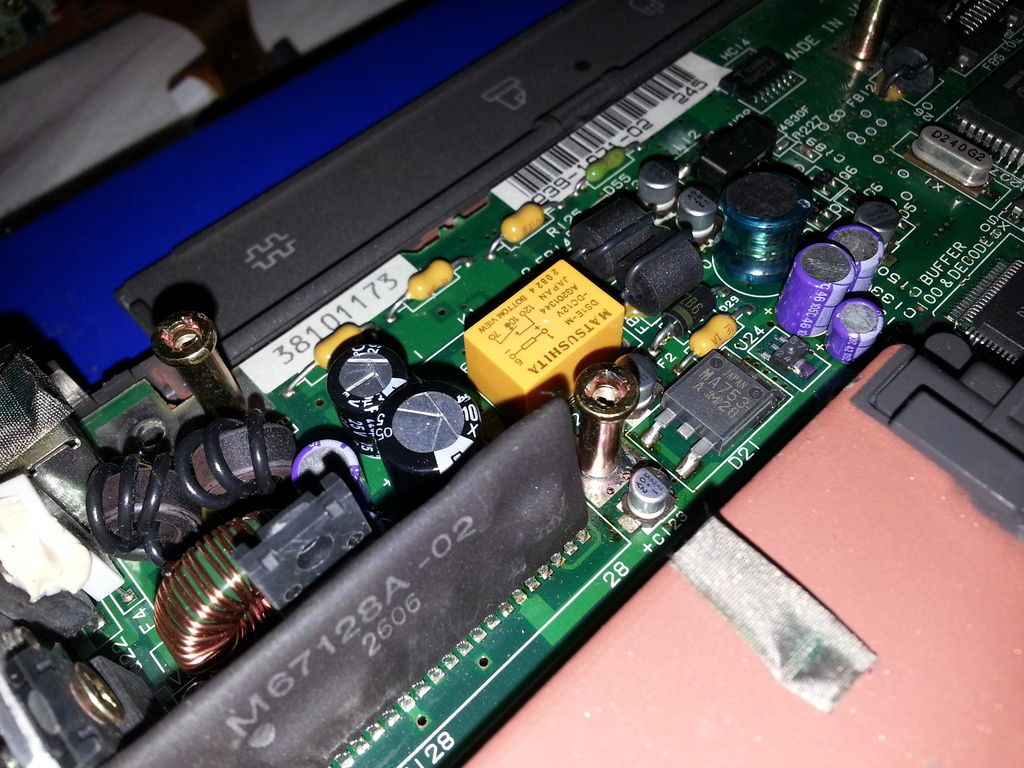
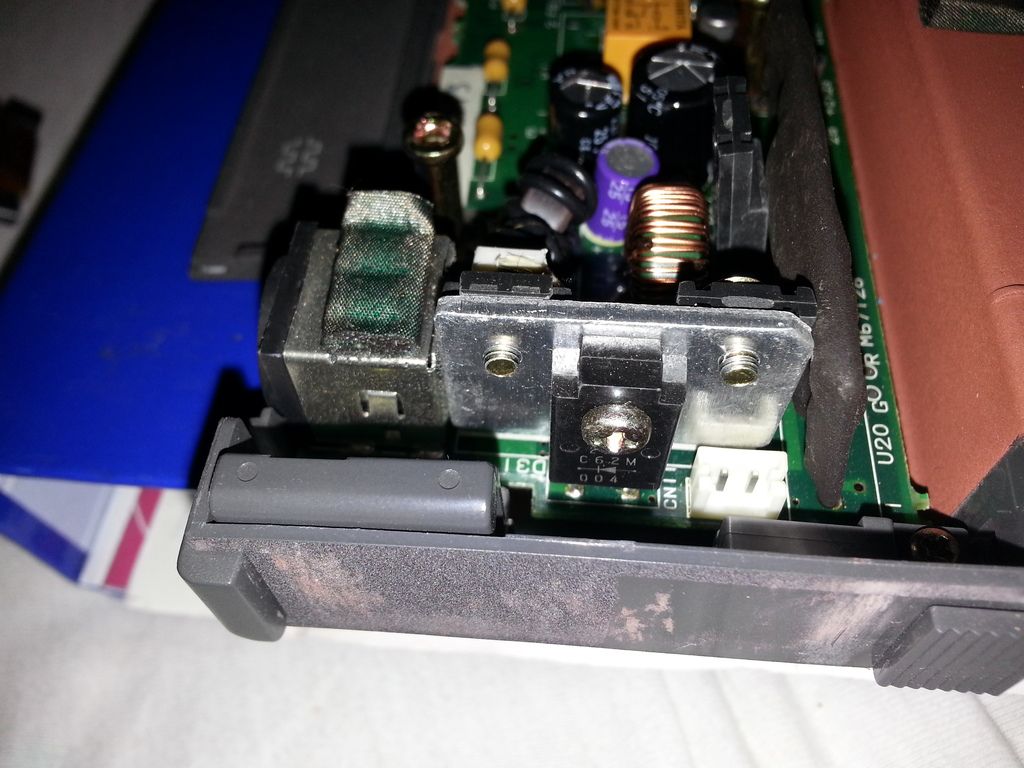
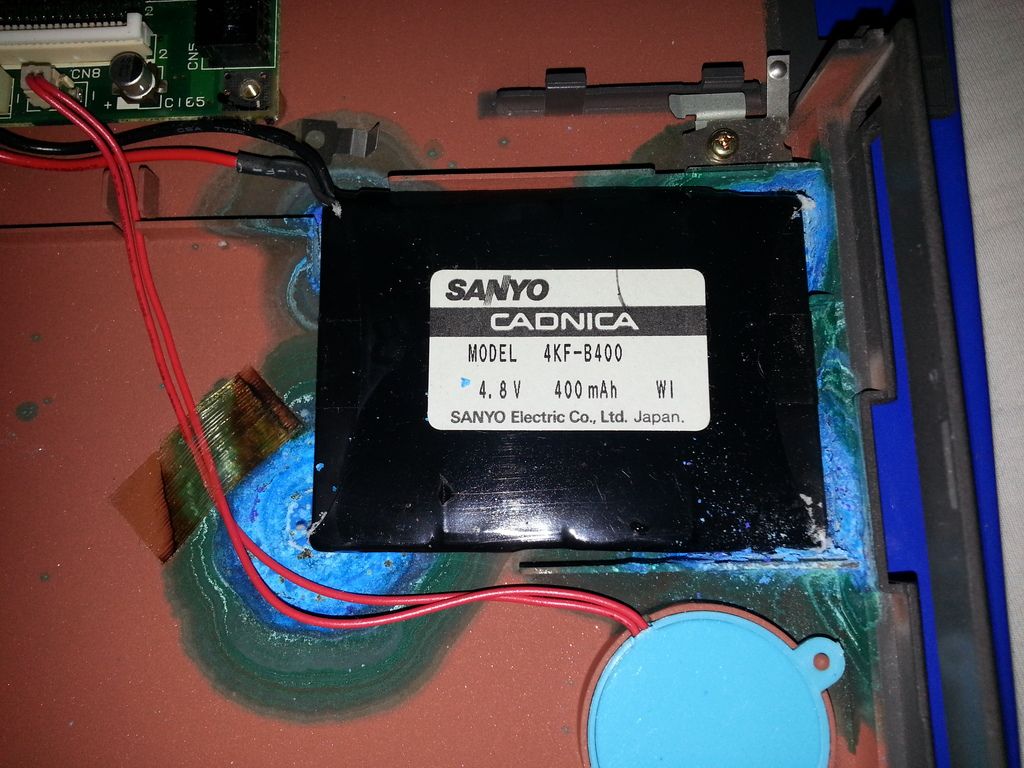
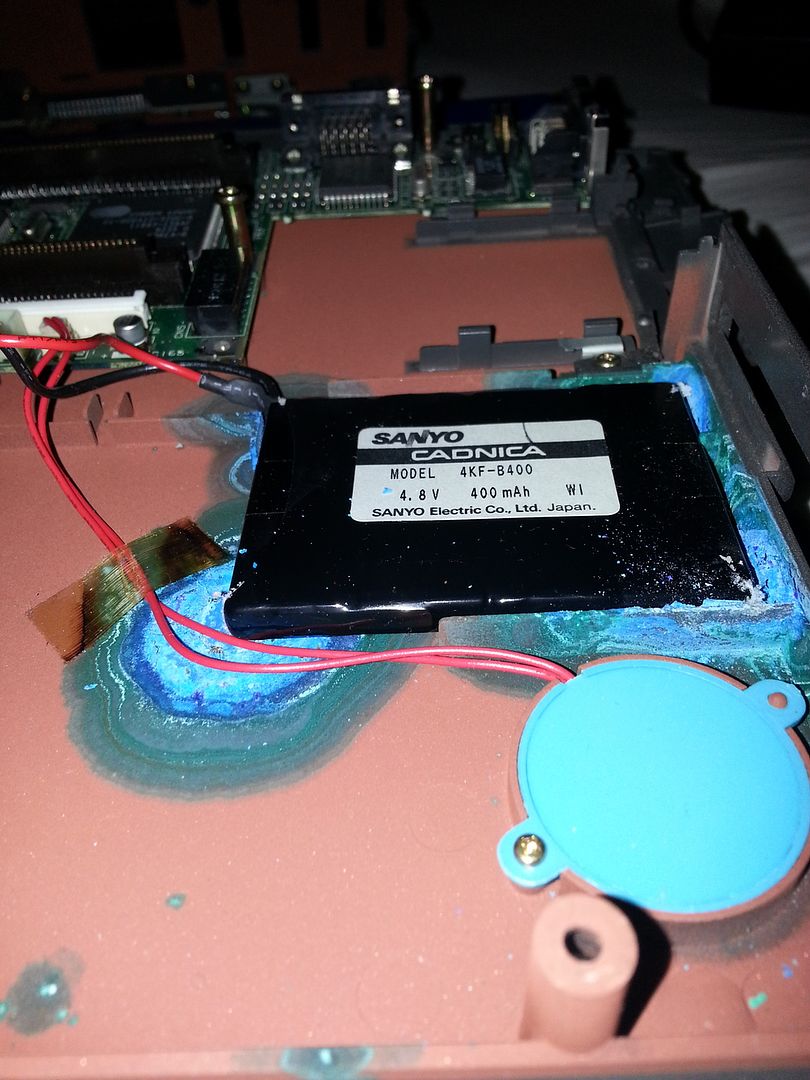
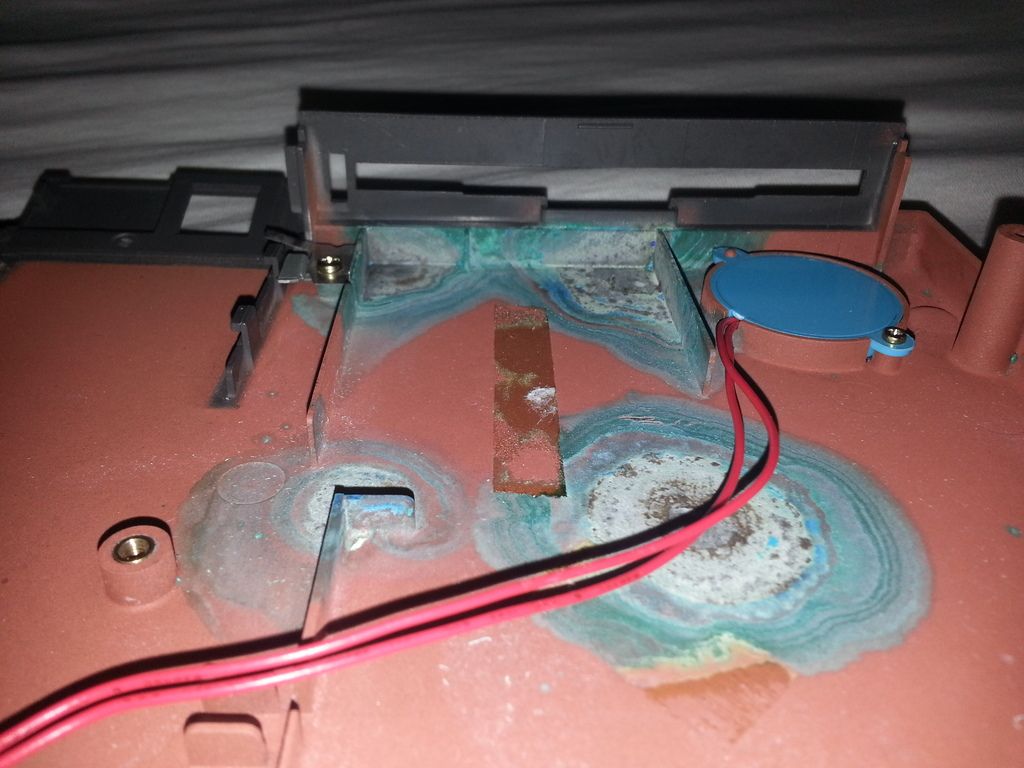
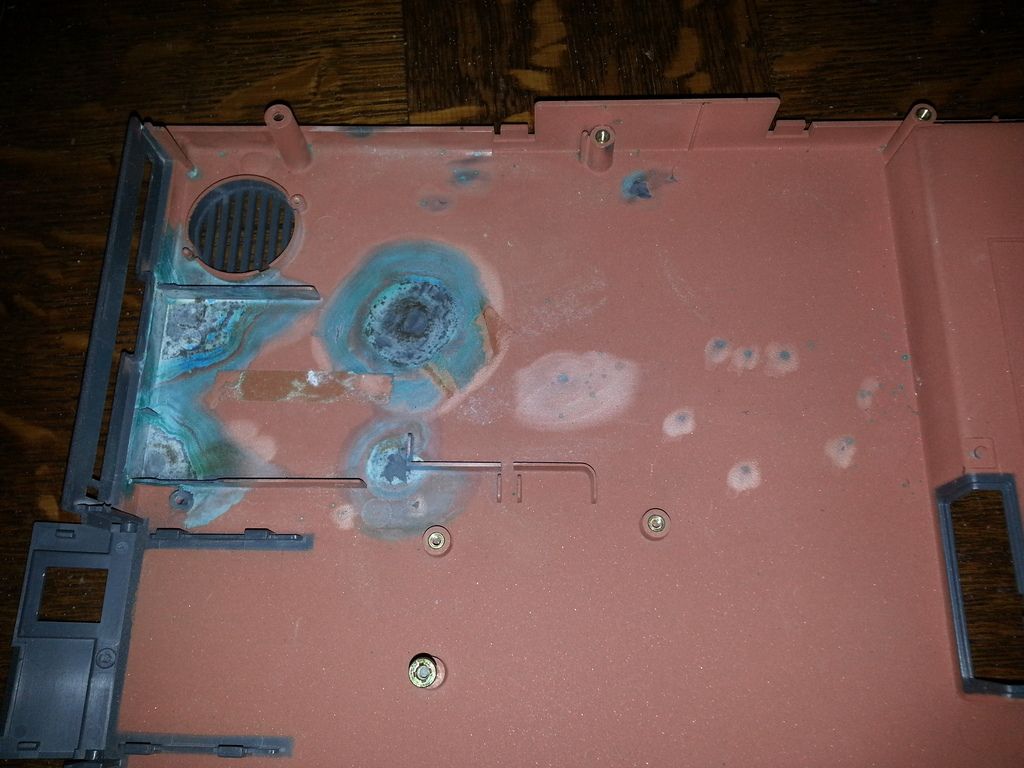
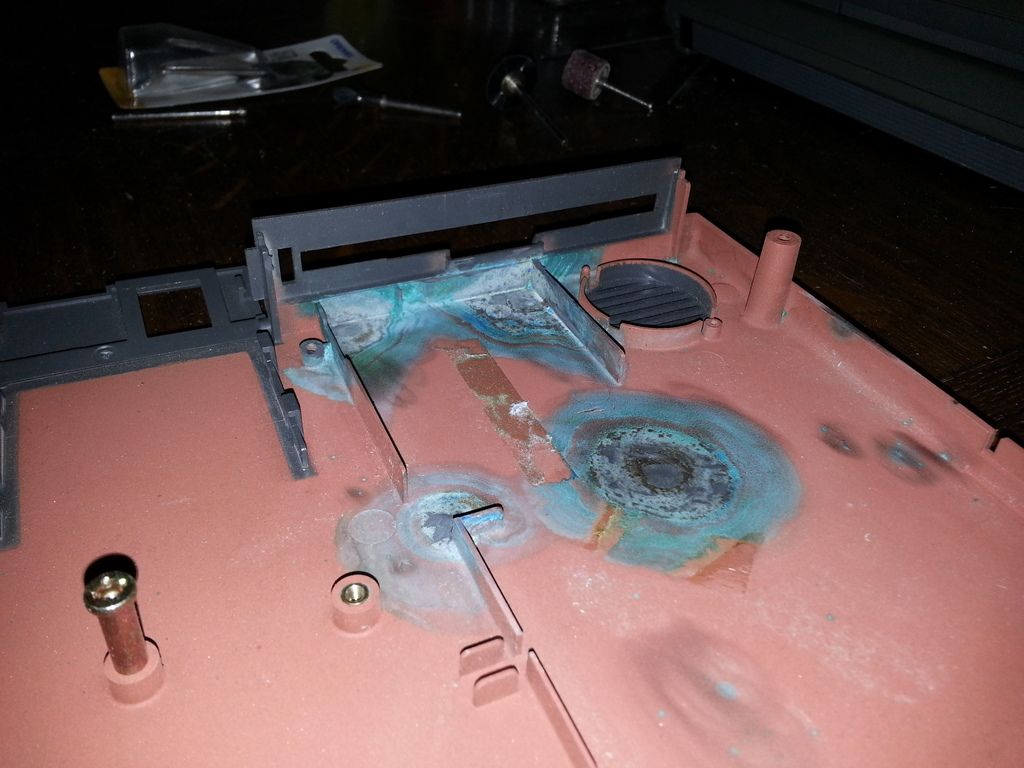
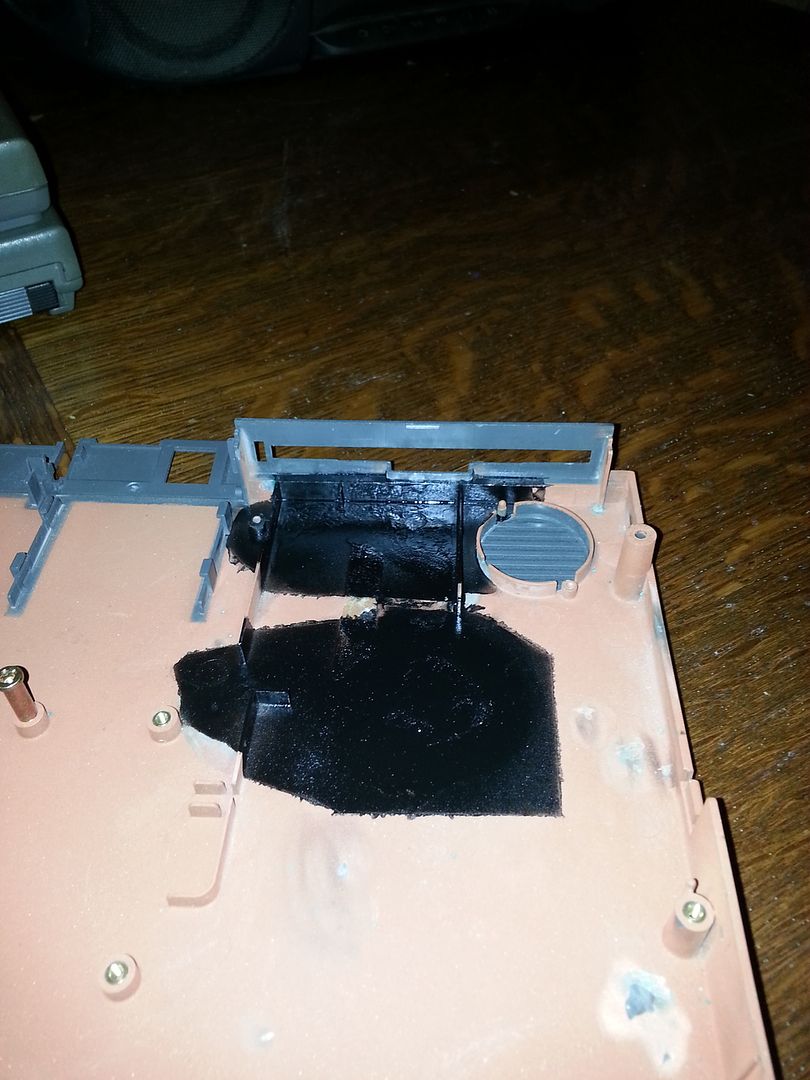
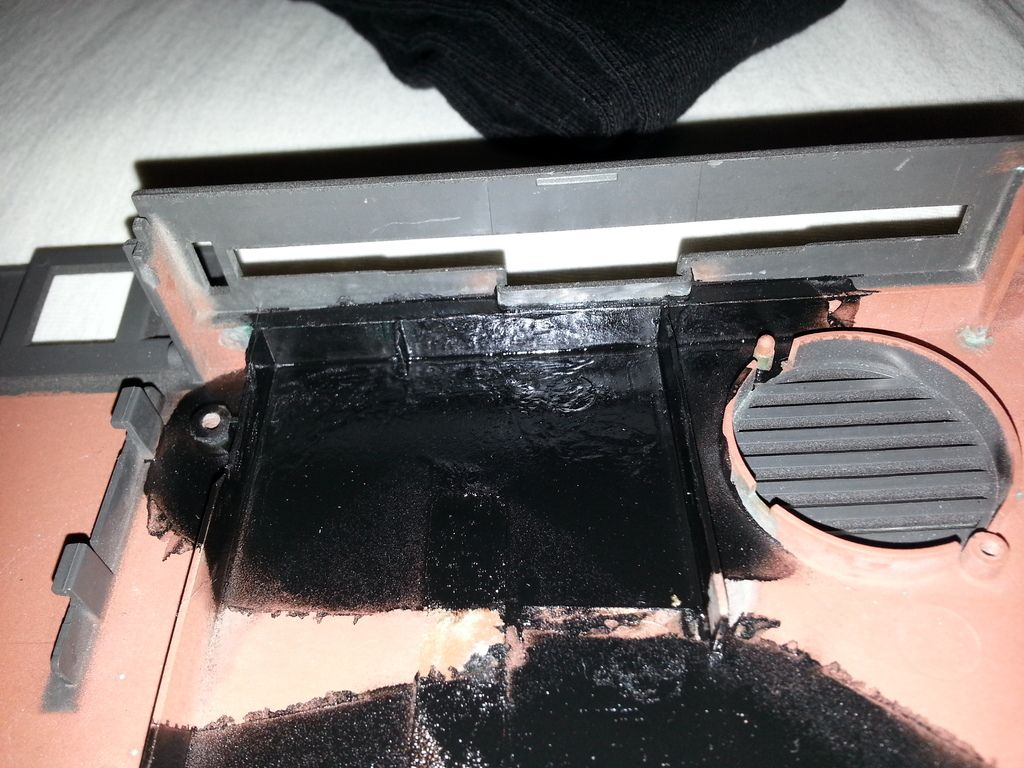
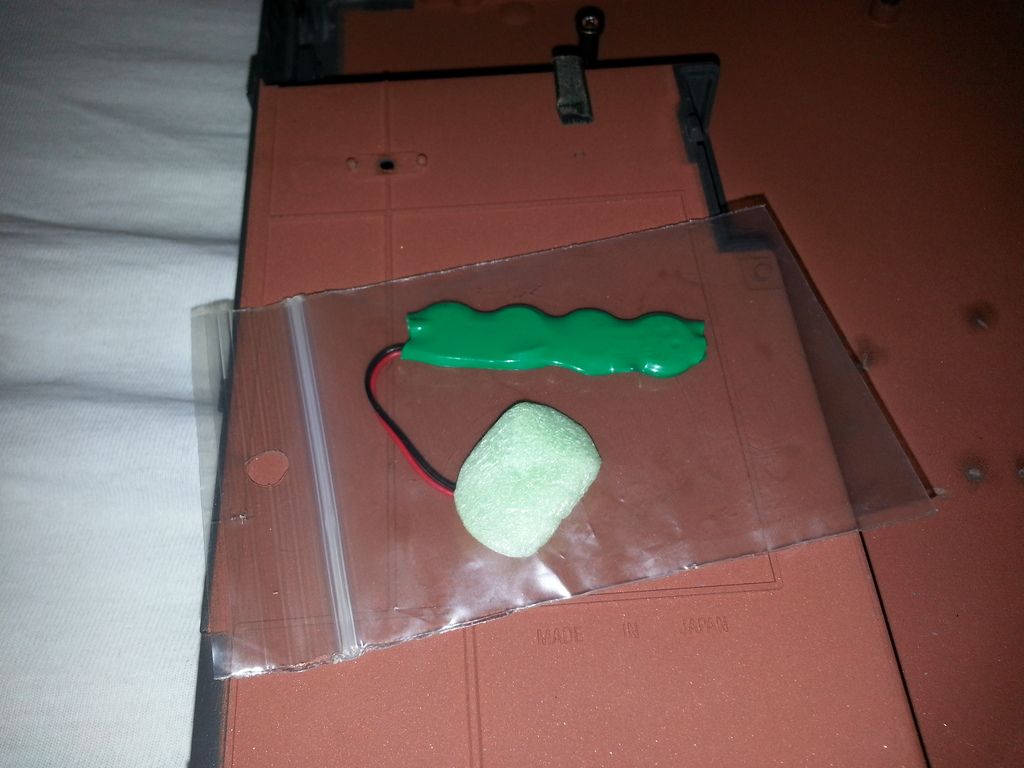
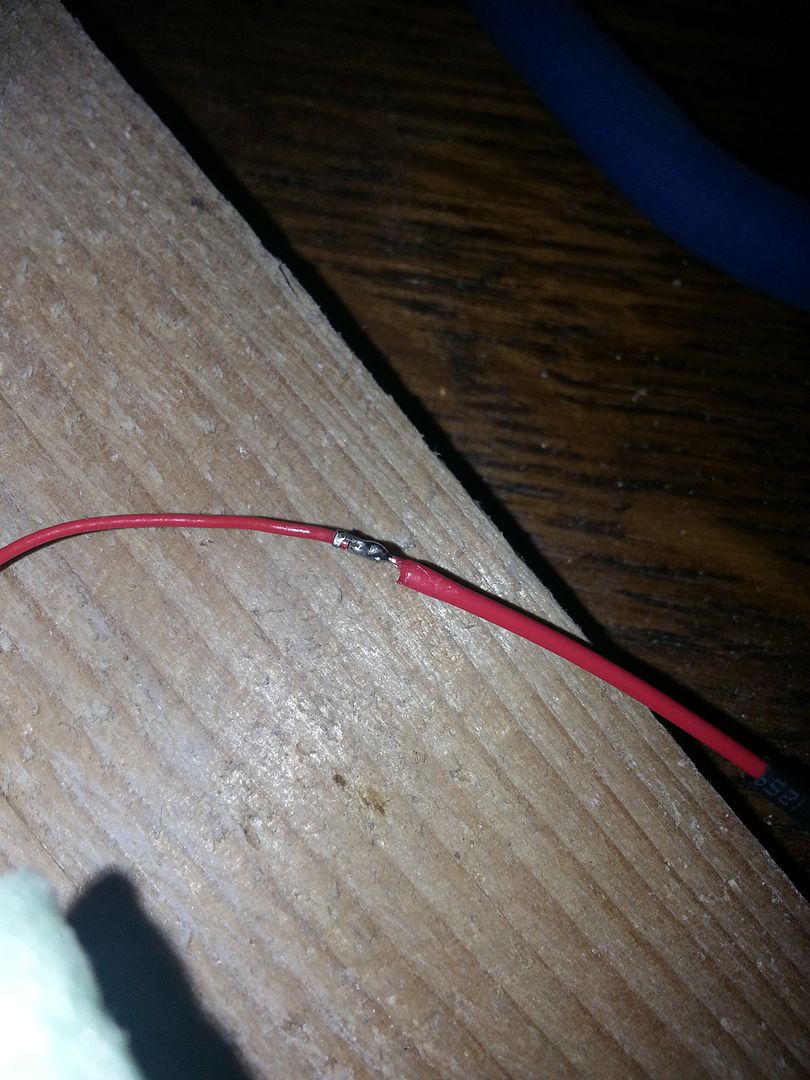
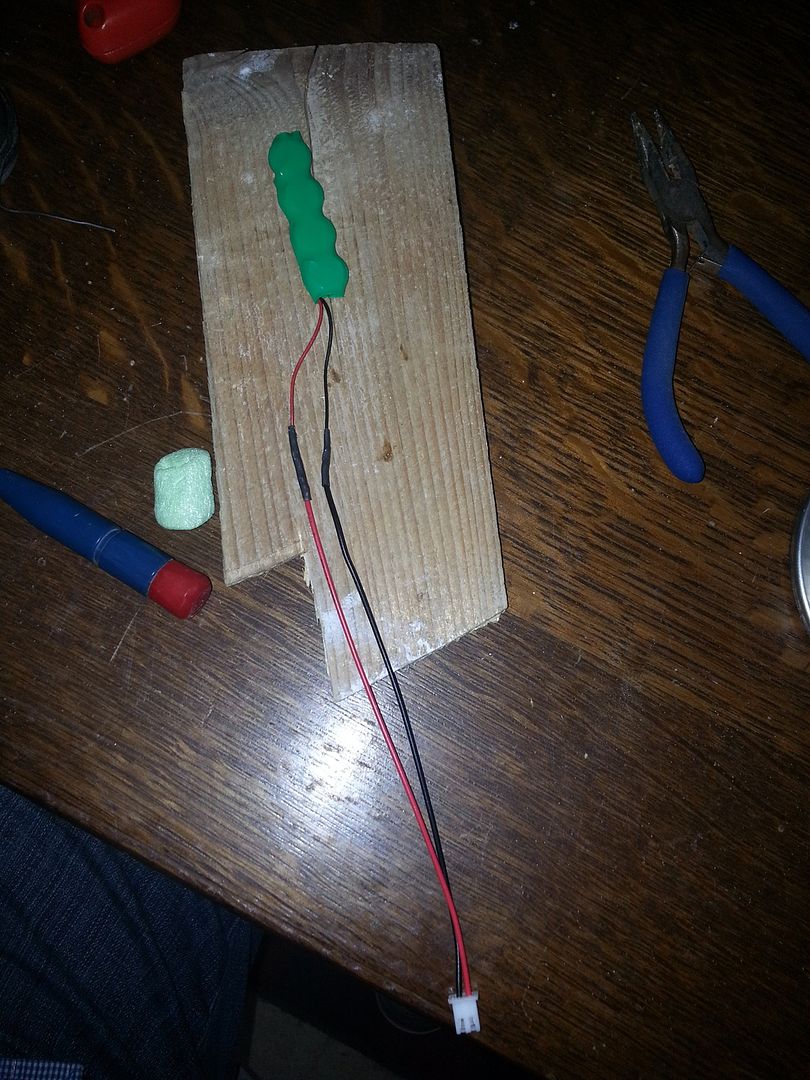
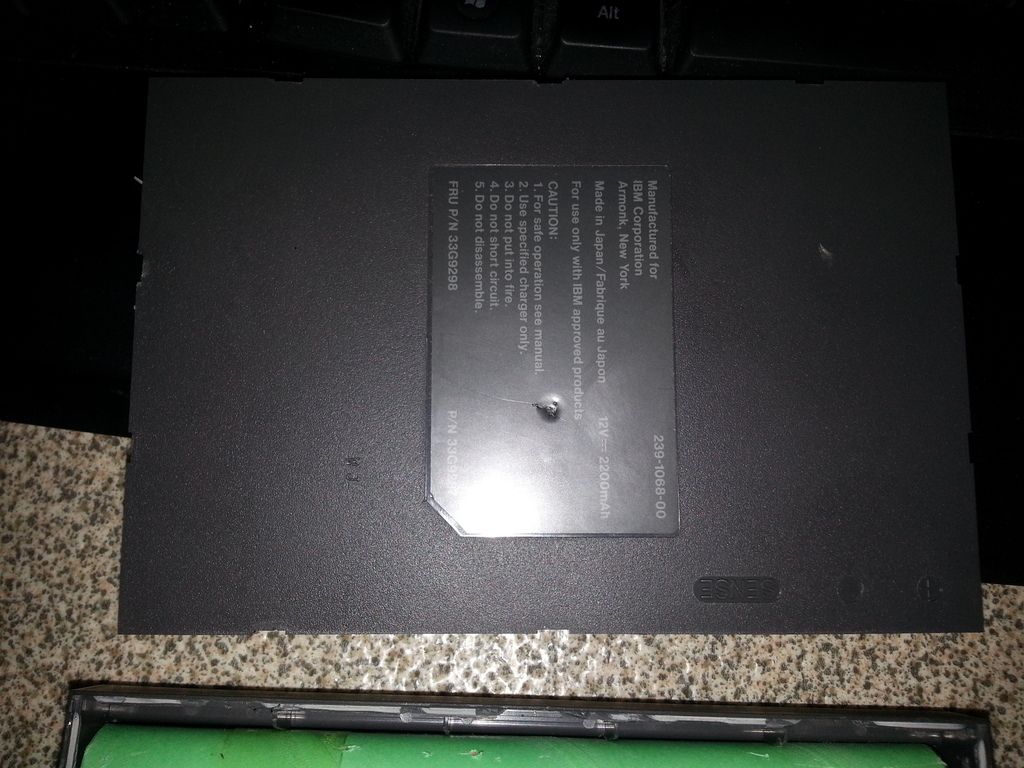
Yesterday (after 5 days) I started smelling a familiar aroma from the notebook so I immediatly started searching where it came from. First suspect was the battery (still with it) so I opened it but everything looks very well in there:
20160321_2119351_zpsgoocgcuj.jpg

20160321_2119201_zpsqdldm9az.jpg

20160321_2119281_zpsp57kw7ml.jpg

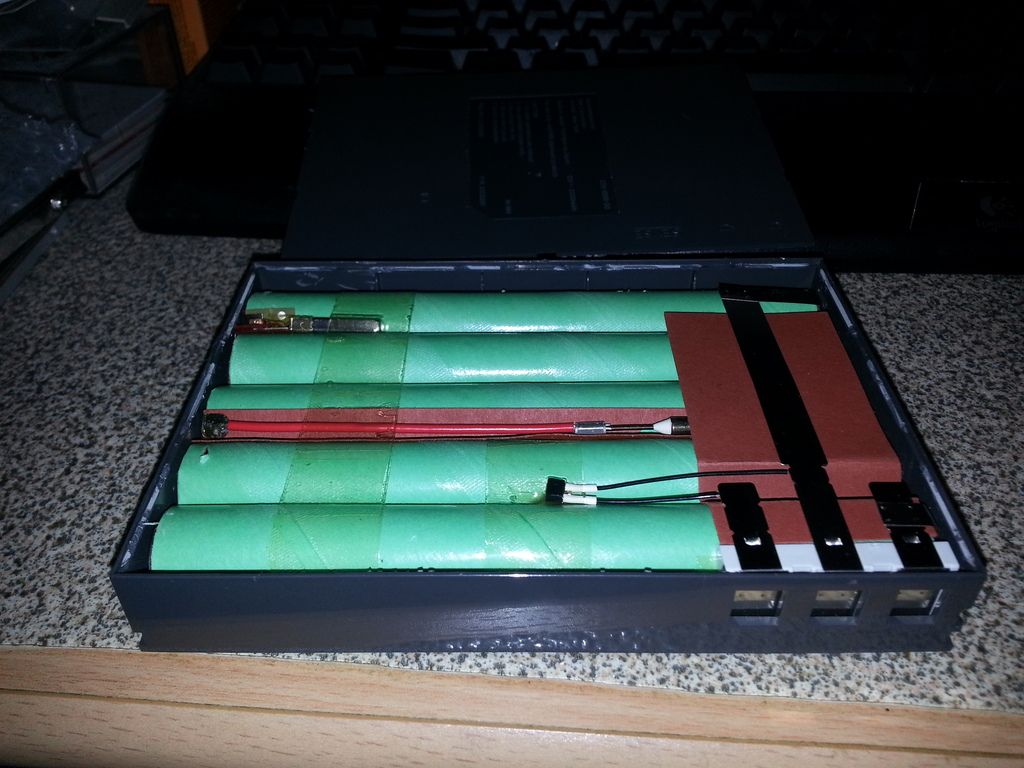
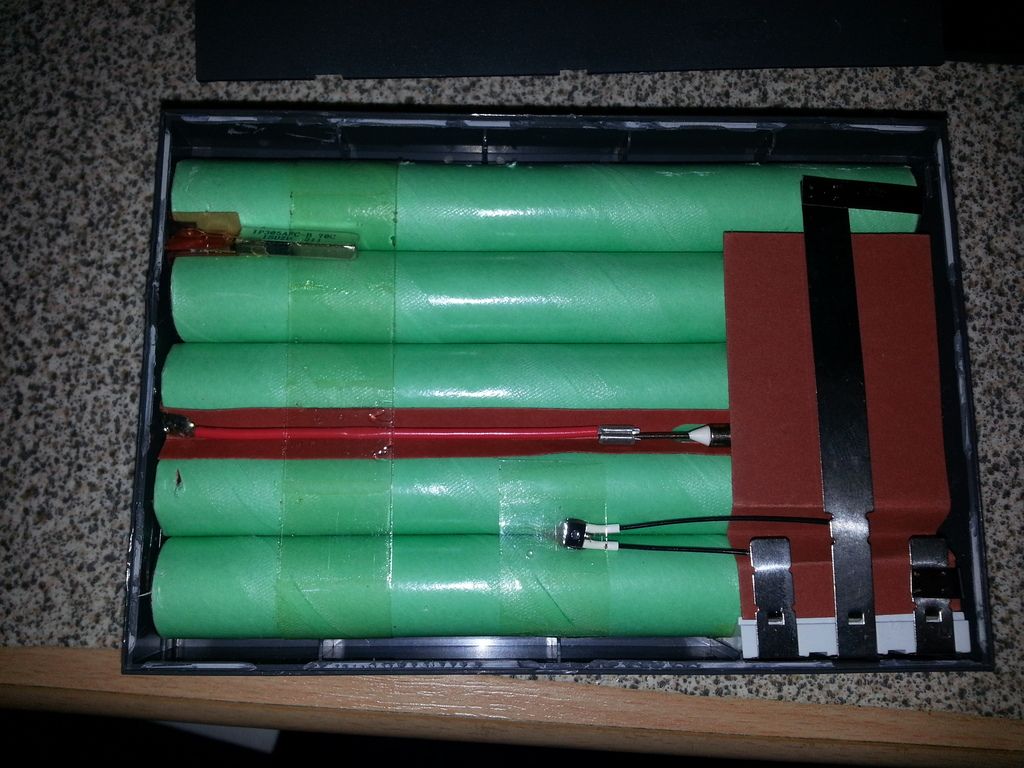
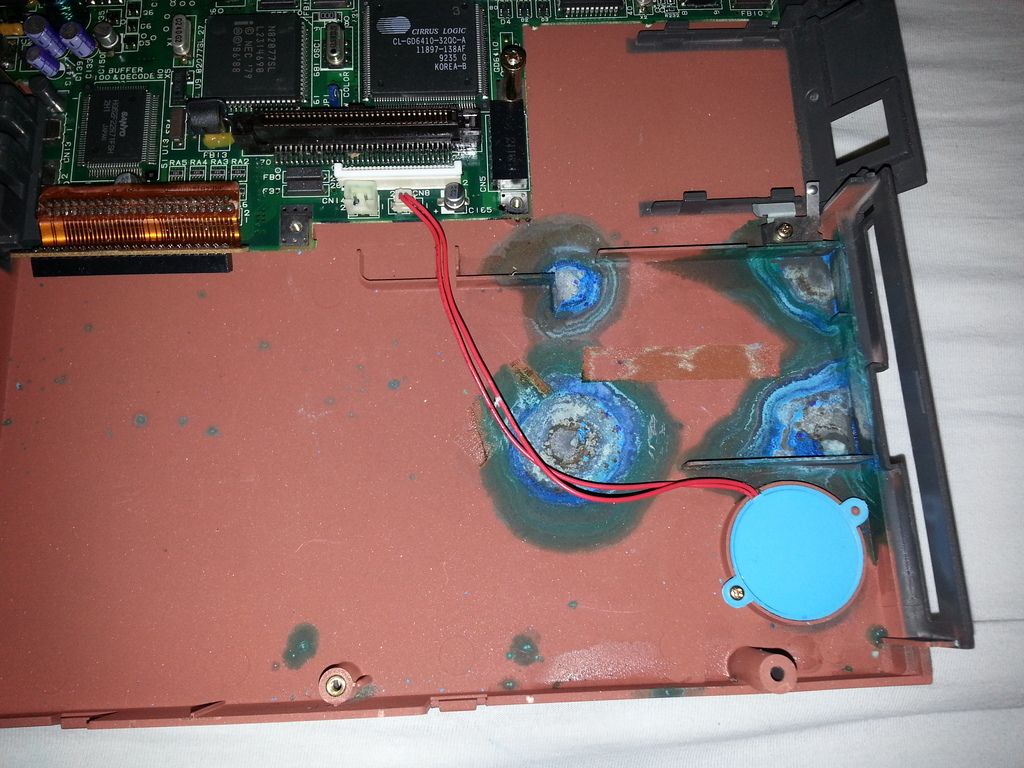
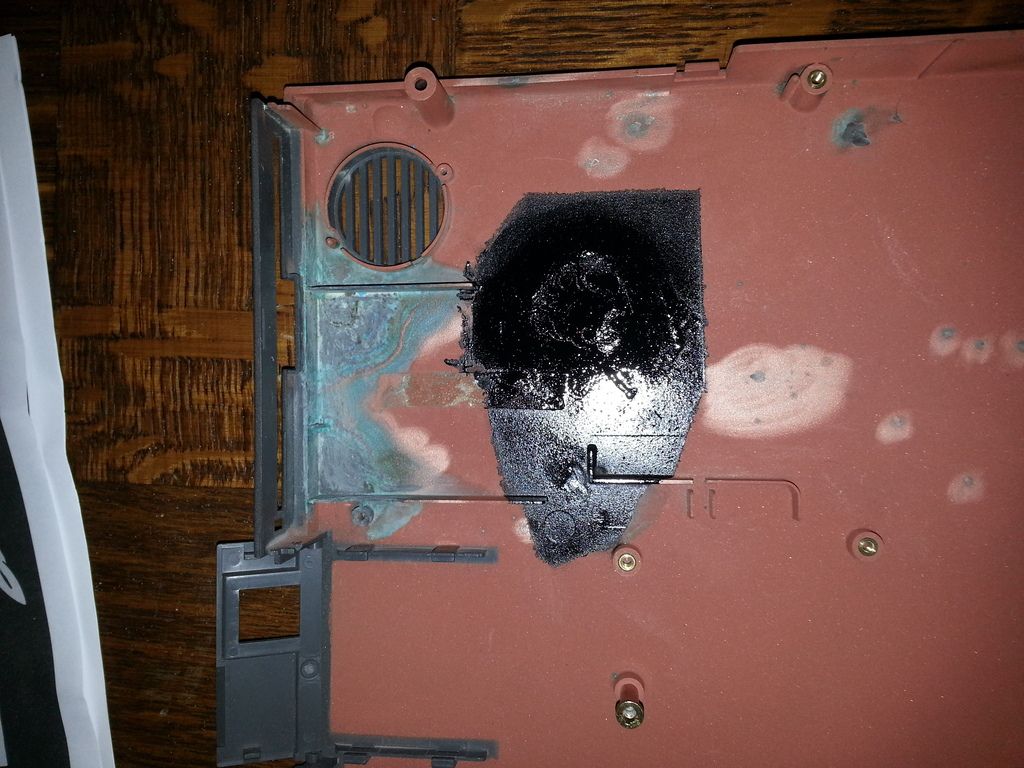
So the search continued

Last edited by Nvm1 on 2016-03-22, 11:37. Edited 3 times in total.

Reply 1 of 14, by Nvm1

User metadata
Rank Member
Rank
Member

If the main battery was still in this shape it had to be the "Standby battery".

Removing the topcover with LCD assembly revealed the first loose broken piece as you can see on this picture. 😠
20160321_2328211_zpssnsclpve.jpg

For the rest the notebook was still looking pretty neat:
20160321_2328331_zpsm9dqzdmp.jpg

Carefull tilting it on one side revealed two more small plastic clips broken off on the right side where the add in card is missing. All parts will be glued or epoxied back into the chassis.

After removing the keyboard the harddrive and floppy drive showed up looking like this:
20160321_2330351_zpsqukn6iy9.jpg

20160321_2330421_zpscgkulfek.jpg

At this point I noticed some blue spots at the bottom of the machine between the floppy drive and chassis that warned me something bad was happening there as you will see further on.

Last edited by Nvm1 on 2016-03-22, 11:38. Edited 1 time in total.

Reply 2 of 14, by Nvm1

User metadata
Rank Member
Rank
Member

To remove the floppy and harddisk it was necessary to remove the processor board first, and after removing all screws and lifting the board out it looked still pretty neat. 😎

Topview of the processor board showing the video/power&I/O board below it:
20160321_2330481_zpsjdhkbaly.jpg

Underside processor board:
20160321_2344011_zpsesb7qvut.jpg

I have no Idea what the sticky stuff on some chips comes from. It's just as on the chipset IC you can see here:
20160321_2344081_zpsgg9uuhf1.jpg

Sanyo chip also has it on the surface:
20160321_2344131_zps8jduc3t9.jpg

The rest remaining in the chassis:
20160321_2344321_zpsjohrytz0.jpg

VGA and powerboard info:
20160321_2345071_zpsv3ahkdzb.jpg

To be continued in the next post..

Reply 3 of 14, by Nvm1

User metadata
Rank Member
Rank
Member

I had great interest in the power section on the bottom board, knowing that the Thinkpad 300 was manufactured by Zenith and in being made there every unit had to be repaired first prior to being sold.. contrary to the Thinkpads that later followed this model. 🤣

This unit has clear traces from re-work done on the unit.
Powersection:
20160321_2345151_zpswq7jalge.jpg

Utter left part with the cooling rib:
20160321_2345211_zpsoeag8sxy.jpg

The part below the caps in bottom of this picture clearly is soldered on afterwards:
20160321_2345321_zpsgye8xhik.jpg

The part with the MA753 also is soldered on afterwards:
20160321_2345541_zps0010b5qm.jpg

"Cooling fin"
20160321_2346011_zpsnki19j5w.jpg

And the flash chip in detail next to the chipset:
20160321_2346241_zpsfylpplkj.jpg

Continued in the next post again..

Reply 4 of 14, by Nvm1

User metadata
Rank Member
Rank
Member

Now the motherboard left the chassis it was time for the harddisk to be removed. The few times the notebook actually started a bit the drive made a severe knocking sound so I assume it's heads are stuck or crashed. 😵

Top view of the harddisk:
20160321_2346391_zpskyx08ek4.jpg

Conner harddisk after removal:
20160321_2350481_zpshs5qqm3y.jpg

20160321_2351111_zpsdq9bxrna.jpg

I haven't had time to test the harddrive on my testbench, will do that as soon as I have the time for it.

The floppydrive also come out good after removing one screw:
20160321_2354441_zpsvtunkyhp.jpg

Notice there is some blue dirt on it in the mid right section.. because below it:
20160321_2354551_zpsubhymznv.jpg

The source of the aroma and the blue dirt everywhere clearly was an overaged and severely leaking standby battery:
20160321_2355011_zpszho2ypnh.jpg

It was an huge pile of acid mixed with eaten plastic parts and dirt 😵 😢

So time for damage control now!

Reply 5 of 14, by Nvm1

User metadata
Rank Member
Rank
Member

On the connector on the powerboard there is a bit of blue goo visable:
20160321_2355071_zpsiljlgoyy.jpg

Compared to the bottom chassis luckily it looks not that bad 😵 :
20160321_2357271_zpsd2rd5lpz.jpg

First step was removing the battery, so I grabbed a plastic bag to throw it in and carefully removed it. The thing was glued to the bottom and it needed a lot of force to let go so I used a big wide spatula to make sure it wouldn't break in pieces. The result:
20160322_0037461_zpsfgdqfmzj.jpg

The connector on the motherboard seems okay, the blue is a marker and not from the acid:
20160322_0037541_zps0rnjq9jv.jpg

I put some small pieces of cloth in the chassis on top of the leakages which are drenched in neutralising fluid. On top of that are some rock pieces, and hopefully tomorrow most of the goo is gone or atleast neutralised.

Since I can't continue any further I took two more close ups from the powersection where the solder work is better visable:
20160322_0038061_zpsypl70ldo.jpg

20160322_0038151_zpsa0m5xkfs.jpg

Solder work on both those points doesn't look very neat so I hope the system works again after assembling and finding a new decent Standby battery.
I hope you guys forgive the shitload of pictures but it was a nasty start to get this old 386sl system running again!

I started searching for a new battery but a real drop in replacement ain't available and since the height under the floppy drive is very limited I have to look what might be possible to replace it with. Any suggestions are welcome since some here will have more experience with that. 😊

Reply 6 of 14, by Nvm1

User metadata
Rank Member
Rank
Member

I came a bit further today. The bottom case lost alot of it's acid stuff due to a mixture of lemonjuice, soda and deminiralised water. However, it still looks far from perfect. 😒

20160324_184049_zpsu3u64ozc.jpg

Any suggestions on how to further reduce the amount of residue in it or is the only thing I can do is paint it over to hide it? Looks awfull like this and would appreciate if it could be turned into a much neater piece.

I also glued some of the broken off parts in it again, they all seem to hold great after 24 hours of drying so atleast one good succes so far.

20160323_202539_zps5mkxzwk9.jpg

Any feedback on how to treat the acid damage on the plastic is welcome 😲

Reply 7 of 14, by ODwilly

User metadata
Rank l33t
Rank
l33t

IIRC Apple Cider Vinegar also works well as an anti-acid (or is it white vinegar?) but ya since it sounds like you have already taken steps to neutralize the acid a couple coats of primer paint/spray paint and a coat or two of normal paint would clean it up real nice and cover the damage up.

Main pc: Asus ROG 17. R9 5900HX, RTX 3070m, 16gb ddr4 3200, 1tb NVME.
Retro PC: Soyo P4S Dragon, 3gb ddr 266, 120gb Maxtor, Geforce Fx 5950 Ultra, SB Live! 5.1

Reply 8 of 14, by JidaiGeki

User metadata
Rank Oldbie
Rank
Oldbie
Nvm1 wrote:

Any feedback on how to treat the acid damage on the plastic is welcome 😲

Love this rebuild, interesting note about Zenith build quality, thought they had a reasonable reputation? Look forward to more pics 😀

In re paint damage, I have a Mac Powerbook with similar looking acid damage, but despite soaking the whole case bottom in white vinegar (few litres in a plastic tub), it dissolved some crud, and loosened up some of the damaged paint, but left a mottled finish. My guess is, seeing that the paint on your 300 has been eaten away to metal, that you'll need to prime and paint as suggested. However, given you need to dig deep to even see the damage, don't worry too much about looks, the laptop looks great externally!

Reply 9 of 14, by Nvm1

User metadata
Rank Member
Rank
Member

Well, minor update. Whatever I tried didn't revive the Conner IDE 85mb drive without opening it so I am gonna try to open it up this evening and see if I can get the head moving again. 😵

I also got a spraycan paint, according to the shopowner it should stick well to the surfice without using primer. Gonna test it a part of bottomcase. Hopefully it will go black and stay black for a long long time... 🤣

Edit:
The Conner drive is alive again! Opening up and carefully forcing the arms to move brought it back alive. I had to move it quite a lot up and down to make the head move "freely" again (you can feel the magnets pulling it back to one specific resting point nevertheless). After powering it on again it didn't knock and was completely recognized as a drive again. Sadly I couldn't do a surface test since the USB to IDE converter doesn't understand the C/H/S addressing of such an old drive correctly. 😀 But I will test that later this week with an old P1 or 486. Really happy that this operating was a success and not a single bit of dust got into the drive. 🤣

Reply 10 of 14, by Nvm1

User metadata
Rank Member
Rank
Member

Another round of updates:
I went on and used my dremel to remove most residue on the surface of the bottom cover. It resulted in lots of blue dust flying around. The big spots still looked awfull, the small points all over the base got cleared completely this way. 😀

The bottom after grinding it with my dremel:
20160402_1431431_zpsnnfedh1n.jpg
The bright spots are the places where the acid was spread across the bottom. In the small spots it was completely removed after using the dremel

The big spots remained and still looked awfull:
20160402_1431491_zpsri2wibwi.jpg

So after this I used a brush to remove all dust from the cover and I went on the spray it in two runs.
The first run:
20160402_1503431_zpsufyluc1q.jpg
The outlines of the affected spot stay visible through the paint.

The second run:
20160402_1605301_zpspx8ldz7y.jpg

Now the whole looks alot better already. Tricky part was the area around the floppy entrance:
20160402_1829161_zps4lklqov5.jpg

In the meantime I received a new 20mAh bios battery which I hope will serve as a replacement bios battery for the Thinkpad:
20160402_1828571_zpsm0ba8m2n.jpg
It has the wrong connector but the correct connectors are already underway from China 😀

After a day of drying I started reassembling the bottom part as far as I could:
20160404_2216271_zpsduaa2lqr.jpg

20160404_2216491_zpss90sofu3.jpg

Things to do next:
- Test the HDD in my old P1 system
- When the connectors arrive solder it to the battery and connect
- Rebuild the whole system and test it
- Find and install 387sl
- Try to find extra RAM
- Try to find the expension Network card 😳

Reply 11 of 14, by brassicGamer

User metadata
Rank Oldbie
Rank
Oldbie
Nvm1 wrote:

The source of the aroma and the blue dirt everywhere clearly was an overaged and severely leaking standby battery:

Very interesting project! I am in the same position with a Toshiba T1600 286 laptop - fortunately the standby battery in this model was housed in a plastic chassis, separate from the rest of the case. I just don't know yet if the corrosion has found its way back to the PSU circuits (it looks fine so fingers crossed). I just received my new BIOS battery the other week, so time for some open-case testing! Good luck.

Check out my blog and YouTube channel for thoughts, articles, system profiles, and tips.

Reply 12 of 14, by Nvm1

User metadata
Rank Member
Rank
Member
brassicGamer wrote:
Nvm1 wrote:

The source of the aroma and the blue dirt everywhere clearly was an overaged and severely leaking standby battery:

Very interesting project! I am in the same position with a Toshiba T1600 286 laptop - fortunately the standby battery in this model was housed in a plastic chassis, separate from the rest of the case. I just don't know yet if the corrosion has found its way back to the PSU circuits (it looks fine so fingers crossed). I just received my new BIOS battery the other week, so time for some open-case testing! Good luck.

If the standby battery is in a separate housing then usually the damage is minor. Just post your progress as soon as you start with it.

I went on with my own rebuild since I received the Dupont connectors from China:
20160407_1852561_zpson47xrjm.jpg

Used a soldering station from work to do the soldering.
In progress:
20160412_1312311_zpsm9qnks68.jpg

Ready:
20160412_1319511_zpslrwx8xs9.jpg

Before I did build the bios battery into the chassis I put five layers of see through tape around it to shield it from external causes and the notebook itself from another leaking battery 🤣

The end result looks like this:
20160412_1745361_zpskng4xkoy.jpg

Now I have to find time to rebuild the notebook further 🤣
Things left to do next:
- Test the HDD in my old P1 system
- Rebuild the whole system and test it
- Find and install 387sl
- Try to find extra RAM
- Try to find the expension Network card 😳

Reply 13 of 14, by Nvm1

User metadata
Rank Member
Rank
Member

I found some time to build the Thinkpad 300 together until it looks like this again:
20160412_181625_zpsmp777yk7.jpg

Positive news is that the Harddisk runs like a champ again! Another succes.
However, after giving in the correct time and date again the screen seems to have an issue.. It starts out like this:
20160415_144857_zps0wioxnom.jpg

Pretty bright and very readable.. just a few "dancing" lines in it. But after 10 minutes it looks like this:
20160415_145441_zpsdqmcey7l.jpg

All contrast just disappears.. 😠

The backlight still works well, it's just as if all contrast fades in 10 minutes away. So I opened the screen and started searching. In the pic below is on the left side the inverter and backlight and on the right side the control board for brightness an contrast.
20160415_142144_zpseur7oipq.jpg

After closer inspection it seems that the aluminium caps on the control board all leaked minor or major and left black sticky stuff on the board. As example the cap in the middle and the black sticky stuff below it.
20160415_142214_zpsjohwwylu.jpg

Now a question to some more experienced people here. Would it possible be a solution to remove all existing caps and replace them so that the contrast keeps well?
Or am I quessing in the wrong direction? 😕 Any help would be great. If needed I can make some more detail pics of the board.

Reply 14 of 14, by brassicGamer

User metadata
Rank Oldbie
Rank
Oldbie
Nvm1 wrote:

Now a question to some more experienced people here. Would it possible be a solution to remove all existing caps and replace them so that the contrast keeps well?
Or am I quessing in the wrong direction? 😕 Any help would be great. If needed I can make some more detail pics of the board.

I have a similar problem with my Toshiba and have been advised to:

- remove all caps
- clean up
- test traces and vias in the affected area
- replace caps

With a machine this age it seems to be the only way to go if you want it to live for longer. If there is no damage and the caps are replaced it should work good as new.

Check out my blog and YouTube channel for thoughts, articles, system profiles, and tips.