'Illusions of Existence' - Liquid Drum and Bass Mix
I.P.A. or the story of the illusive 100%
From time to time, to spice things up, I like to set some "targets" that are easier or harder to achieve, depending of the situation. One thing is certain tough, no matter the difficulty the satisfaction is always the same. OFF THE SCALE! These old components are like a part of my soul and body. I say soul first and body second. I've read about them, I've laughed at them, I lusted over them, I owned them ... heck, they are like an old friend. You sometimes can see someone 20 years later and still have that "connection" even if you weren't in touch with each other. True friends are illusive too like that 100%! 😁 But I digress ...
In the AGP tribulations? series I was a little too ambitious and in the end I didn't get that 100% success rate with components bought from the flea market. Lately, that 100% thing kept popping up in my mind and I wanted to cross it off my list. So, I waited for the opportune moment and I made my move. This came in the form of the I.P.A. episode. Was I able to achieve that illusive 100%?
What does I.P.A. stand for? It has nothing to do with Isopropyl Alchool 99%, even if I "snorted" a lot of that stuff, so form where does it come from?
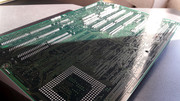
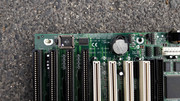
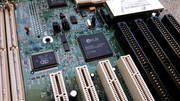
I. - ISA - Industry Standard Architecture
P. - PCI - Peripheral Component Interconnect
A. - AGP - Accelerated Graphic Port
I think that you already know that we are going to deal with graphic cards in this episode. 😁
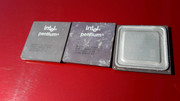
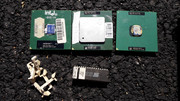
Let's meet "the victims".
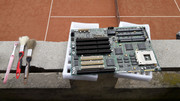
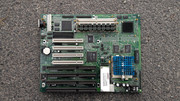
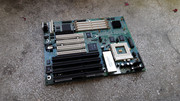
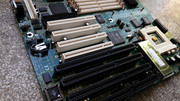
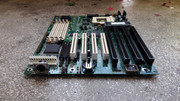
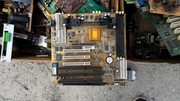
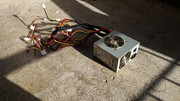
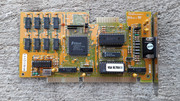
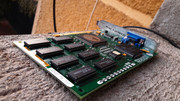
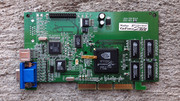
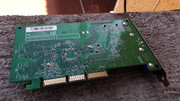
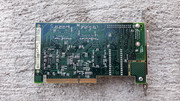
1. VGA ULTRA(I) Trident TVGA8900C 1MB ISA
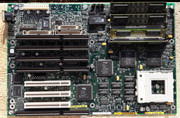
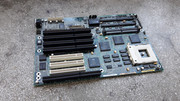
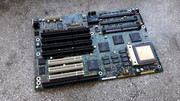
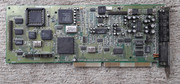
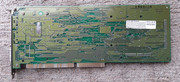
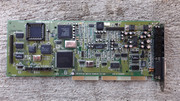
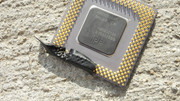
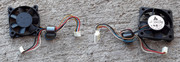
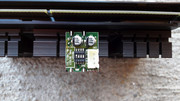
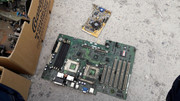
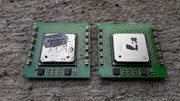
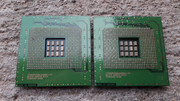
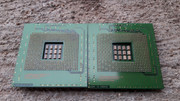
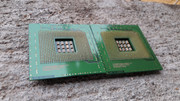
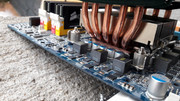
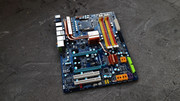
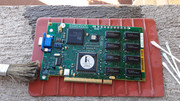
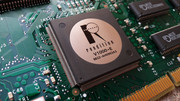
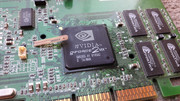
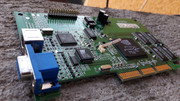
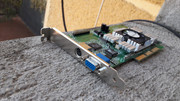
2. INTERGRAPH Intense 3D 100 Rendition Verite V1000-E 4MB PCI
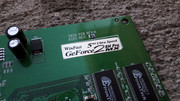
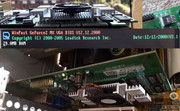
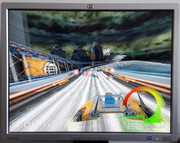
3. LEADTEK WinFast Geforce 2 MX SH PRO 5ns Ultra Speed - Geforce 2 MX 400 32MB AGP
All have been bought from the flea market, at about the same time, some days apart. No mistery here.
Let's see if they were all still alive and kicking and if I was able to return them to their former glory ...
Let's get on with the show!
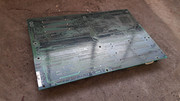
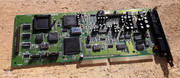
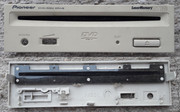
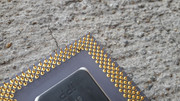
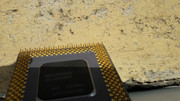
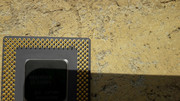
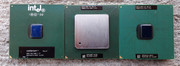
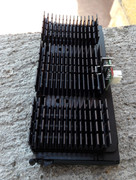
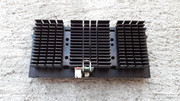
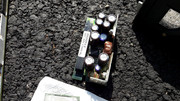
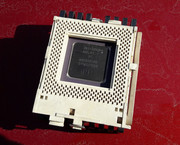
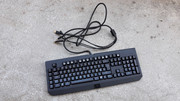
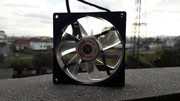
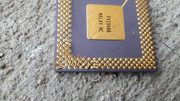
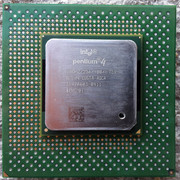
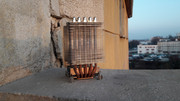
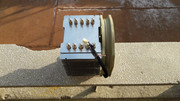
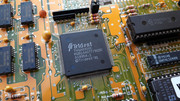
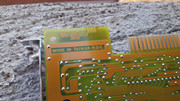
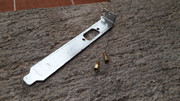
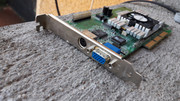
VGA ULTRA(I) Trident TVGA8900C 1MB ISA
Something about the ULTRA and Trident being on the same PCB made me shrug just a little bit but I didn't complain about the 1MB of video memory. 😁

These older components are more "organic" and it is a pleasure to work with them.
Also, the older parts are from the "Die Hard" category and they keep on going no matter what.
Some spit 'n' polish later.
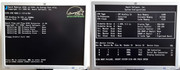
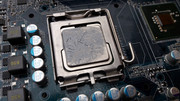
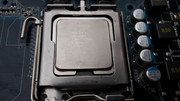
Lights! Camera! POWER!
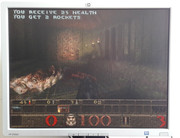
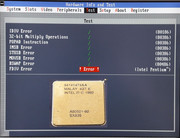
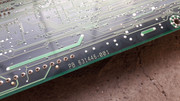
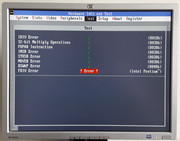
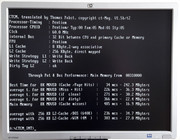
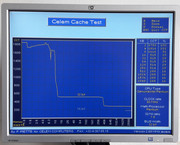
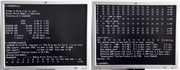
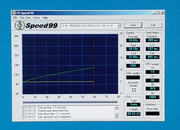
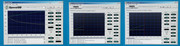
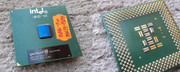
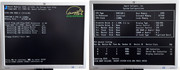
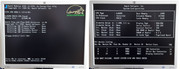
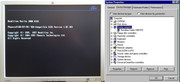
In regard to the state of the Trident 8900C I didnt have any doubts and even since I laid my hands on it I said to myself: this is working 100%!
gallery: https://postimg.cc/gallery/2uqpr5b56/
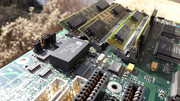
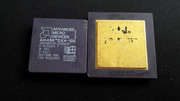
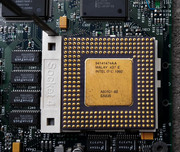
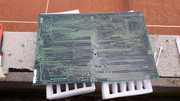
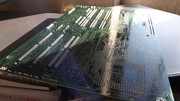
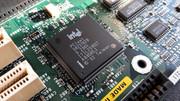
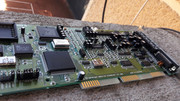
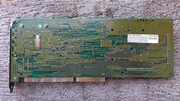
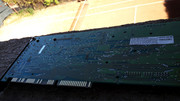
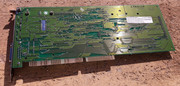
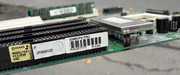
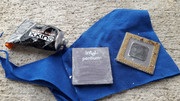
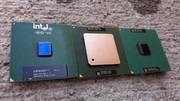
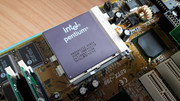
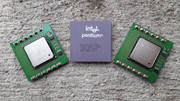
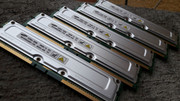
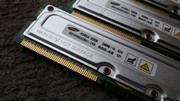
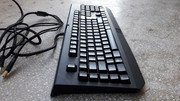
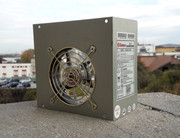
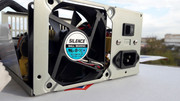
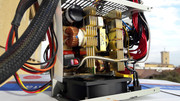
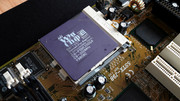
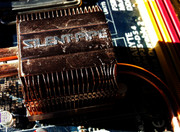
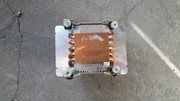
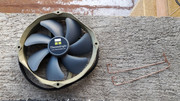
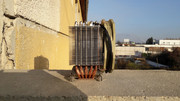
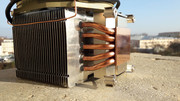
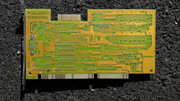
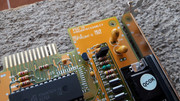
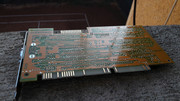
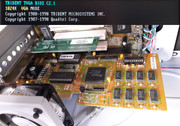
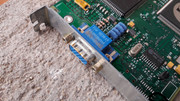
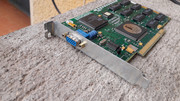
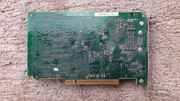
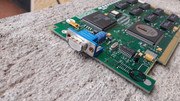
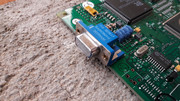
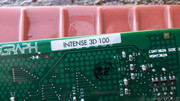
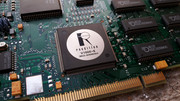
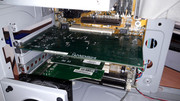
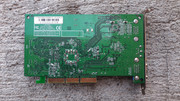
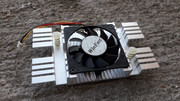
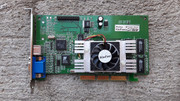
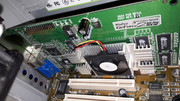
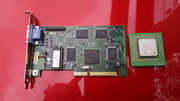
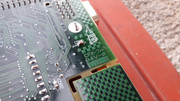
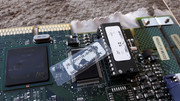
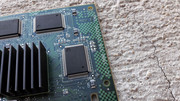
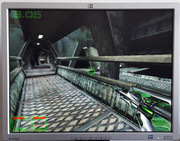
INTERGRAPH Intense 3D 100 Rendition Verite V1000-E 4MB PCI
Intergraph. This is a name that you don't see too often at the flea market.
Rendition. Again a name that doesn't pop up too often at the flea market.
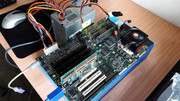
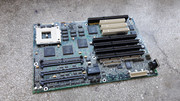
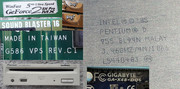
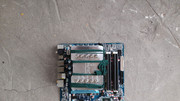
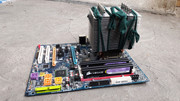
When I saw this card I was like a kid in the candy store. It was a package deal with a SK7 motherboard, an ISA modem and a CT2830 sound card. The asking price was very low. Lucky me!
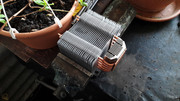
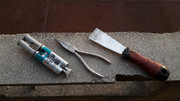
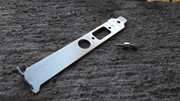
The card didn't look too well. Scratches all over the place and some rust here and there. Looking sorry for itself. Have no fear Robert B is in here! 😁

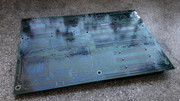
Straight as an arrow.
Rust be gone!
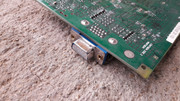

The bracket wasn't chromed so I was able just to sweeten a little the traces of the contact with water and the inevitable passing of time.
Some sessions with fine polishing paste and cotton sticks to reduce/remove the scratches on various chips.
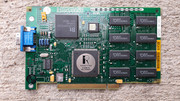
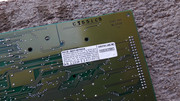
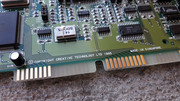
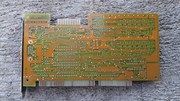
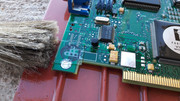
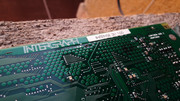
You can see the silkscreen REACTOR, the initial name of this card, instead of the Intense 3D 100.
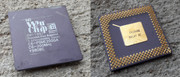
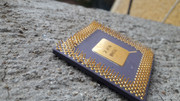
IPA 99%, patience and attention to detail.
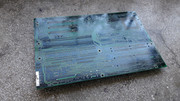
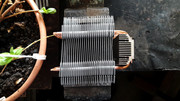
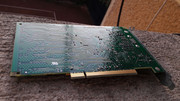
Final results.
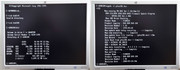
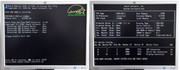
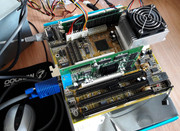
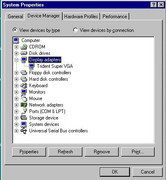
My work was done but I didn't know the state of the card.
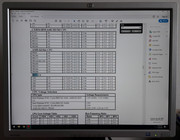
Weeks have passed until I fired it up. Something told me that she was alive so I was very relaxed.

gallery: https://postimg.cc/gallery/2nw0r7nai/
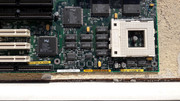
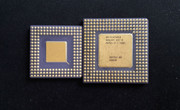
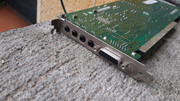
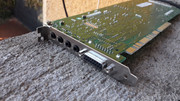
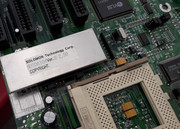
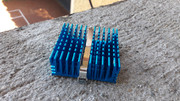
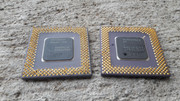
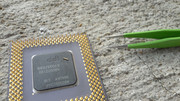
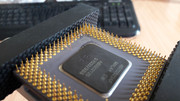
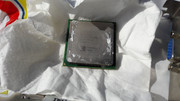
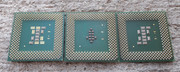
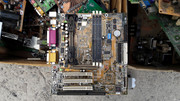
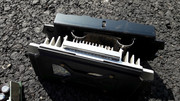
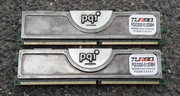
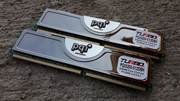
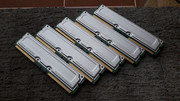
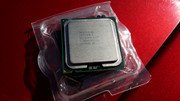
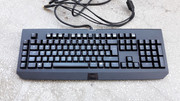
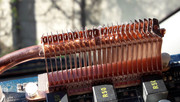
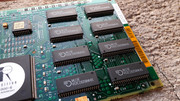
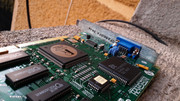
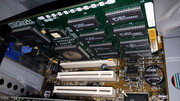
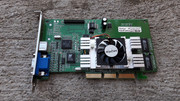
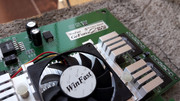
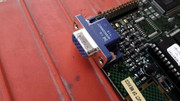
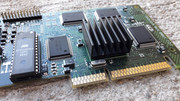
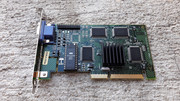
LEADTEK WinFast Geforce 2MX SH PRO 5ns Ultra Speed - Geforce 2 MX 400 32MB AGP
I used to love LEADTEK graphic cards. Now they aren't what they once were ...
I usually don't buy budget cards but in this instance I made an exception. A GF2 MX400 with ultra fast VRAM, LED indicators and a LEADTEK name? HELL YEAH!!! Shut up an take my money! (http://ixbtlabs.com/articles/gf2mxshprowinfast/index.html)
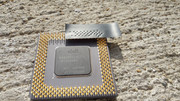
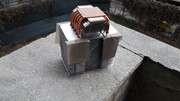
The card was looking very well.
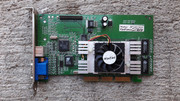
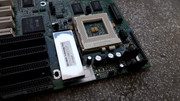
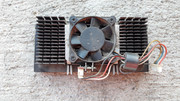
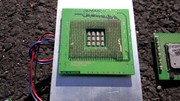
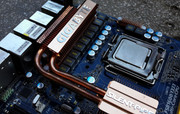
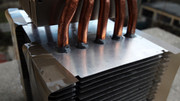
I removed the heatsink and surprise surprise, this is no ordinary GF2 MX400. Temperature sensor and stuff. NICE!


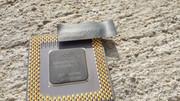
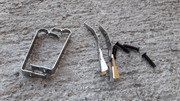
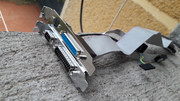
All was fine but I hit a snag. While I prepared the card for cleaning I saw that a pin from the VGA connector was pushed inward. The unfortunate thing was that it was the #1 PIN (RED). What were the odds?!?!?
I took a little time to assess the situation. In the end I used various "tools" and I managed to get the pin in the correct position. The bad thing was that it didnt stay in position and I had to use a little transparent POXIPOL to fix in place. To be safe, I put a fine line of Poxipol from one end to the other. Now even a gorilla can insert the VGA cable and the pins will stay in place.
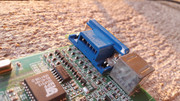
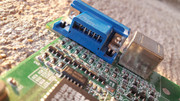
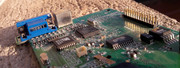
Huh, I almost said good bye to that 100%! That was a close one!
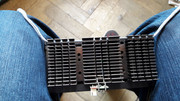
I cleaned the card well.


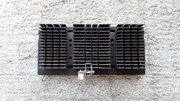
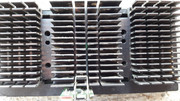
I cleaned the cooling system and the bracket. I had to polish the heatsink a little as the old paste left some marks that didn't look too well.

The final results were very good. Shining like a diamond in the goat's a$$.


If there was a card from these three, that could jeopardize my 100%, this was the one.
But I was lucky ... again! 😁


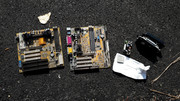
In the end I was able to achieve that illusive 100%. A 100% success rate with parts bought from the flea market that were still alive and kicking against all the odds. Dumped in boxes, dirty, forgotten, ready to be sent to the crusher and returned to the void from which they came ...
gallery: https://postimg.cc/gallery/1lwem9y22/
But wait, life is never so easy.
There is a twist ... the mistery variable that could've damage my perfect score and make a me look like a n00b celebrating before the last shot was taken. 😁
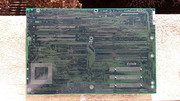
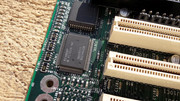
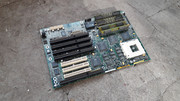
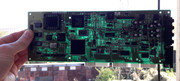
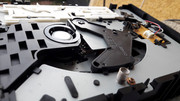
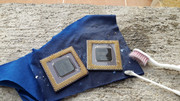
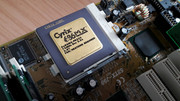
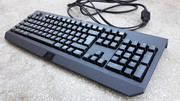
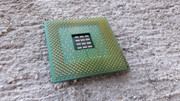
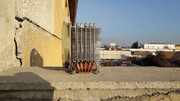
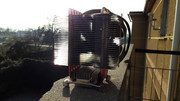
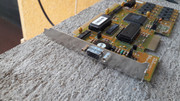
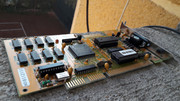
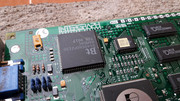
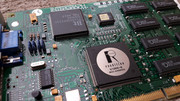
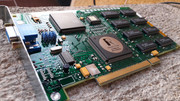
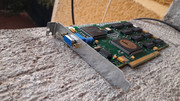
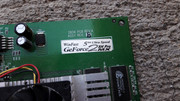
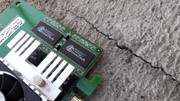
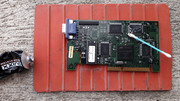
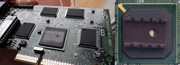
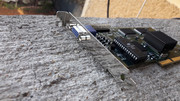
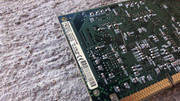
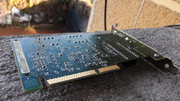
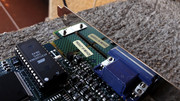
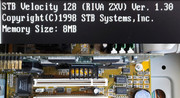
Meet the: STB Velocity 128-VBX AGP - nVIDIA Riva 128ZX 8MB AGP.
Another card that will prove to be alive?
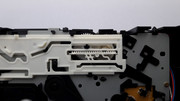
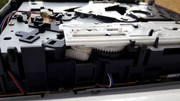
From all of the four cards, this one was in worse shape even if it looked pretty well.
It took me some time to reduce the ugly scrathes that were present on various chips. The side effect was the reduction of the intensity of the markings on some of them. All in all not a deal breaker.
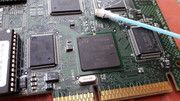
The card was missing a ceramic capacitor. After tens of minutes of searches I managed to find one that had the right colour but was a little too tall. After I soldered a capacitor that was the correct size but it was of a different colour I decided to remove it and replace it with the one with the correct colour but was a little taller. Back and forth, back and forth ... even from the get go, this card seemed a lost cause. Something was bothering me every time I laid my hands on it.

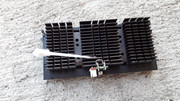
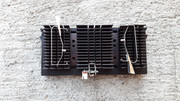
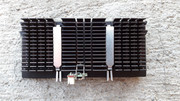
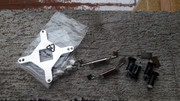
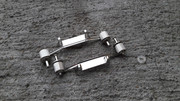
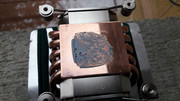
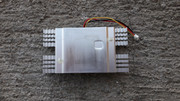
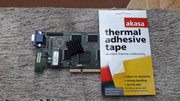
The card was missing a small heatsink that used to be fixed with thermal adhesive.
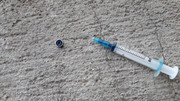
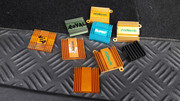
The transparent tape used to protect the already damaged label backfired and I had to remove the label entirely. Because an initial test with a cotton stick dipped in IPA 99% showed that the ink from the label started to run I decided to use the transparent tape that usually saved the day. Not today ...
This card fought me tooth and nail like it was saying: let me be ... let me sleep ... let me go ...
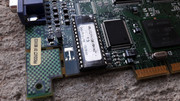
In regard to the missing heatsink I already had a suitable replacement. To fix something that for all intents and purposes looks to be a MOSFET heatsink is something sketchy to say the least. STB come on ... what the heck ...
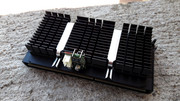
Surprise surprise, I wasnt able to fix the heatsink no matter what. A sign that the AKASA adhesive thermal tape was too old or a VooDoo spell had been cast on my card. The tape didnt adhere to the heatsink or the chip. No push-pins holes so I was stuck.
The card stood in a box for days.
In the end I found at a local store some tape, that even if it was thicker, it was what I needed. The thermal transfer was better 1.5W/mk (AG Termopad) vs 0.9W/mk (AKASA) so that was it.
I already had a backup plan involving thermal adhesive or some AC MX-4 thermal paste and superglue in the corners. In the end I used the thicker tape. Many RIVA 128ZX dont have a heatsink.


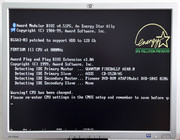
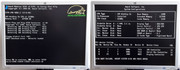
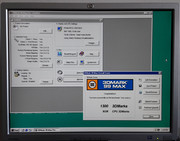
How did the card turn out?

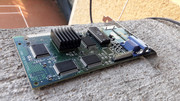
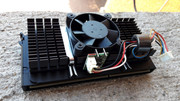
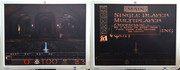
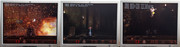
Looking good! So far so good! Flatline or pulse? The card was very cool and the heatsink barely got warm. The finger-o-meter registered just some very mild warmth on the back of the card. The heatsink measure was kind of overkill but I did it for peace of mind.
gallery: https://postimg.cc/gallery/25pw1wzoq/
Huh! That was a close one!
In the end I got a perfect score. A 100% success rate with components bought from the flea market that were a complete unknown. Some champagne is in order.
This was the story of my illusive 100%. A combination of experience, luck or a correct choice of candidates. You be the judge of that.
More later.