VOGONS


First post, by Paddan1000

User metadata
Rank Member
Rank
Member

I finally managed to get my hands on a real LAPC-I, to use in my retro PC. After having searched the world for years, it turned out that one of my neighbors had had one in his closet all the time, together with a GUS Classic and a GUS PnP, and was willing to sell all three cards to me for a mere $60.

Too bad the LAPC was missing the MCB-1 interface needed for me to hook up my Sound Canvas and my first generation external MT-32. The seller claimed that he had never owned the MCB-1 in the first place, but that he had made a MIDI-interface by himself back when he was using the card. Unfortunately, he couldn't find this home-made MIDI-interface, or he would have given it to me.

I doubt I could ever find a real MCB-1, so I'd like to try to make an interface myself. After some searching I managed to find some information on the procedure here:

http://queststudios.com/smf/index.php?action= … ge;topic=2796.0

The link contains the schematics of the MCB-1...

...and this short description of how to modify a standard MIDI-cable into a MCB-1 compatible MIDI-cable:

"You could get a standard gameport-midi cable, and modify that. […]
Show full quote

"You could get a standard gameport-midi cable, and modify that.

Pin 4 and 5 of the gameport are 11 and 12 on the LAPC-I (GND)
1, 8 and 9 on gameport are 1 and 2 on LAPC-I (+5 V)
12 on gameport is 4 on LAPC-I (TXD)
15 on gameport is 3 on LAPC-I (RXD)"

I don't need MIDI-in, SYNC-out, the metronome or anything else except MPU-401 compatible MIDI-out to my Sound Canvas and my external MT-32.

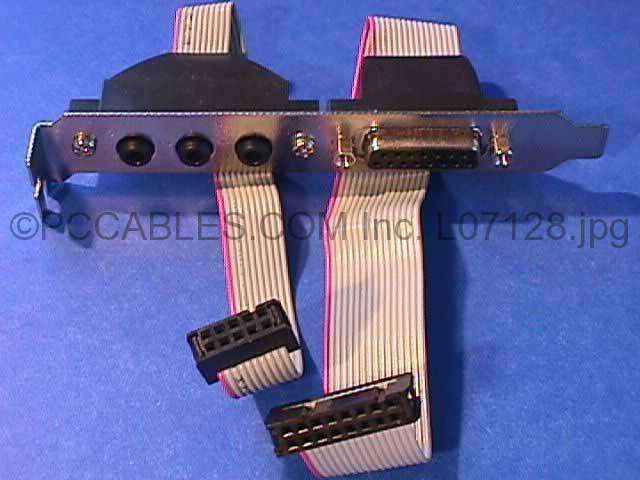
I don't have much experience with electronics, so I wonder if anyone could verify that the information found in the link is correct and give me a more detailed description on how the modification is to be done and what problems could arise. I'd like to know stuff like where to cut the cable, if I need to do anything inside the plugs, where to solder and if I need any resistors and the like. The cable I'm willing to sacrifice is a standard 15-pin gameport to MIDI-in and MIDI-out, like this one: http://images.maplin.co.uk/full/vl80b.jpg

Reply 1 of 7, by sklawz

User metadata
Rank Member
Rank
Member

lo

i can't verify anything about the LAPC but
the advice about the midi gameport refers
to butchering a midi gameport adapter socket
not the actual gameport midi external adapter.

eg. you can get something like this:

http://www.pccables.com/images/L07128.jpg

and use a butchered version of that to connect to
your board and then plug in the midi cable externally
as per normal.

bye

PS. (off topic) that kind of bracket is also ideal for an audigy2
where i soldered a cut in half an analogue cdrom cable to the
audio sockets to utilise the analogue CDROM/AUX inputs.
Of course plug the gameport plugs into audigy2 as well.

Reply 2 of 7, by Paddan1000

User metadata
Rank Member
Rank
Member

I made a LAPC-to-Gameport MIDI interface-converter by soldering together the female MIDI-socket of a SB Audigy with a male connector from a gamepad. I soldered according to the instructions by connecting the pins of the LAPC to the pins of the standard MIDI-cable like this:

Pin 1 to pin 1 (+5V)
Pin 2 to pin 9 (+5V)
Pin 3 to pin 15 (RXD)
Pin 4 to pin 12 (TXD)
Pin 11 to pin 4 (GND)
Pin 12 to pin 5 (GND)
I didn't connect the third +5V, pin 8, of the MIDI-cable to anything since there were only 2 +5V on the LAPC.

I checked the MIDI-interface-converter I had just made for short circuits and didn't find any. I connected one end of it to the LAPC and the other to the MIDI-cable that went to my SC-55 and started the computer. And...

...the ground wire between pin 12 and 5 got really hot and started smoking. I managed to turn off the computer within a few seconds, but the plastic had already been burnt away from the wire. Fortunately my LAPC and my SC-55 seems to have survived, but who knows what would have happened if I had turned off the computer a few seconds later...

So does anyone know what went wrong and why?

Reply 3 of 7, by sklawz

User metadata
Rank Member
Rank
Member

lo

looking at that diagram you referred to earlier then
it suggests you are using the pin numbering of the MCB-1
cord assembly.

noticeably the cord assembly numbering is not the
same as the CN1 on your LAPC-1

that trouble you have had appears to be a short
circuit.

as i said already i can't verify anything about the LAPC-1
but you would be advised to test the pins on the CN1
connector for some sanity such as using a multimeter
and/or logic probe.

from the diagram though we see:
CN1
1=GND
2=T.IN
3=METRONOME
4=NC
5=NC
6=NC
7=CLOCK
8=+5V
9=GND
10=T.OUT
11=+5V
12=NC
13=TXD
14=RXD
15=START

i suggest you use extreme caution and work on this 1
pin at a time with a logic probe and even via a breadboard
until you are 100% sure that the CN1 pinout is valid.

bye

Reply 4 of 7, by Paddan1000

User metadata
Rank Member
Rank
Member

I made a new adaptor where I rearranged the pins according to CN1 on the LAPC-I. This time the cable is transmitting some kind of signal to the SC-55 without overheating, but the General MIDI-songs are all garbled and the SC-55 gets stuck on permanently playing some notes, until I restart it. But still, we are making progress! What could be missing, to make the LAPC-I transfer a proper signal?

Reply 5 of 7, by Great Hierophant

User metadata
Rank l33t
Rank
l33t

As you see in the MCB-1 schematic, there is a hex inverter/buffer through which the TXD signal must go. Does your cable/circuit provide the buffer?

http://nerdlypleasures.blogspot.com/ - Nerdly Pleasures - My Retro Gaming, Computing & Tech Blog

Reply 7 of 7, by sklawz

User metadata
Rank Member
Rank
Member

lo

Great Hierophant looks to have the nail on the head.

the mcb-1 is inverting the signal, your external adapter
will not be inverting the signal AFAIK. if it does have an
inverter it would be followed by o/c transistor which
in effect would be non-inverting.

if you need an inverter you could do no worse than
using the simple circuit as found here for example:
http://www.kpsec.freeuk.com/trancirc.htm

the fact that you have noise coming out is progress 😀

good luck