First post, by ReeseRiverson

- Rank
- Member
Yep, I'm at it again, I can't help myself. Especially finding a case that really caught my eyes, I knew one of the many motherboards I had laying around needed a wonderful home. Now I still have my previous project I need to start on soon, that I started here: Motherboard Choices, what to pick for my new old stock AT case...
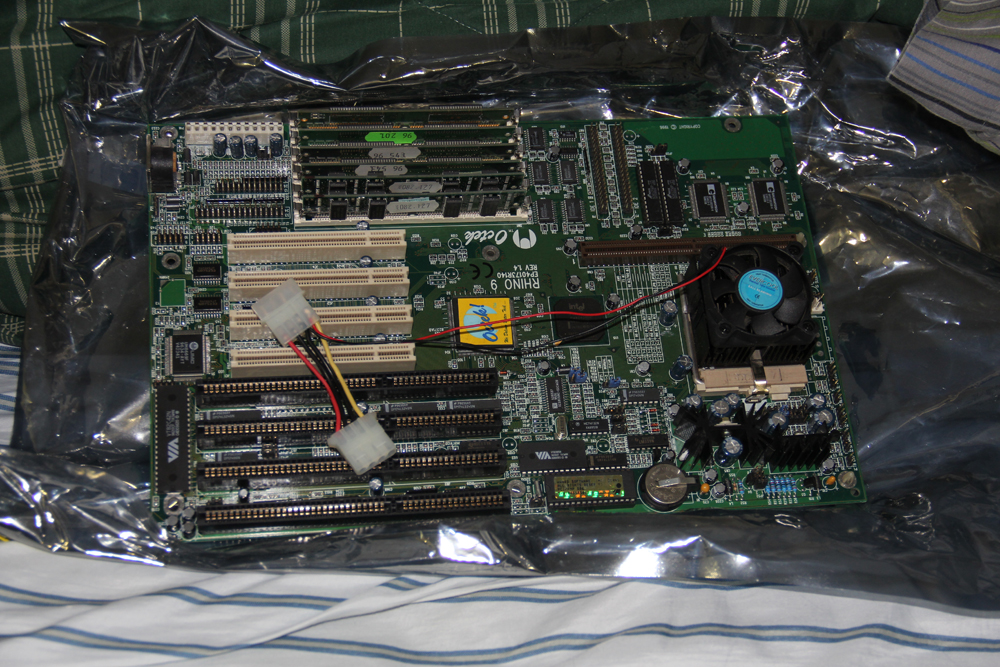
Most people voted 486 motherboard for that tower, but one member here voted on the OCTEK Rhino 9 Motherboard with a Intel Pentium 166MHz processor with 32MB RAM. So I decided to use this very motherboard in this current project!
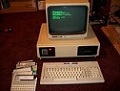
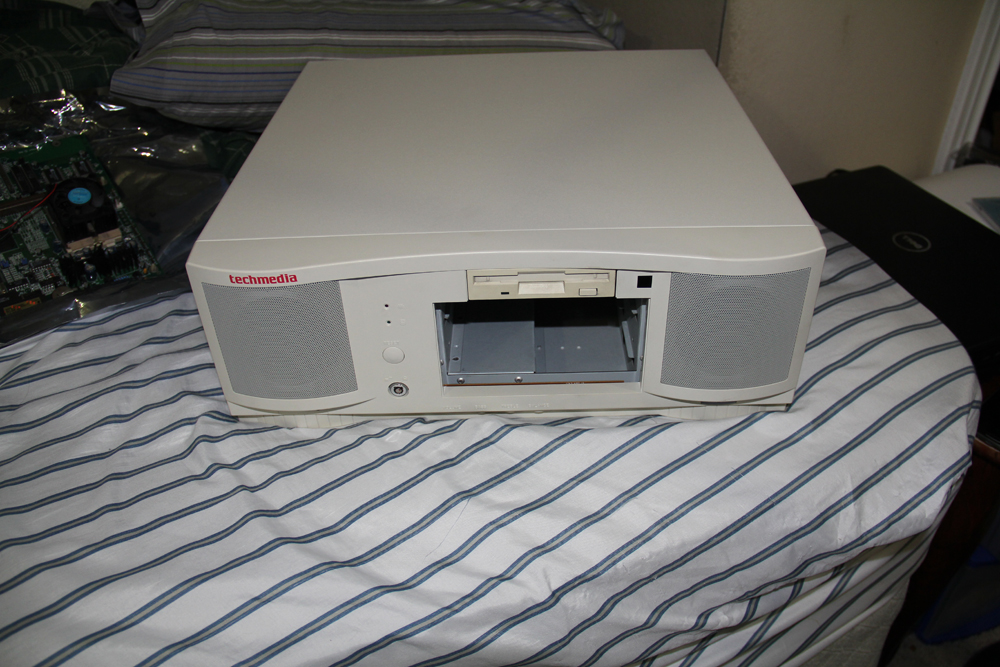
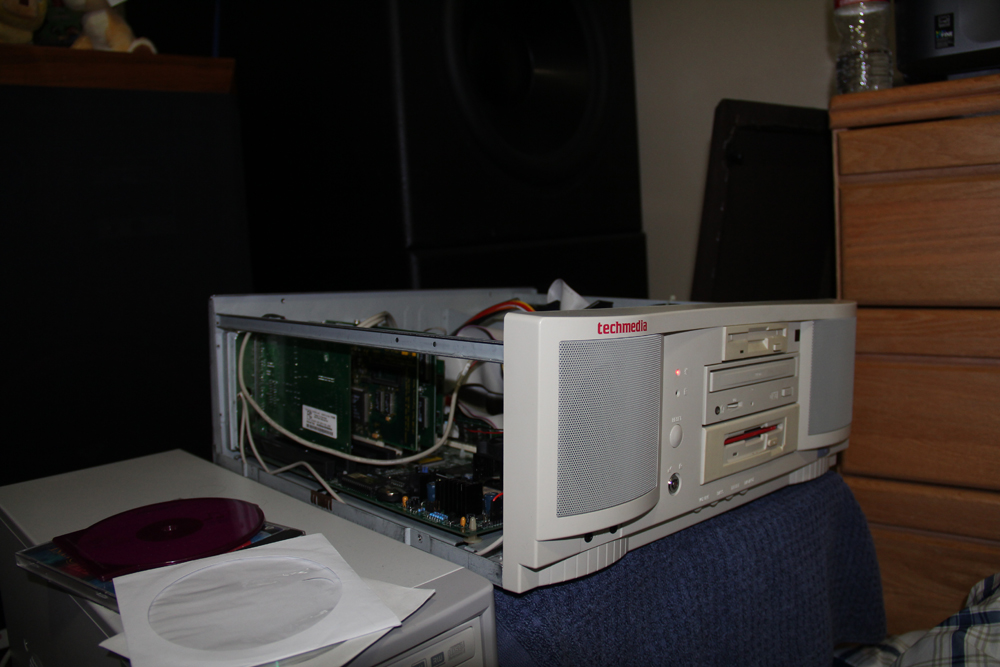
So we start out with the Techmedia case, I even got the original box for this bad boy out in the garage still!
Earlier picture of the motherboard:
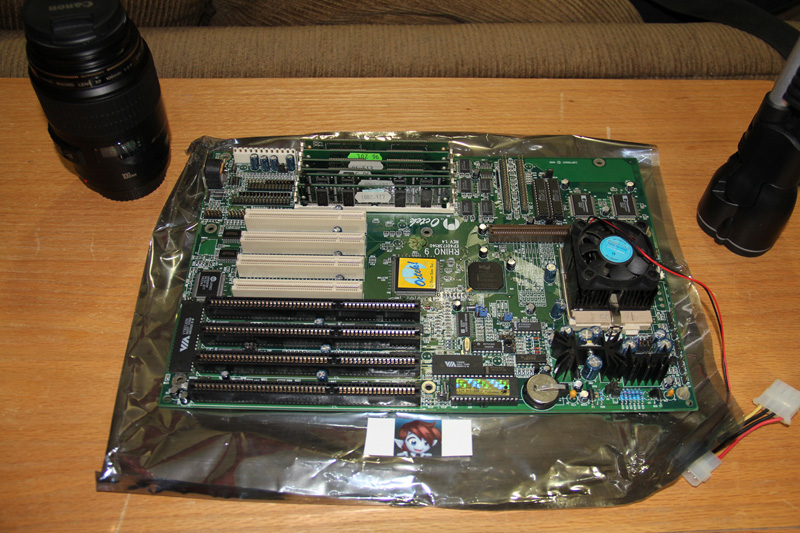
Well, nothing has really changed for this board at this point still on this current picture. 🤣
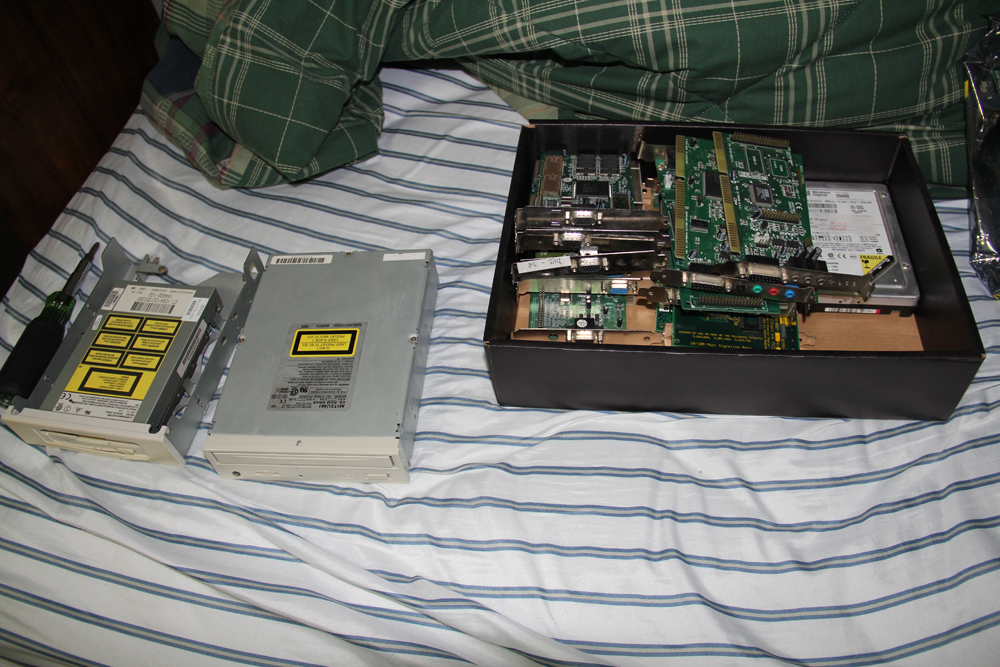
Then I collected a few cards to pick and choose from, and I also realize I need to buy more optical and floppy drives. 🤣
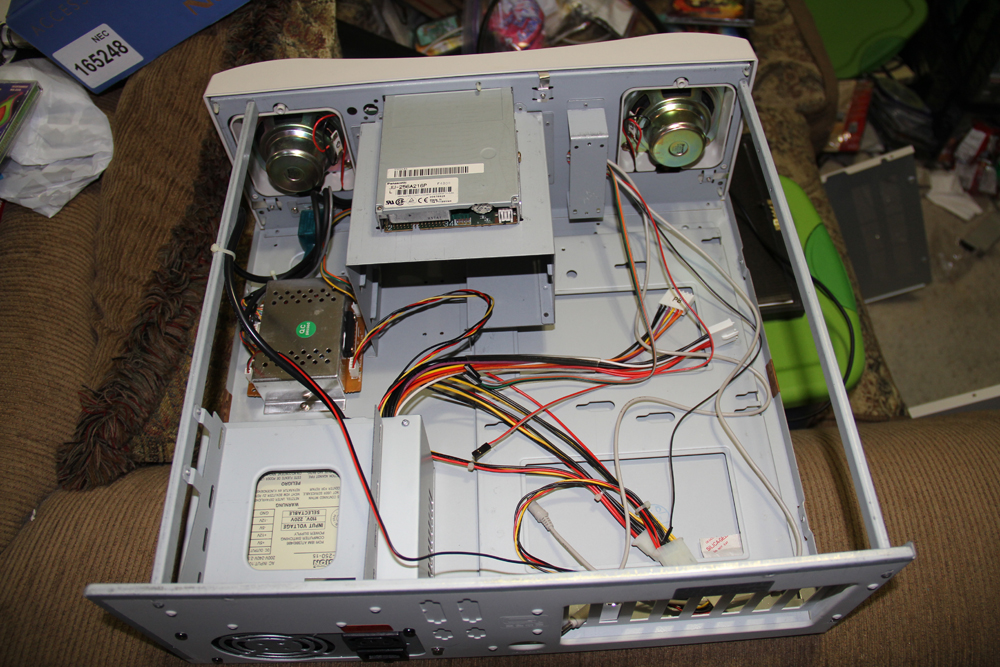
I then decided to open up the case, and it's extremely clean inside, the box to the left behind the PSU is the amplifier for the built in speakers, and it even has a wire specifically for the PC speaker header on the motherboard!
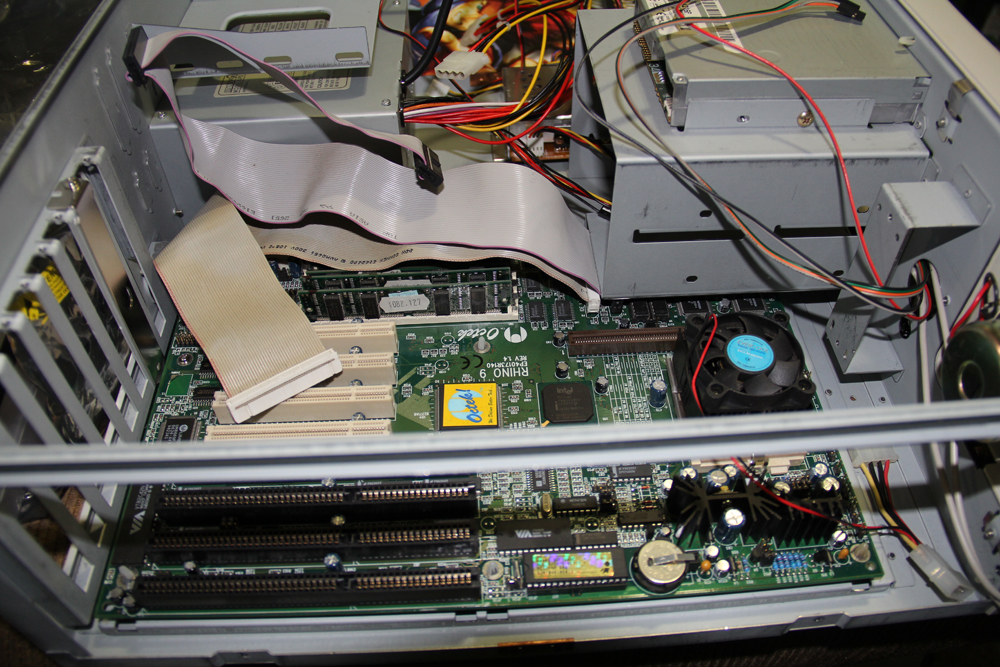
So I prepped the motherboard, first for a test fit to see what all I needed to do, and I noticed I would need to have my IDE cables hooked up before I install the board, not a big deal, it worked out just fine! Juuuust enough clearance between the board and the 5.25" bay!
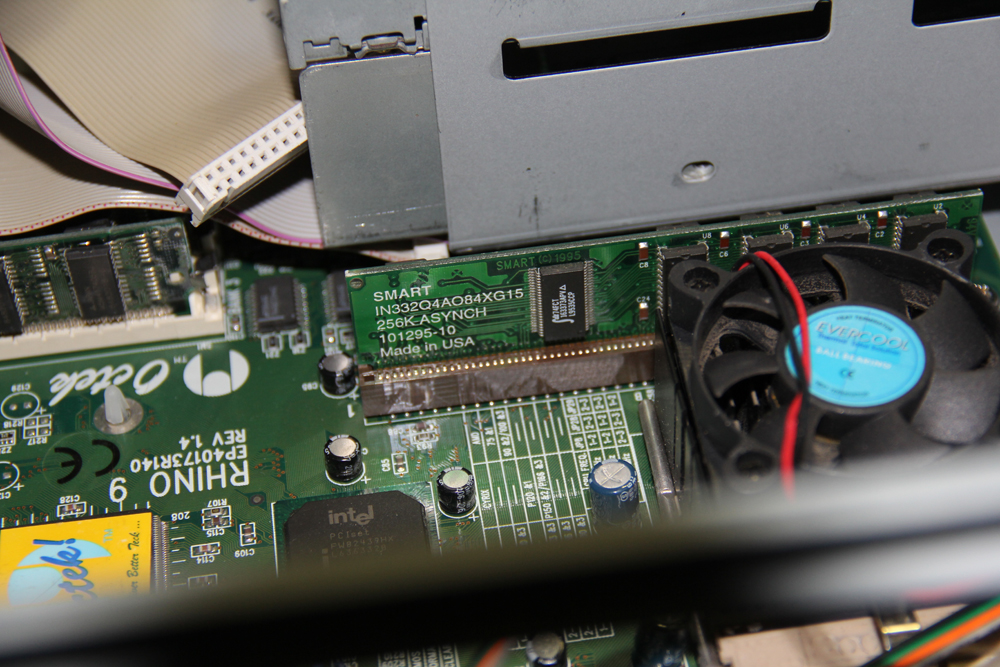
Then I got to thinking, I have a spare stick of cache I never ever got to use... I've had it for a long time, so after I find it, I put it in! Now from 256k to 512k of total cache! I looked into the manual for the motherboard I found online, and it didn't require any jumper settings, it said it was automatic for this.
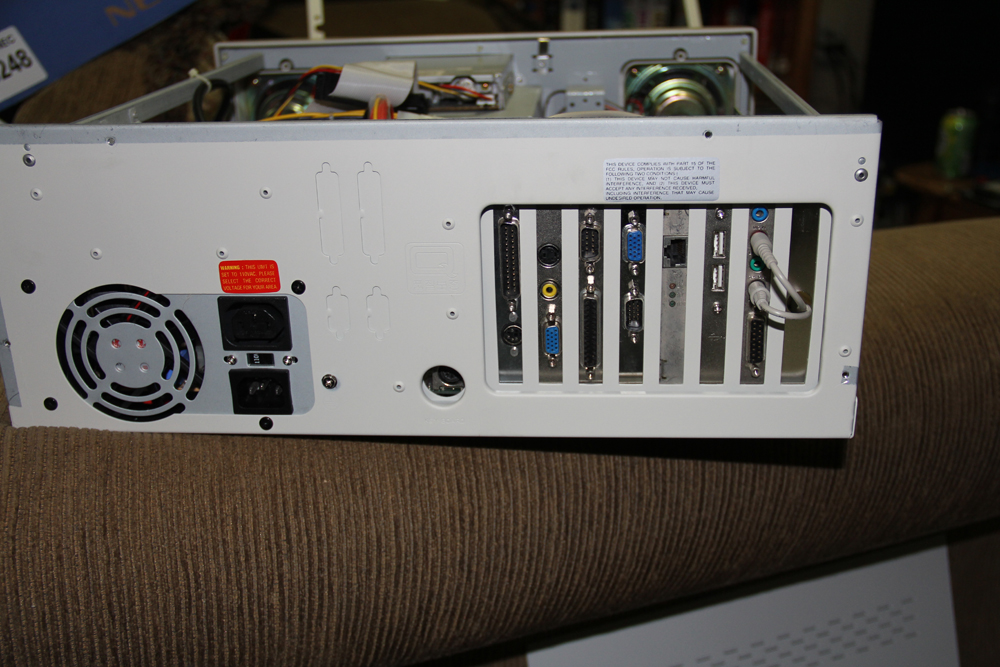
So now I got the ATI Rage LT Pro 8MB graphics card inserted, along with the Diamoned 3DFX Voodoo card, then the 3Com Etherlink PCI card in, and my SoundBlaster AWE64 Value card. Not to forget some of the add-in brackets to connect to the motherboard headers!

Then of course, the view of the back side, who can ever resist these? 🤣
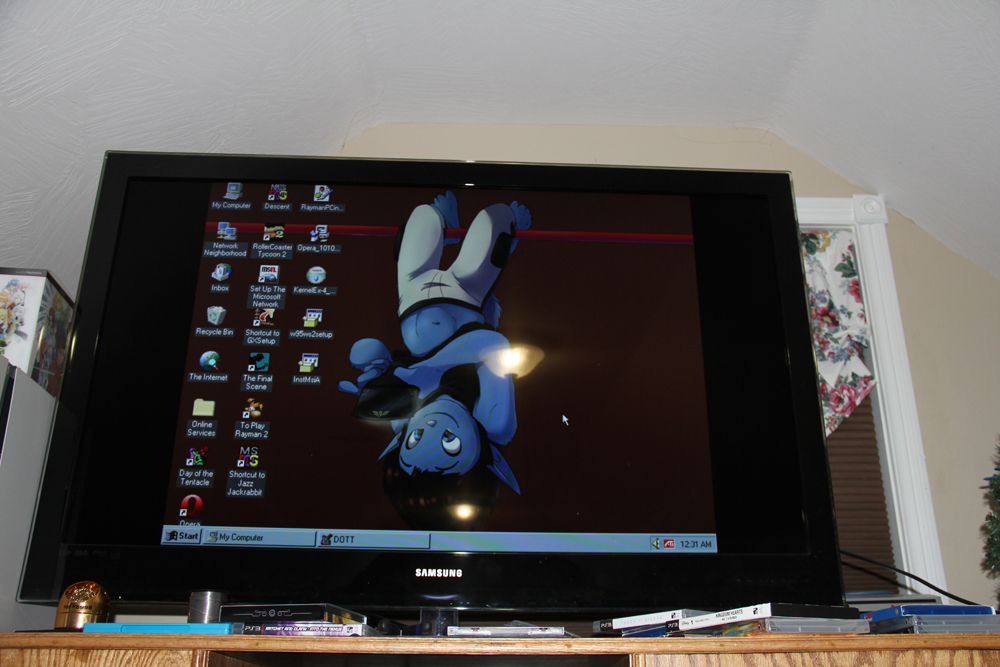
Then there she is, all powered up!
Oh, and I ended up cheating a little bit, my 6GB harddrive already had Windows 95 installed off my Pentium Pro machine I never fully completed... but it worked out well in here. I intended to install Windows 95 fresh but it worked out so well, I decided not to worry. Especially since it had the same GPU drivers needed. All I really had to do was let it install new drivers, which was mostly well automated. Only needed the Windows 95 CD-ROM when it called up the 3COM adapter. 😎
Overall I'm quite pleased. This will be my second official Windows 95 rig, only things I need to work on is replacing that bottom 5.25" to 3.5" bay drive holder with a cover plate, and a floppy drive to match the case better. Something unyellowed. 😀
I think I'm ready to put the cover right back on for the time being!