First post, by 4xtx
Here's a post for a mostly completed (hardware) project to restore an old 8088 back to its former prowess.
Note - I'm not a paint specialist and probably made a few errors along the way but it was lots of fun and I'm pleased with the outcome.
Double note - without a very good mate of mine none of the painting would've been done - he sacrificed a Saturday to help me out.
Case: Generic 5160 clone badged “Unicorn by SME Systems”
PSU: Seasonic SS-150A Side Switch (QA date 10/6/86)
Motherboard: DTK PIM-TB10-Z Rev9
CPU: AMD 8088 (P8088-1) @ 10mhz turbo (4.77mhz)
RAM: 640K in DIP 120ns
HDD: IDE2SD in rear mount case w/ 1GB Generic SD Card
Controller: UMC Multi-IO w/ FDD/HDD
VGA: Trident 8900D 512KB
Sound: ESS1869F
FDD: TD-580 5.25” HH 360K DD Floppy
LAN: 3Com Etherlink 3 w/ XTIDE ROM
LHS Cover: 3D Printed (PLA) FH 5.25” Cover w/ LED for HDD Activity
Rear turbo switch and reset button
OS/Software: MS-DOS v3.21 (2 partitions) and Windows 3.0a real mode.
Background:
When I was a youngster (in the 90s) I was into older computer tech and had an XT as a daily driver for quite some time (I believe I had an Aussie made 5160).
I'd always like to squeeze as much as possible out of it and have some fond memories of finding games or applications that would work on it when a majority of the population was on 486's.
During 2020 I decided to spend some time dedicating myself to finding retro parts and software to rekindle some of those memories.
I'm inspired by many on VOGONS, VCF and Youtube and with the knowledge/experience I have today I actually understand a little bit more of how these ancient beauties tick 😀
Anyway - after quite a few failed attempts on eBay to score an Aussie made 5160/5150 I decided to give up and just do what everyone else did in the mid-80s when IBM was too expensive -
UNLEASH THE CLONE!
Beginning:
Case was purchased from a local eBay seller and was sold with the seasonic PSU and a DTK-PIM-640 motherboard (8mhz) and was in poor cosmetic condition.
I couldn't get the motherboard to POST despite replacing most of the capacitors. I have limited knowledge of board repairs it has to be said.
The PSU was in surprisingly good shape and voltages were within tolerance under load.
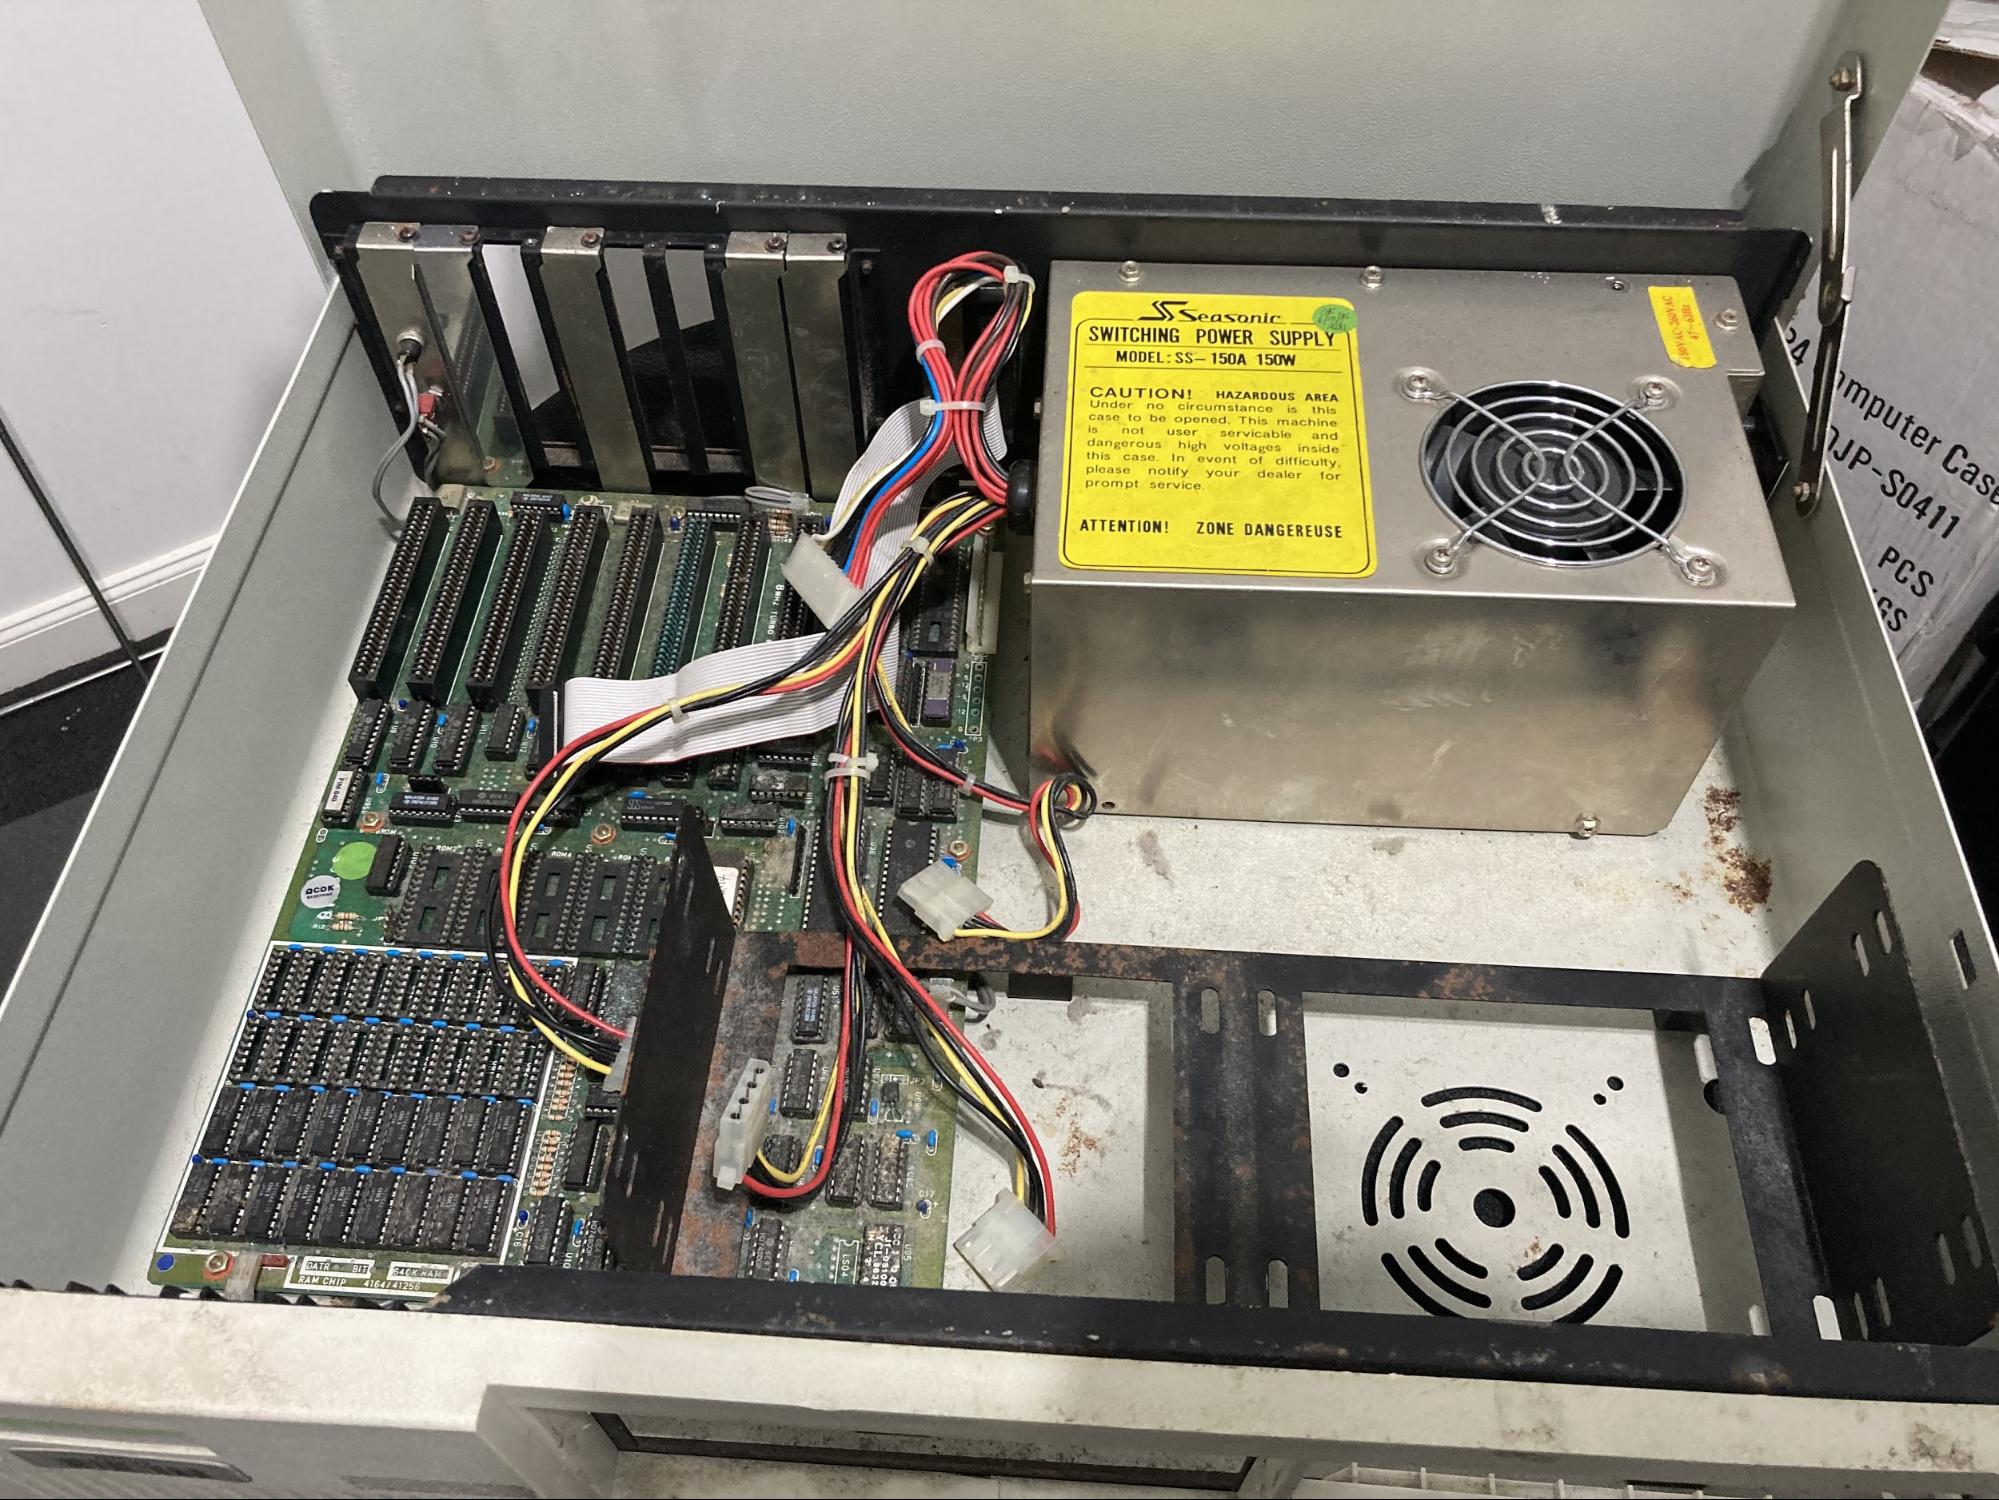
Above: Case - Surface rusting on just about everything, motherboard was dirty but didn't have any obvious issues (except for a few blown caps)
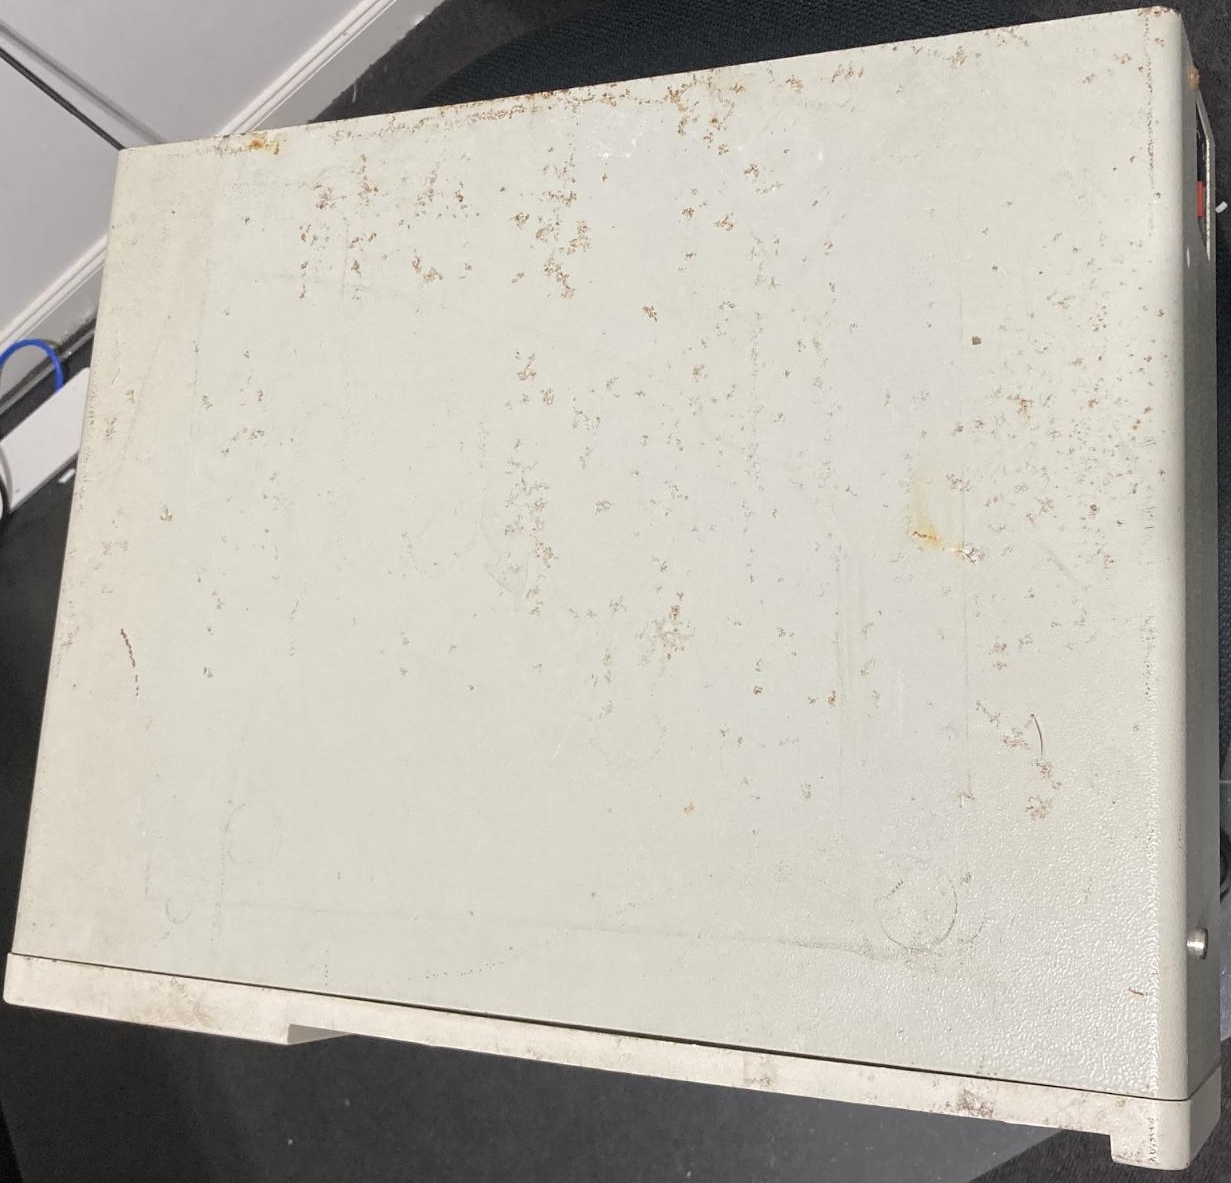
Above: Lid - significant surface rust and scuffing
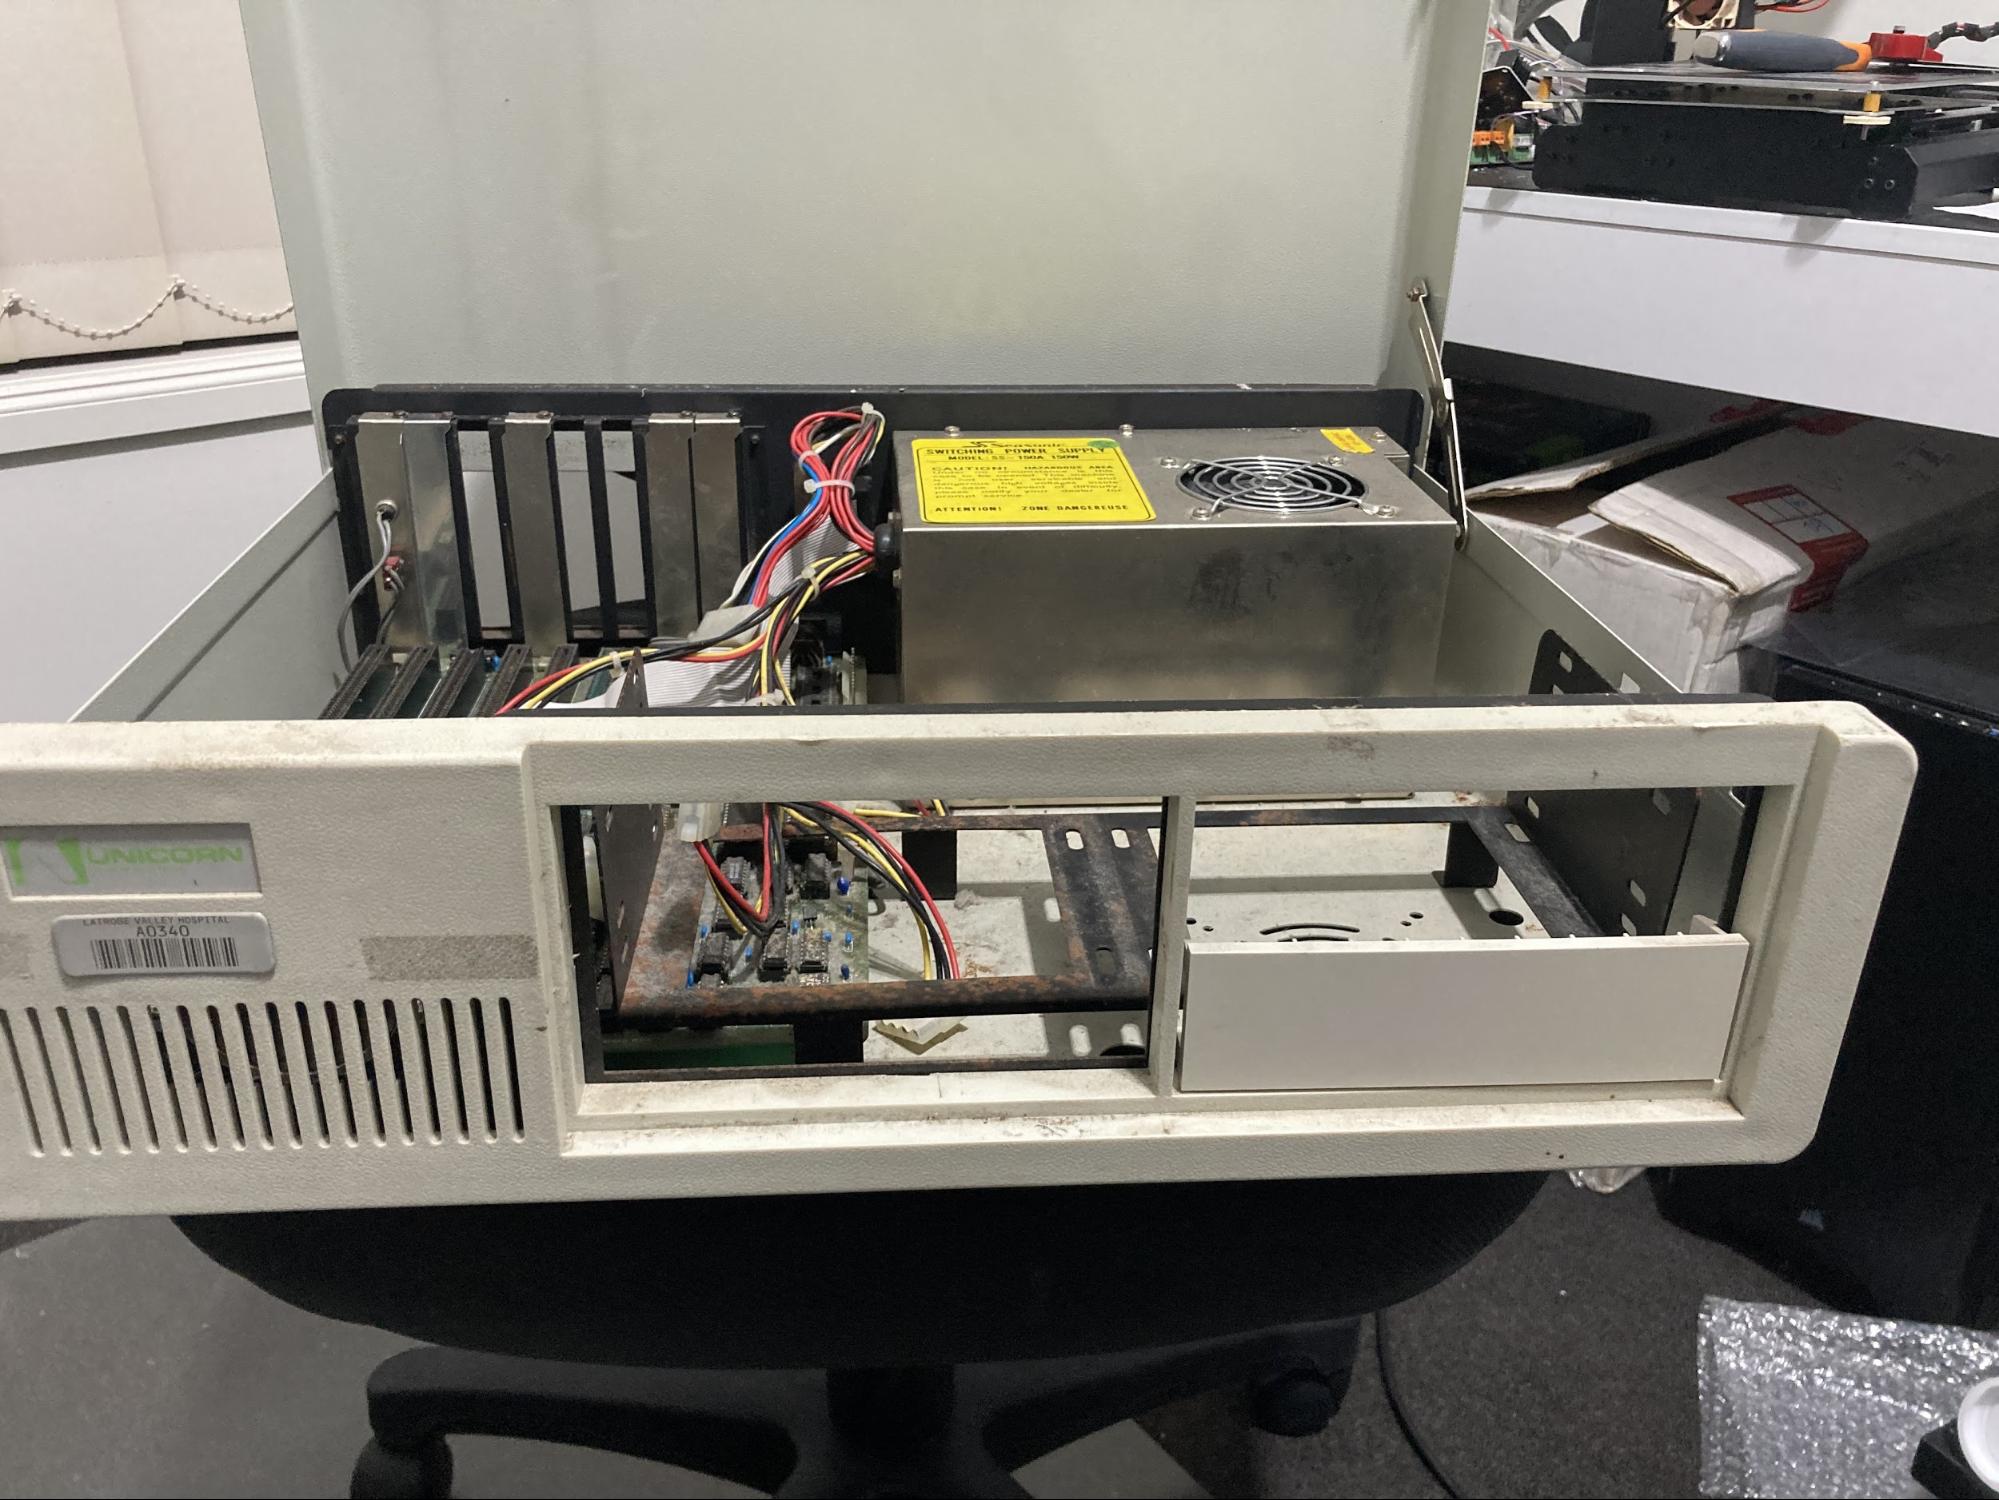
Above: Front - not in a good way.. perhaps this should've stayed at the hospital 😀
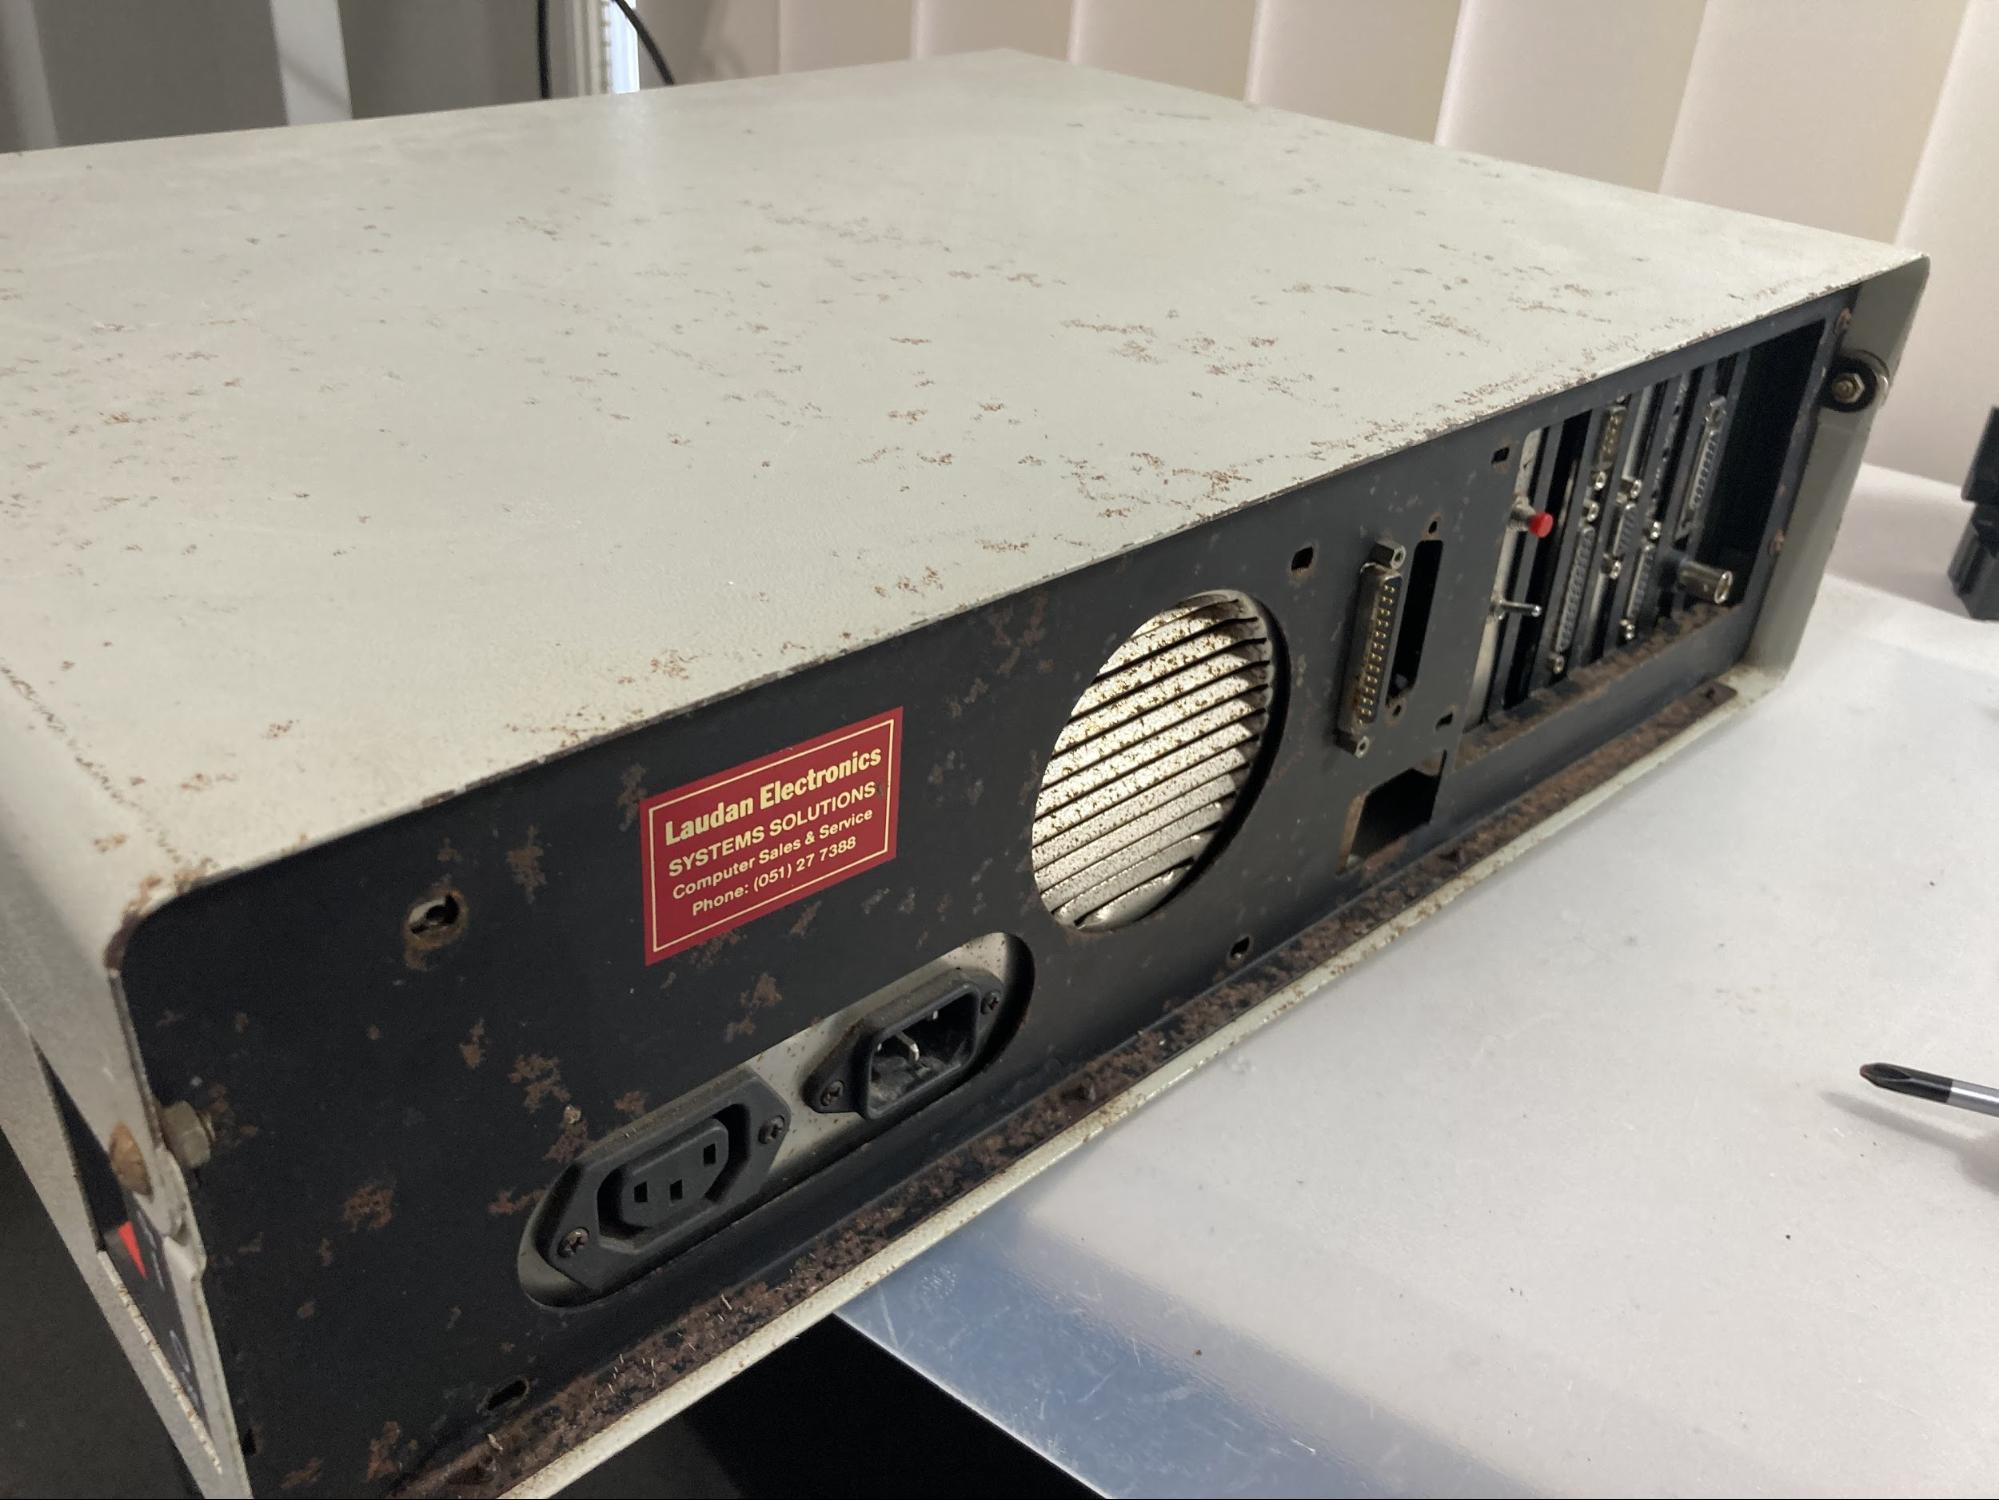
Above: Rear - significant surface rust
Restore Time
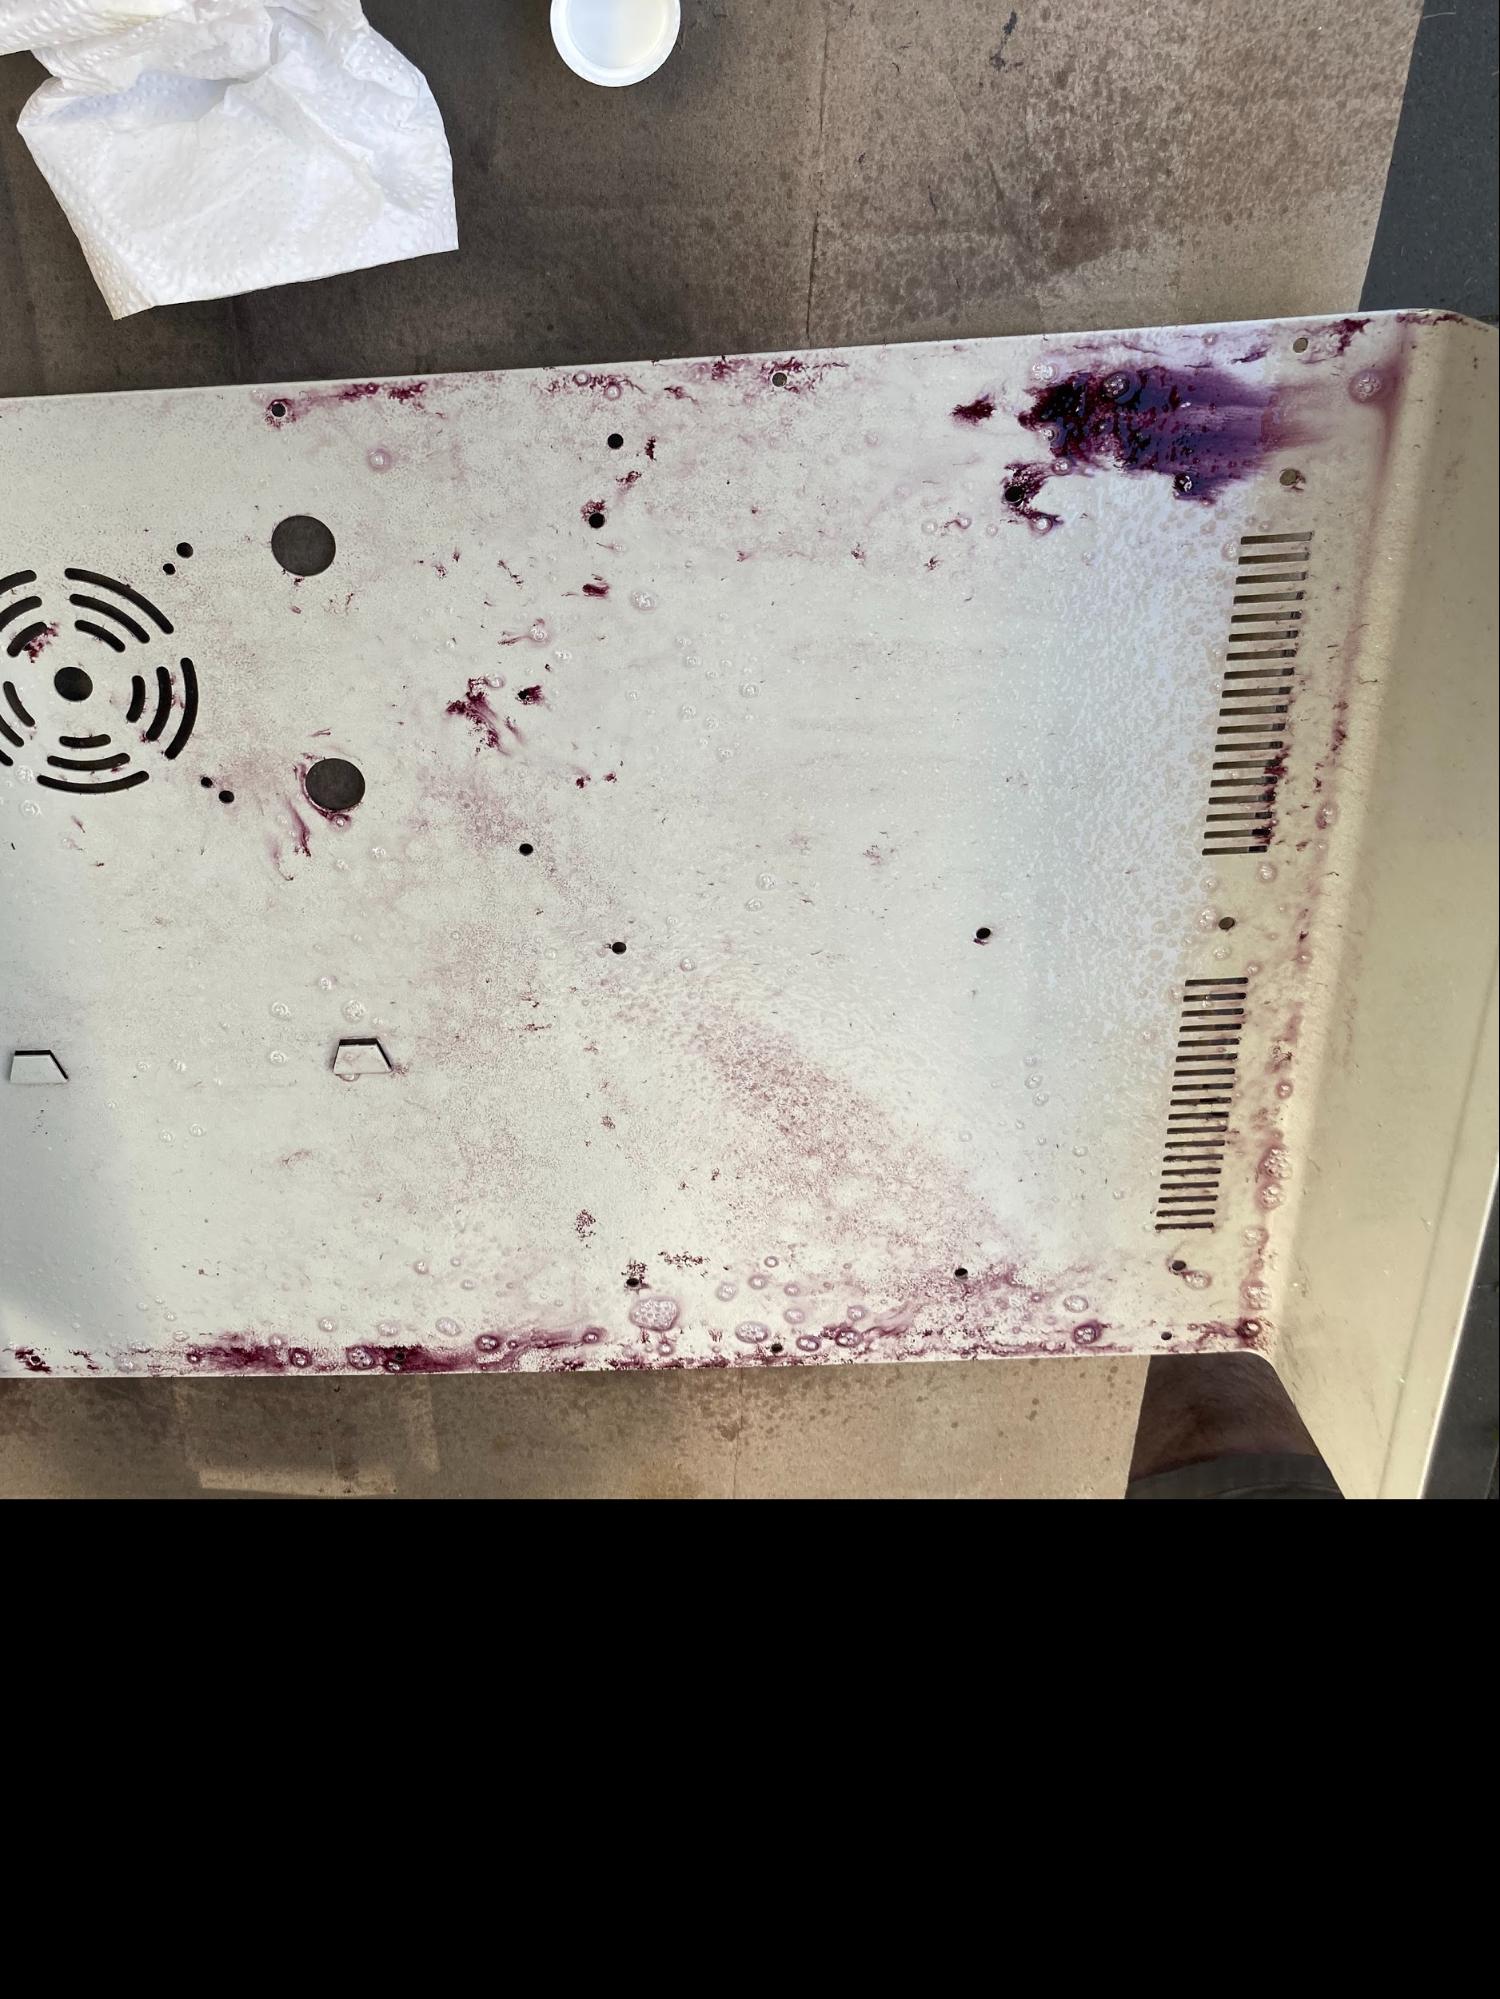
Above: Bottom case with rust converter doing its thing.
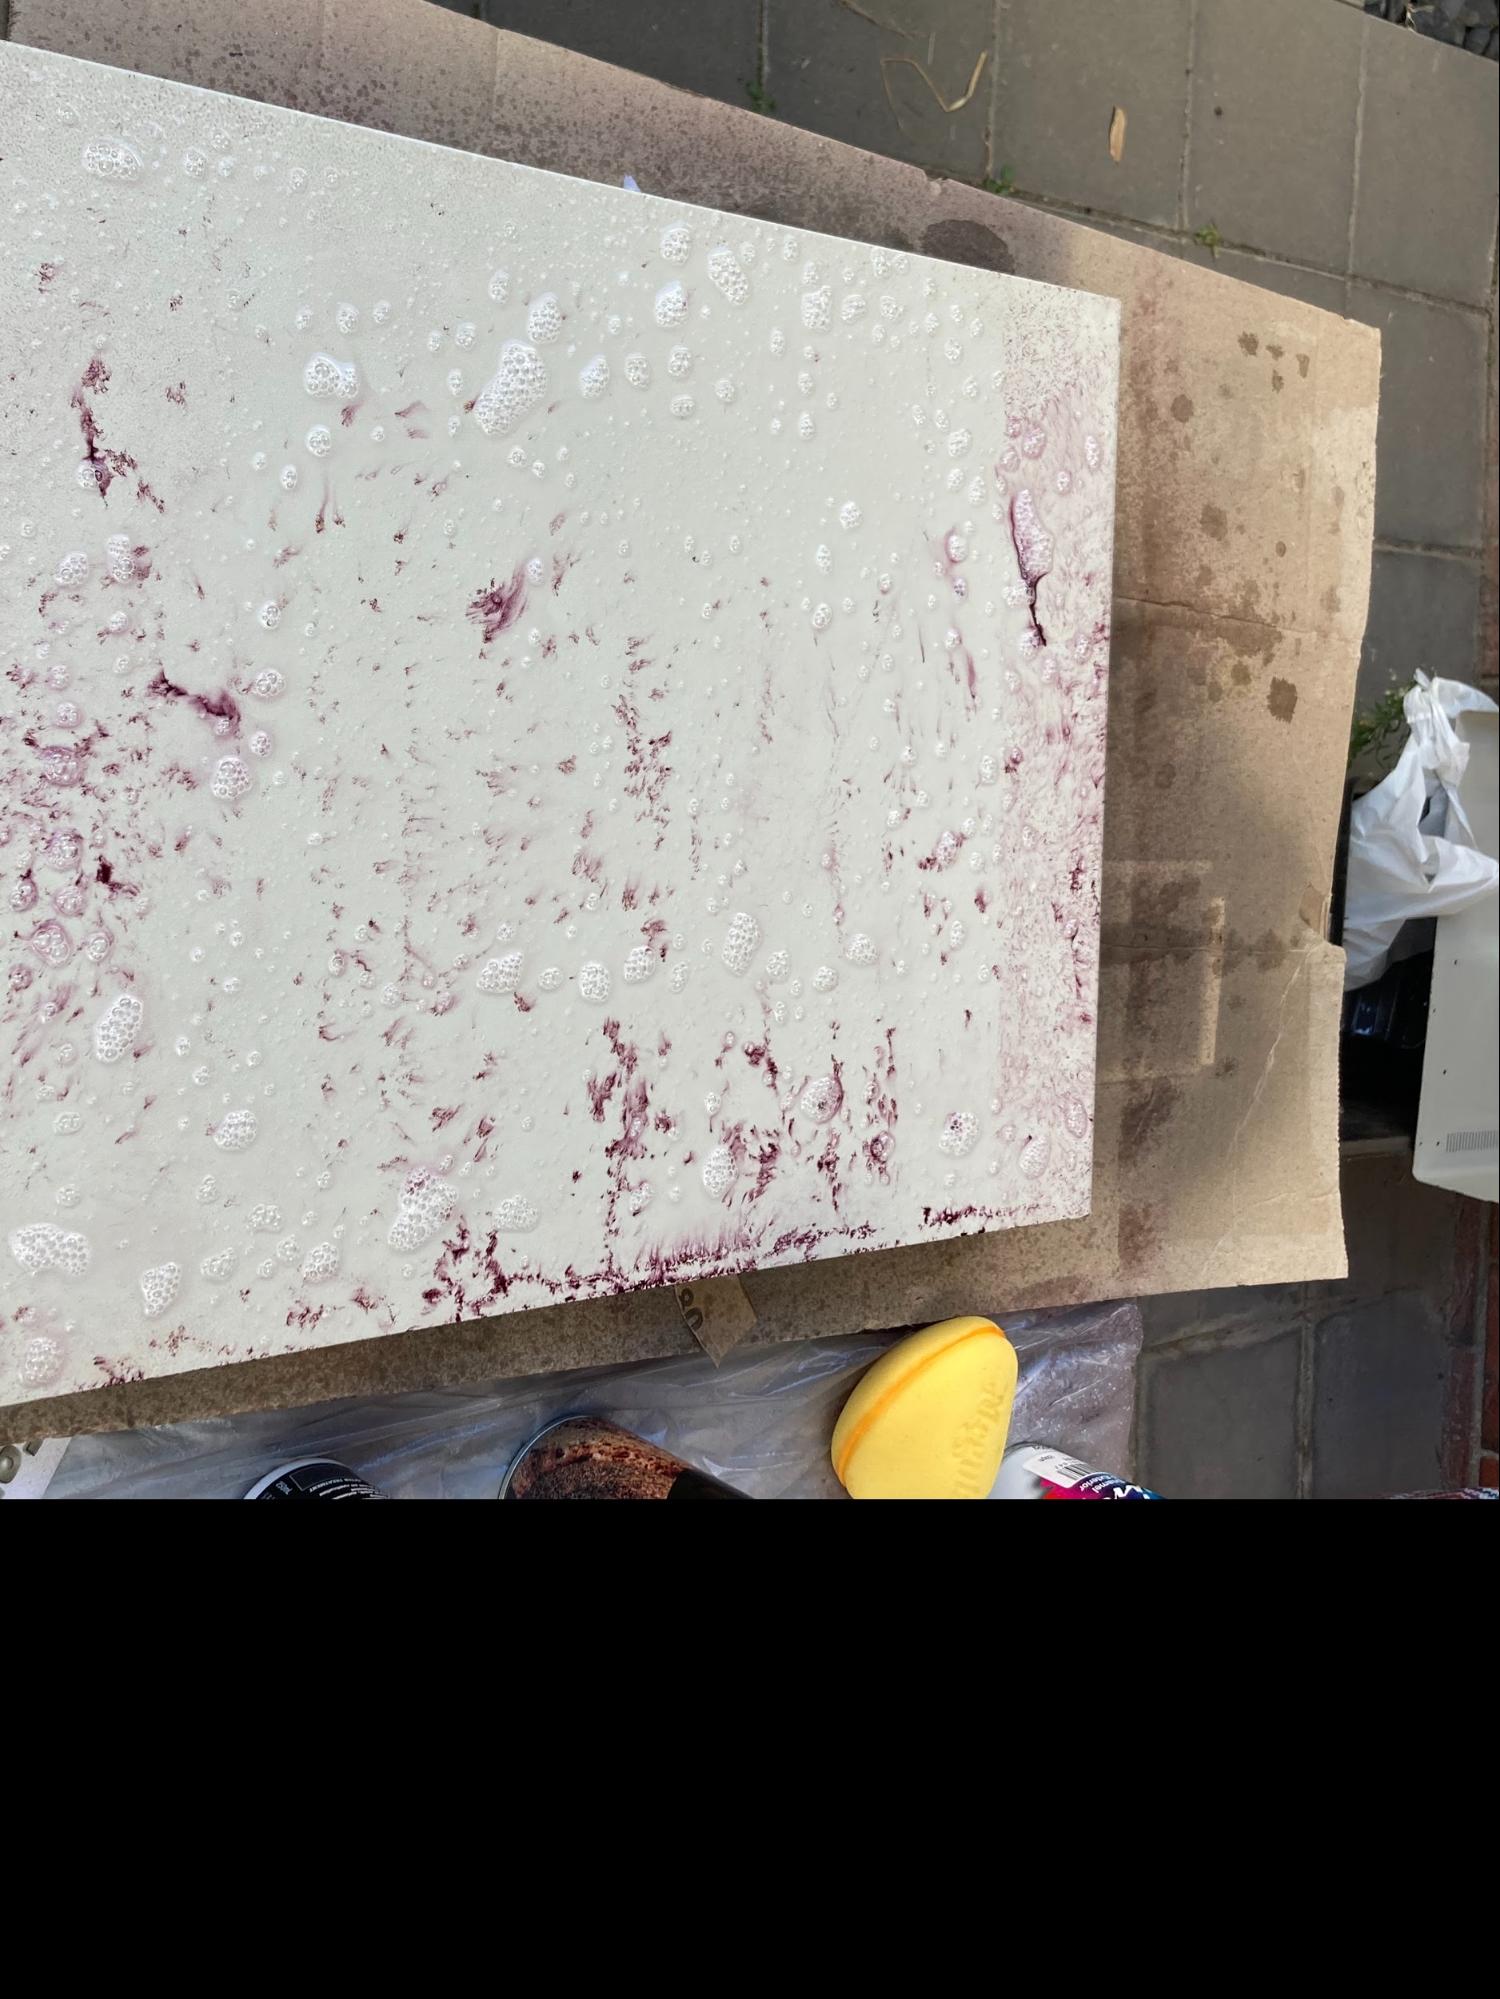
Above: Lid getting the same treatment
Above: Interior parts with rust converter applied
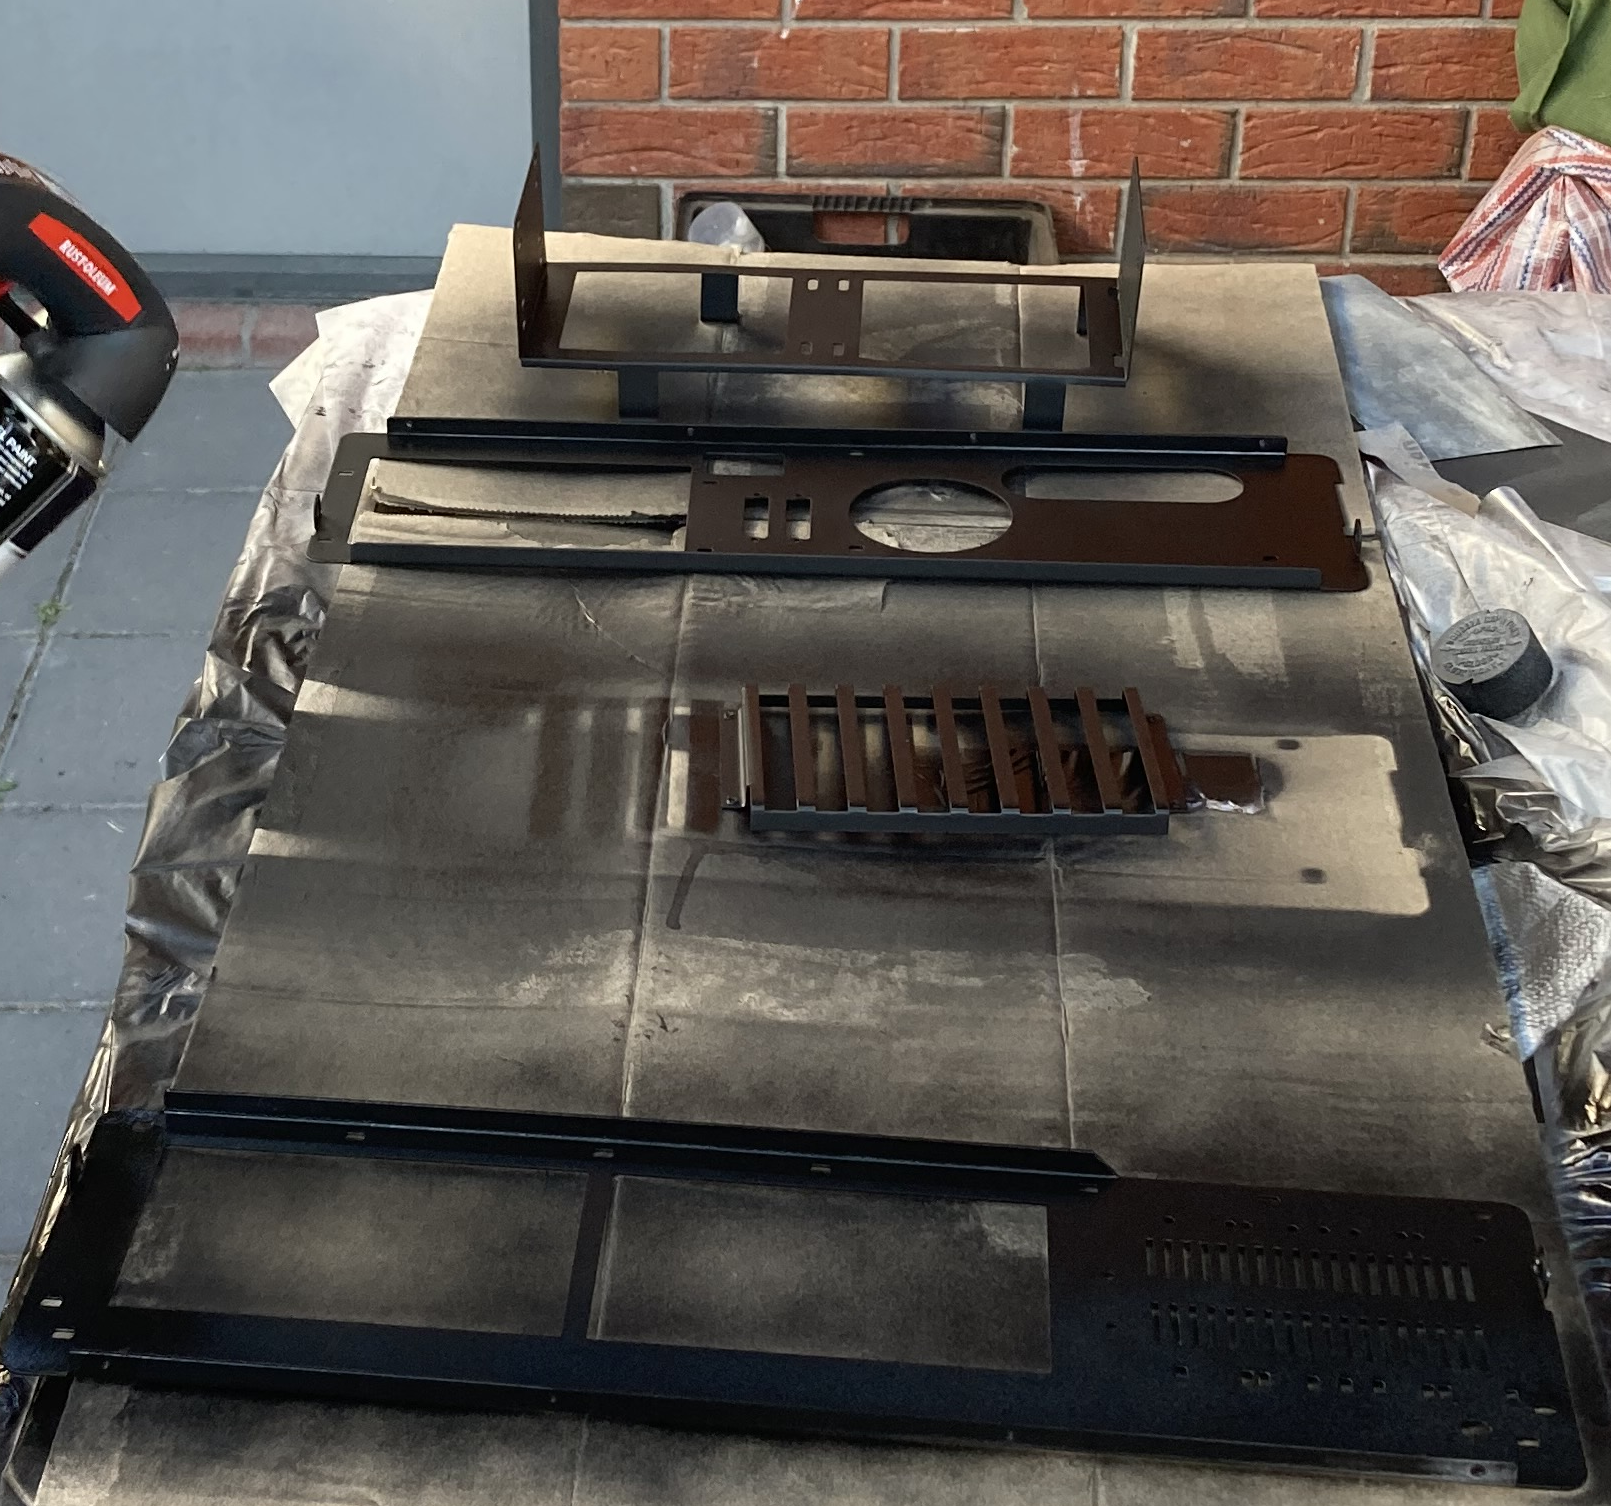
Apply paint
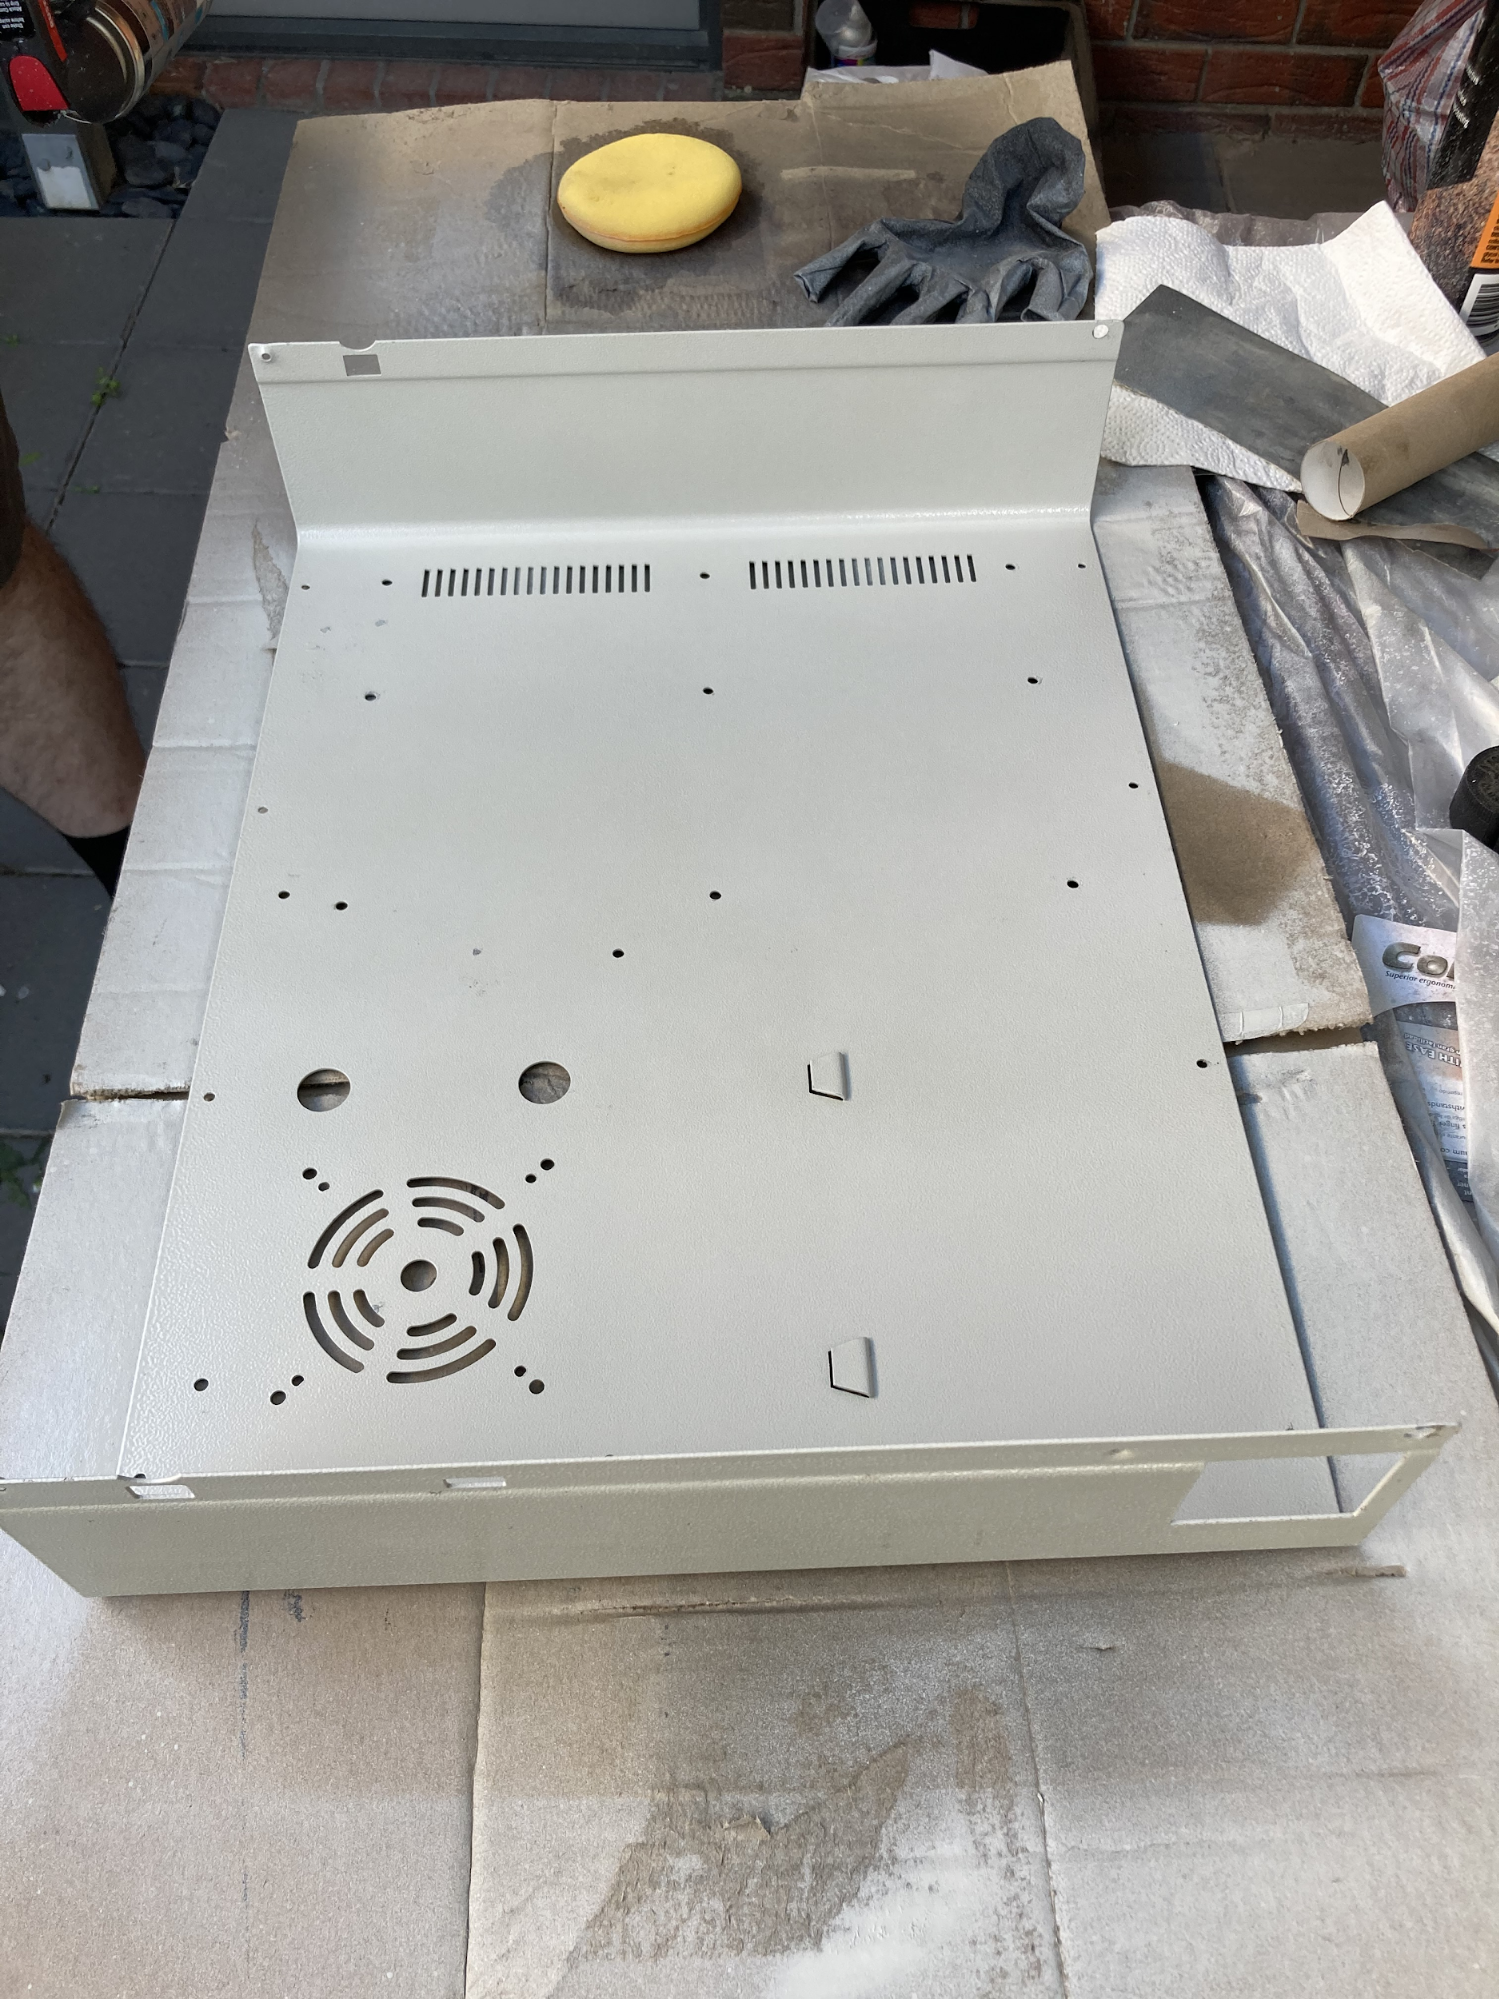
Above: Bottom case with a (first) coat of paint applied.
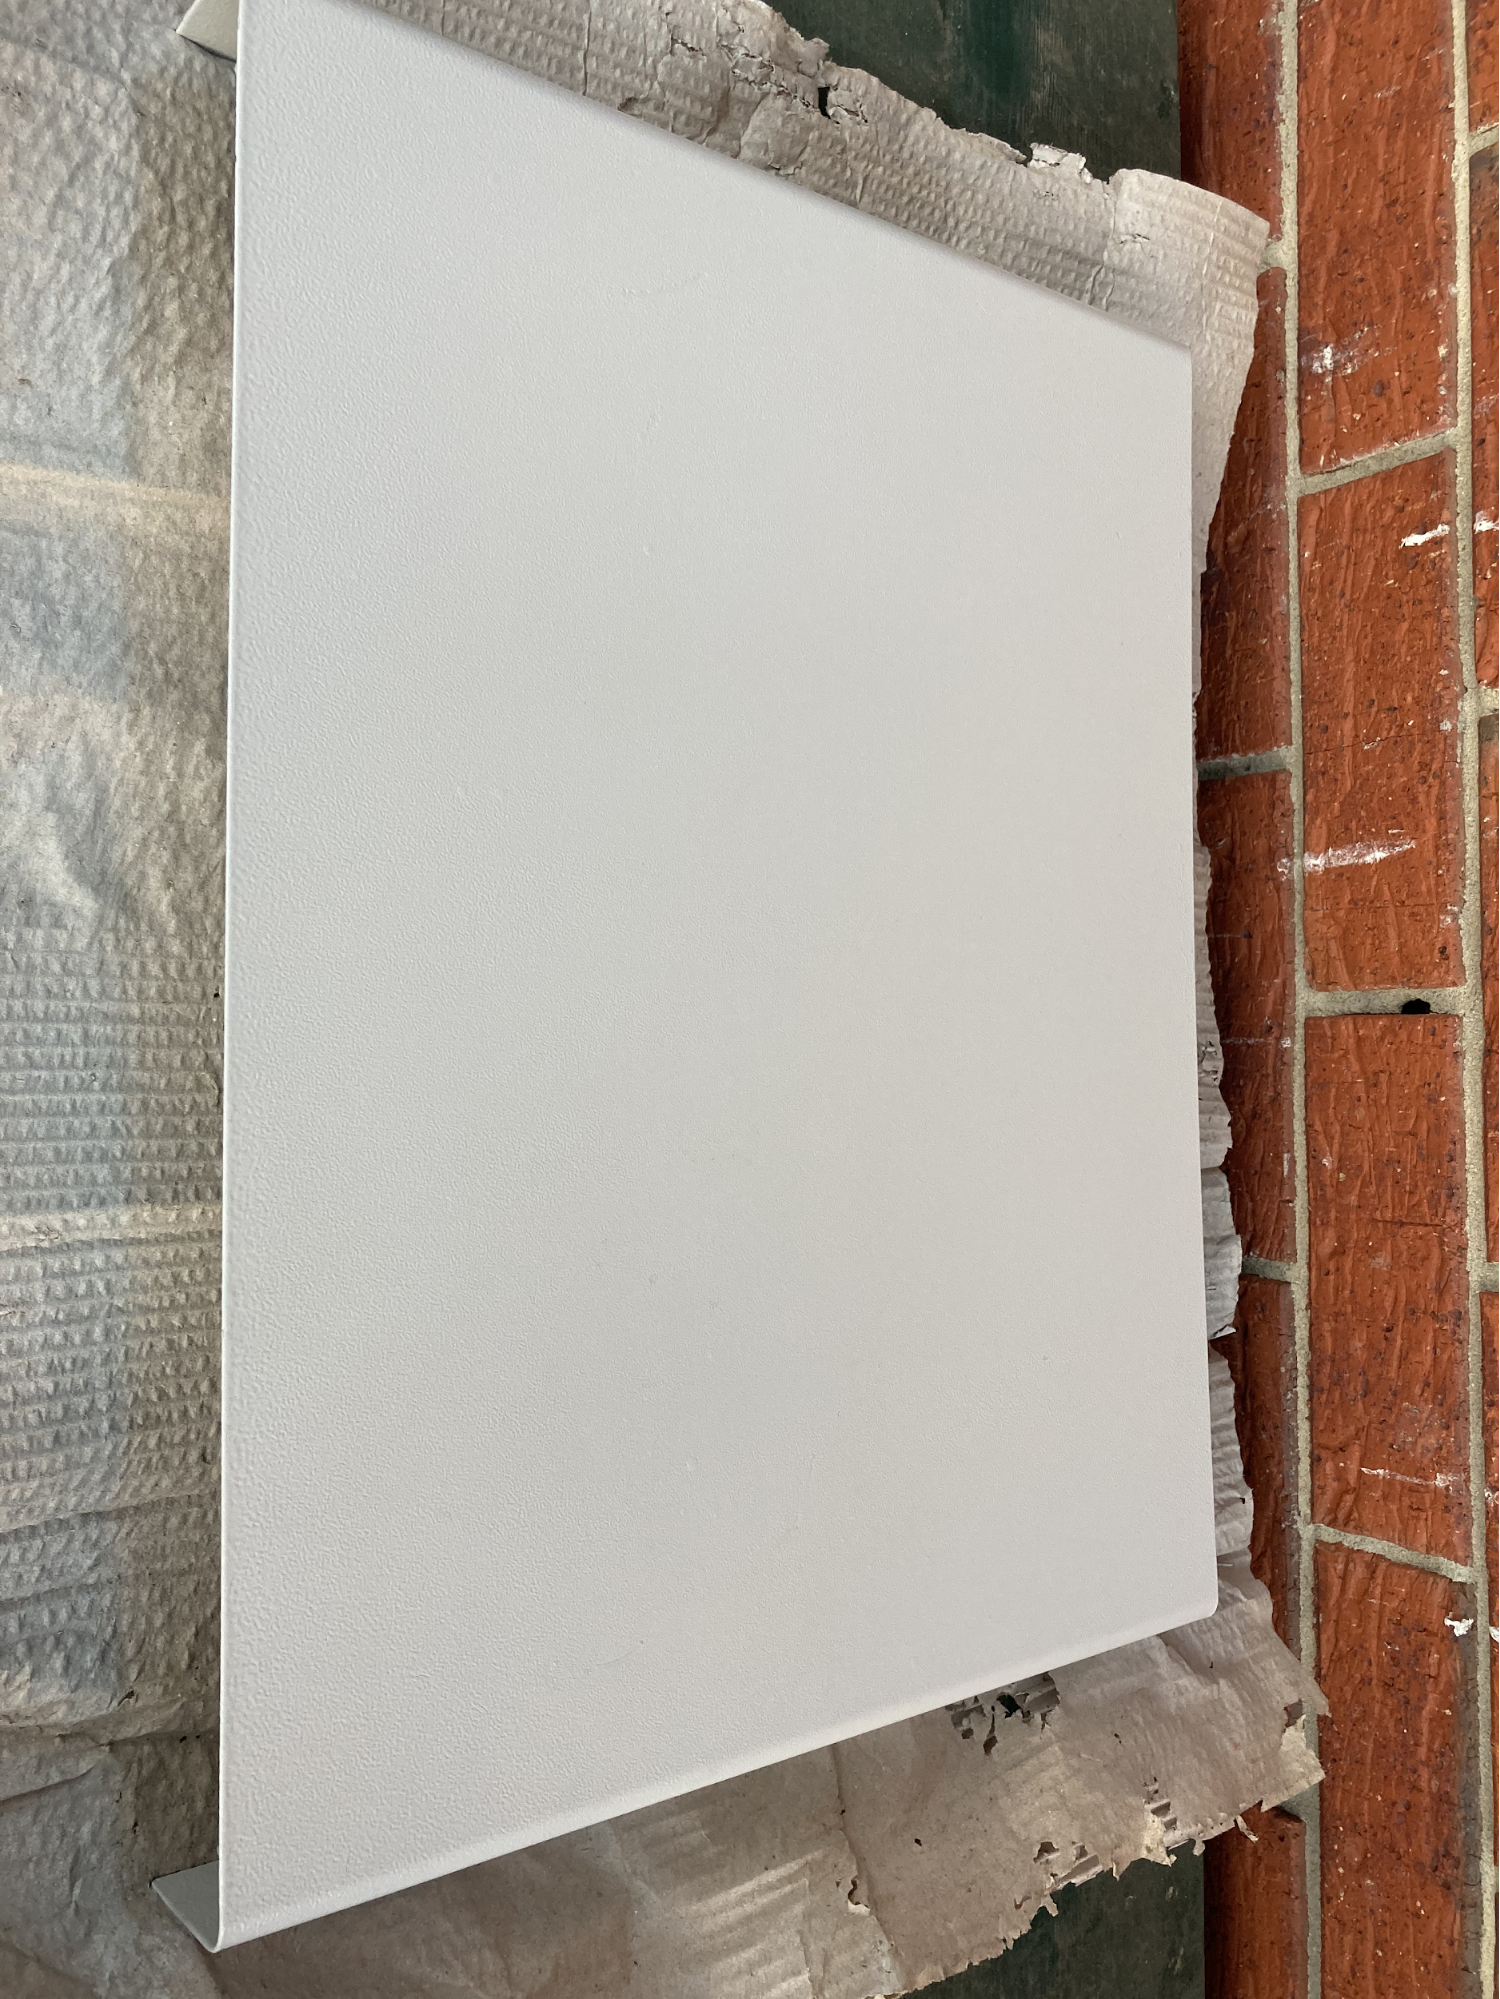
Above: Lid getting the same treatment
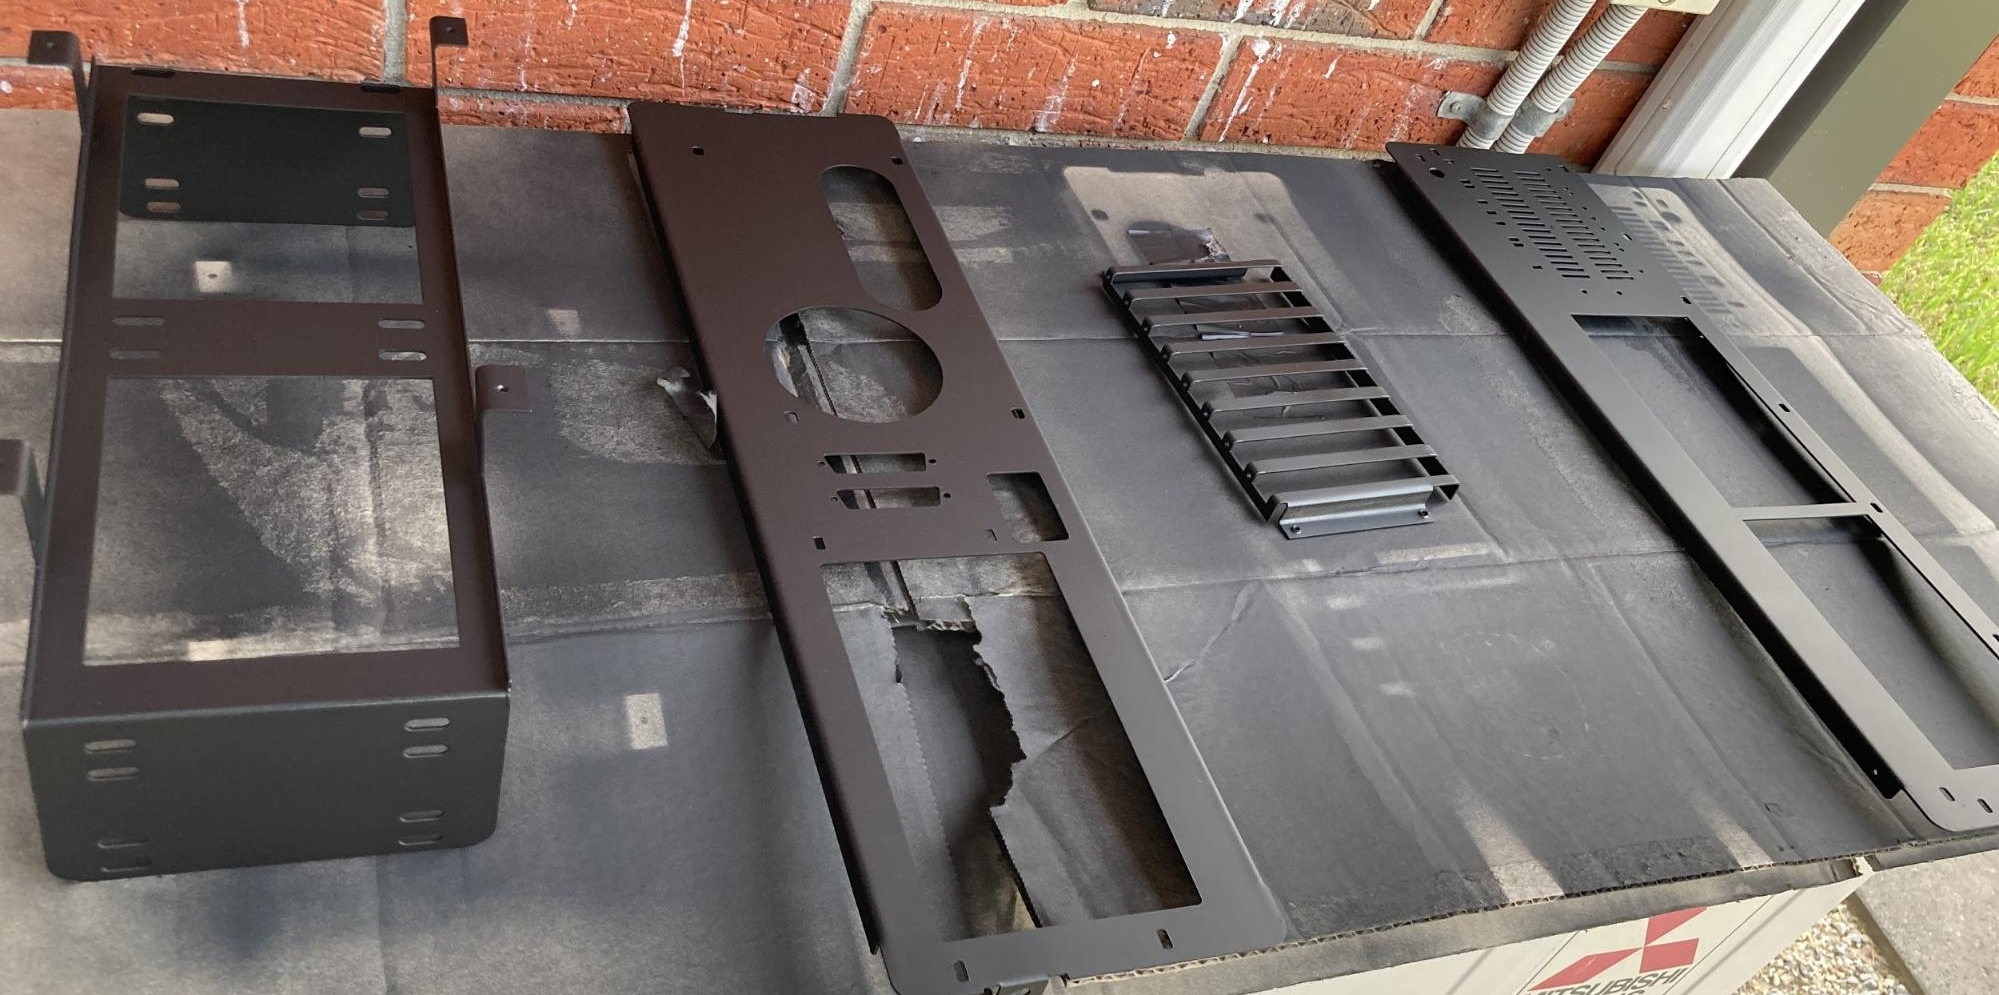
Above: Interior parts with paint applied
Some re-assembly necessary

Above: I couldn't restore the original motherboard but was lucky to obtain a similar one (from an eBayer in Kazakhstan ! )
At this stage I'm just testing the new setup with a few 16-bit cards in 8-bit slots.
Somewhere in this mess is a SD2IDE plugged into a Multi-IO and booting off an XTIDE boot ROM in that 3Com Card 😀
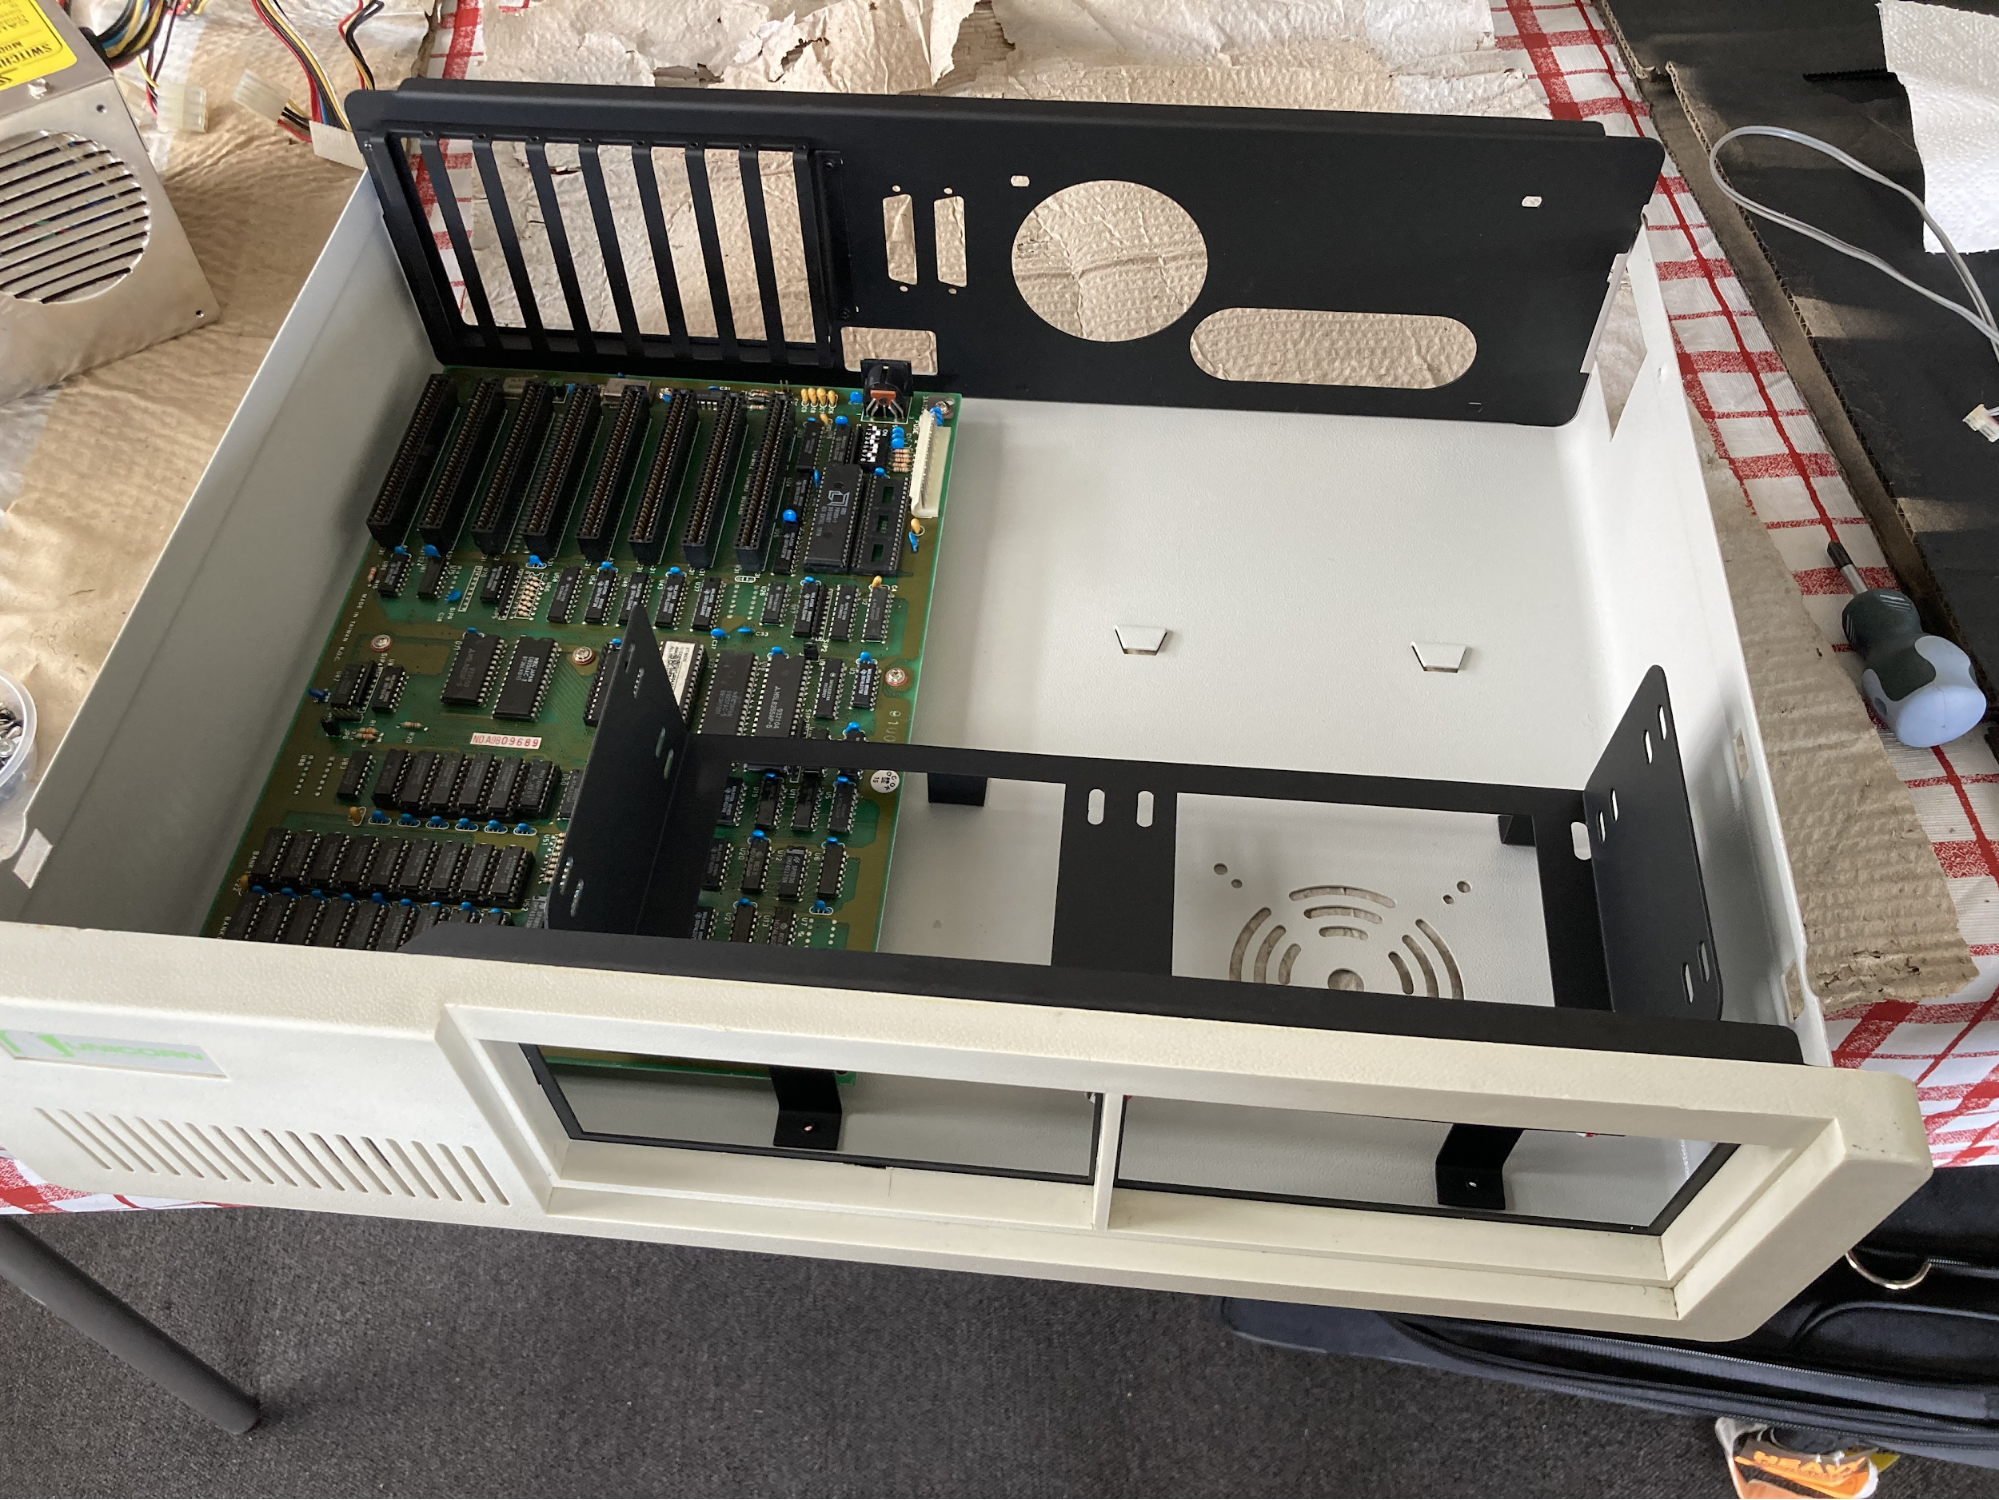
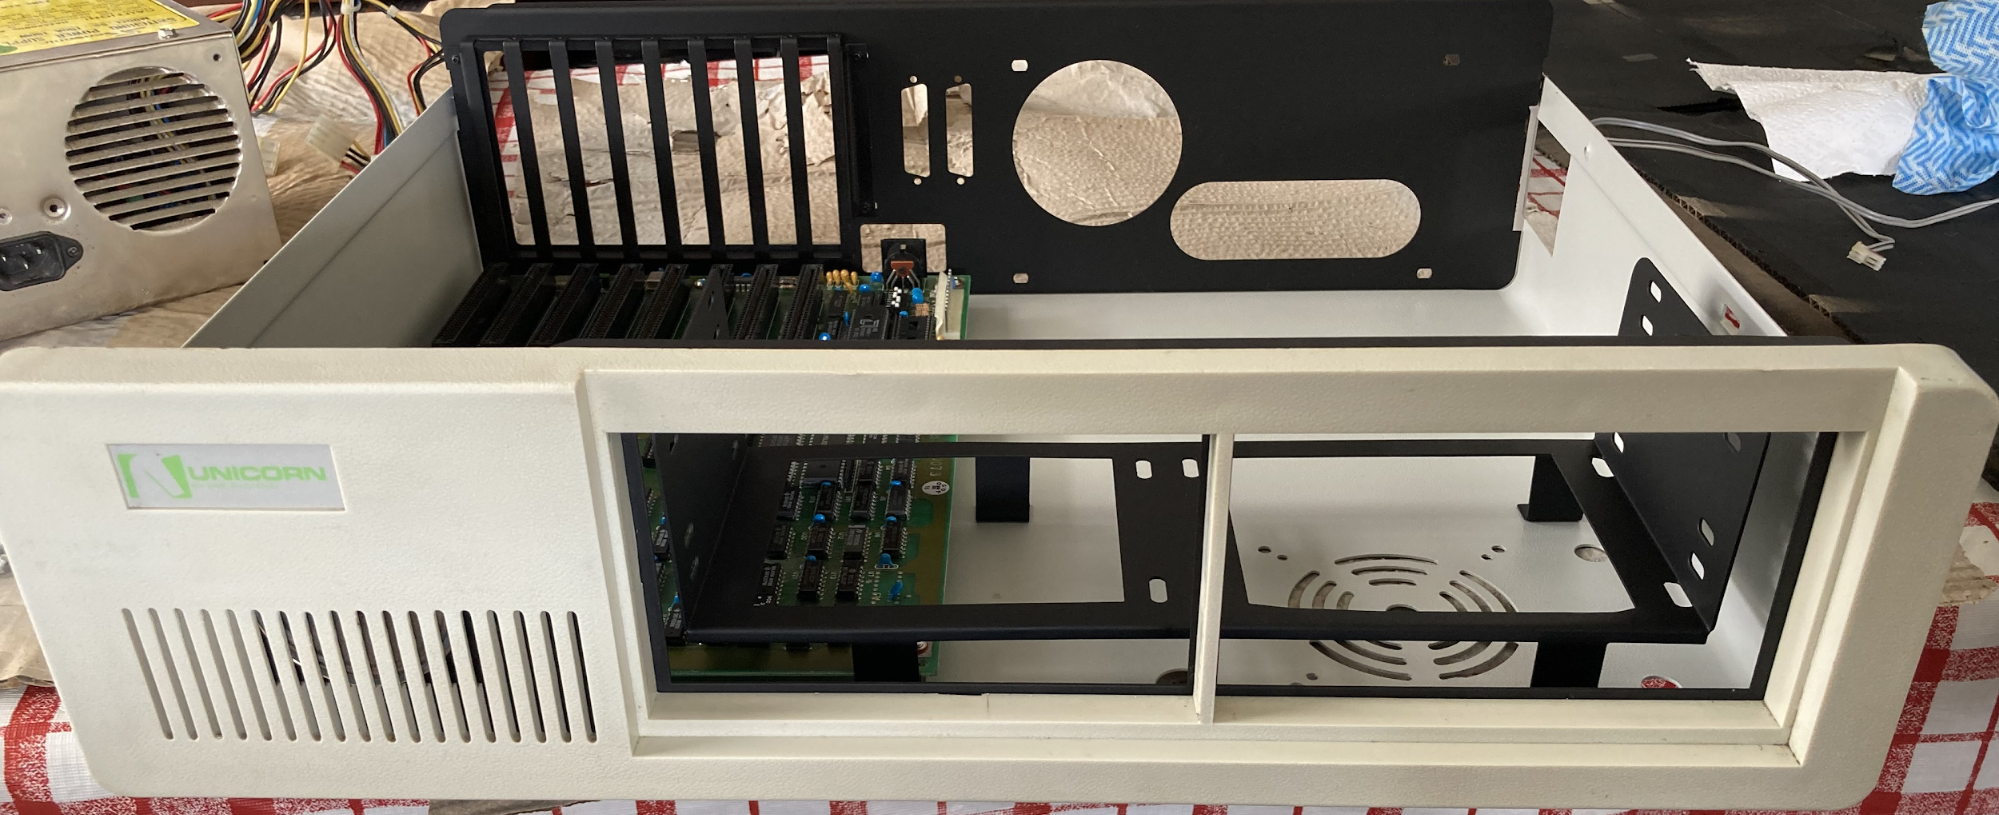
Above: Bottom case re-assembled with motherboard installed
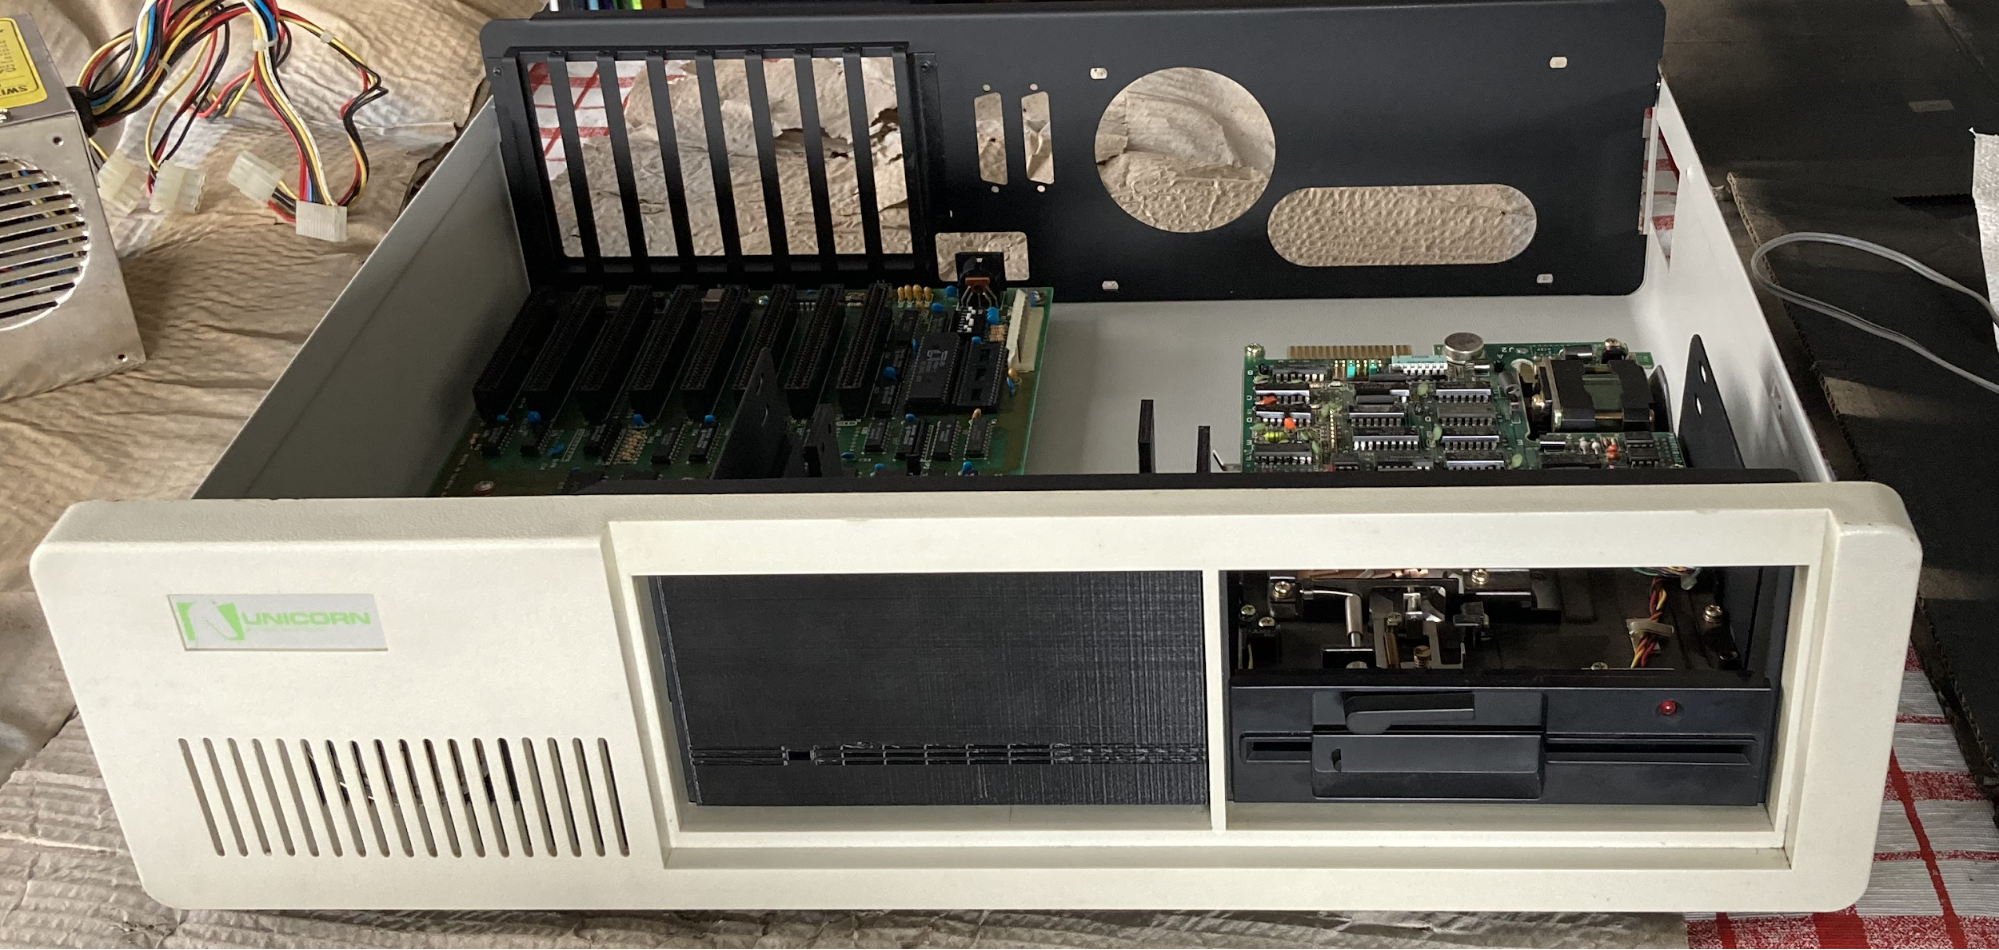
Above: Bottom case re-assembled with FDD and faux-HDD bracket installed (3D Printed by a friend of mine!)
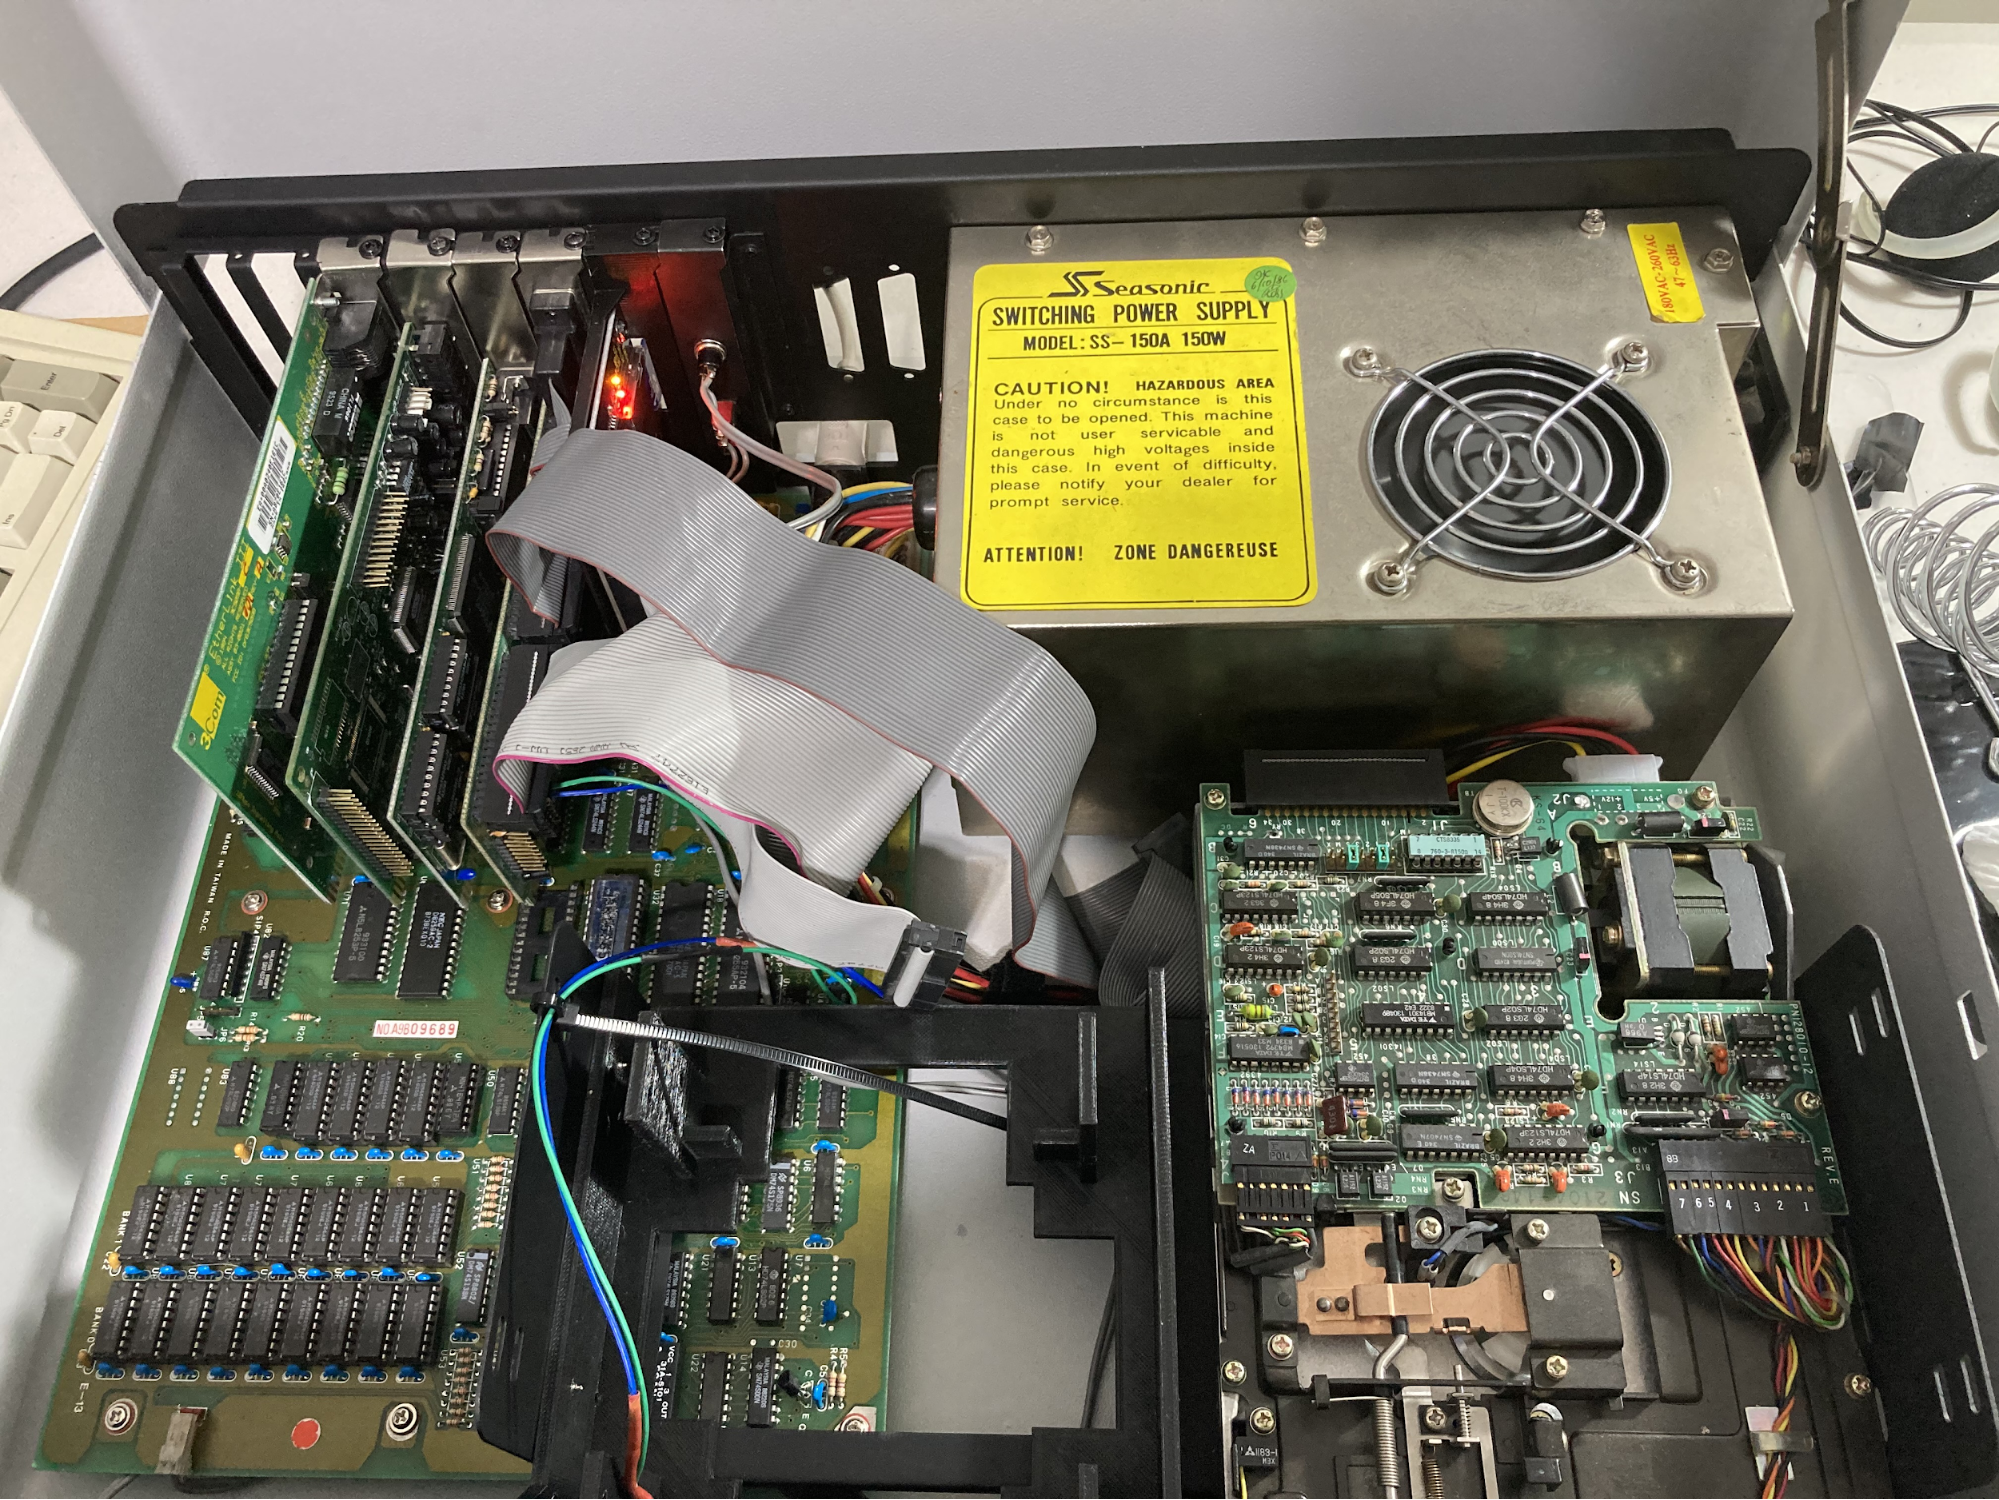
Above: PSU installed (very tight fit to FDD data connector - yikes) and cards installed
From Left; 3Com Etherlink III, ESS 1869F, Trident 8900D, Pine Multi-IO, SD2IDE on 3D-Print expansion card bracket and reset/turbo
Really poor cable management here *palmface* but I was excited 😀
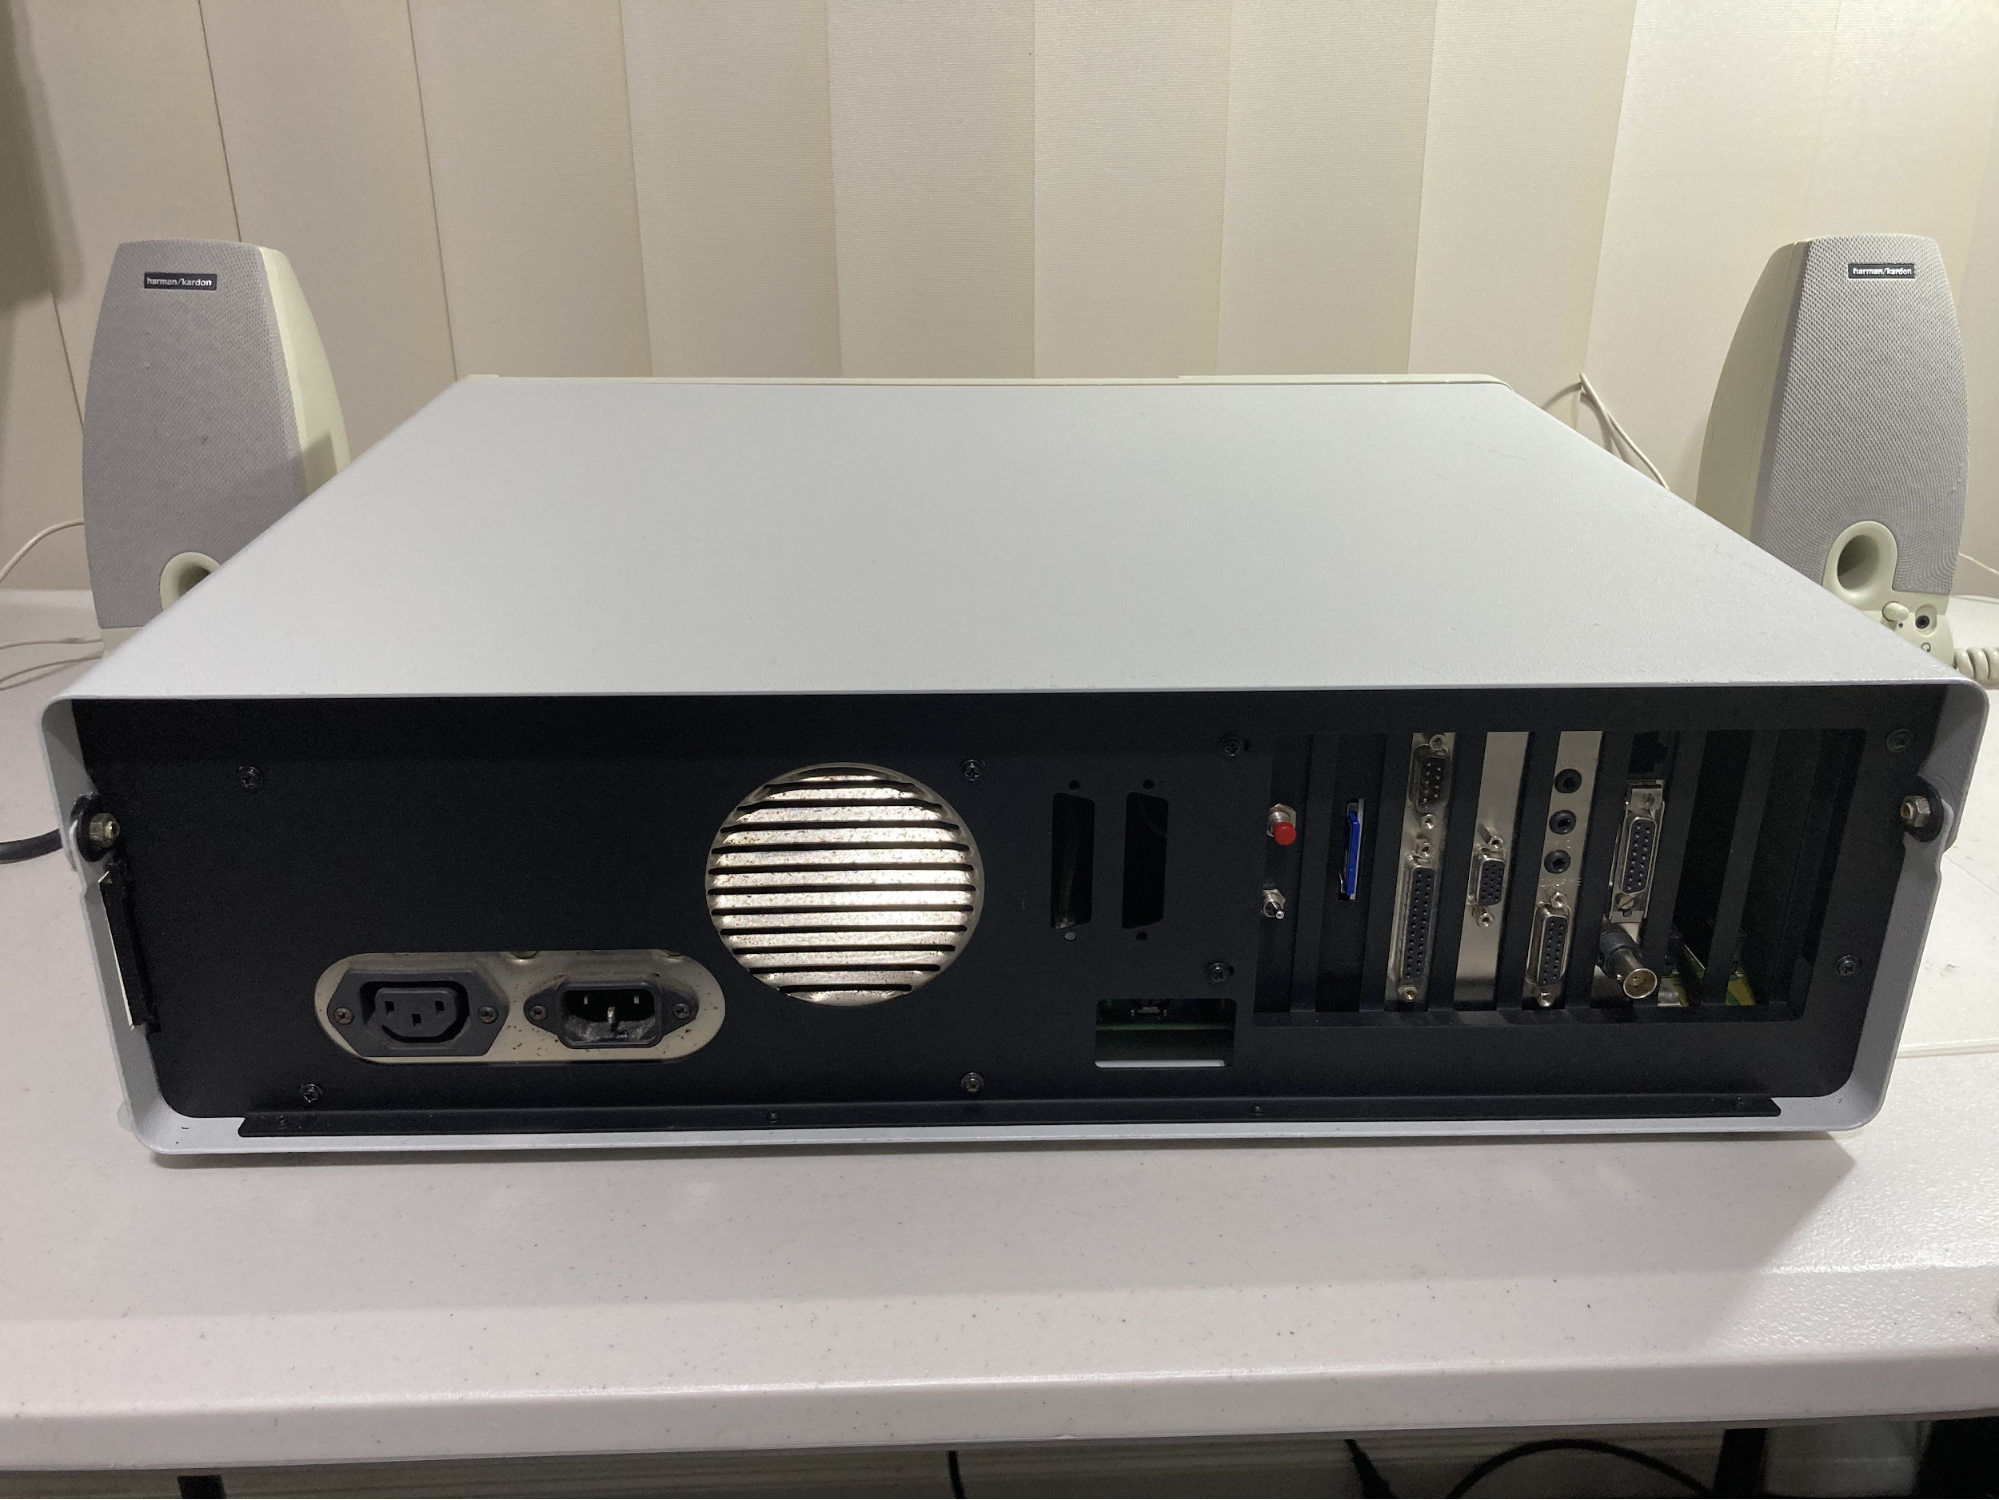
Above: Rear looking pretty good. Note I did not apply anything other than slight brushing/cleaning to the PSU. I might consider pulling this apart and painting it in the future.
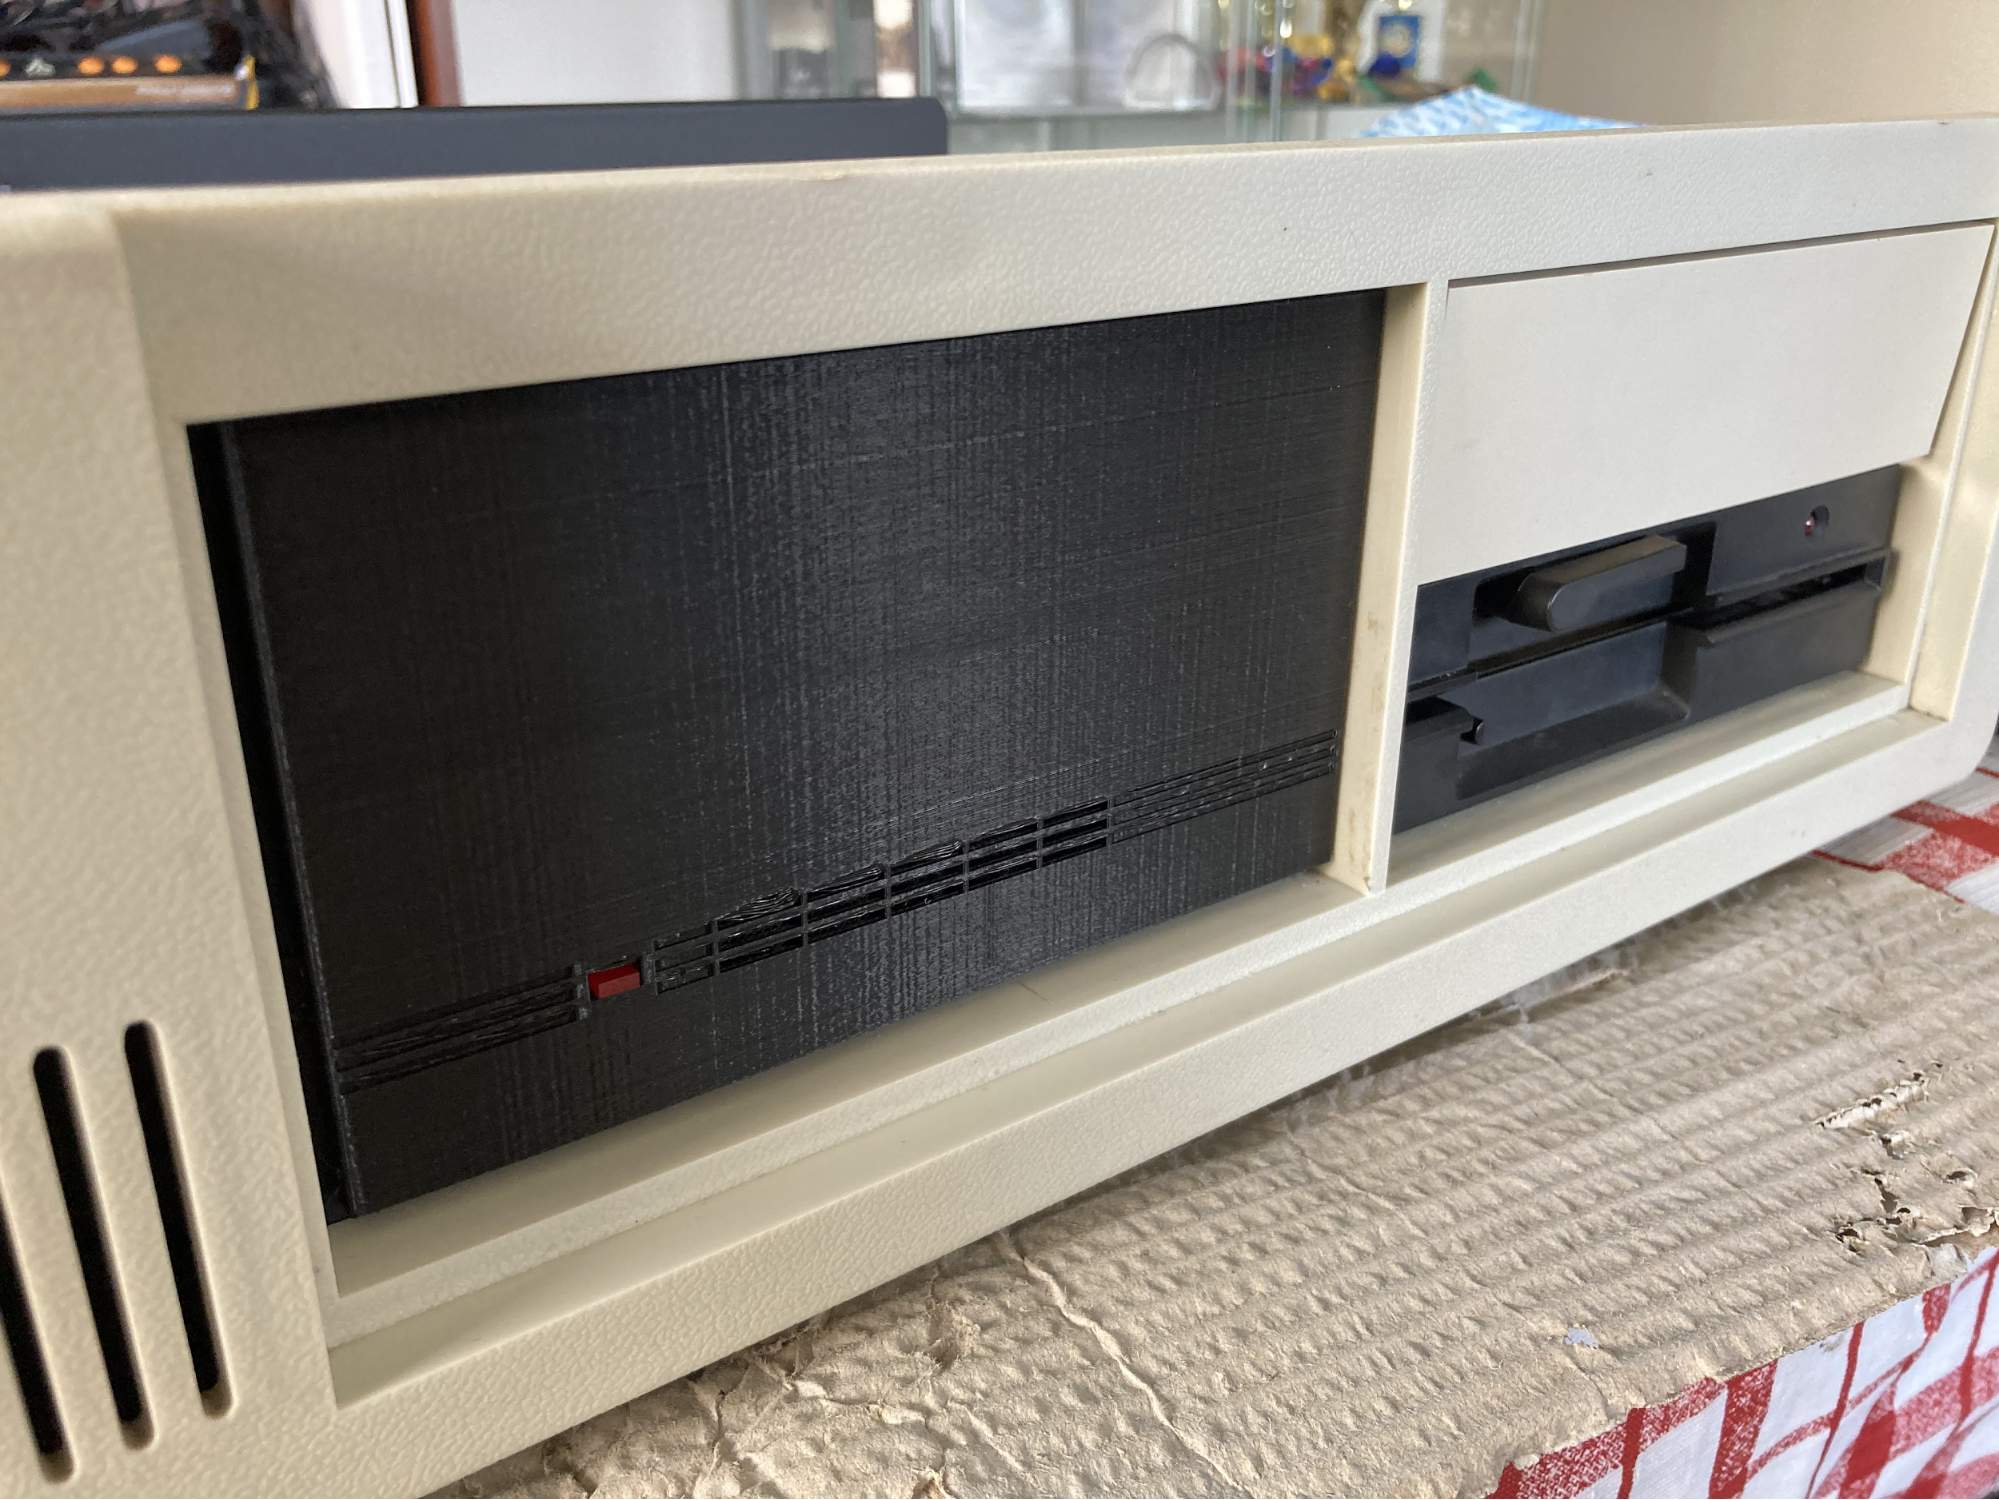
Above: For the finishing touch I put a small resistor/LED setup into the faux-HDD and was delighted to see it working