Kahenraz wrote on 2021-08-13, 21:05:
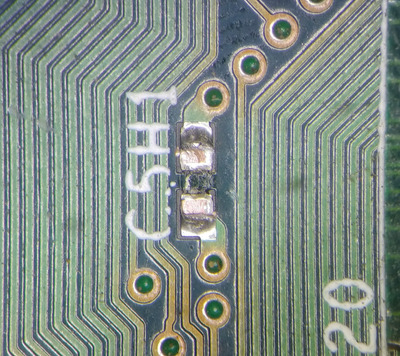
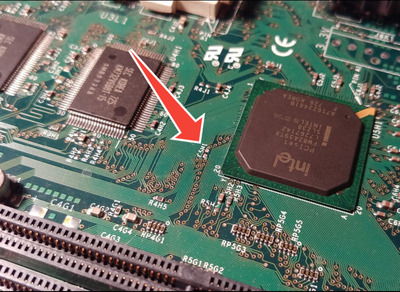
It's impressive how much heat this thing puts out. I'm not used to having anything run this hot on a motherboard other than the CPU and GPU.
Considering the AMD K6 233 has a typical power use of 17W, and it is run at 2.85V on your board, the vrm has to supply about 6A, which, with the thermal specs from the datasheet, will give you that high of a temperature 80°C, (roughly)
though since the amd cpu should be run at 3v3 (max 3v6) you could set it at 3v3, and thus the vrm would have to drop a little less voltage and thus would have to dissipate a little less power in heat.
but it's late, my math could be way off, I'mm of to bed and someone else will probably be so kind as to read what I said and either call my bs or acknowledge it.
Goodnight !
Right to repair is fundamental. You own it, you're allowed to fix it.
How To Ask Questions The Smart Way
Do not ask Why !
https://www.vogonswiki.com/index.php/Serial_port