First post, by zami555
These days it's not so common to find on ebay or similar sites the heat sink dedicated for Socket 3. And if only such thing appears then the price for it, most of the time, is not in the range which I accept.
Due to above I decided to assemble the heat sink with a fan by myself from easily obtainable modern components.
To build the heat sink assembly for my Socket 3 system I used below components:
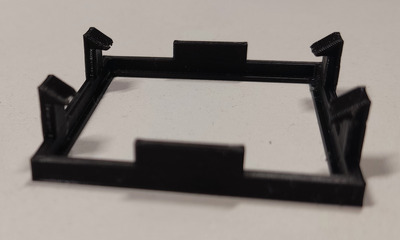
1. The plastic frame for heat sink, which is printed on 3D printer (there are some available 3D models, however I bought this plastic frame on local auction site for about $1.25)
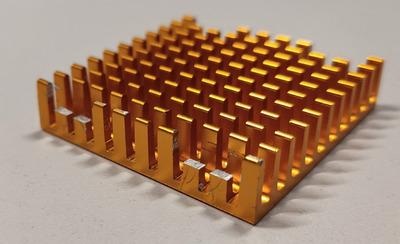
2. The heat sink, which is 45 x 45 x 10mm. I've found one on Chinese auction site for $3.5 per 2 heat sinks lot.
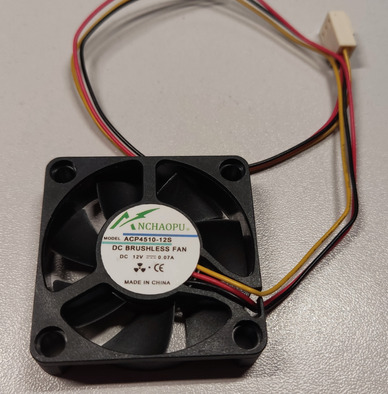
3. The cooling fan, which is 45 x 45 x 10mm. I've found one on Chinese auction site. It supposed to be Evercool ES4510M12SA however seller sent me Anchaopu ACP4510-12S. Well, it works so I accepted it as it is....
And now there are 2 options.
Option 1 (the harder one):
In this option assembling of components requires some adjustments, which I made as follows:
1. I trimmed a bit the width of 4 clips on plastic frame. In my opinion these were to wide and it was not easy to assemble CPU in the frame without bending of leads. With small adjustments now CPU can be assemble inside without the risk of bending the pins.
2. I removed the adhesive from the bottom of the heat sink
3. I've adjusted the height of 8 pins in heat sink in area where plastic frame holds the heat sink with 4 clips. In my case the final height of these pins from the bottom of heat sink is 5.7mm.
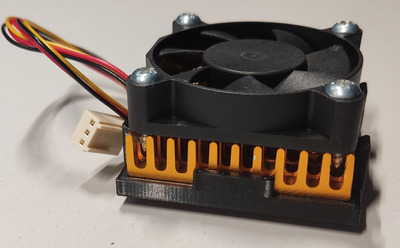
After above adjustments you can now assemble together CPU inside the plastic frame and heat sink on top of CPU.
the last step is to attach the cooling fan with 4 screws. These should be M4 with max length of 15mm.
Option 2 (much faster):
I haven't chosen this one, even some good people suggested this as the best way.
In this option you don't need the plastic frame because you just attach heat sink using adhesive tape, which is already on the bottom of heat sink. With this option all Dremel related actions are skipped.
Please refer to attached photos showing components and final result.