I just got two mainboards - Tualatin compatible MSI 694T Pro and super 7 DFI P5BV3+/e with K6-2 533 CPU, with AGP slot, and also a Celeron 366 with a slotket adapter. I paid equivalent of 9EUR for that, including shipping, these things were sold as junk (with exception of Celeron) and there was a lot of dirt on them. These are the photos I got from the seller.
The attachment stuff1.jpg is no longer available
When I unpacked everything, i noticed that the 694t mainbord is demolished - it had 2 capacitors, one diode and part of memory slot torn off. I got equv. 2,5 EUR refund for that one because it looked different than on photo. But I really wanted to have a Tualatin mainboard, so I tried to repair it... First, I needed to clean it with compressed air and wipe the sticky dirt with alcohol and brush.
The attachment damaged1.jpg is no longer available
I took an different, damaged mainboard and cut off a part of memory slot with a dremel-like tool. I extracted only the plastic part.
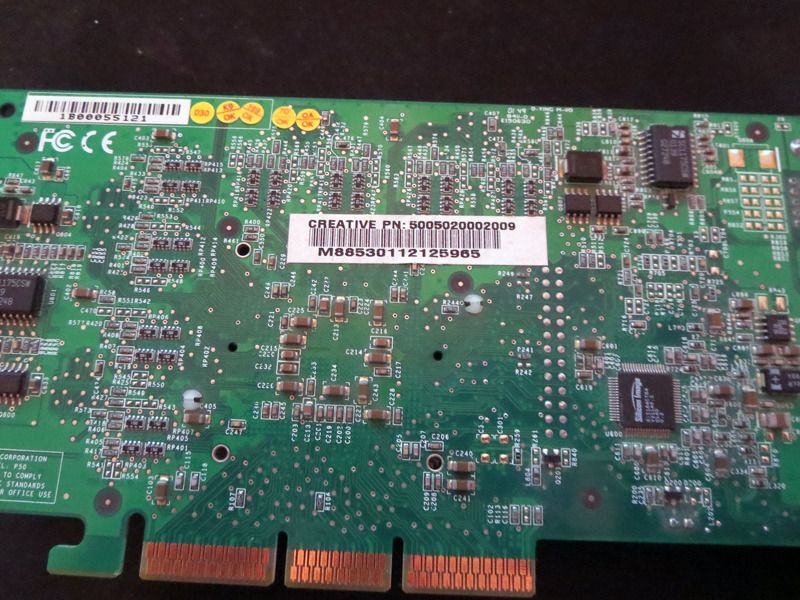
Then I straightened the pins, soldered one new pin, and I did some milling and polishing on the remaining part of memory slot, so it has no jagged edges. I also put some force on the plastic so it became straight. Then I soldered two capacitors (I assummed that they had to be 1000uF), and soldered a regular Schottky diode (had no SMD one and I wanted the repair to be costless). I assumed it had to be Shottky because all of the diodes with that size were Schottky on this mainboard.
The attachment rep222.jpg is no longer available
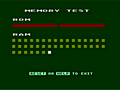
Finally, it was time to test it. Before I put the plastic part on the slot, I just pushed a PC133 module in and squeezed the pins. I couldn't believe that, but the computer worked! I put the plastic cover on memory slot pins and I have now a frankenstein-mainboard with tualatin support for free. It is rock-stable, I did benchmarks for several hours and no bluescreens at all. It also overclocks nice, and has about 420MB/s memory bandwith and doesn't need any interleave-enabler patches. But it still looks pretty "unfresh", i couldn't clean all the impurities.
The attachment 694t.jpg is no longer available
-----
Super 7 mainboard - it also required some cleaning, it had one big scratch on the back side, so i sanded the solder mask in one place and just put some solder there, then covered it with transparent tape. I also replaced one capacitor. After this, it looked like a new! I set the jumpers properly, turned it on, and... it also worked!
The attachment s7_clean_m.jpg is no longer available
Well, I think that getting all this stuff for ~6,5EUR isn't a bad deal. Caps would cost ~0,2EUR and the diode ~0,02EUR, but i already had them.


 "It's science. I ain't gotta explain sh*t"