First post, by Return 0;
Hi,
In this thread I would like to introduce a cache memory design for the 486 and other computers using 5V asynchronous CMOS SRAM.
The problem for me was to find memory faster than 15ns in a PDIP housing that is not a scam, so the solution is to make them yourself from components currently available in stores.
It worked, I just finished the tests successfully.
The files are ready to make the PCB in an external company, I used JLCPCB.
How to do it? Here is the answer:
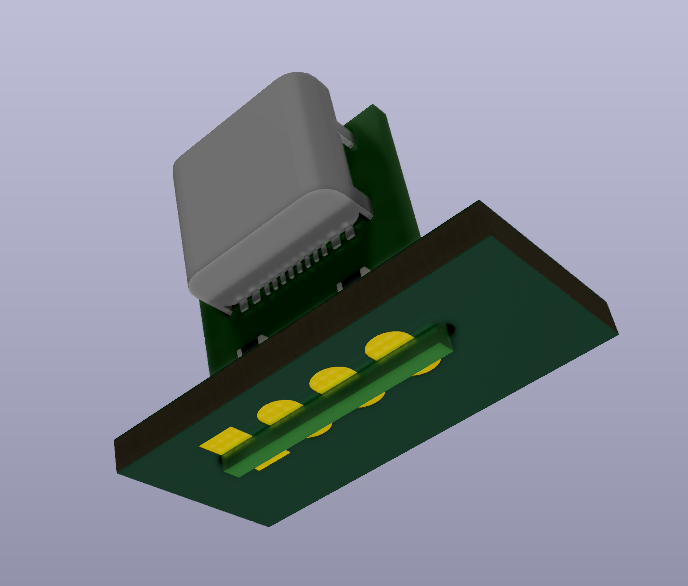
- please solder the socket with the PCB (cacheIC.zip) and 3x goldpin 2.54mm 16PIN header
-please solder socket PCB with PCB cache (cache.zip/cache64.zip)
-Please solder the SRAM chip.
Memories that can be built:
128kbx8=128kB, I used PCB cache.zip and IS61C1024AL-12JLI SOJ32 chip (128kx8 12ns, 5V CMOS SRAM)
but may be different with pinout compatible SOJ32 CMOS 5V SRAM e.g. 10ns.
64kbx8=64kB, I used for this purpose PCB cache64.zip and AS7C1026B-10TCN TSOP II 44 chip (64kx16 10ns, 5V CMOS SRAM)
but may be different with pinout compatible TSOP II 44 64kx16 CMOS 5V SRAM eg 12ns.
32kbx8=32kB, I used for this purpose PCB cache.zip and CY7C199D-10VXI SOJ28 chip (32kx8 10ns, 5V CMOS SRAM)
but they may be different with pinout compatible SOJ28 CMOS 5V SRAM, e.g. from another manufacturer.
In this case, please solder the chip from the first pin according to the marking on the PCB, the last 2 rows of pins hang in the air.
EDIT! I added a PCB specifically for 32x8, you can use it instead of the above method (cache32.zip and cacheIC32.zip) EDIT!
In the case of soldering cache.zip sockets as in the pictures, the marker on the chip is the marker in the cache socket of the motherboard and this side should be placed.
In the case of soldering cache64.zip sockets as in the picture, the tag on the chip is on the opposite side of the tag in the cache socket of the motherboard.
The entire project is available for free, please feel free to use it.
If you want to support my hobby, you can do it via paypal: onlytimecansaveus@gmail.com