Reply 760 of 852, by Robert B
- Rank
- Oldbie
Retr08right? What's the hubbub with the bleaching of ancient electronic artefacts?
Retrobright. Ever since I heard about this "thing" called retrobright, I wanted to try it. The main obstacle that prevented me from doing this was and still is, the fact that I mainly "specialize" in gathering components. I have just five complete PCs and of these, two need a retrobright treatment. The rest are looking fine and there is no need to fix something that's not "broken".
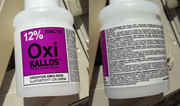
I watched a lot of videos on YT and read quite a few articles on the good ol' internet about what makes the retrobright tick. From all the information I gathered, I decided to use the 40 vol (12%) Hydrogen peroxide solution.
I won't go into detail in regard to types of retrobright solutions and methods as I think that there are way better tutorials on the internet than what I can present at this early stage. This will be a presentation of my first retrobright experience.
As this was my first ever foray into this new area, I needed the proverbial guinea pig which arrived in the form of two ODDs that initially were destined for recycling.
I took a long hard look at them and I said: Why don't I try a rejuvenating treatment on you two? What do you say? Yes please! was the unanimous answer.
Before I tackled these two, cough, ahem, beauties, I briefly tested them and they proved to be in good shape. They read DVDs like a dream. NOICE!
Let's meet the duo.
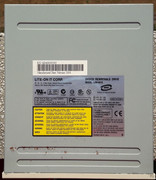
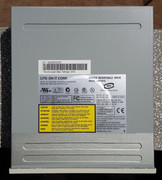
Lite-On DVD-RW LDW-851S
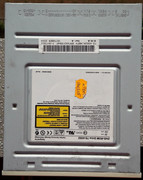
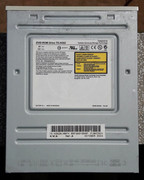
Samsung DVD-ROM TS-H352
These drives are common as dirt where I live and if I didn't get them as a combo deal with other parts I might've never bought them. Also, I must confess, that once I get something, it is quite hard for me to knowingly send them to the crusher. So I was stuck with these two ODDs and I wanted to at least give them a new lease of life. I mean, who in their right mind would stick something looking like that into a retro PC? For sure I would not do such thing.
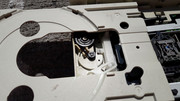
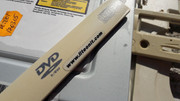
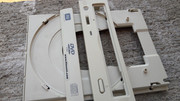
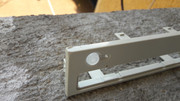
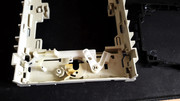
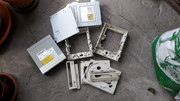
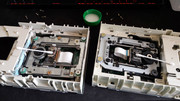
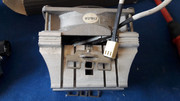
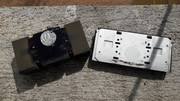
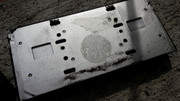
I disassembled the trays and front bezels and I assessed the state of the plastics.
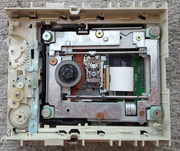
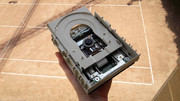
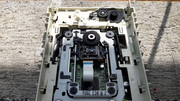
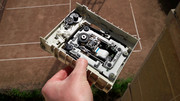
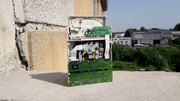
Inside the units, the trays looked quite well and they gave an indication of the original shade of white.
Being confronted by 50 shades of yellow I was even more determined to make these ODDs look as good as possible.
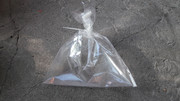
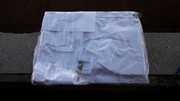
As I don't have zip bags or cling film and I didn't want to buy them just for this experiment, I took a regular plastic sheet cover, tied it with a zip tie to see if it held air and I was good to go. 😀 Not ideal but wth, the main purpose of this is to prevent the evaporation of the hydrogen peroxide solution/emulsion.
Finding the hydrogen peroxide solution/emulsion that I needed proved a little tricky but in the end I prevailed. At first I wanted to go to a hair saloon and buy a bottle of 40 vol (12%) hydrogen peroxide but in the end I bought what I needed from a local supermarket. Buying from the internet would've been even easier but I left that for the next time when I'll retrobright bigger plastic elements.
Initially I wanted to use a hydrogen peroxide in liquid form like I saw on the internet but when I found a small bottle of hydrogen peroxide in gel form I knew that it was perfect. As a backup I also bought some hydrogen peroxide in powder form which once water was added would also turn to a gel consistency.
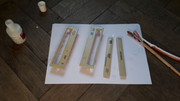
I used a couple of brushes and I coated the plastic bits with a generous layer of hydrogen peroxide gel. When I did this, I also did my first "mistake". I didn't wear gloves while I handled the plastics and even if I took great care I still got some of hydrogen peroxide gel on my fingers. When I saw my skin turn white I rushed to the sink and with lots of water I washed away all of the hydrogen peroxide. This wasn't dangerous but it made my heart race a little. What can I say. Beginner mistake. During the time I worked with the hydrogen peroxide I had the inspiration to at least wear some safety glasses. You really really don't want this stuff in or near your eyes. 😁
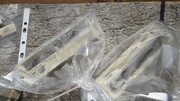
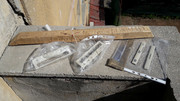
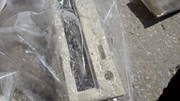
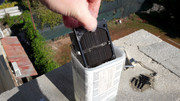
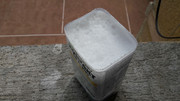
The bigger plastic bits were put in plastic sheet covers that were tied with zip ties, and the tray covers were put in a plastic sheet cover that was just rolled at the end. Nothing fancy.
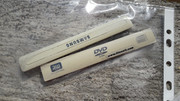
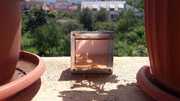
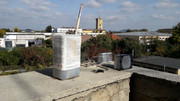
After 30 minutes in the summer sun, I could see the transformation taking place just in front of my eyes. It was like magic, even if this sounds cheesy. 😁 After just a few minutes in the sun you could tell that the stuff was doing its job.
I left the bits in the sun for an hour, then I washed them with water and dish soap. I used some regular rubber gloves just as a precaution. My skin is very sensitive.
Let's see what I got in the end.
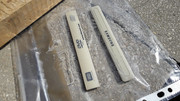
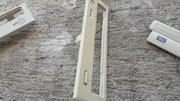
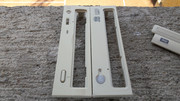
Fantastic results. An exigent eye can spot some hints of yellow still present but that didn't bother me at all. I didn't want to do another pass of retrobright as the scope of this entire thing was not to make perfect these humble ODDs, as to gather the all important data for future projects.
Before and now. Night and day difference.
Another reason why I didn't want to do another pass of retrobright was the fact that it is quite easy to overdo a retrobright treatment and get a shade of white that will not match an older case. Also it is worth mentioning that retrobrighting a part doesn't mean that it will stay like that forever. The yellow shade will return some time down the road. When? Nobody knows, as this is variable. In some cases it may take years or much less. Also it may return with a vengeance yellower than any yellow before it. 😁 It depends. The fire retardants used in the composition of the plastics that are responsible of the yellowing will still do their thing no matter what. Sure you could just paint the plastics but that it is an entirely different matter that needs a whole more experience to get it perfect, so retrobrighting is a lets say, safe and easy method to improve the appearance of all sorts of computer plastic bits.
The 50 shades of yellow are almost gone.
After the success of the the retrobright treatment I was ready to do what I know best. Restoring everything that's PC related and sometimes even more.
I still couldn't believe my eyes while I performed the final stages of cleaning.
The front bezels of the ODDs have taken some beating but as the plastic is soft I used a small screwdriver and with the round metal part I pressed the plastic back into shape. This was as good as it was ever going to get.
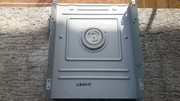
The metal cover of the Samsung drive had some small scuffs and spots of rust that were removed. I used a cotton stick and some paint to blend in the areas that were damaged. The results were quite good as the drive looked like it was never touched up.
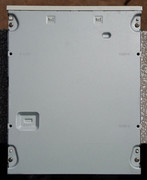
The Lite-On drive had a lot more rust and the paint had a different shade of gray that didn't match anything that I had in stock. I treated the rust and I painted the area that was damaged. Nothing fancy.
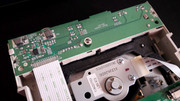
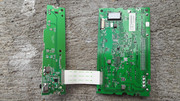
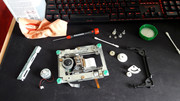
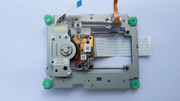
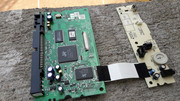
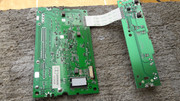
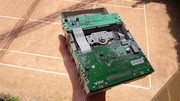
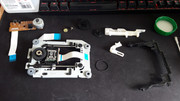
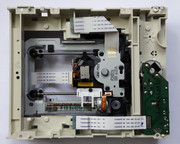
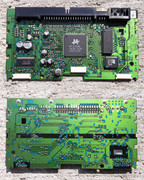
Both of the drives have been taken completely apart and thoroughly cleaned. I took detailed pictures of all the important bits. To my joy the Lite-On drive didn't have a rubber belt. That's a plus in my book no matter the ODD. During the cleaning process I had to use some polishing paste to remove some brown stains on the inside.
Some assemblies required.
The first to be assembled was the Lite-On drive. All of the rails and all contact parts have been lubed with silicone grease. The laser lens has been cleaned gently with a microfiber cloth and some IPA 99%.
Next came the turn of the Samsung drive.
After a lot of work I had in my hands a couple of usable ODDs and I was filled with a sense of accomplishment.
My joy was short lived though.
After I finished the drives I installed them into my Slot 1 PC and I was ready to check them thoroughly. These two, cough, ahem, beauties, would not read CDs no matter what I tried. They read DVDs perfectly.
I tried to clean the laser head lenses a few more times but got the same results. It seems that the CD lens inside the laser head assembly it is toast on both of the units. What where to odds of this happening?! I even used cotton sticks dipped in IPA 99% that I left to rest on the lenses for a few minutes. Nothing worked. DVDs were read great CDs not so much. &*#&*($#%^#$!@#&!!!!!! 😁 The ASUS CD-ROM inside the Slot 1 PC worked as usual. I even changed the cable. Nothing changed.
I was a little bummed but I looked at the bright side of this affair. The retrobright section of this adventure was a complete success. 😁
Retrobrighting is not complicated and if you decide to do it, it is better to start on small bits and pieces. In some cases retrobrighting might not get you the results you expect but this doesn't have to stop you from trying. You must decide if a piece of tech needs this treatment. There are cons and pros like everything in life. "If you don't eat yer meat, you can't have any pudding. How can you have any pudding if you don't eat yer meat?" 😁
As always Google is your friend. There is a lot of information on this subject waiting at your fingertips. 😁
gallery: https://postimg.cc/gallery/QTBxyFY
More later.

