First post, by Paddan1000

Paddan1000
Offline
Rank
Member
- Rank
- Member
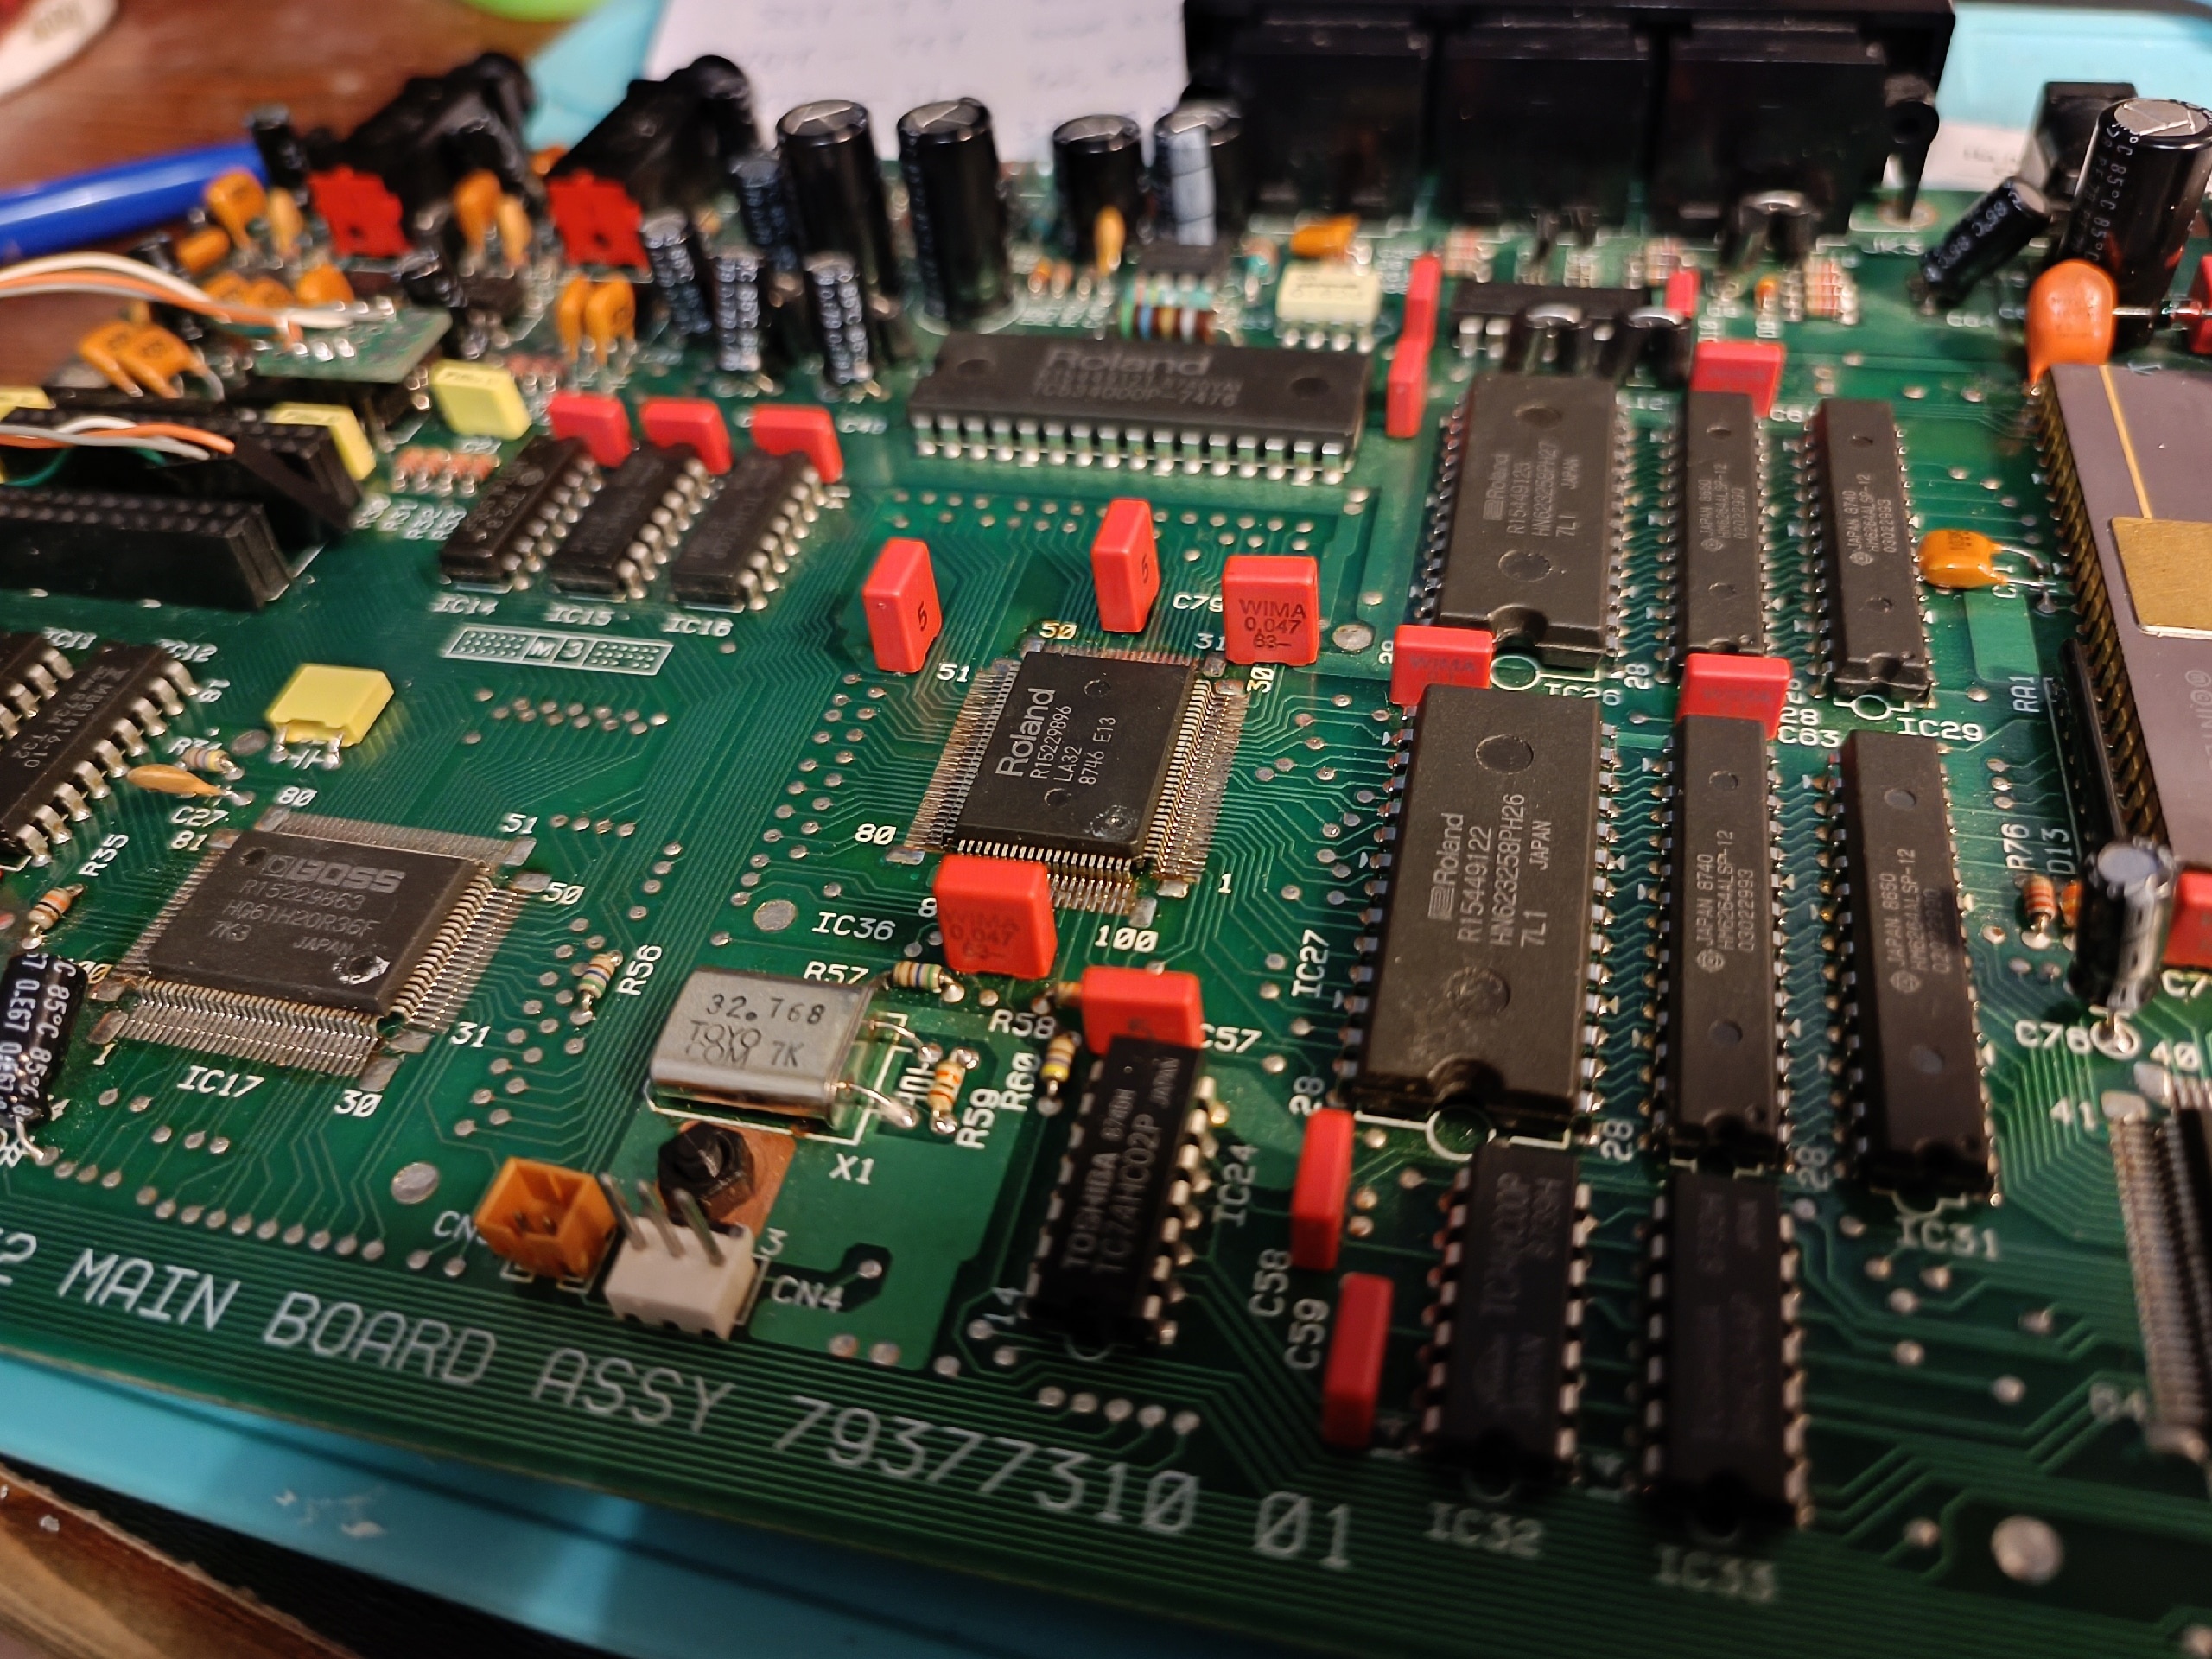
I just replaced all the capacitors in my Roland MT-32. I replaced the caps with Nichicon FW series, except for the four bi-polar caps that were Nichicon MUSE BP. The capacitance is correct for all the capacitors and they are oriented in the correct way. I just used capacitors with a slightly higher voltage rating, but they all fit dimensionally.
Now when I turn on the MT-32 and start a MIDI file the front panel lights up and I can see the instruments playing, but I get no sound from any of the audio out jacks. There isn't even any static, even at the volume turned to 100. They are both completely silent.
What could be the cause of this problem? Is it a short at one of my soldering joints, a loose cable or did I damage a chip?