First post, by geordiepingu
One of my occasional hobbies is restoring vintage electronics, mostly computers. What I do with them after I’ve mended them all completely depends. If it’s interesting to me and I’ve got the space, I will keep it. Otherwise, I will usually sell them or gift them to friends who would enjoy some of these bits of kit.
This motherboard – the MSI K7D Master – was of particular curiosity in my youth and quite frankly, classed as unobtanium at the time: dual-socket or dual-processor machines. Windows NT, 2000, and XP could take advantage of these configurations at the time, whether or not the underlying software you were running could was another matter. However, these were multitasking powerhouses back in the day, but they probably wouldn’t do anything to make my retro games faster!
That said, I think dual socket boards are cool (in retro geek terms) and great platforms for some of my nostalgic games. The K7D Master features an AGP slot and a good amount of expansion for sound cards, fast storage, etc.
Like any old contraption, this board needed a bit of TLC to work properly. Components fail with age, and things get damaged as they get handled.
The MSI K7D Master-L is a fairly early SMP Athlon board, sporting 2x 462-pin CPU sockets (socket A/462) and an AMD 760MPX chipset. This enables the board to do some rudimentary overclocking of some Athlon MPs or modified XPs, which is pretty rare for an SMP motherboard, typically speaking. Given I was overclocking Pentium 2s, 3s, 4s, and Athlons in my youth, you can see the appeal. Further to this, the board features an AGP Pro slot, 2x PCI-X 64-bit slots, and 3x PCI slots. As standard, it has 2x IDE controllers, a game port, AC97 audio, Intel 100Mb Pro Ethernet, a couple of USB ports, and PS/2 ports to boot. In summary, it has SMP support, can do some (very basic) overclocking, and plenty of connectivity and expansion.
I got my board for free from my friend Emma, who was downsizing, which came with a pair of Athlon 2000+ MPs. It worked, but had a few niggles. Retro game installers would throw CRC errors – despite different HDDs and RAM configurations, the Intel NIC wouldn’t negotiate a connection properly, and sometimes the machine would just refuse to boot at all. My gut instinct told me there would be some electrical gremlins on the board that need attending to.
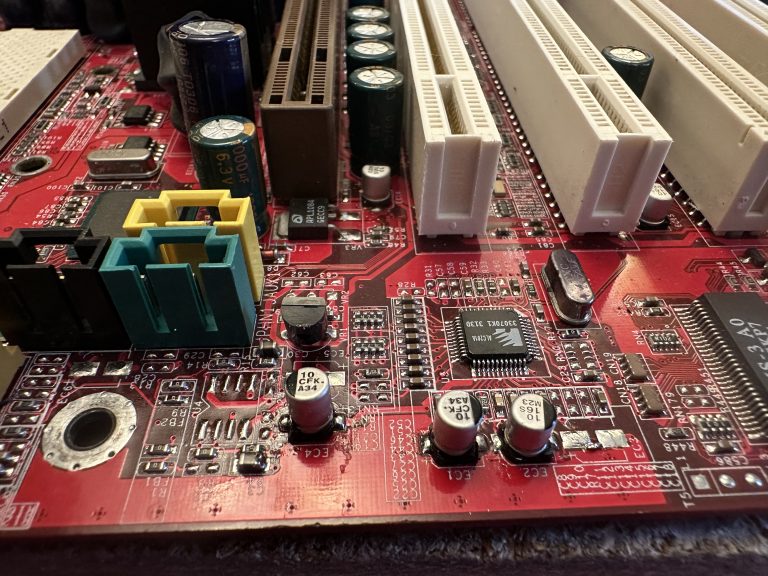
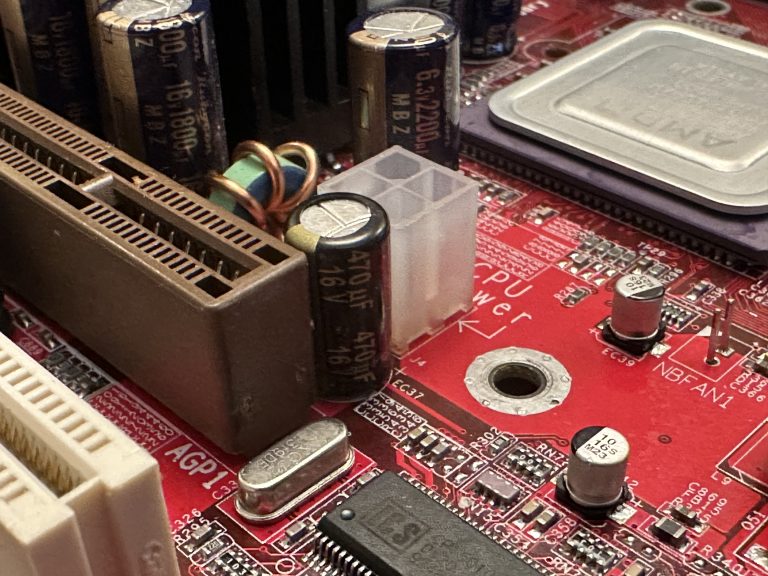
The capacitors, on a first glance, looked OK. There was a mix of Rubycons (awesome) and some Teapo (Taiwanese) capacitors. There were no obvious signs of bulging. A further, closer look with my glasses on had me noticing some goop under the capacitors. On some boards, this can be a glue used in the manufacturing process to keep capacitors in place. However, this was not consistent, so I thought I might as well buy caps for the entire board.
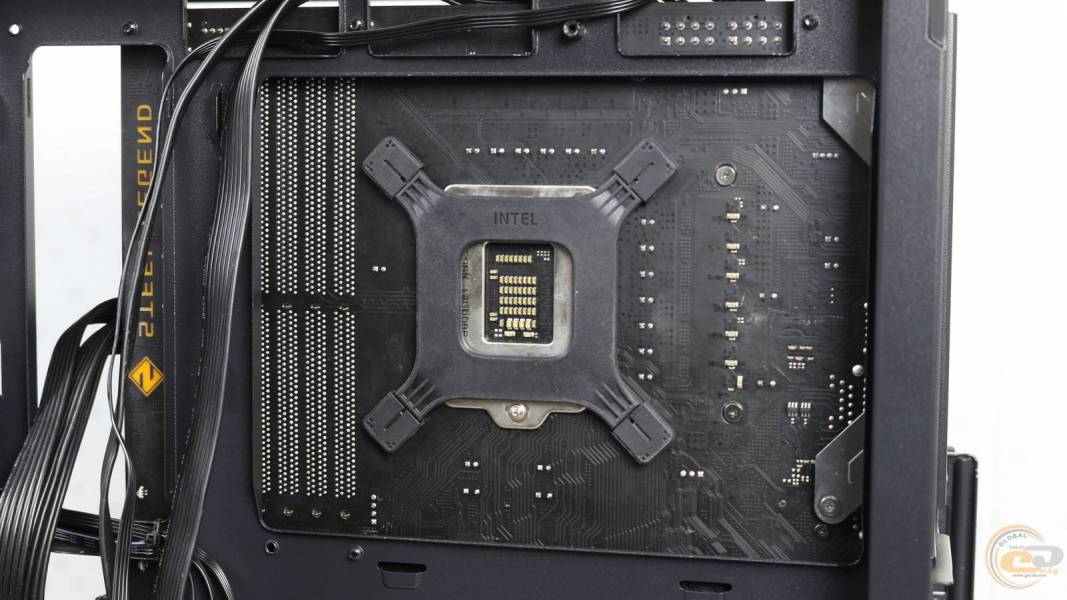
I then took a third look at the SMD components on the board. Some of them were clearly missing!

That added to my list of components for the board. I used some high-resolution photographs from The Retro Web to verify what was missing, as I didn’t have schematics.
I ordered my components from a mix of RS components and CPC Farnell. CPC Farnell is my first go-to as they are less than a 30-minute drive from me if I need something quickly. It is worth noting that the Teapo capacitors have an 8mm footprint, which can be difficult to find. This footprint must be observed, as these capacitors are bunched together very tightly. Anything larger won’t fit properly and will look untidy, and won’t be mounted in a stable manner to the board. Anywhere else, I ensure the leg pitch is the same where possible.
I also make an effort to find components that have a similar ESR and are from a reputable manufacturer. Rubycon, Chemicon, Panasonic, etc, are my go-to here.
The shopping list for those who are following along at home or recapping a similar board:
Rubycon 16ML100MEFC6.3X7
Panasonic EEUFM1C471L
Panasonic EEUFM0J222L
Chemi-con EKY-6R3ELL102MH15D
Rubycon 16ZLH1800MEFC10X23
Panasonic EEEFK1C100AR
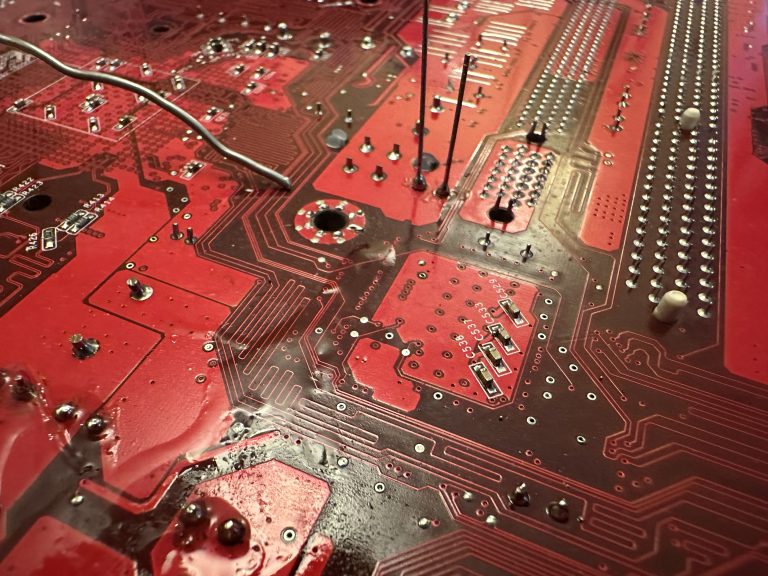
I started trying to desolder some of the suspect caps, the key here being trying. The K7D’s ground planes are big and contain a lot of copper; it was going to be a huge effort to heat. I could pre-heat the board, but I had also lost my big soldering iron. Regardless of preheating, it was taking my small 18w iron far too long, and I didn’t want to risk damaging the board. Long gone was my proper soldering station. This sounded like a good excuse to browse CPC’s catalogue…
I ended up finding a Weller 85W soldering station that was significantly cheaper than the usual suspects online, so I jumped in the car and picked it up without hesitation. I haven’t used a station in the last few years of repairing retro electronics, and I had forgotten how much easier it made this process! So much so, I decided to start replacing some more of the Teapo Taiwanese capacitors so my inner snob could be satisfied.
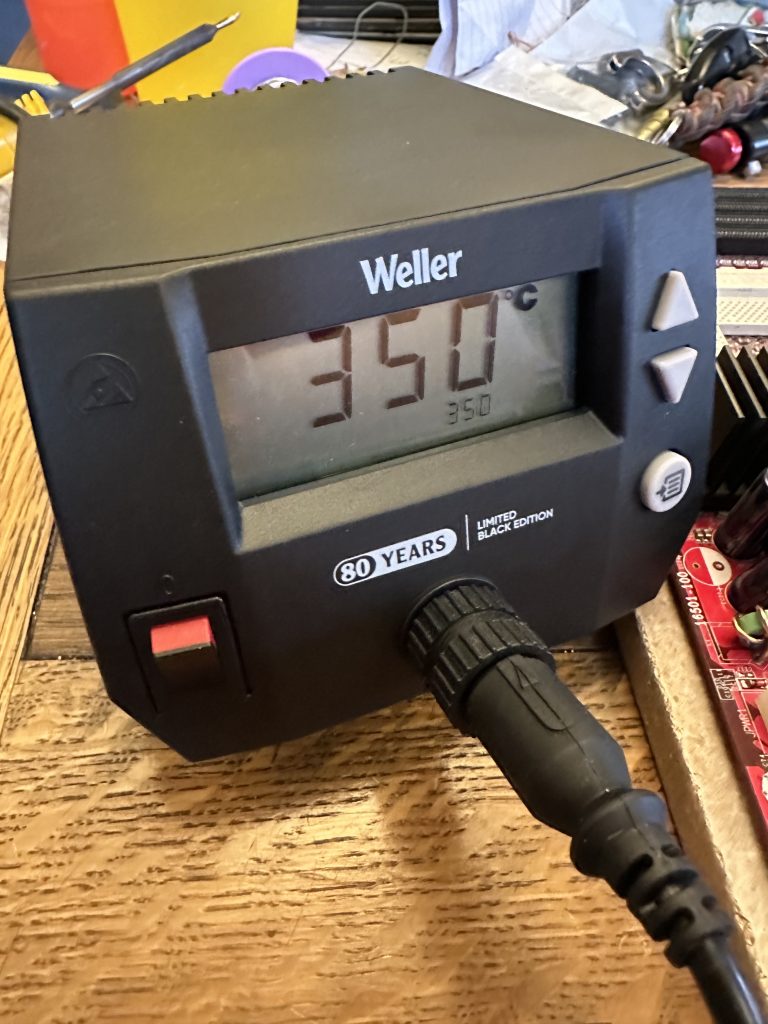
The Weller is very easy to use and very responsive to heat demands. I managed to get away with doing the rest of the repairs without preheating the board.
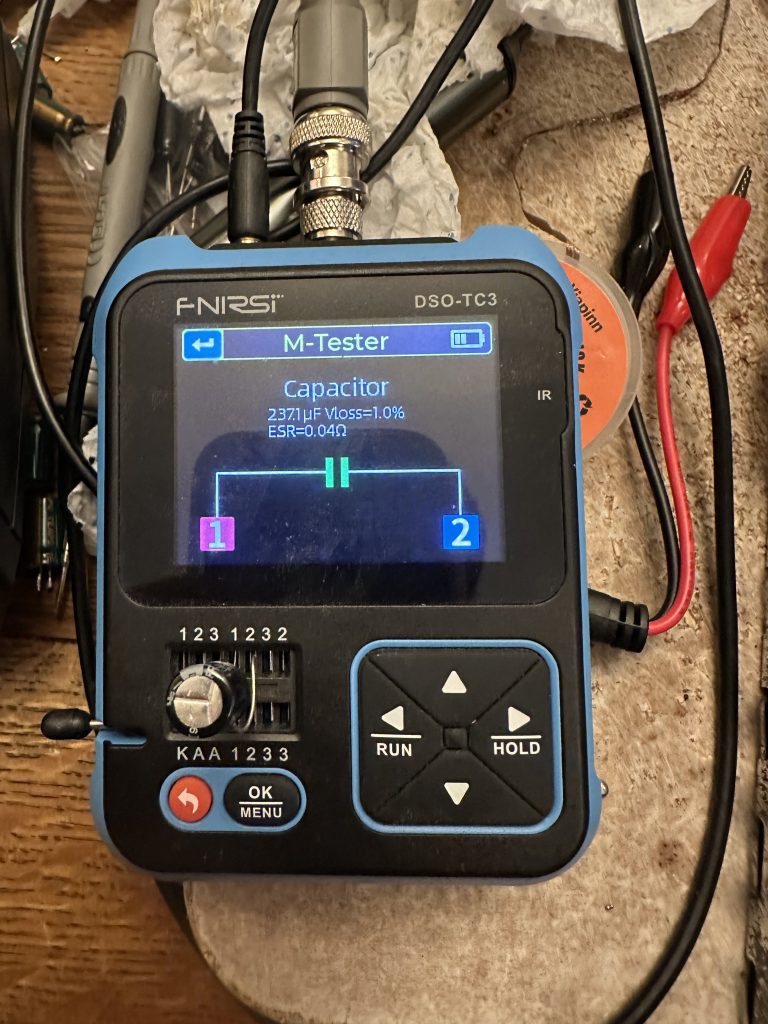
My process involves testing each capacitor before installation to reduce the risk of installing defective capacitors. This multifunction oscilloscope, which I primarily use for testing electronic fuel injection sensors, also has a capacitor and circuit tester built in. Quite handy!
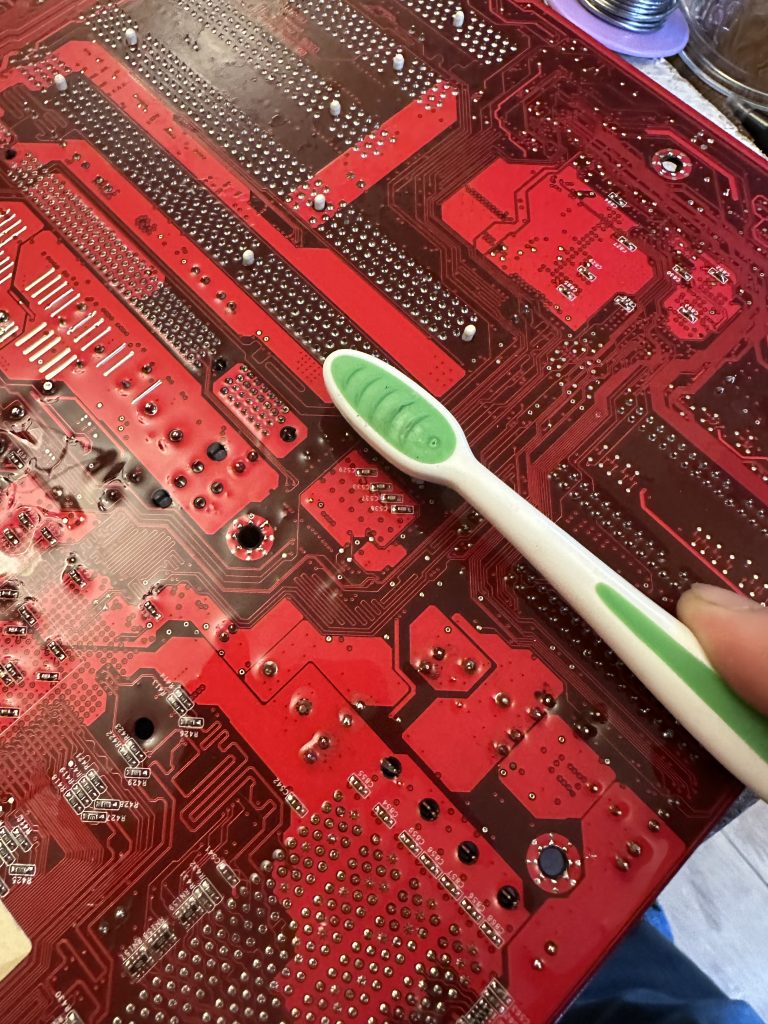
Once I soldered the capacitors in, I got a tin of isopropanol out and started using a clean toothbrush to scrub the work area and eradicate any flux on the motherboard.
The next stage was to build the system up with components I had in my spares box. This is built up of a mix of stuff I’ve had for over 20 years, with stuff I’ve recycled from other computers over the years, acquired when I’ve found a good deal, or been given by friends. To put a long story short, I decided to go overkill so I could really see what the Athlon MP platform could do.
Overall Specifications:
Dual AMD Athlon MP 2000+
2GB DDR 3200 RAM
Nvidia GeForce 7800GS AGP 256MB
MSI K7D Master L
Toshiba Q Series 128GB SSD SATA
Seagate 2TB 7200RPM HDD SATA
2x Hitachi Deskstar 250GB 7200RPM ATA/IDE
Promise TX4 SATA controller
Asus Xonar DS Sound Card
NZXT C750 Power Supply
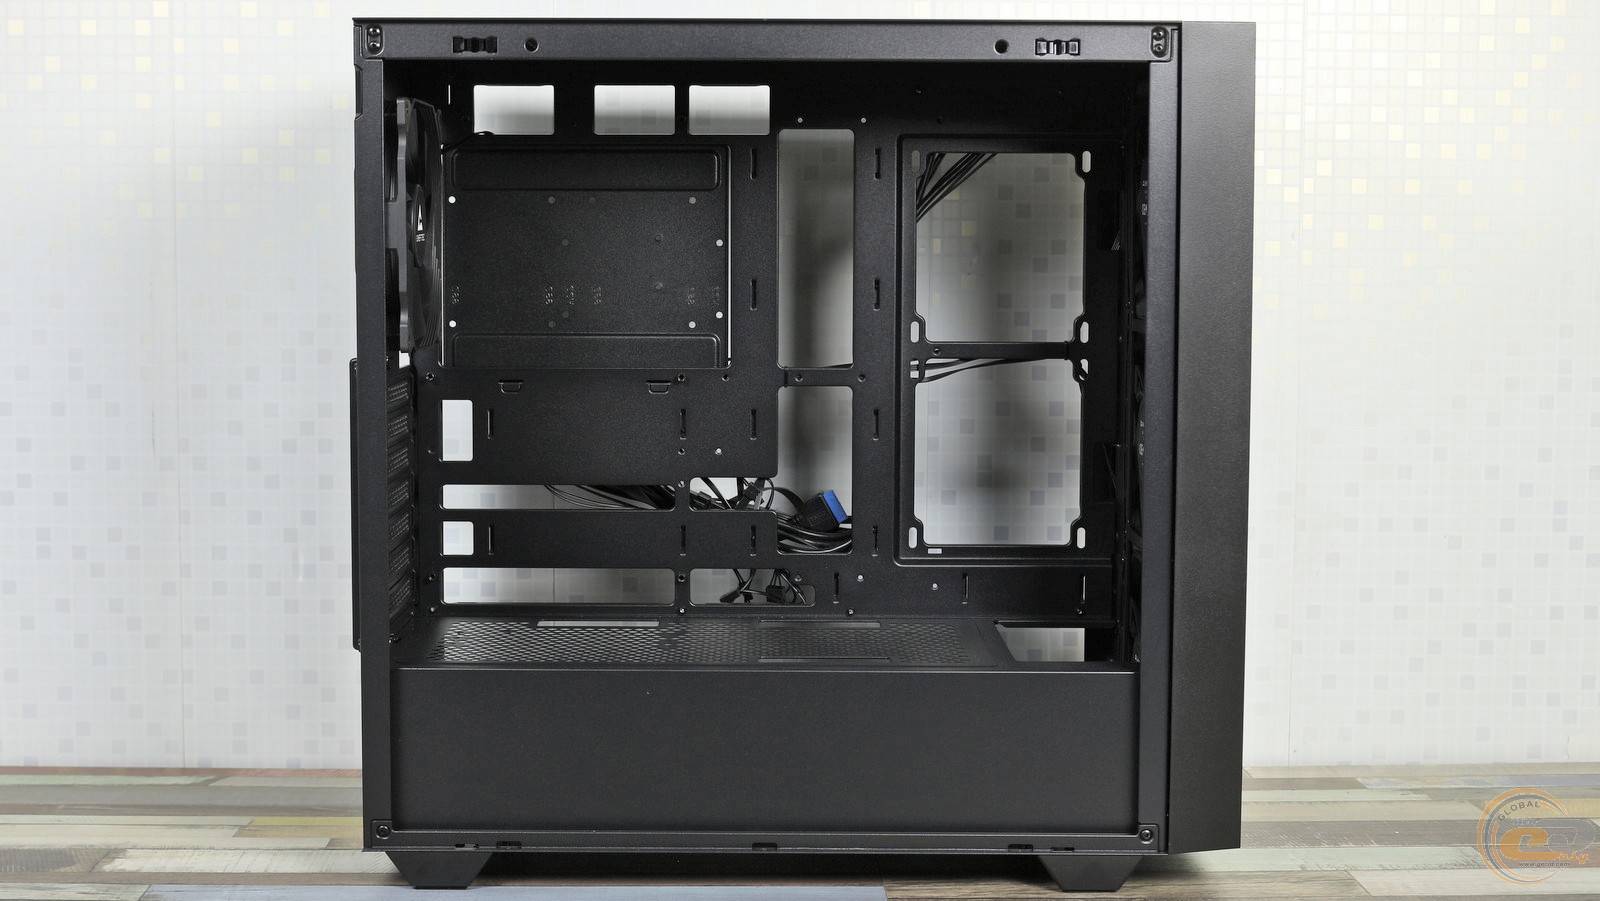
Chieftec Dragon ATX Full Tower Case
Arctic 80mm fans for the case
3.5″ Sony Floppy Drive
3.5″ Gotek Floppy Emulator
Pioneer DVR-107 DVD-RW ATA Writer
HL DVD-RW DL SATA Writer
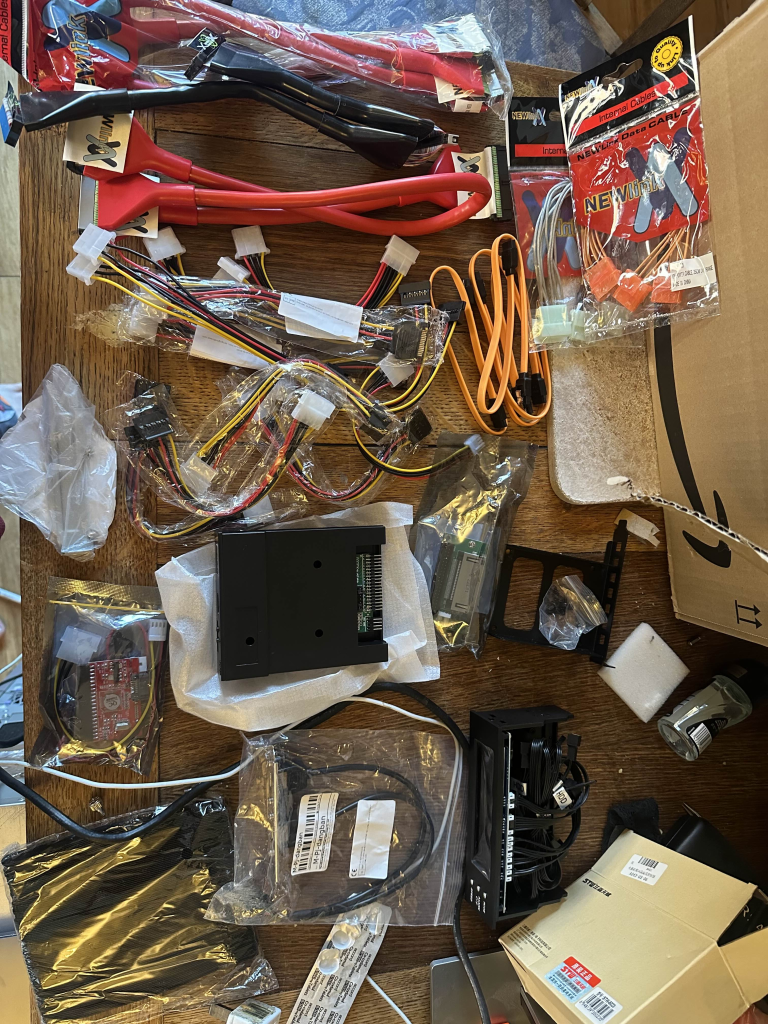
To make the build happen, I used a mix of new-old stock cables and splitters off eBay, and some interesting bits from Aliexpress. E.g. the Gotek floppy emulator and a “Bay Filler” Fan controller. Having Newlink round ATA/IDE cables really did make me feel like I was taking a PC apart in 2003 all over again.
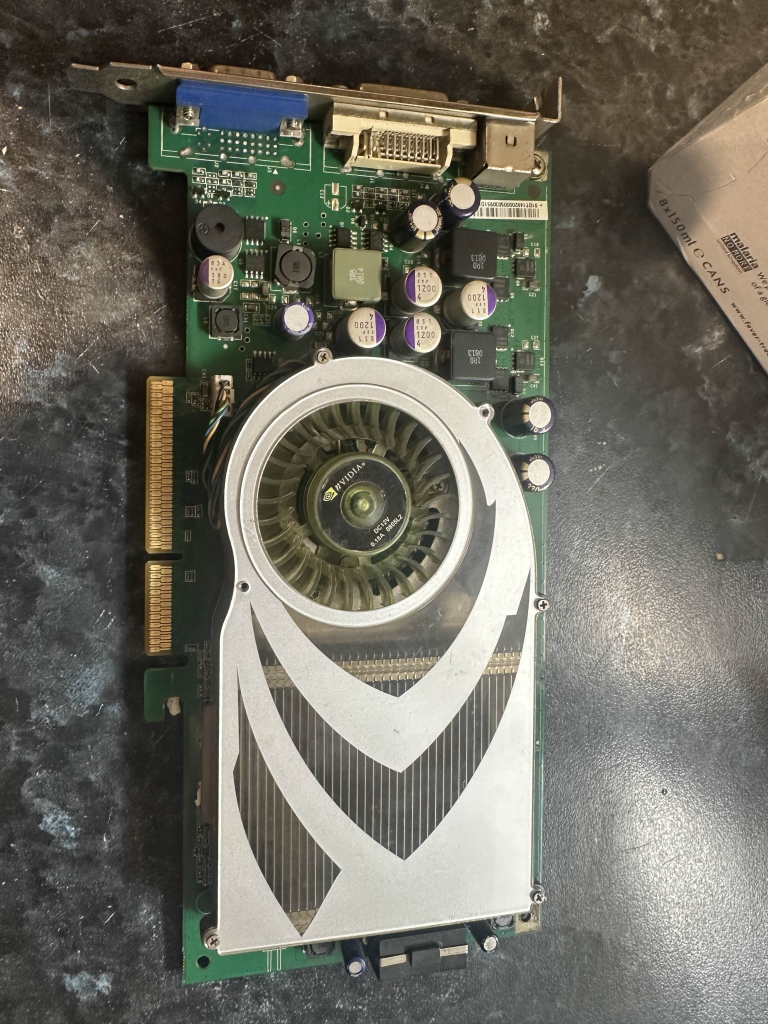
And strangely enough, this Nvidia GeForce 7800GS AGP was advertised at an absolutely bargain price on Aliexpress at the time of buying. Turns out it’s for a later SEGA arcade cabinet, or my Windows XP Athlon MP Rig… Some new Noctua thermal paste and the card is merrily on its way into the rig.
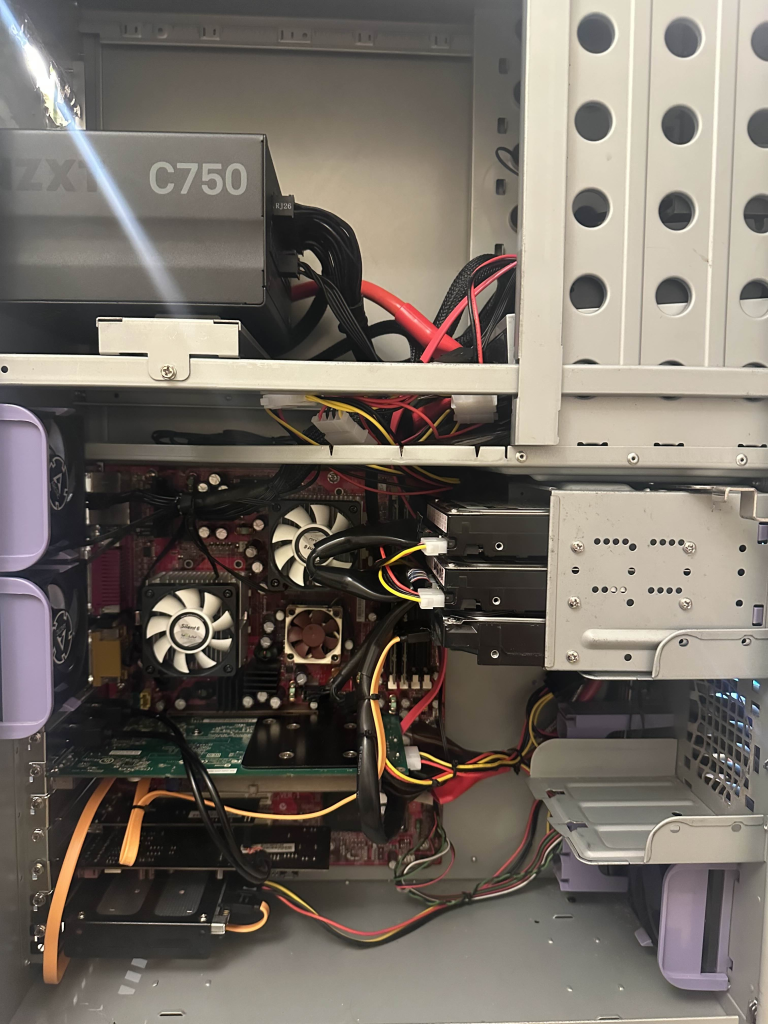
Assembled inside, with some rudimentary, but probably period-correct cable management.
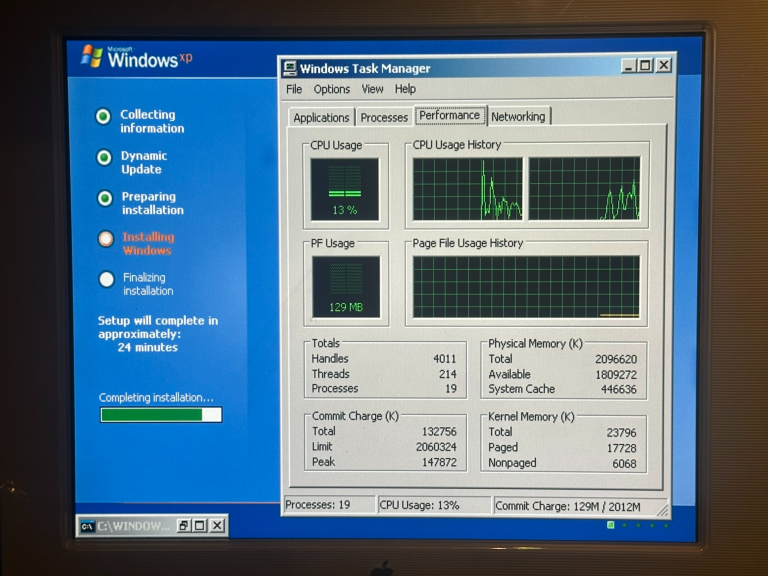
Next came a clean installation of Windows XP Professional, now that I had picked and installed the hardware I was going to run in the system.
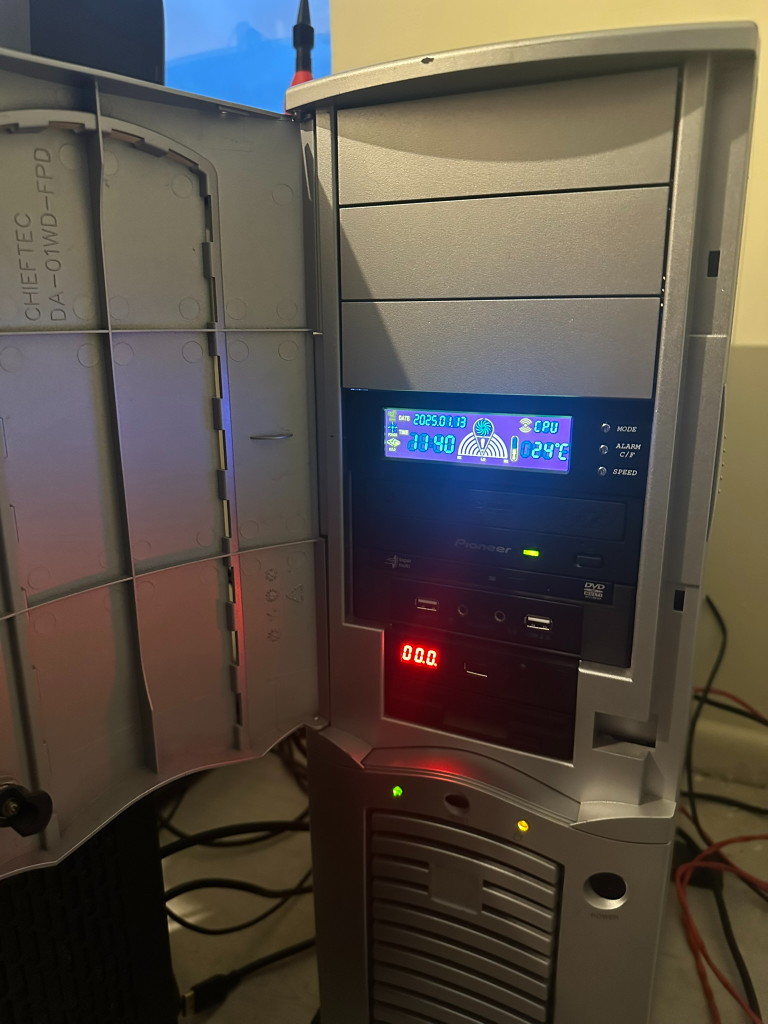
The finished article currently looks like this. Pardon the mess as I am midway through re-decorating my office.

Overall, the project has been a success, with the only real outlay being a strange Aliexpress card, a Chieftec Dragon I found for buttons on Facebook Marketplace on the way back from work, and some nostalgia-trip ATA cables. The machine currently runs NFS Most Wanted without a problem. I’m yet to spend the time to install my other retro games – at some point, it will happen, I am sure.
The next salute as some may have seen on reddit, is to finish the KVM setup so I can keep this machine and some others in my office.
geordiepingu wrote on 2026-07-05, 17:19:All for the benchmarks!
Petrol head and serial PC tweaker