First post, by whisker58
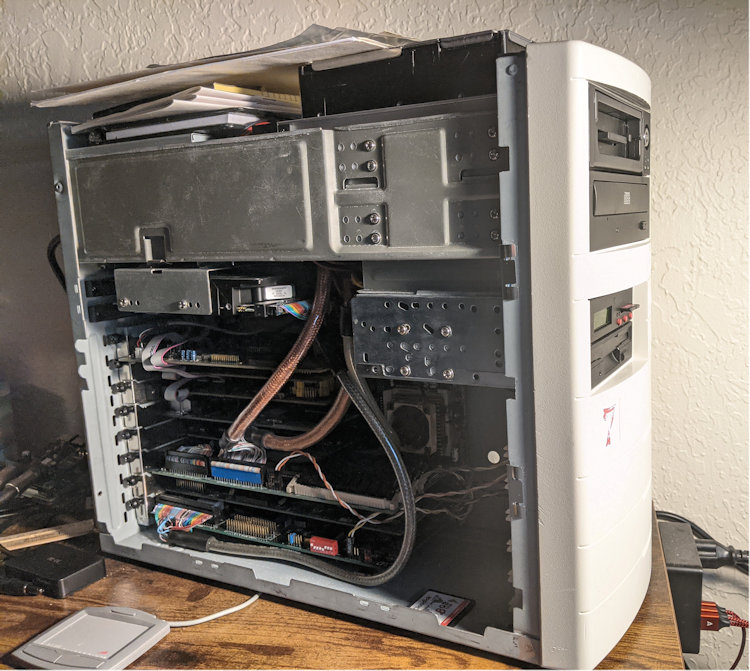
The build:
- OS: Windows 98SE, DOS 6.22, FreeBSD, FreeDOS.
- Enlight Exacta 6552 Baby AT case.
- Edom MV035 Rev F motherboard plus 512KB L2 Cache.
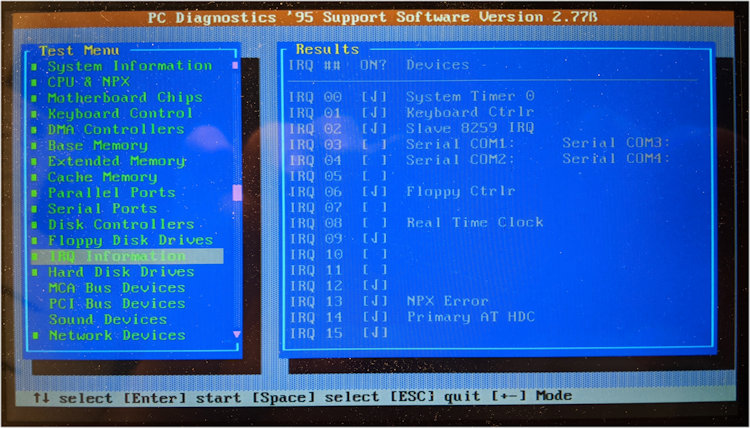
- Am5x86-P75 (AMD X5-133 ADZ) overclocked to 160MHz
- 128MB RAM, 72-pin SIMMs.
- Diamond Multimedia Stealth 64 DRAM VLB S3 Vision
- Promise DC-4030VL-2 VLB IO Controller [accelerator] plus 16MB (4x4MB) parity 30-pin SIMM.
- Promise 9446-00 EIDE Max ISA Controller Rev B2
- Adaptec AHA-2842A SCSI Controller
- StarTech 3.5in Drive Bay IDE to Single CF SSD Adapter
- Kingwin IDE Mobile Rack KF-21-IPF-B
- Linksys ISA Network LAN Adapter.
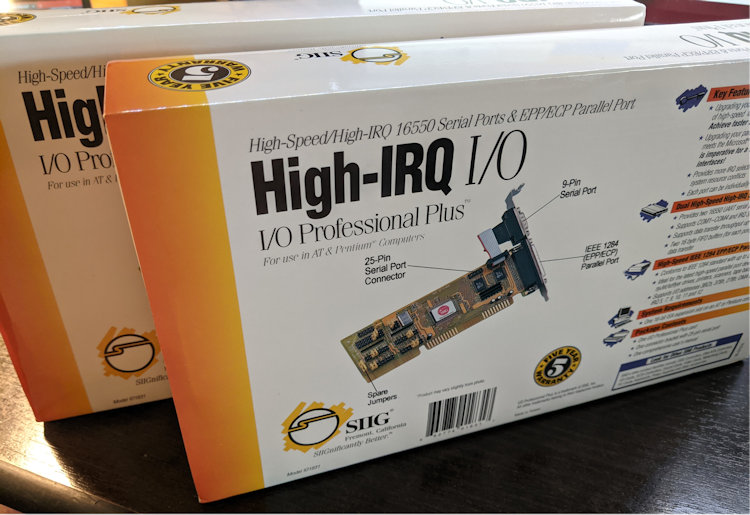
- 2x SIIG High-IRQ 16550 Serials & EPP/ECP Parallel.
- Creative Sound Blaster AWE64 Gold ISA CT4390.
- Lotharek SD Card HxC Floppy Emulator.
- Cooltech 45mm x 45mm Heat Sink with Arctic Silver 5.
- Sony Model MPF920 3.5" Internal Floppy Disk Drive
- Sony 52x 5.25" IDE CD-ROM Optical Drive CDU5225-B2
- SCSI drive, CF cards.
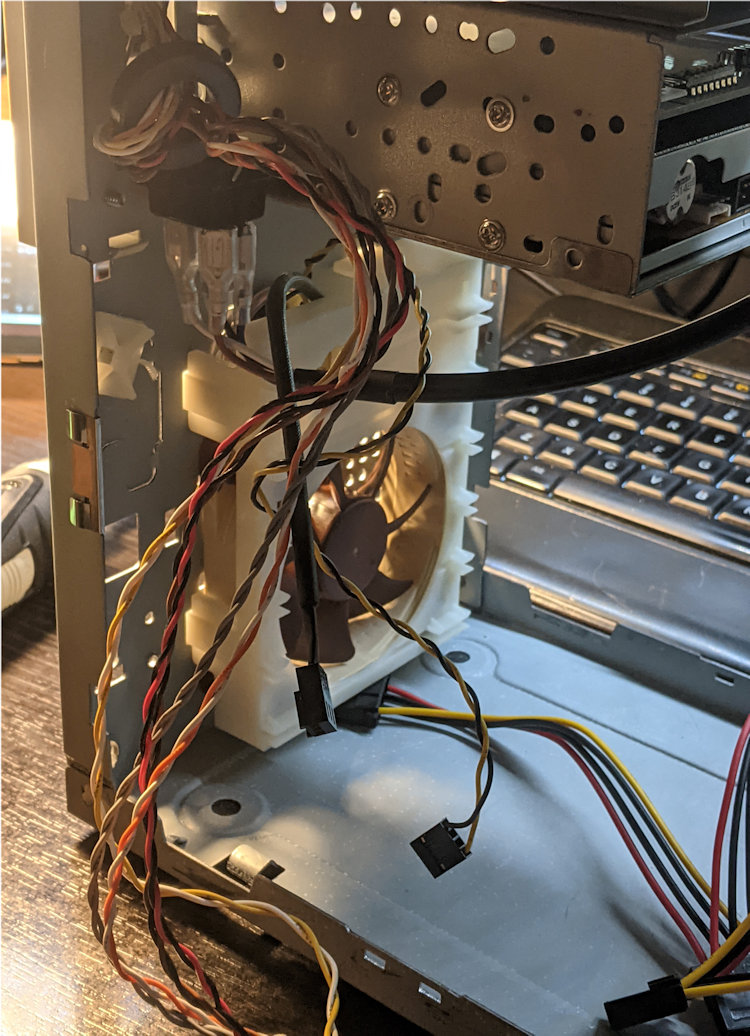
- Noctua fans for the CPU and front case.
Current status is >95% complete.
The goal is to build the best vintage 486 using some of my favorite technologies. Specifically, I wanted to use all 8 case slots for cards for which the MV035 fits, having 8x 16-bit slots, with 3 of them having the VLB extensions. The one rule I made for myself was not to use a PCI bus or Pentium processor. The Pentium and PCI bus changed everything concerning 3D graphics. Creative Labs did produce the only VLB 3D video card, the Creative 3D Blaster, which was bundled with 5 games. That is now an expensive collector's item. Up to the point of Pentium, games were generally 2D, had pre-rendered environments and scenes, and certainly didn't benefit from 3D-capable GPUs.
First, I had to find the case. I had used Enlight cases in the past, but I couldn't remember anything except that Enlight manufactured them. Some digging, and I identified it, and I found a guy on Vogons and asked him to sell it to me, and he did. It was already built up, so I had to tear it down. I was lucky enough to still have keys for the keylock back from when I previously had these cases, and one of my keys worked on this case. That's a WIN!
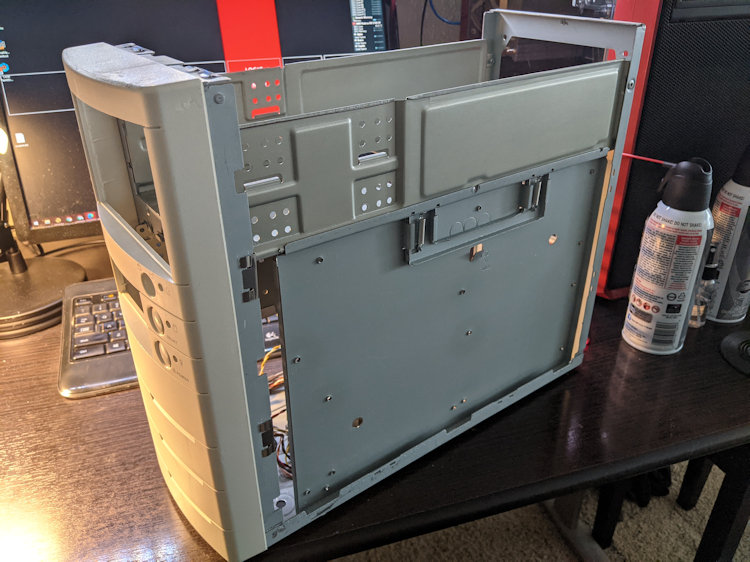
It was dirty, of course. I hate dirt. Dirt creates Communism and must die.
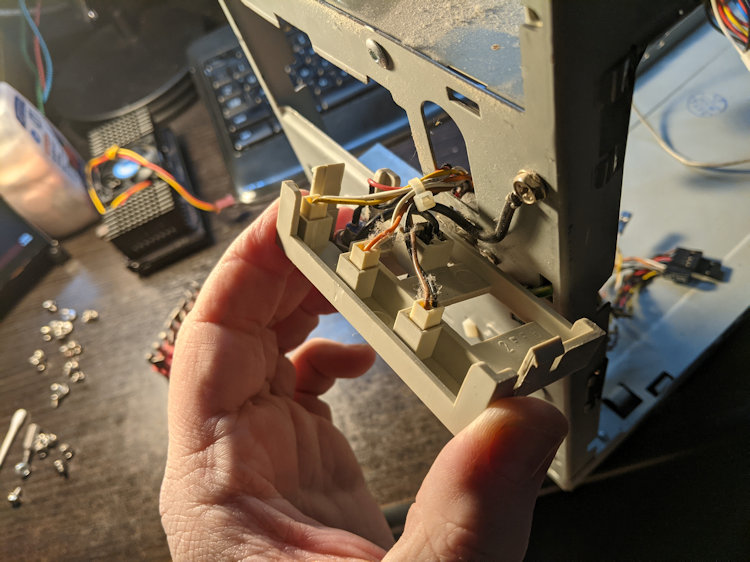
I had to gut it, drill out stripped screws, get the stickers off, and throw the whole thing into the dishwasher. I considered doing a RetroBrite to the bezel, but I scrapped it on the backside, and the plastic was the same color, so there was no point in doing that. The case material condition was excellent.
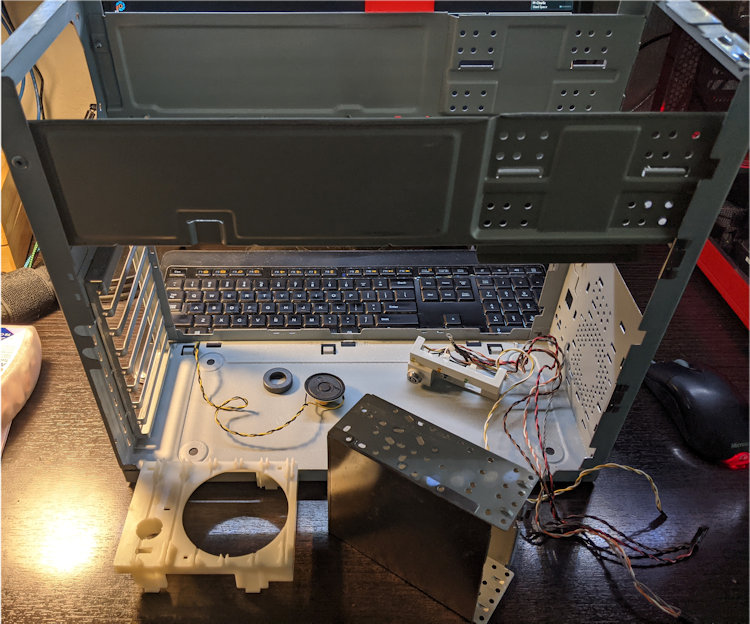
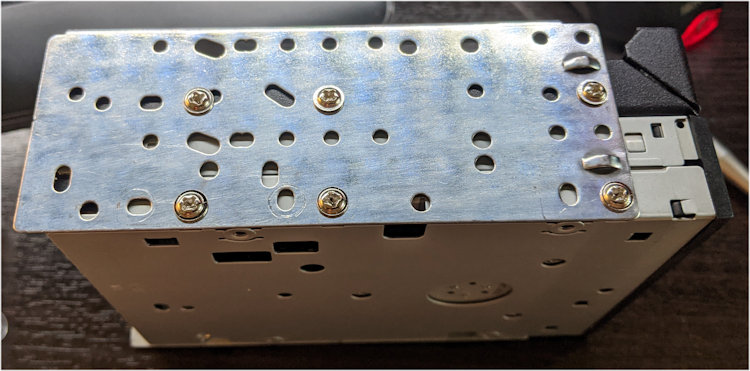
The 3.5-inch drive carrier was challenging to clean. There was noticeable tape glue residue that would not come off despite all my best chemicals. Frustrated, I used my rotary tool with wire brushes and buffing wheels to strip the paint off with the glue. The glue gummed up my wire brush, and I had to toss it. Why would anyone use such tape?
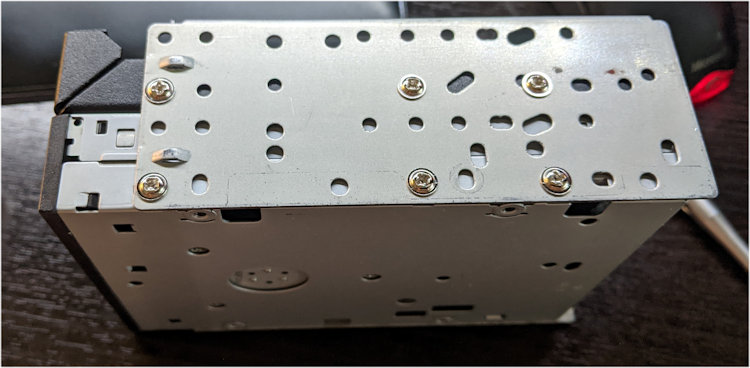
This is the painted side compared to the stripped side. It's much shinier in person.
Except for the speaker and key switch, don't put those in the washer. Next was to acquire a new AT power supply. The case came with 200W, but I found newly manufactured 400W AT power supplies on Amazon. Hospitals still use them in their equipment. I had acquired an MV035 Rev D motherboard and an AMD 5x86 133MHz CPU a few years prior. I grabbed a cheap VGA card, a floppy drive, and 128MB of RAM and tested everything using my old bench software. [Photo is from before I had the IO cards and floppy drive connected.]
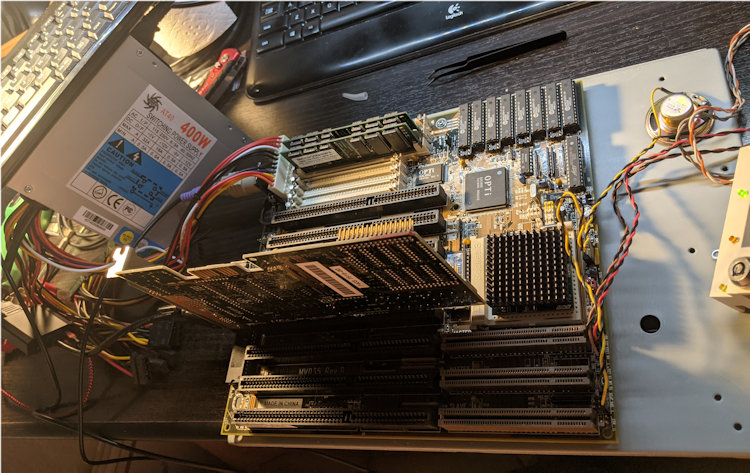
All the tests passed. I used a burn-in mode to make sure everything operated as expected.
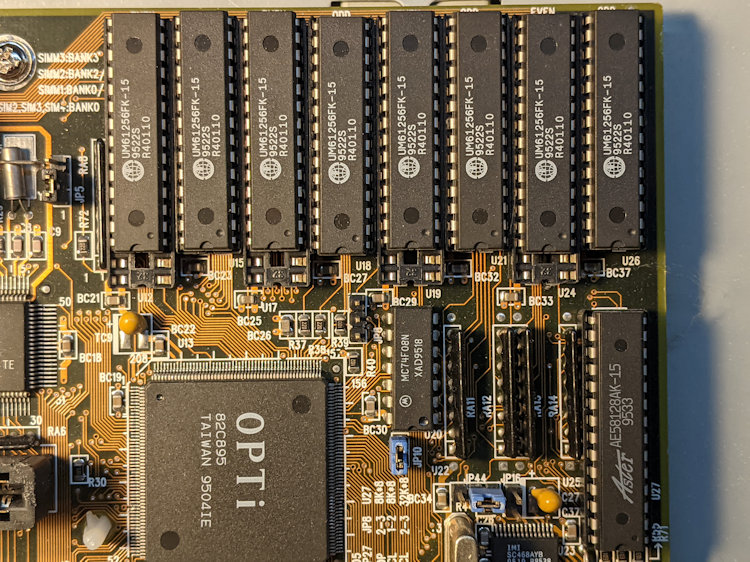
With an "operational" 486, the next thing I wanted to do was double the L2 cache from the stock 256k to 512k and overclock the CPU. The L2 cache uses 8x SRAM chips and a TAG RAM chip. Notice how 4 of the IC sockets can accommodate a larger DIP.
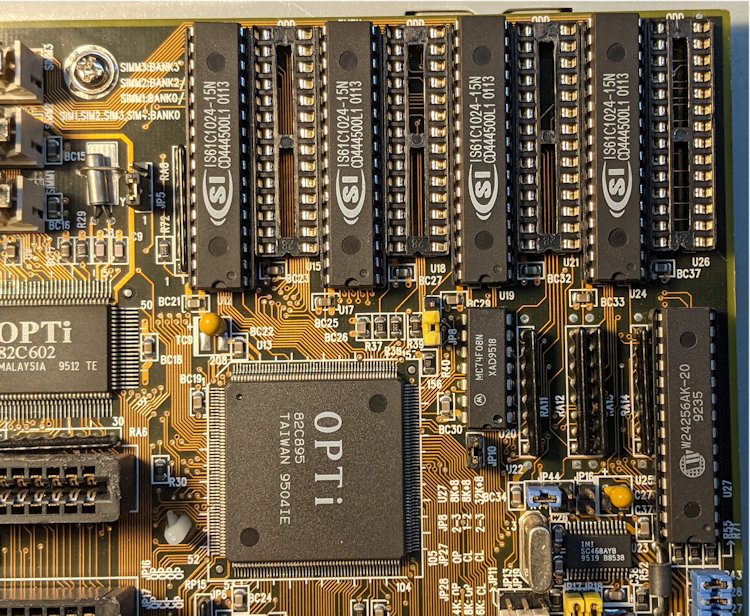
Identifying the correct chips was very time-consuming, and I had to buy them from China. The MV035 can have a maximum of 512KB for the L2 cache, even though it doesn't use all the IC sockets.
I started to attempt to boot into an OS. But something was wrong. Whenever I booted an MS-DOS disk, a FreeDOS disk, or any boot disk, it would only get so far, and then the computer would freeze. WHY? I reduced the clock back to 133MHz, changed the floppy drive with a New Old Stock (NOS) drive, used NOS floppy disks, replaced the floppy cable, put the old L2 cache back, checked every jumper dozens of times, and eventually acquired a NOS MV035 Rev F motherboard. I even used my multimeter to read the power supply voltages. Side note about the Rev F: It is superior to all prior revisions.
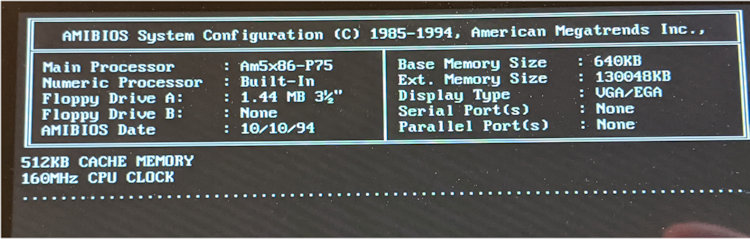
Finally, I swapped out the CPU. I couldn't believe it. I had a bad CPU. The rule we had in the old days was "it's never the CPU" because it never was. The old CPU had an integrated heat sink, but the new one didn't, and I wanted to use a Noctua fan with Arctic Silver 5, so the malfunction worked to my benefit.
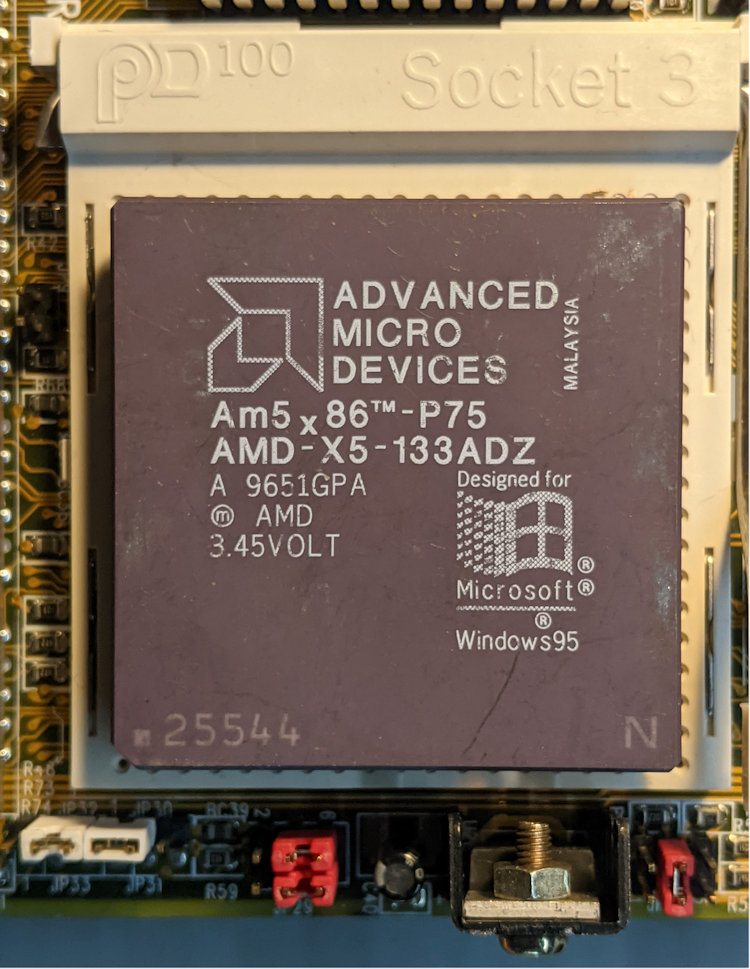
I made the change. I was even able to overclock the CPU to 160MHz (but not 200MHz). There's a unicorn chip out there, the AMD X5-160 ADZ. According to the Wiki, it was never released. I wonder if there's a developer chip out there somewhere. I imagine it could be overclocked to 200MHz.
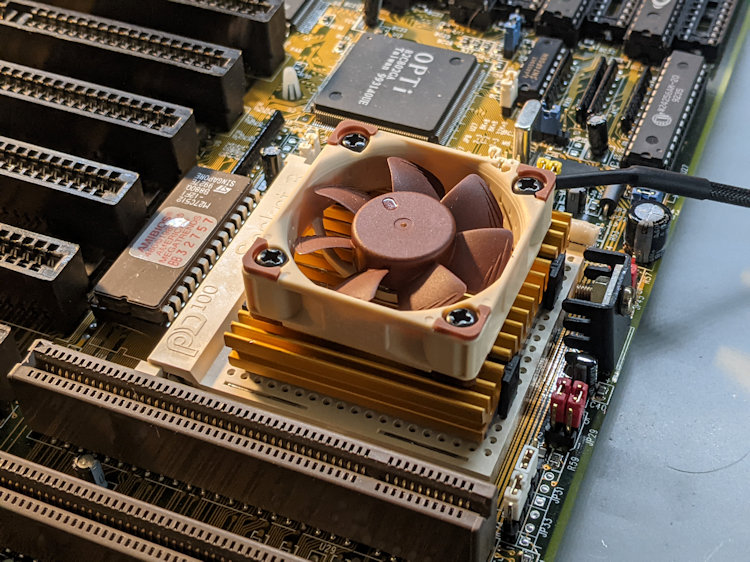
Now that I could boot an OS, I started to assemble the computer. I got all new computer screws, standoff kits, and heatshrink tubing (which will come up later). These cases never came with a case fan, but it could hold one. I added a Noctua fan to it.
I never understood why some standoffs have screws and others are merely plastic meant to hold up the motherboard. I guess the engineers couldn't accommodate a few more holes for screws.
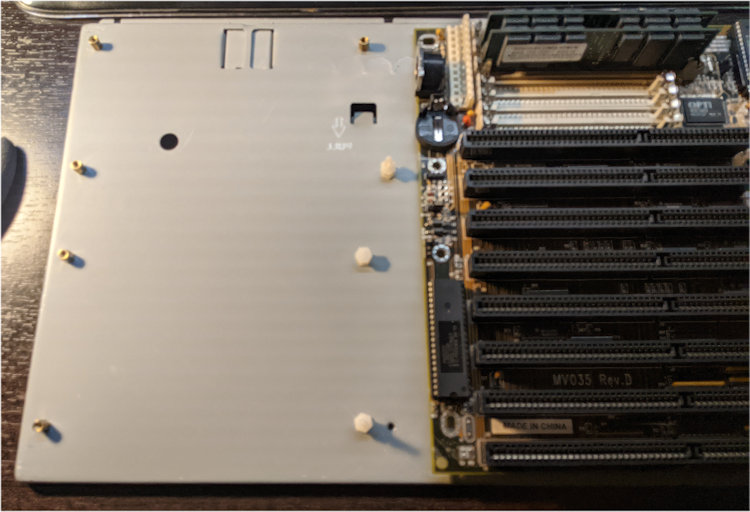
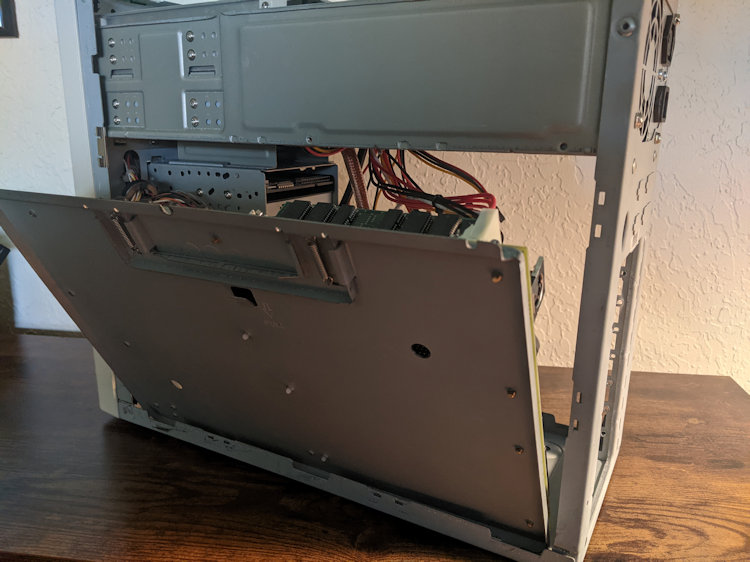
I think we all prefer the removable motherboard assembly. This one is the only kind I've seen that works like this, with the spring-loaded pulldown release.
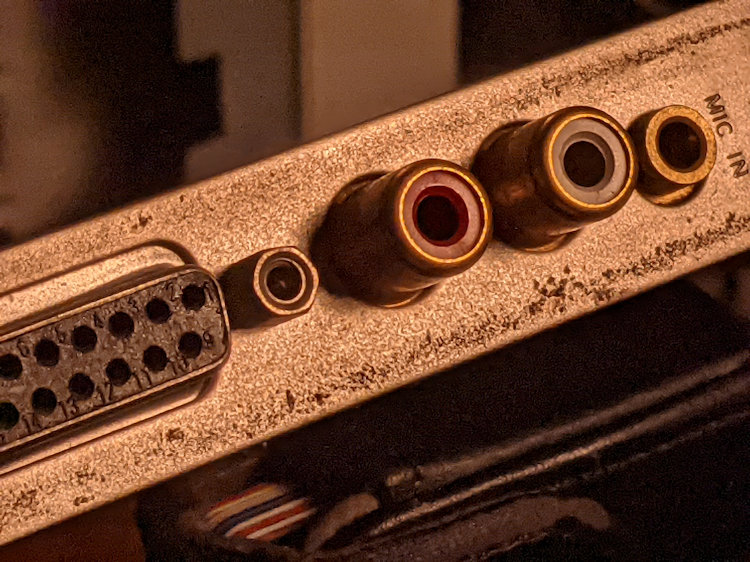
By the way, I am a clean freak with these sorts of things. I hate grime, dirt, filth, dust, whatever. For example, the Soundblaster I got looked like this:
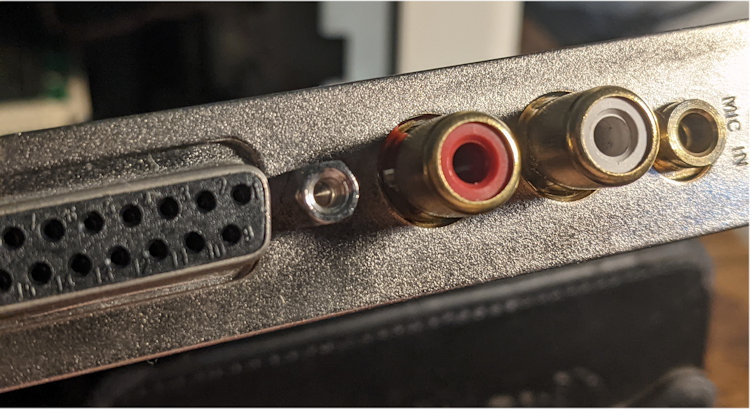
And after I was done, it looked like this (below). How? The dishwasher. Sounds crazy, right? Well, electronics manufacturers use dishwashers to wash their PCBs before assembly. Now, there's always a risk. Some components react poorly to soap and water, such as anything made of paper and inductors like transformers. But integrated circuits, resistors, most capacitors, and even dip switches are usually fine. The dishwasher is usually okay too.
CAUTION: "Usually" fine/okay. [Insert disclaimer here]. I've never damaged a dishwasher or lost a board (yet), but I'm a professional. You can be seriously injured or killed, and you can burn your house down too. However, I'm sure this is not the stupidest thing you've ever done in your life.
A badge is as easy as a photo printer, scissors, and a glue stick. I'm trying to remain period specific with the hardware, but some modern conveniences are undeniable. A floppy drive is good and all. But no one makes 3.5-inch disks anymore, plus everything you grab is generally a disk image. So, I have the floppy drive, but I also have the Lotharek SD Card HxC Floppy Emulator. With it, I can load multiple disk images onto a SD card and move them back and forth between my modern computer and the 486. Plus, good luck getting a 3.5-inch floppy drive into a modern computer. The emulator is sold with a laminate for the face, but I didn't use it. The Lotharek is worth the money, but you can also find cheap HxC emulators. Also, I tried the external USB floppy drive on Windows 10, and I plugged the drive into a Raspberry Pi instead. That's how I image a physical floppy disk to a file.

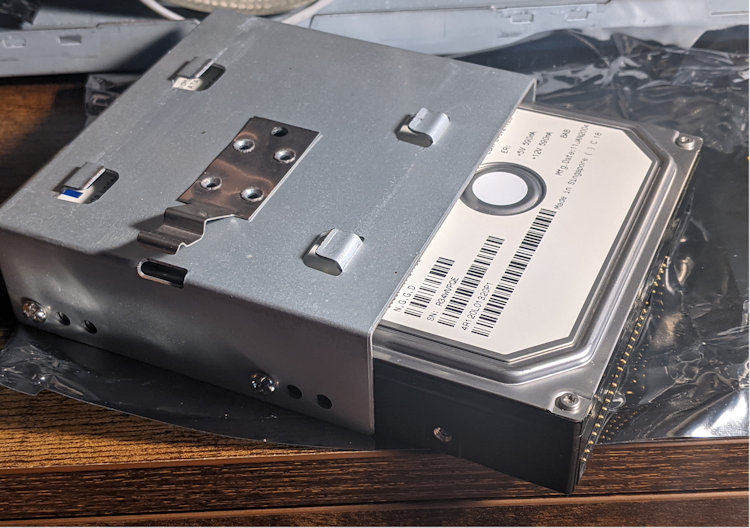
I wanted to have an internal hard drive. Surprisingly, the missing bracket was easily found on eBay. An IDE is pictured, but it didn't work out because of controller problems that I'll explain later. I switched to SCSI and tried an IBM DGHS18Z 3.5" 18GB 50 Pin SCSI hard drive, but it had physical damage to the disks. I ended up using a 1GB SCSI hard drive.
I had previously used SIIG Super IO cards that presented an IDE controller, a floppy controller, a parallel port, and two serial ports. But they had issues, and I went in a different direction. I started with IO cards for just parallel and serial and was able to get two NOS cards.
Then it was time for me to punish myself by obtaining a disk accelerator, the unnecessary Promise DC4030VL-2. Why? Because I'm building a hot rod. I got 16MB of 30-pin SIMMs to power the cache. Back in the 20th century, no practical person would have put this into anything other than a server. But there's no fun in being practical.
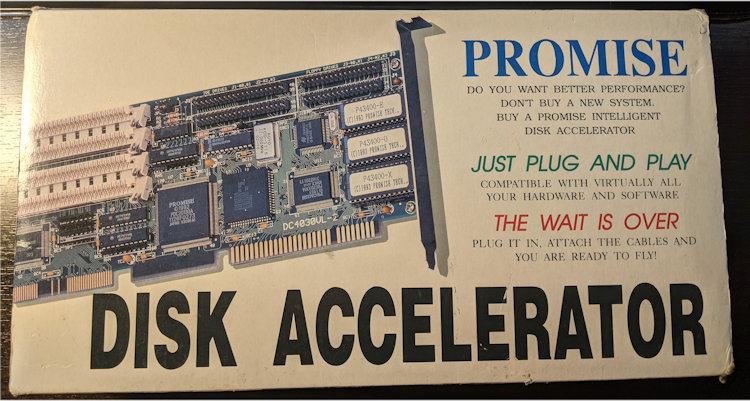
Just look at how pretty it is. I get all misty every time I look at it.
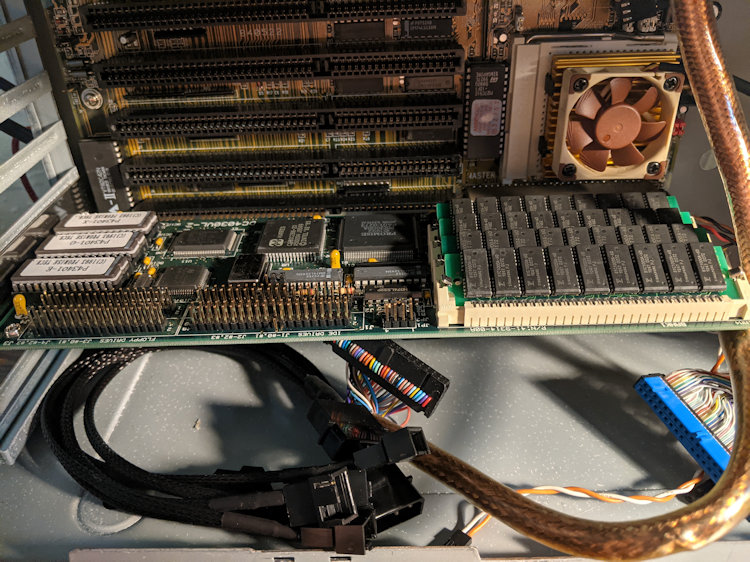
Pretty painful, that is. First, I got sent the wrong RAM. Okay, fixed that. Then I found out it can not handle CD-ROMs, which eventually meant I had to get a second IDE controller for the CD-ROM drive and not use the secondary IDE channel on this card. I think I spent a month figuring out what I didn't know. One thing I didn't know was that the firmware on this controller couldn't do LBA. That was CRAP! It was total BS. Promise sold the LBA firmware as an "upgrade," and you would buy the chips from them. I was dreading the idea of downloading the firmware and buying blank PROMs and a device to flash them. But then I found the most fantastic thing on eBay. This person on eBay sold, and I'm not kidding, "Bios firmware upgrade service for Promise DC-4030VL VLB IO cache controller" for $40, and shipped it from Kraków, Poland. Well, okay. I ordered that right away, and I got it.
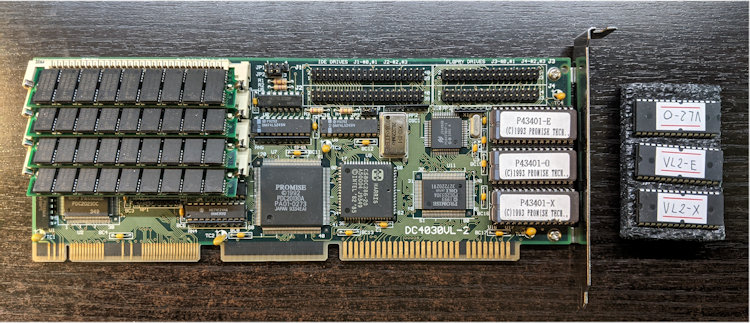
It seemed easy enough. However, I noted something amusing when I pulled the factory firmware PROMs. They had chips under chips. That's pretty cool.
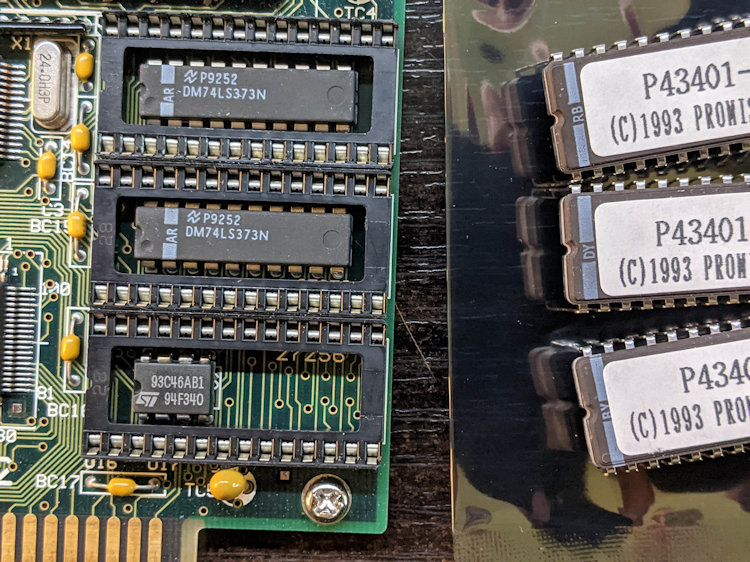
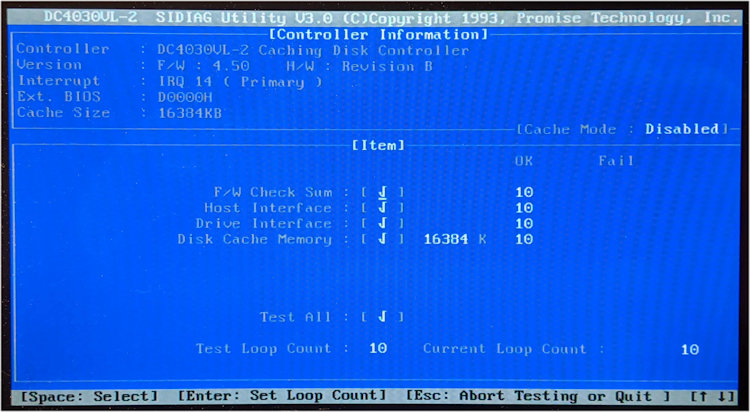
It worked perfectly and solved the LBA problem. For non-LBA disks, use the motherboard's BIOS and its geometry table for the hard drive. When LBA is needed, set the drive geometry type to "1," and this controller takes over.
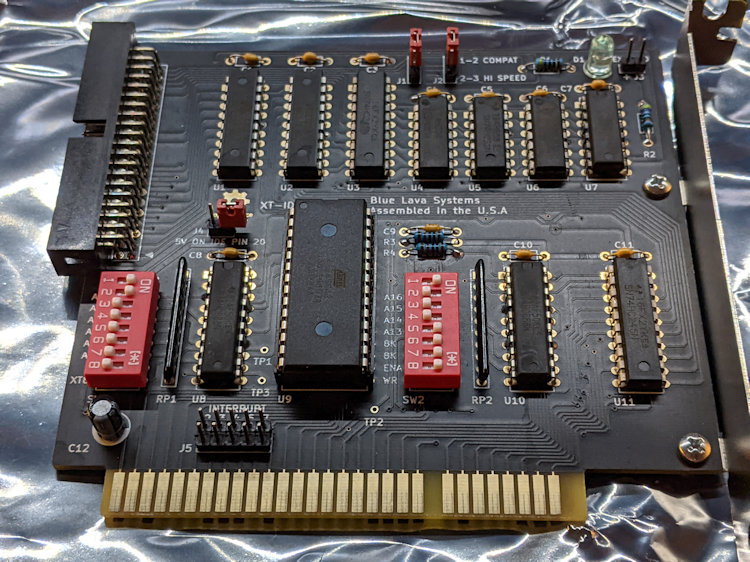
Next, I had to figure out what to do about the CD-ROM. I foolishly grabbed an XT-IDE, not fully understanding how it worked. It's a great little card, just not what I needed. But if you have an XT computer, you should get one of these.
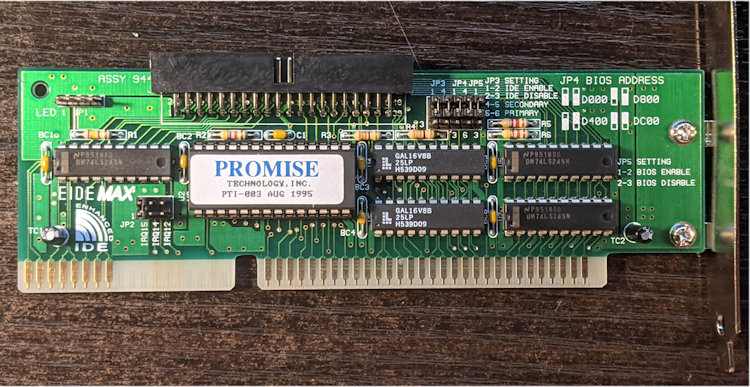
After that, I found what I needed. Another IDE card with no added fluff. Promise, at that. It took some fiddling, but it works well alongside the other controller.
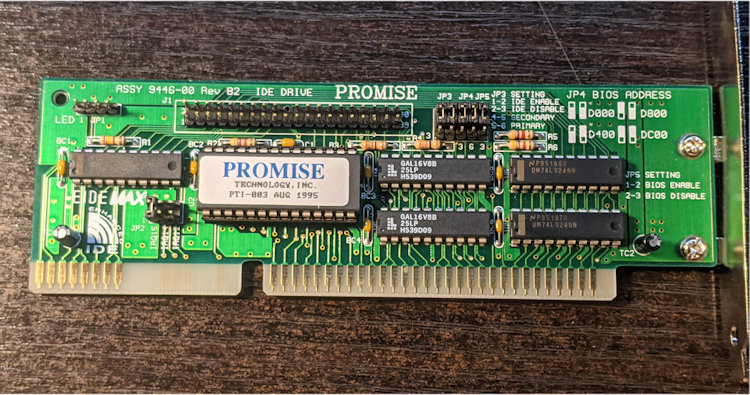
It was great except for that IDE connector. You'll notice I removed a pin. It seems that every controller has that pin and every cable has that pin blocked. But worse, that card is short, and connecting an IDE cable invades the space of the card above. I needed the sound card on top because of the SPDIF connection, so I had to change this IDE connector out for a right-angle connector.
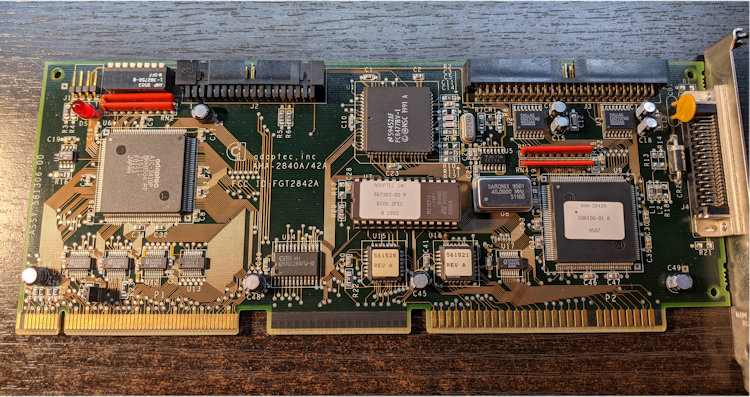
Next, I went for a VLB SCSI controller. Remember, one of my goals is to utilize all slots fully. That means 3x VLB and 5x 16-bit ISA cards. I found the CSC AK47 VLB FastCache SCSI controller. Of course, just the card, no driver disks. This thing was nick-named the "Adaptec Killer." I had to go to the Wayback Machine to find the drivers, and CSC wrote a "Bible," but I never could get the driver to work right. I gave it up and instead got a NOS Adaptec AHA-2842A. The Adaptec was super easy and fast to set up.
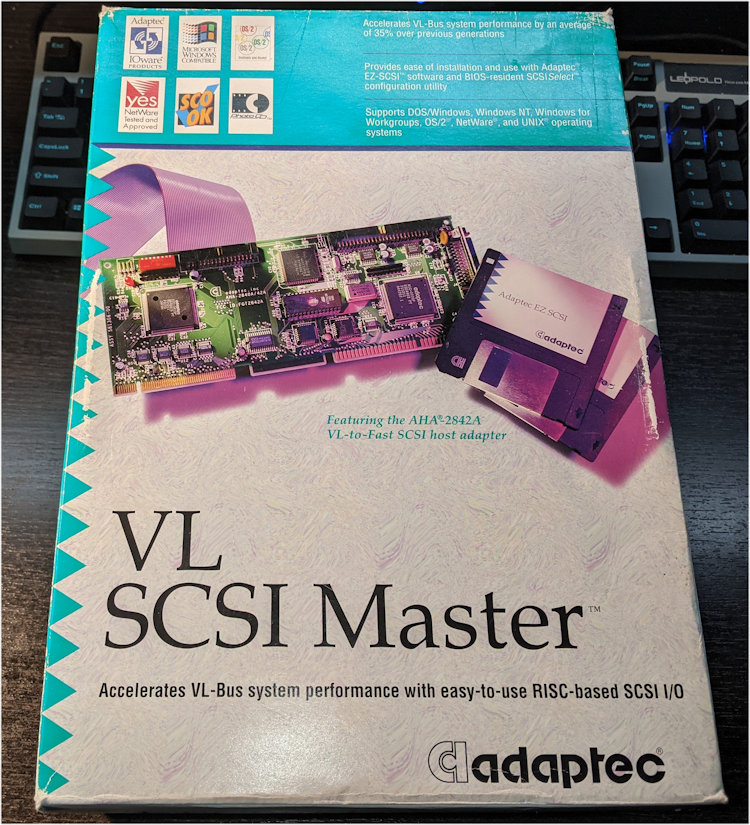
It had been a long time since I had touched a SCSI controller, and I had to make it work with the drive. The first drive I had was that 18GB one I mentioned earlier. But I got to experiment with many things learning all about the variations of the technology.
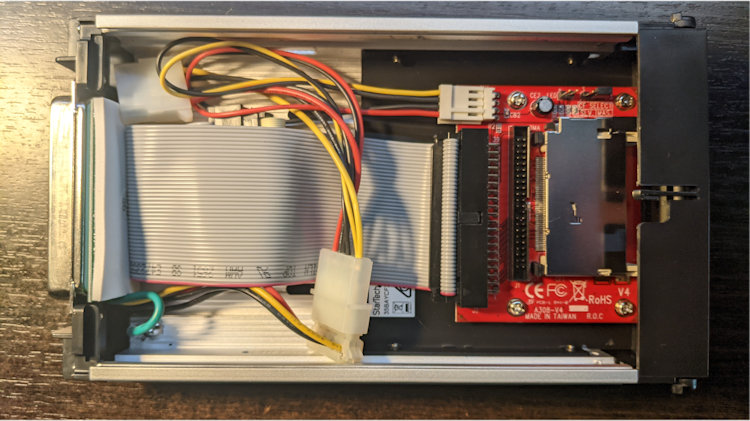
With the controllers and IO settled, I installed an IDE CF reader built into a Kingwin KF-21 mobile rack. The trays are easy to find, but the complete kit is rare, especially in black. I use 8GB CF cards. For Windows 98, I use the Lexar Professional 800x 8GB VPG-20 CF card (Up to 120MB/s Read), which is stupid fast and negates the need for a disk accelerator. For everything else, I use less expensive Clouddisk 8GB CF cards.
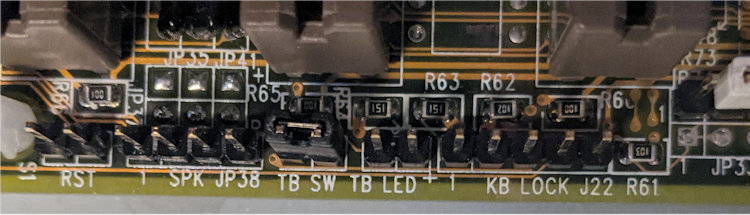
During assembly, I thought about rigging a switch for the Turbo function. The MV035 also has a jumper to shut off the video output (green function) because it was marketed for industrial applications. The case doesn't have extra switches, so I jumpered the Turbo. I may decide to add switches at some point.
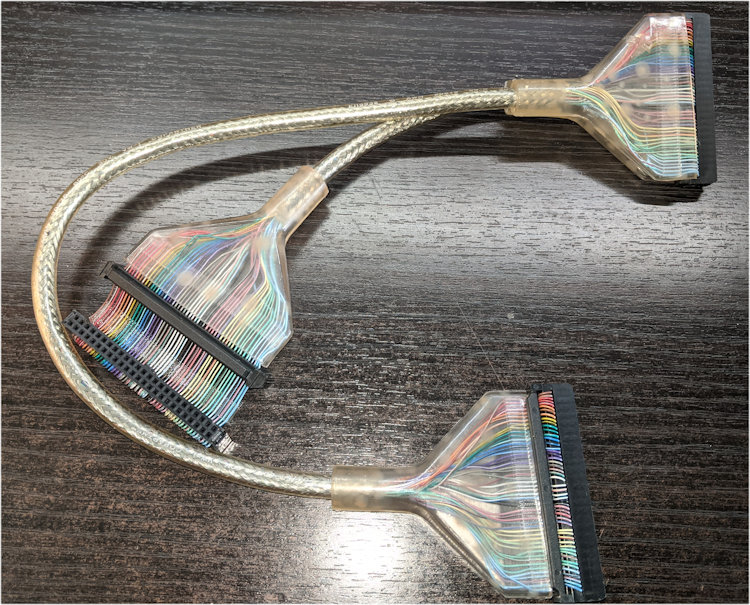
I love round cables, but I hate their connector covers. They're inflexible and get in the way. But if you cut them off, then you'll have the end of the braided shield exposed, which could make contact with something, which would be bad. Pictured is a SCSI cable. It has the covers I mentioned and extra connectors that I don't need.
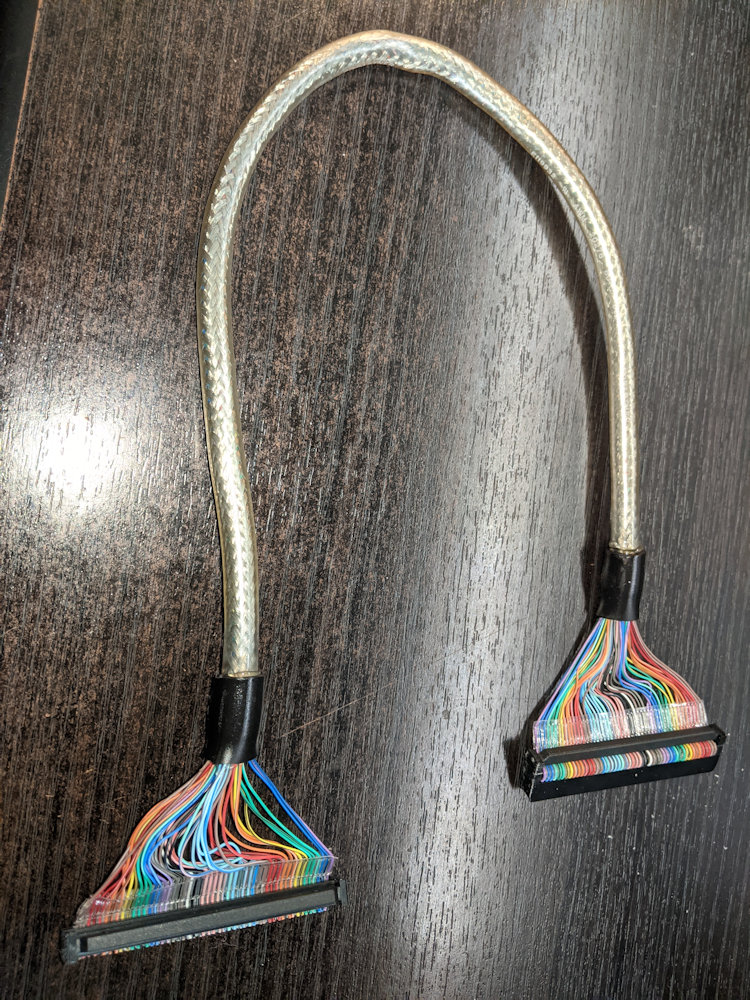
So, I got good at modifying these cables. I cut off what I don't need, and I use marine 3:1 plus glue heat-shrink tubing. Once the covers are removed, the ends can be twisted in such a way that the tubing can slide over. But it's tricky. I melted a few cables before I got the hang of it. Here are the results.
And for IDE.
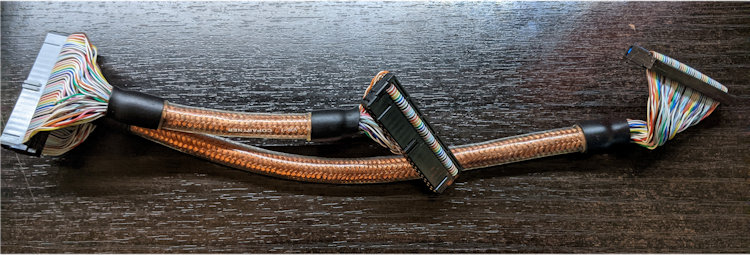
As you can see, the result is a cleaner appearance and the ability for those cables to make sharper turns. Also in this picture, from top to bottom, the SCSI hard drive (left), the floppy assembly (right), Soundblaster, 2x SIIG IO cards, Network card, IDE controller, disk accelerator, video card, and SCSI controller. This is an earlier photo from when I still had the CSC AK47 card. Notice that I used the case knock-outs for D25s to accommodate two of the serial ports.
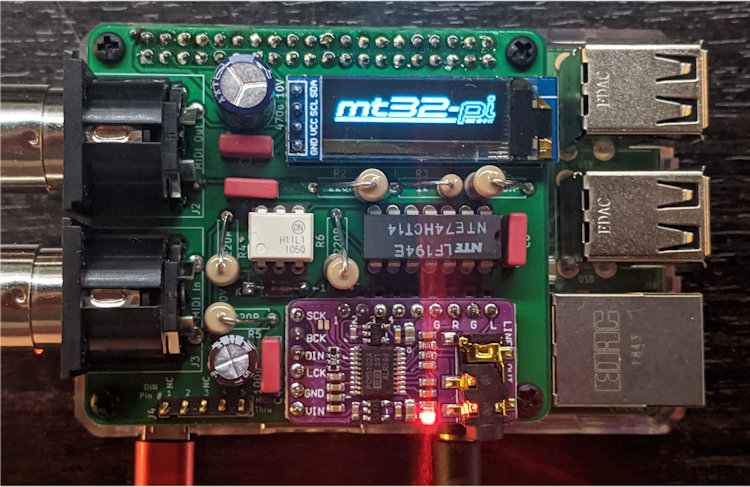
The Soundblaster AWE64 Gold has all the MIDI functions one could want, but I wanted to do a hardware MIDI, like a Roland. The original MIDI hardware is huge, so I decided to geek it up, build an MT32-Pi hat from this GitHub, and do it with Raspberry Pi. Some of my resistors are comically huge. People do sell assembled ones, but this one best fits my needs.
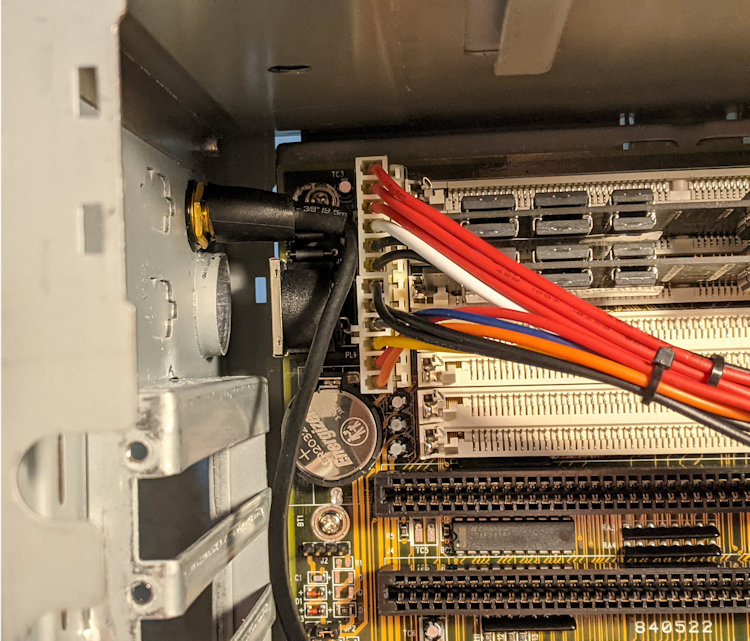
I also drilled a hole in the case just above the hole for the keyboard connector. I mounted a gold-plated RCA connector for the SPDIF output from the audio card. The AWE64 Gold came with an RCA connector plate, but that takes up a card slot, and I couldn't have that. I'll redo the connector at some point; as you can see, the wire butts up against the power connectors, and that's no good.
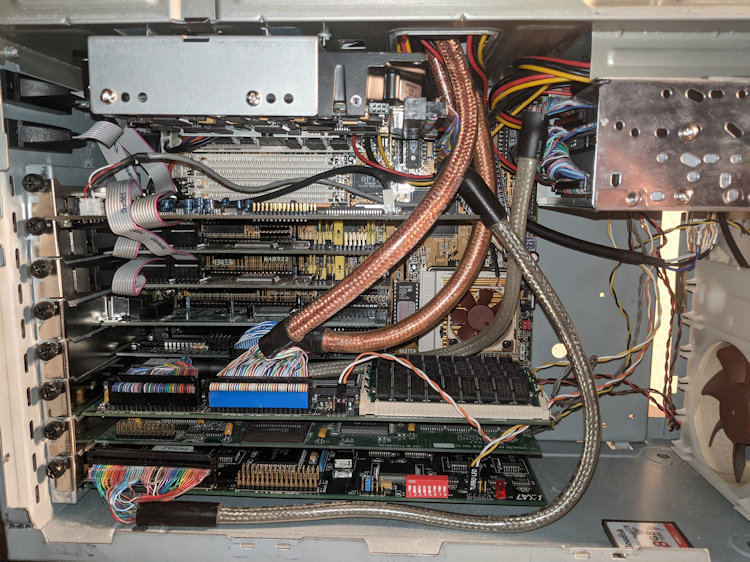
Of note, I had tried to get a simple NE2000 compatible NIC with the almost-useless 10Base2 BNC connector, and I couldn't get a driver for it to work. I ended up getting a NOS Logitech NIC with the driver disks. Right now, the whole thing looks about like this. I don't know if I want to run it open case so that I can see the innards or cut a hole into the shell.
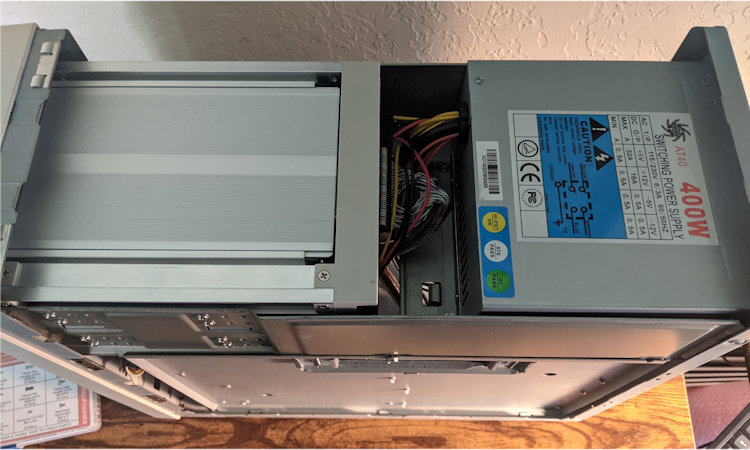
This is the view from the top. There's not much space in these Baby AT cases. 😀
It's a work in progress. As soon as I get a few more things, I'll update this thread with more photos. The last thing I'll leave you with is this NOS (new in box) TTX-1014 impact printer. I think I'll start making ASCII art videos with it. The ribbons are dry-transfer, so it prints perfectly.