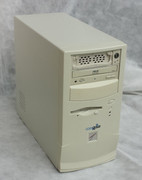
The K7 slot A - build
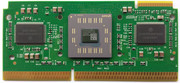
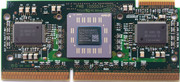
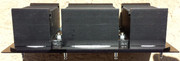
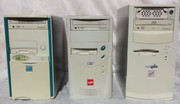
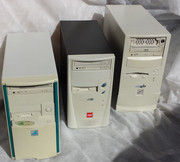
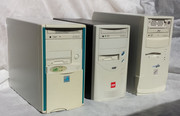
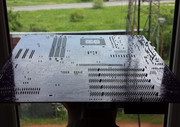
1st Step - Slot A Cartridge removal/disassembly/teardown/dismantle
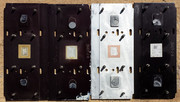
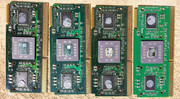
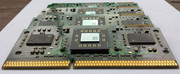
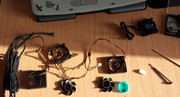
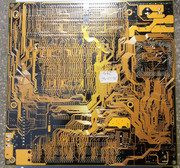
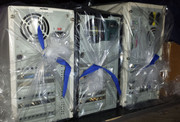
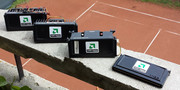
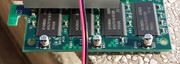
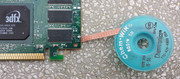
After I managed to find a SLOT A motherboard with the Irongate chipset together with four CPU's my first priority was a complete disassembly and carefull cleaning. Little did I know that this would turn into an adventure 😁
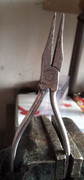
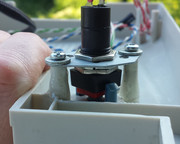
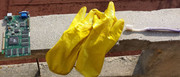
As usual freeing the CPU's from their SECC cartridge, even if we are talking about AMD Slot A or Intel Slot 1, is sometimes a hairy business 😁
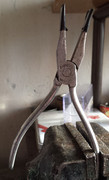
In my case I used a pair of flat nosed pliers with a little electrical tape to prevent damage to the catridge and the backplate. Even so, some marks would remain.
I firmly secured one arm of the pliers into a vice and with the other arm I applied force. Even so, the entire process required some convincing. The cartridge was extremely stubborn, it moaned and groaned and squeaked. It was nerve-racking! 😁
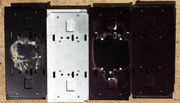
The upper part of the cartridge gave up extremely easy with the help of a fine screwdriver.
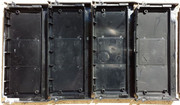
The bottom part, near the connector was held tight. In the end, only one of the cartidge remained intact, the other three sustained one broken securing hole. No big deal. This problem will be adressed later. The exterior was in pristine condition.
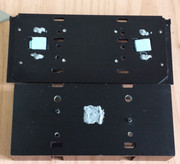
After inspecting closely the cartridges I saw that the small securing hole that broke off, was a different shape from the others. Three were round and one oval. I guess this was some kind of anti-tamper system to prevent opening and voiding warranty. The metal prongs from the heatplate had ca collar like shape that would be retained into the plastic holes of the cartridge.
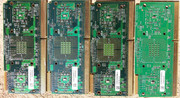
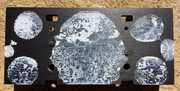
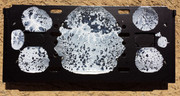
After almost 17 years the thermal paste/pad was still kind of soft. The only surprise was the thick paste used to fill the gap between the heatplate and the cache chips. It was brittle and it was poorly applied.
Under no circumstance was I to power up these CPU's like this. My gut feeling was right, again 😁
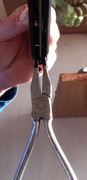
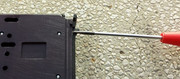
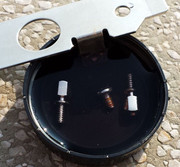
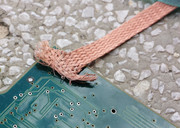
After removing the plastic cartridge the metal heatplate was held with two metal strips. These were under some tension an removing them proved challenging.
You had to press down on the CPU PCB to prevent it from rocking while at the same time you would have to keep a finger on the middle of the metal strip and with the other hand with a fine screwdriver you would have to bend the metal "teeth/hooks" of the metal strips to free them up.
If the PCB would start rocking, damage could occur to the CPU die. A BIG No No!
Over the entire process I got fed up with the smell they were releasing and I was anxious to clean them up reallllllllllyyyyyyy well. It's a distinct smell of old electronics, dust, old paste and God know what else....😁
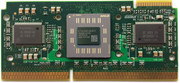
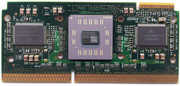
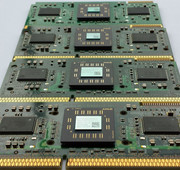
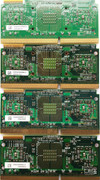
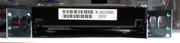
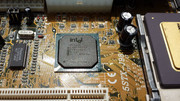
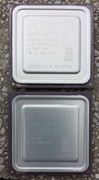
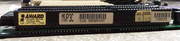
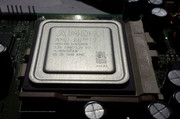
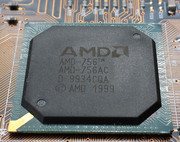
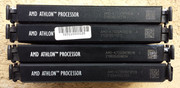
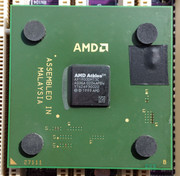
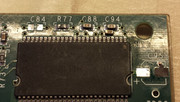
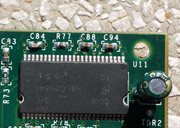
To my surprise on the K7 500MHz CPU's die it was written K7900CNRBCA
a) AMD K7500MTR51B C - 500MHz
b) AMD K7550MTR51B C - 550 MHz
c) AMD K7600MTR51B A - 600MHz
d) AMD K7700MTR51B A - 700MHz

gallery: https://postimg.cc/gallery/vhx874v6/bd0122de/ https://postimg.cc/gallery/1s1u3qeea/101f22ba/
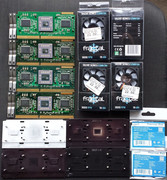
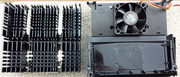
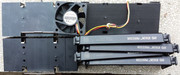
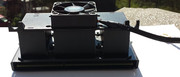
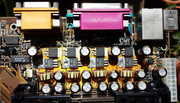
2nd step - Deep cleaning of the CPU's and heatsinks
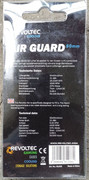
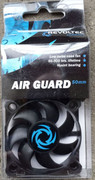
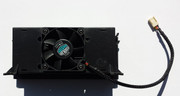
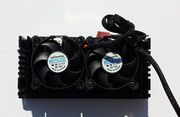
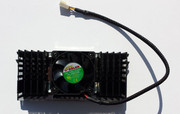
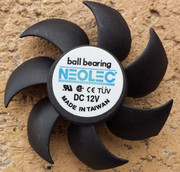
Also I bought a few 50 mm fans- FRACTAL DESIGN SILENT SERIES 50MM (FD-FAN-50) 3500 rpm - In the end they proved too weak and I reused some of the old fans from the original heatsinks.
In the end REVOLTEC Air Guard RL035 - 4500 rpm 50 mm fans will prove more adequate.
Note the K7 AMD K7500MTR51B C - 500MHz rated CPU with the K7900CNRBCA markings.
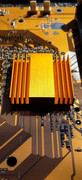
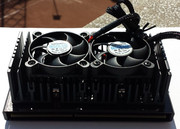
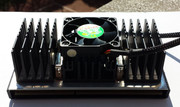
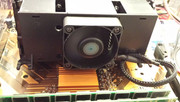
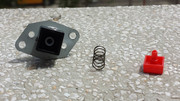
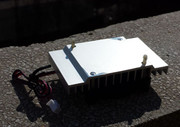
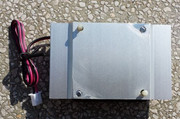
One of the heatsinks, the BIG Cooler Master one, came without the metal retaining clips, so I had to get creative and improvize.
I drilled a couple of holes and used a couple that were already in the heatsink and heatplate and with the help of 4 nuts and bolts I tightend the sucker really well 😁
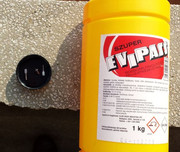
I made a spread test with some ol' Arctic Alumina thermal paste I had around.
For the final assembly I used less paste to prevent bleeding.

gallery: https://postimg.cc/gallery/mgplea9k/5251cb2a/

gallery: https://postimg.cc/gallery/1y2pigqyg/de3f1e34/
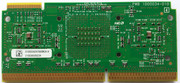
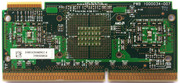
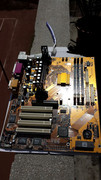
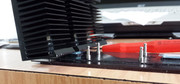
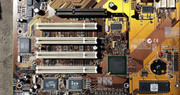
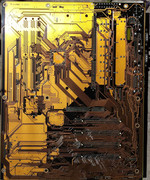
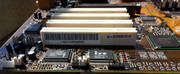
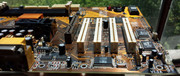
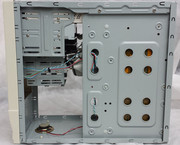
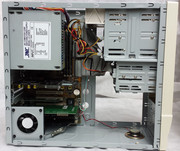
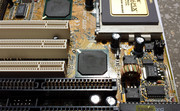
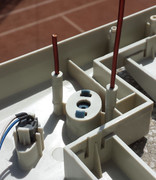
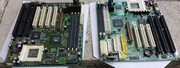
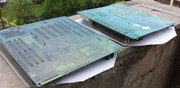
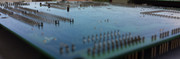
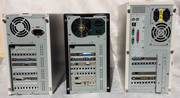
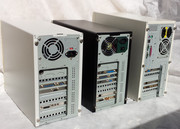
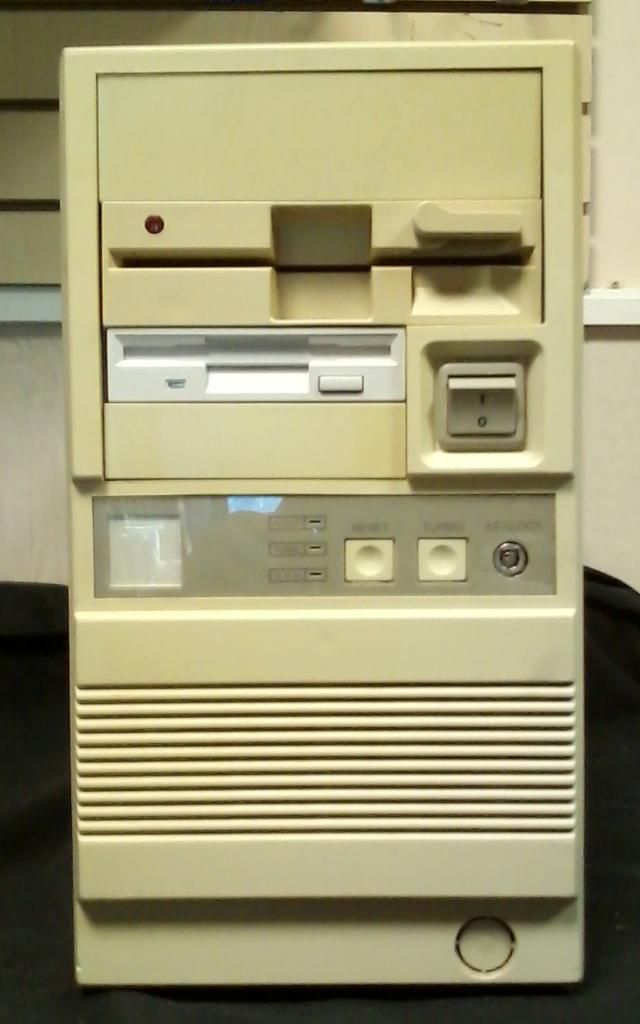
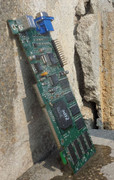
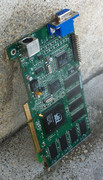
3rd step - Cleaning the motherboard and CPU cartidges, coolers
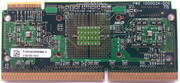
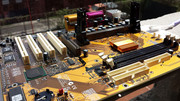
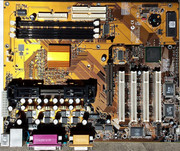
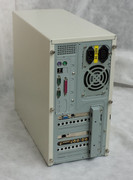
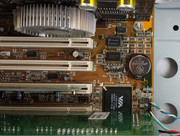
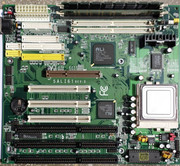
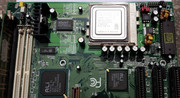
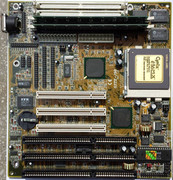
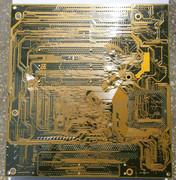
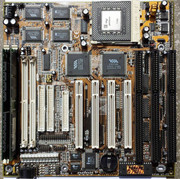
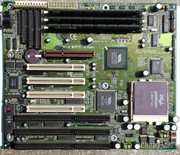
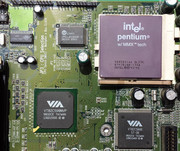
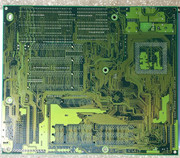
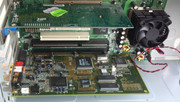
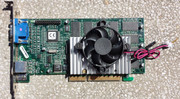
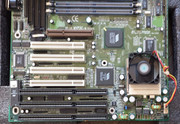
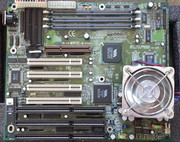
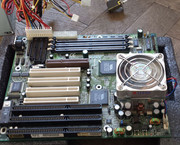
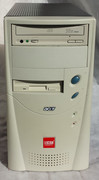
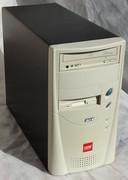
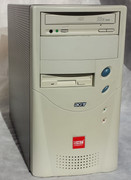
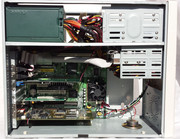
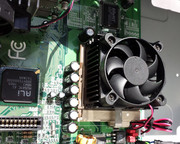
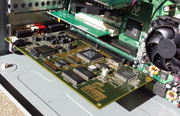
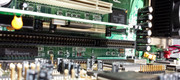
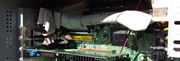
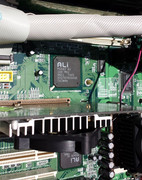
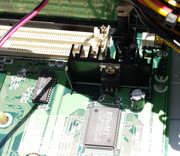
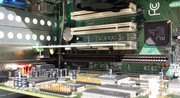
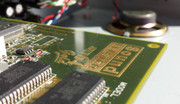
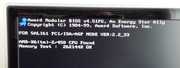
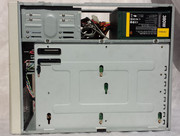
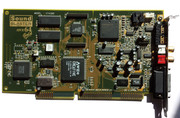
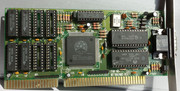
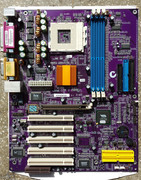
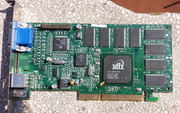
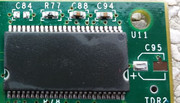
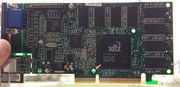
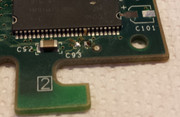
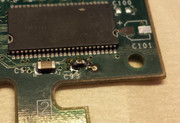
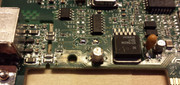
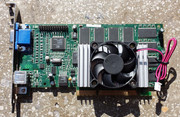
The motherboard I found It's not exotic or OC friendly, but it is as good as it gets for me. I couldn't find another so, for the time beeing it will have to do.
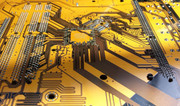
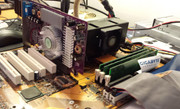
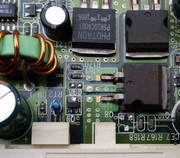
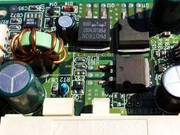
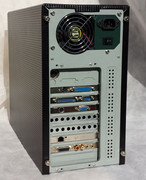
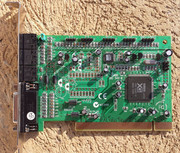
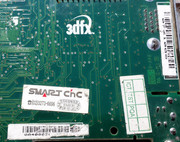
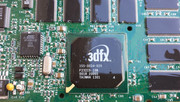
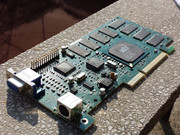
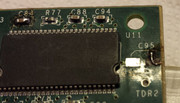
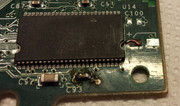
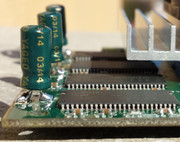
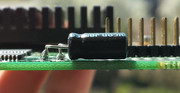
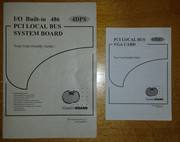
PC CHIPS/PcCHIPS/PC-CHIPS M800LMR V1.3A - AMD Irongate 750/756 - 1 AGP 2x, 4PCI, onboard Audio and Lan, ATA66, SDRAM - 768MB max
It came out golden, literally 😁
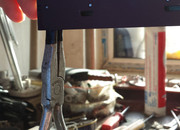
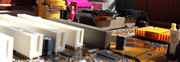
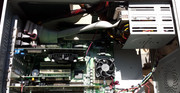
Well here I was with clean slot A CPU's ready to be put back together and a squeaky clean motherboard.
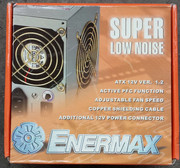
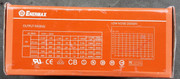
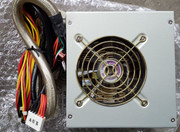
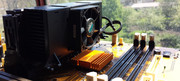
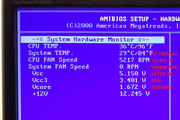
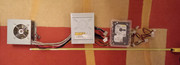
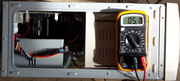
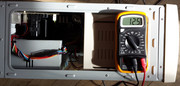
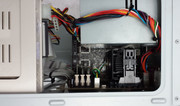
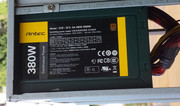
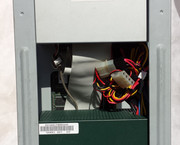
GPU's I had plenty, RAM plenty, HDD's plenty. The only thing missing was a good PSU with strong 3.3V and 5V rails.
One name came into my mind obsesively - ENERMAX.
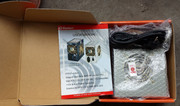
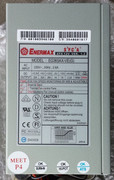
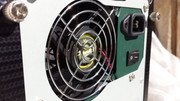
After asouring the local OLX site to my susprise a found just what I was looking for - a mint, new in BOX, ENERMAX EG365AX-VE(G) 353W.
It was really cheap and at first I thought that it couldn't be right. After a phone call my doubts were quickly put to rest.
After 24 hours I held in my hands the Holy Grail, a shiny new ENERMAX PSU.
gallery: https://postimg.cc/gallery/308awon6q/bb16b057/
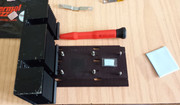
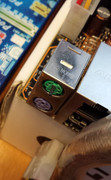
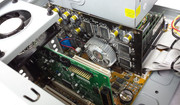
4th step - Slot A CPU assembly
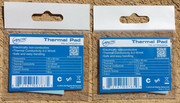
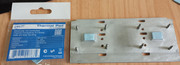
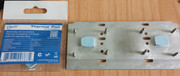
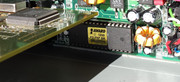
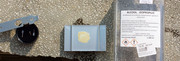
After I opened up the CPU cartridges I was aware that for the contact between the heatplate and the cache chips I had to use some kind of thermal pad.
I found localy Arctic branded ones of 1.5 mm and 0.5 mm - blue colour. They seemed right, but in the end the 0.5 mm one was too slim and the 1.5 mm too thick.
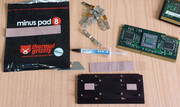
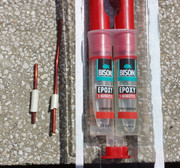
I tried to determine the exact width I needed and one size came out after a few measurements ~ 1 mm. Because I couldn't find Arctic blue pad of 1 mm width I resorted to buying a Thermal Grizzly Minus 8 - 1 mm pad.
After I received the Grizzly pad I found out that this width wasn't good either. It was too thick, hard and brittle. The Arctic one was way softer.
After a quick and EXPENSIVE lesson in thermal pads..... I counted my options and the solution came out in the form of the Arctic blue pad 1.5 mm which would have to be squeezed to the correct width.
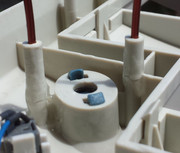
To add to the trouble, the width between the CACHE chips and the heatplate wasn't always the same.
Also the cache chips of the CPU's were sometimes concave some time convex.
For each and every CPU I had to cut a smaller piece of Arctic blue pad, place a small clear plastic film over it and press it down with something flat.
I used the Cooler Master heatsink.
The process was repeated 3 or 4 time for each CPU - very hard work 😁 but for me it was very REWARDING.
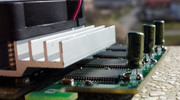
When I assembled the heatplates and the heatsinks I also filled up with thermal pads the outside square holes of the heatplates which made contact with the cache chips for a better transfer of the heat. From factory there was nothing there.
Also I found out that the retaining clips of the heatsinks were out of shape and required some bending back. Initialy the contact between the heatplate and the heatsink was made through a very thin pad but when I used thermal paste I needed more force. From factory the gap was to big between the heatplate and the heatsink. Totally unacceptable! 😁
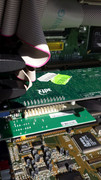
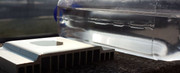
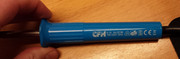
Arctic MX-4 thermal paste was used for the CPU die.
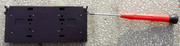
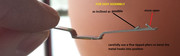
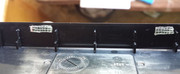
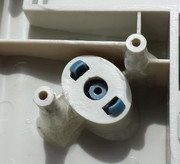
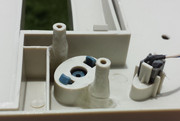
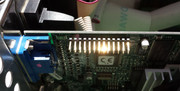
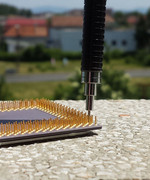
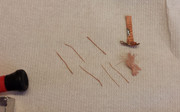
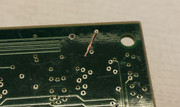
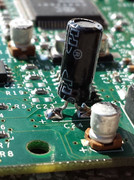
Puting back the metal strips that hold down the CPU pcb proved difficult, but in the end I prevailed 😀 The trick is to keep the inside tooth of metal strip more inclined while the outside one would have to be more open. Then you would have to use a fine nose plier to bend it into the secured position. A steady hand is required. Damage to to PCB can occur easily, so tread carefully 😁 Check the picture bellow. Also avoid rocking the CPU PCB, otherwise you know....cracked, chipped CPU die.
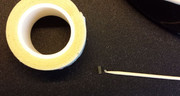
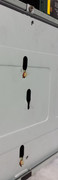
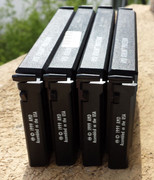
After the opening of the cartridges, the holes of the plastic covers were bigger and three of them missed one of the holes. To prevent them from rattling I used two thin strips of BISON MONTAGEKIT EXTREME GRIP TAPE on the top side. This proved the winning solution. They were held firmly in place.
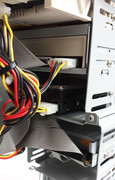
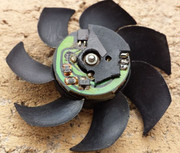
All the fans were cleaned and oiled. One fan was replaced because the original one was ceased.
The CPUS were once again as the day they were born. HAPPY DAYS.


gallery: https://postimg.cc/gallery/2xbk7dd9e/793ea44e/
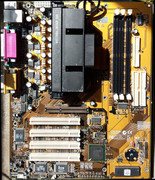
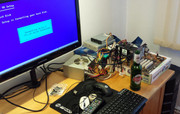
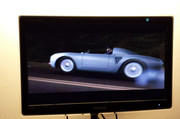
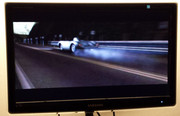
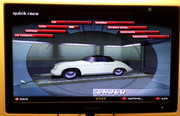
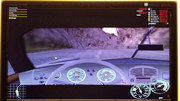
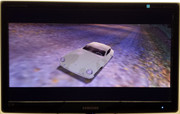
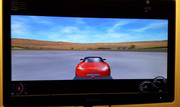
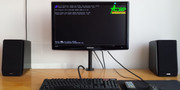
5th step - some FUN
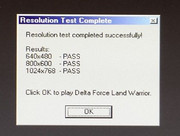
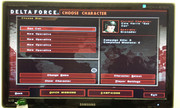
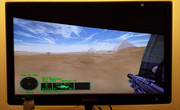
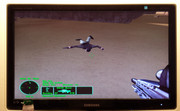
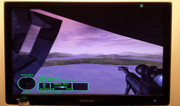
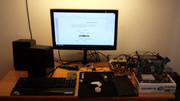
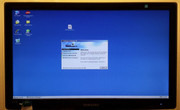
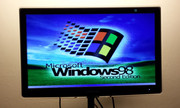
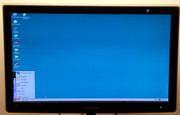
In the end I played some games and installed Win 98 SE. To this date this was my best experience with a PC and Windows 98. Delta Force - Land Warrior brought back some memories.
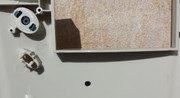
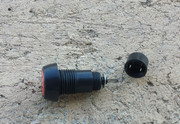
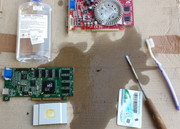
Before even I begun there was a problem. The mouse couldn't be put into the green PS/2. Upon closer inspection I found out that the black prong from a mouse was broken and left inside. I used some double sided tape and a toothpick to fish the part out. The seller forgot to mention this shortcoming 😁.
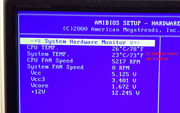
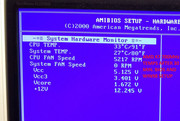
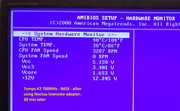
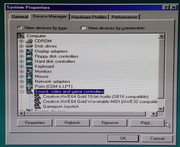
The only problem was the motherboard. It lacked any OC feature. I couldn't adjust any timing for the memory. No voltage control, absolutely nothing.
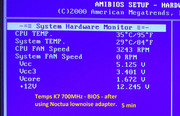
To my surprise the K7 500MHz CPU with the K7900CNRBCA markings ran at 700MHz without problems. Some of the other CPU's weren't correctly recongnized. I wanted to update de BIOS but couldn't find a suitable BIOS file and the chance of bricking the motherboard were too great. Even my old Tomato 5x86 Board had more RAM timing options.
Back in the day this was a budget motherboard so there is nothing to do about it.
The CPU's will have to be tested on another motherboard, preferably a high end one.
So in my case this was as good as it gets!
The reward was priceless though. I enjoyed every moment and I have no regrets 😁 monetary or otherwise 😁

gallery: https://postimg.cc/gallery/1kq6l2liw/ad92c60d/


gallery: https://postimg.cc/gallery/s0jp5yew/dfff8e2e/
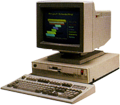
K7 - Classic Athlon
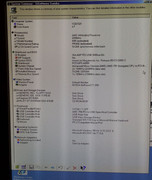
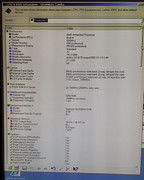
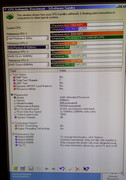
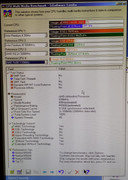
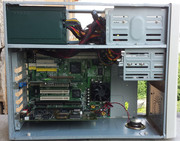
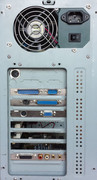
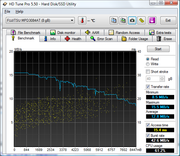
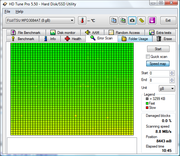
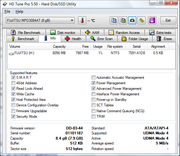
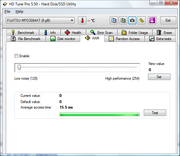
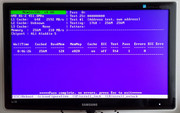
Test system:
Motherboard: PC CHIPS/PcCHIPS/PC-CHIPS M800LMR V1.3A
CPU: Athlon Classic K7 500, 550, 600 and 700 MHz
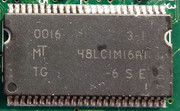
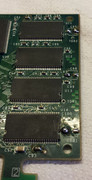
RAM: SDRAM 256MB PC100 DS, 2X128MB PC100 SS = 512MB PC100
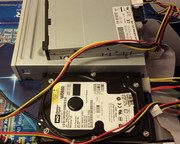
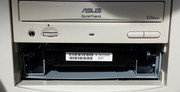
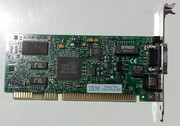
ODD: LG DVD-RAM-4163B IDE
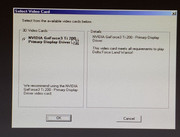
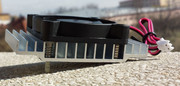
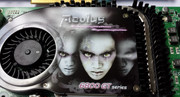
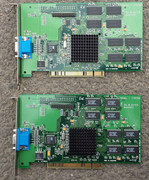
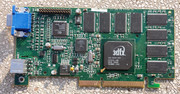
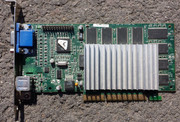
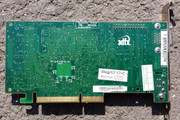
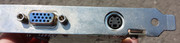
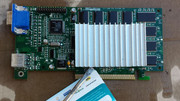
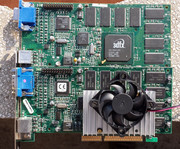
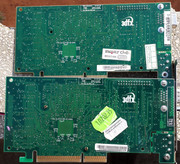
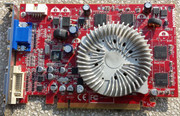
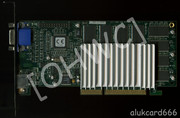
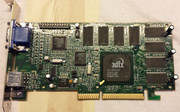
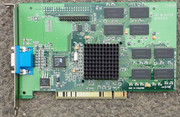
GPU: Palit Daytona Geforce 3 Ti 200 - 64MB - DeepCool V50 Cooler
FDD: Alps
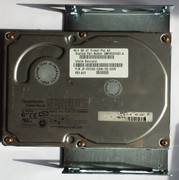
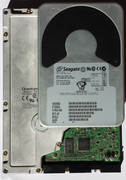
HDD: WD Caviar 800JB - 7200rpm IDE 8MB
PSU: ENERMAX EG365AX-VE(G) 353W


