Worakls ft. Linda Clifford - Porto (Nuno Cacho Lovers Mashup)
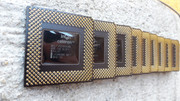
Intel 80486 OverDrive 100 MHz and friends
This story came out of nothing.
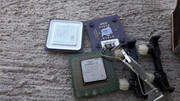
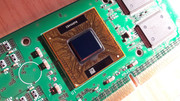
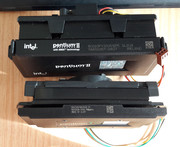
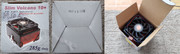
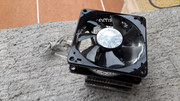
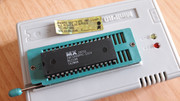
All started after I found at the flea market, my second Intel 80486 Overdrive 100MHz - DX4ODPR100 / SZ959 V1.1 CPU, which this time was complete and it came with the original heatsink. For this gem I had to pay arround 5 EUR and I had to use all of my haggling skills. The gypsy that sold it, told me to quit messing with him. This guy really didnt like my offer that was less than half of the asking price. I know him well and in the past I bought stuff from him, so I wasnt put off by this. You have to insist and also to present arguments, otherwise he won't sell a component even if he knows that he might not find someone else to buy it. He's quite stubborn but once you have passed his defences and start buying from him, prices drop considerably. The sight of money in your hand helps a lot.
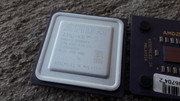
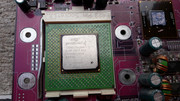
The CPU was dirty, had a few bent pins, several fins from the heatsink were out of line but otherwise it was complete.

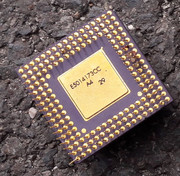
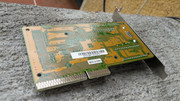
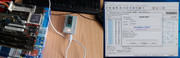
After a little work it was almost good as new. The label has faded but it is still easy to descipher. I test fitted the CPU in my socket 3 Jetway J446A V2.0 motherboard and all went well.

Some time after this moment, coupled with the fact that my repairing and restoring skills have increased, I remembered that I have in my possession two socket 3 motherboards which were put in the BOX of damaged components.
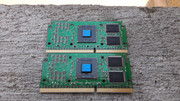
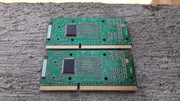
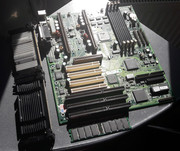
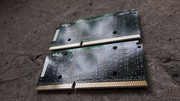
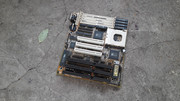
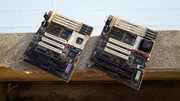
The two socket 3 motherboards are:
* Kaimei Electronic Corp KM-S4-1 Ver: 1.1 - bought from the flea market in April 2016.
* Jetway J446A-V2.0 - bought in February 2015 with my first batch of old components.
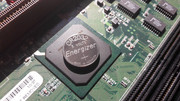
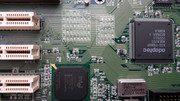
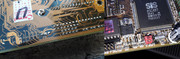
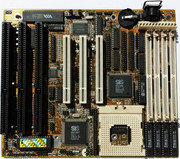
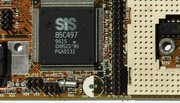
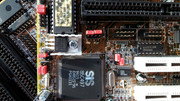
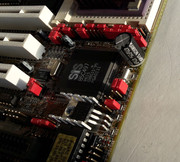
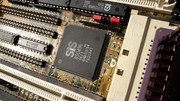
Both feature a SiS 496/497 chipset combination. They are solid and versatile motherboards. I really like this type of socket 3 motherboard as it makes me remember the ZIDA Tomato Board 4DPS that equiped my first PC in 1996.
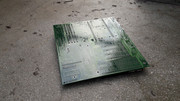
I took out the two socket 3 motherboard from the BOX in which they sat and I conducted a thorough examination. After this examination, I came to the conclusion that both of them were prime candidates for a full recovery.
I was prepared to do everything that was possible to recover the motherboards. I felt confident and I was looking only at the final goal: the complete recovery of the motherboards.
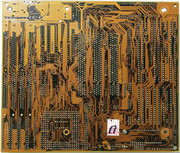
Kaimei Electronic Corp KM-S4-1 Ver: 1.1
I tackled this motherboard first as I thought that it had fewer problems to solve. Little did I know...
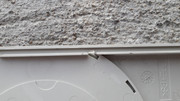
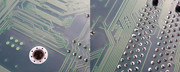
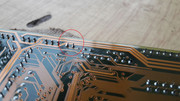
A trace that was placed in the middle of the CPU socket, was torn and its ends were up in the air. I found out about this problem right after I bought the motherboard and I started to clean it.


I used a multimeter to determine from where the trace came and where it went but this proved quite difficult and in the end I got nothing.
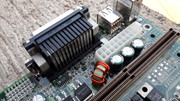
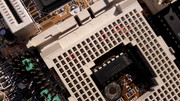
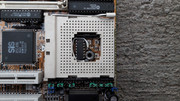
I evaluated my options and I wasnt going to desolder the entire CPU socket just to see where the trace went, so I decided to remove the cover of the CPU socket hoping that I might get a better view of the situation.
After I removed the CPU cover I found more problems. Even if the holes in the cover were pristine, beneath this cover, four pins in the CPU socket were damaged, three bent inward and one a little deformed. What the hell happened?!
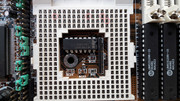
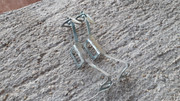
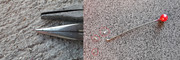
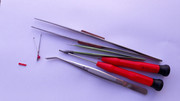
I didnt lose too much time searching for an explanation and I made from a soft needle, a tiny hook with which I was going to try and mend the damaged pins of the CPU socket. Initially I wanted to take four good pins from another motherboard, but I gave up on this idea as I suspected that they might have a shape that would not permit me to take them out of the socket even if I was to desolder them.
Even on my first try, a tiny metal piece broke off from one of the pins of the CPU socket that was bent inward ...in the end all of the pins that were bent inward lost the same tiny metal piece. The good news was that the oposite part of these pins was still in place and I bent this part a little, until it was at an angle that was needed for them to make contact with the pins of the CPU. The fourth pin of the CPU socket has survived the procedure.
After I completed this task I made a test. All was OK! The force required to secure the CPU in the socket and all the noises made during this procedure were good. Dire Straits - Going Home
The removal of the CPU cover has yielded ZERO clues in regard to the PCB trace...
After I inspected several good motherboards I came to the conclusion that perhaps, I have nothing to worry about, and the part of the trace that went under the CPU socket probably didnt touch anything, so I positioned it at angle that I deemed to be correct.
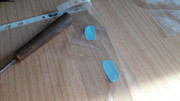
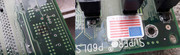
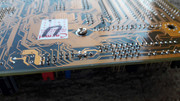
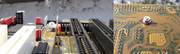
I used a thicker wire to bridge the ends of the torn trace.
Why I used a thicker wire? The trace is made from a very fine copper wire and even if I used my 15W soldering iron there was a good chance that I might burn it. The thicker wire would take a lot of the heat that was needed for soldering and the trace would have better chances of survival. I dont have a trace repair kit but I know how its done professionally. No big deal if you have what you need. As I didnt have the required tools and materials I used what I had at hand.

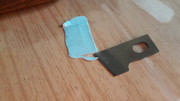
I fixed the thicker wire with transparent POXIPOL not only to hold it in place but to also insulate it and avoid a contact with other components. The ends of the torn trace were cleaned of laquer with a sharp blade and MAXIMUM ATTENTION so that the solder would adhere as it should. Any mishappening at this moment would've meant THE END.
Flux, solder, 15W soldering iron.
After all this work I conducted a final examination of the motherboard.
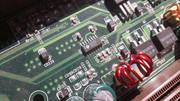
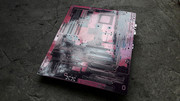
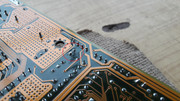
BEHOLD! A monkey has played with the solder joints of the MOSFET and has even scratched the PCB. Pfffttt.........I have to fix this mess too.
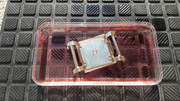
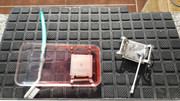
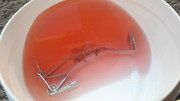
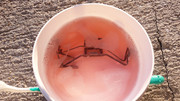
After a good IPA 99% bath I was ready FOR THE BIG TEST!!!
Did it work? He he, of course IT DID!


RETURNED FROM THE DEAD!!!
Now came the moment to recover the second socket 3 motherboard.
This was going to be a tough nut to crack...
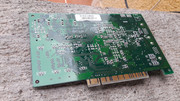
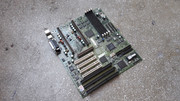
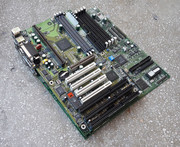
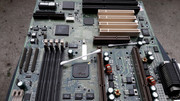
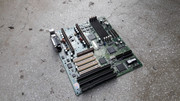
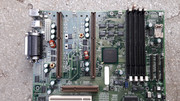
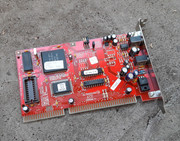
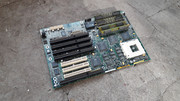
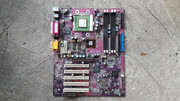
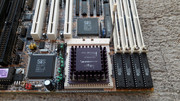
Jetway J446A-V2.0
Problems that needed my attention:
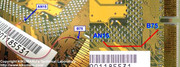
1. 6 capacitors were missing 1uf 50V, 10uf 25V, 470uf 16V - TC1, TC2,TC3, TC4, TC20, C45
2. Missing MOSFET and missing information regarding the specs of the MOSFET.
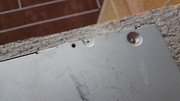
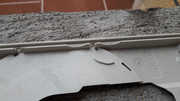
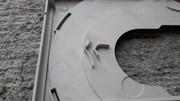
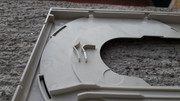
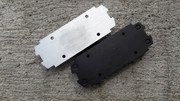
3. The plastic cover of the CPU was damaged.
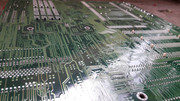
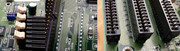
4. Many bent pins of the memory slots.
5. One memory slot was missing the tiny plastic hooks that keep the memory stick in place.
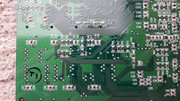
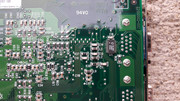
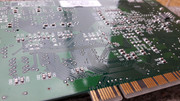
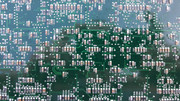
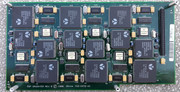
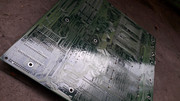
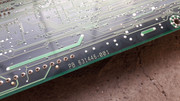
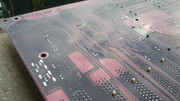
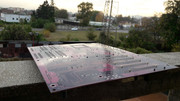
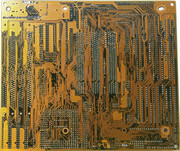
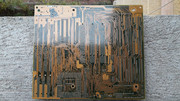
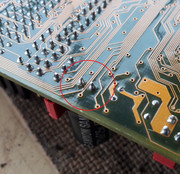
6. Hundreds of bent pins on the back of the motherboard.
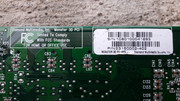
7. The BIOS chip had a torn pin that had been soldered back.
8. ZERO JUMPERS PRESENT! about 30 pcs.
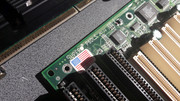
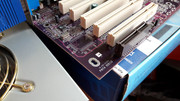
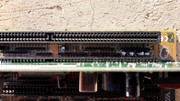
9. Bent pins in one of the ISA slots.
WHAT A MESS!! Even so, I was determined to do something about it and I wasnt going to quit.
I CAN SAVE THIS MOTHER OF ALL BOARDS!
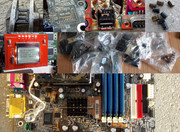
The missing capacitors.


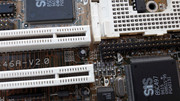
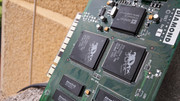
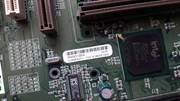
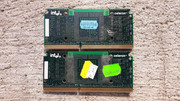
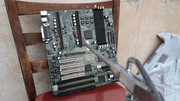
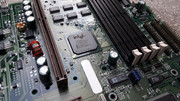
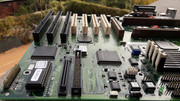
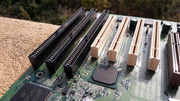
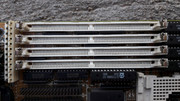
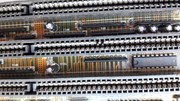
The memory slots.
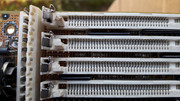
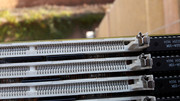
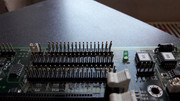
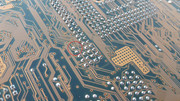
After very tense minutes I managed to straighten all of the pins of the memory slots. Subsequent tests made with various sticks of RAM have revealed that all of the pins were making good contact with the pads. The sticks of RAM that were inserted in the top memory slot, the one that was missing the tiny plastic hooks, were held well in place so I had no reason to replace the slot.

GET BENT! I had to straighten a lot of the pins on the back of the motherboard as many even made contact with another. A BIG NO NO when I was about to power up the motherboard. INDIAN SMOKE SIGNAL FOR SURE or 4th of July sparks, depending of the situation.

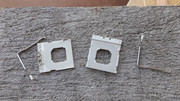
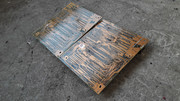
A new cover for the CPU socket was taken from an incomplete motherboard.
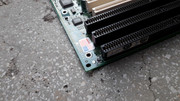
The damaged ISA slot. Again tense moments. The bent pins make good contact now but I won't use this slot unless it will be absolutely necessary.
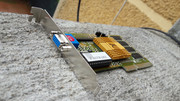
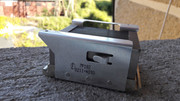
I soldered the missing caps. Instead of a 470uf 16V capacitor I soldered a 470uf 25V SAMXON (GT) Long life/High Ripple/Low IMPEDANCE. It's bigger but I was able the shoehorn it in. The tiny 1uf 50V and 10uf 25V caps are the brand that I found localy: Huang and ChongX. Mr HUANG & ChongX told me: ME FIX YOU UP GOOD! So I used them. 😁


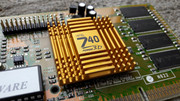
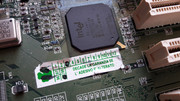
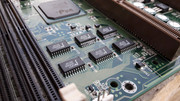
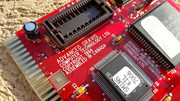
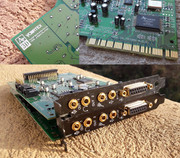
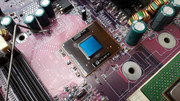
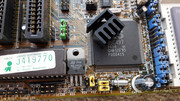
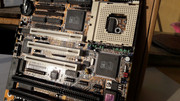
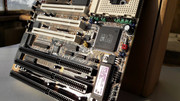
I identified the specs of the missing MOSFET. My working J446A V2.0 motherboard has offered the information I needed, together with a not so great piece of news.
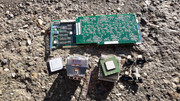
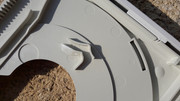
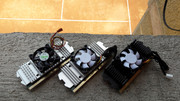
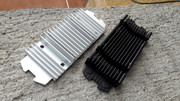
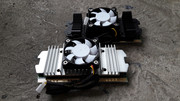
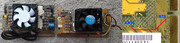
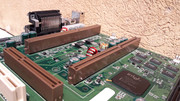
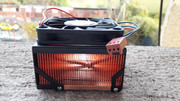
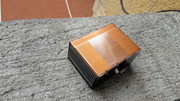
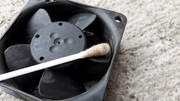
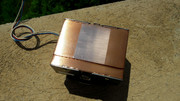
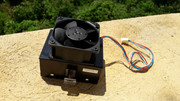
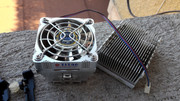
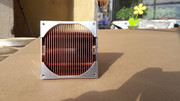
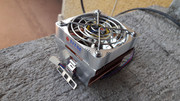
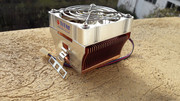
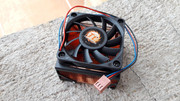
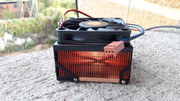
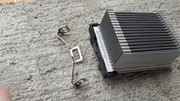
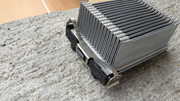
The heatsink required to cool the MOSFET had a special shape.
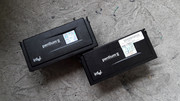
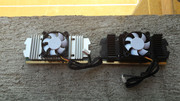
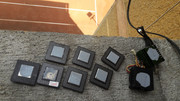
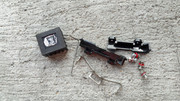
I searched high and low for a heatsink but I couldnt find anything that would fit so I had to order more models. I also had to order the missing MOSFET and 100 jumpers.
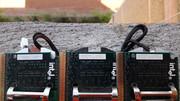
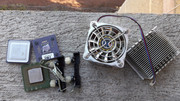
REINFORCEMENTS HAVE ARRIVED! Daft Punk - Veridis Quo

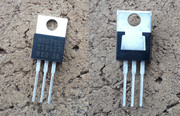
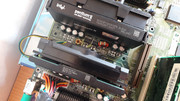
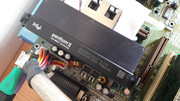
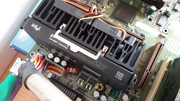
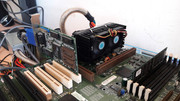
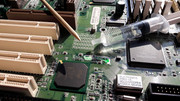
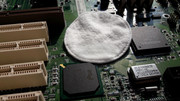
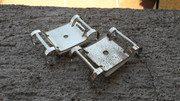
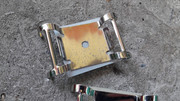
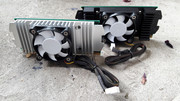
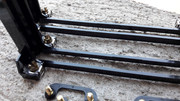
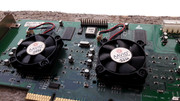
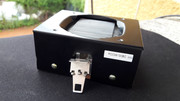
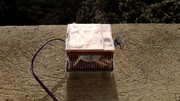
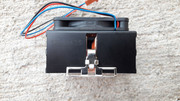
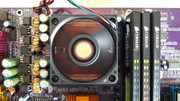
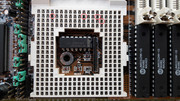
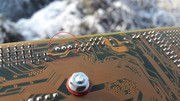
The heatsink must be placed under the MOSFET and the MOSFET has to be tightened well with a screw, a washer and a nut.
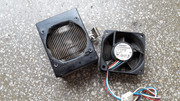
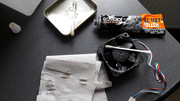
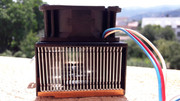
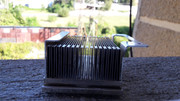
The ordered heatsinks were all too wide and they wouldn't fit well on the PCB. They were the smallest size that I could buy and I wasn't going to grind them down to size and lose some of the cooling capacity.
I wanted to put the MOSFET in a straight position but it didnt have support.
Casse-tete probleme!
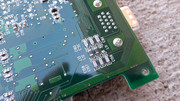
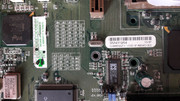
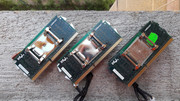
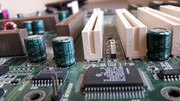
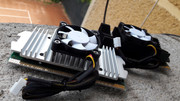
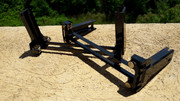
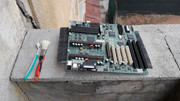
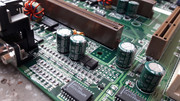
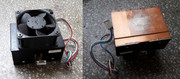
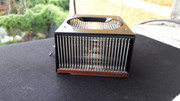
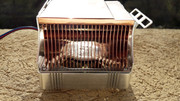
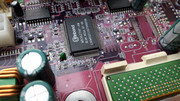
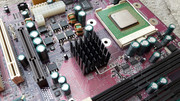
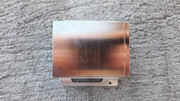
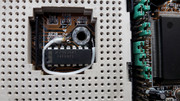
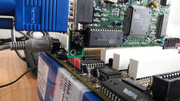
In the end I used a heatsink that was more suitable. I used a second nut to distance the heatsink from the surrounding components, I arranged the legs of the MOSFET in the required position, I soldered nicely the MOSFET, I even found a red washer like the original one.
AS GOOD AS IT GETS! Excellent results! (Pads himself on the back for a job well done.)
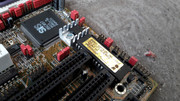
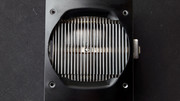
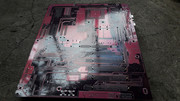
Pictures with the soldering job.

More pictures with the MOSFET.

Capacitors.


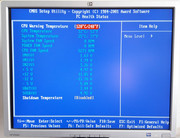
After all this hard work I was ready for THE TEST!
I powered up the motherboard and I waited anxiously for the right noises and sounds.
NO POST! NO BEEP! NADA!
Sheeetttttt!
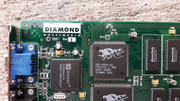
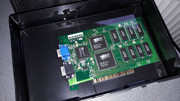
I looked closely at the motherboard and I saw that the graphic adapter didnt go all the way into the slot because one of the jumpers was in the way. A common problem back in the day.
I moved the graphic card into another slot and I tried again.
BLACK SCREEN! NO POST! NO BEEP! NADA!
#$&@*$&(@*&$*(@#~~~~~!!!! 😁
Hmmm...
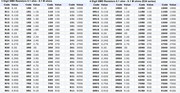
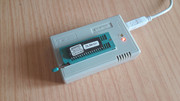
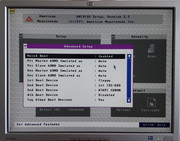
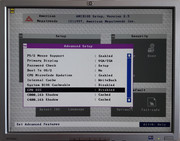
Before I powered the board I removed the BIOS chip and I verified to see if the BIOS file was good. I didnt find the same version but I looked at another BIOS file and all seemed to be order. I used the HxD editor. At that moment I didnt write a newer version because I thought that maybe the version that was present on the chip was the right one for this motherboard.
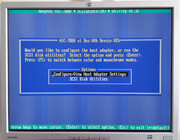
Out of options I programmed the BIOS chip with the version that I found on the internet.
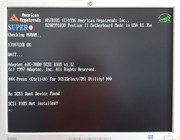
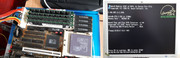
I crossed my fingers and I pressed THE POWER BUTTON!
CLANK!
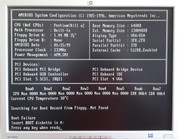
BEEP!
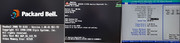
I'M ALIVE!!!
The satisfaction was off the scale. Oh the JOY! I breathed deep and I said to myself GOOD JOB!
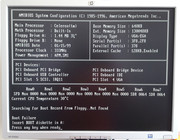
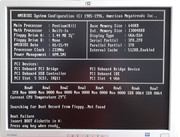
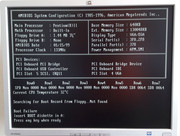
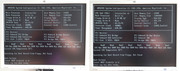
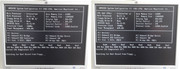
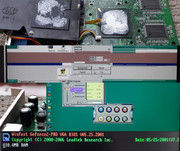
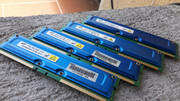
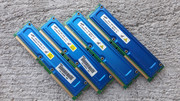
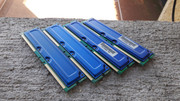
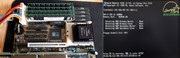
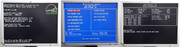
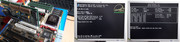
First I inserted a single RAM stick then four and all of them were recognized, sign that all of the RAM slots are operational.
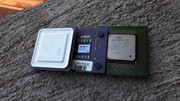
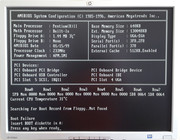
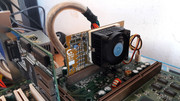
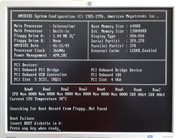
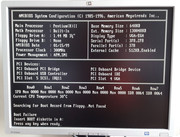
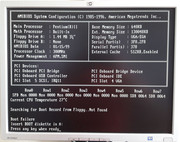
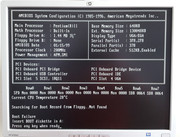
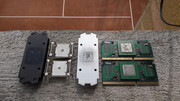
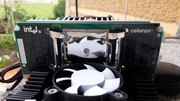
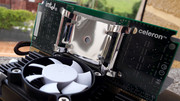
I tried an AMD 5x86 133MHZ ADZ CPU and the Intel 486 OverDrive 100MHz.
ALL SYSTEMS NOMINAL!!!
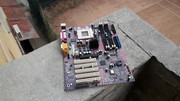
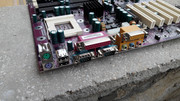
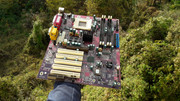
Cleaned and repaired.
A JOB WEEL DONE!


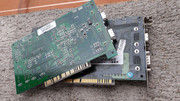
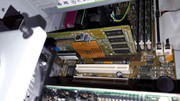
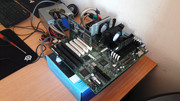
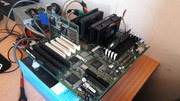
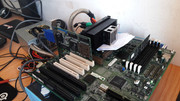
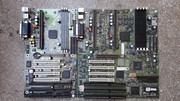
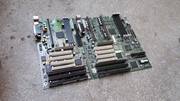
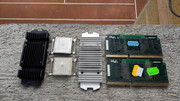
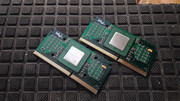
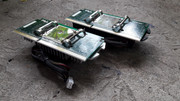
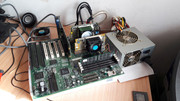
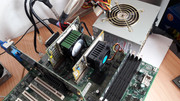
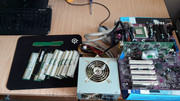
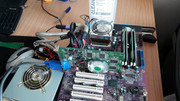
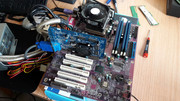
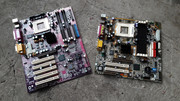
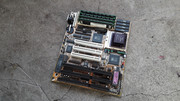
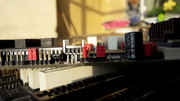
I took pictures of my good J446A V2.0 together with the repaired motherboards.

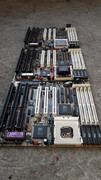
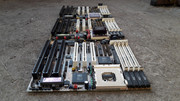
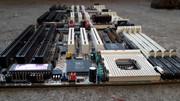
gallery: https://postimg.cc/gallery/jgklxuvw/
A nice spread dont you think? 😁
Now my collection has two new socket 3 motherboards that are in good working condition.
It pays to stick to your guns and never give up once you have established a goal. 😁
A few years ago I labeled these types of boards as organ donors but now I know that I can save them.
Merry Christmas!