Reply 20 of 31, by dkarguth
dkarguth
Offline
Rank
Member
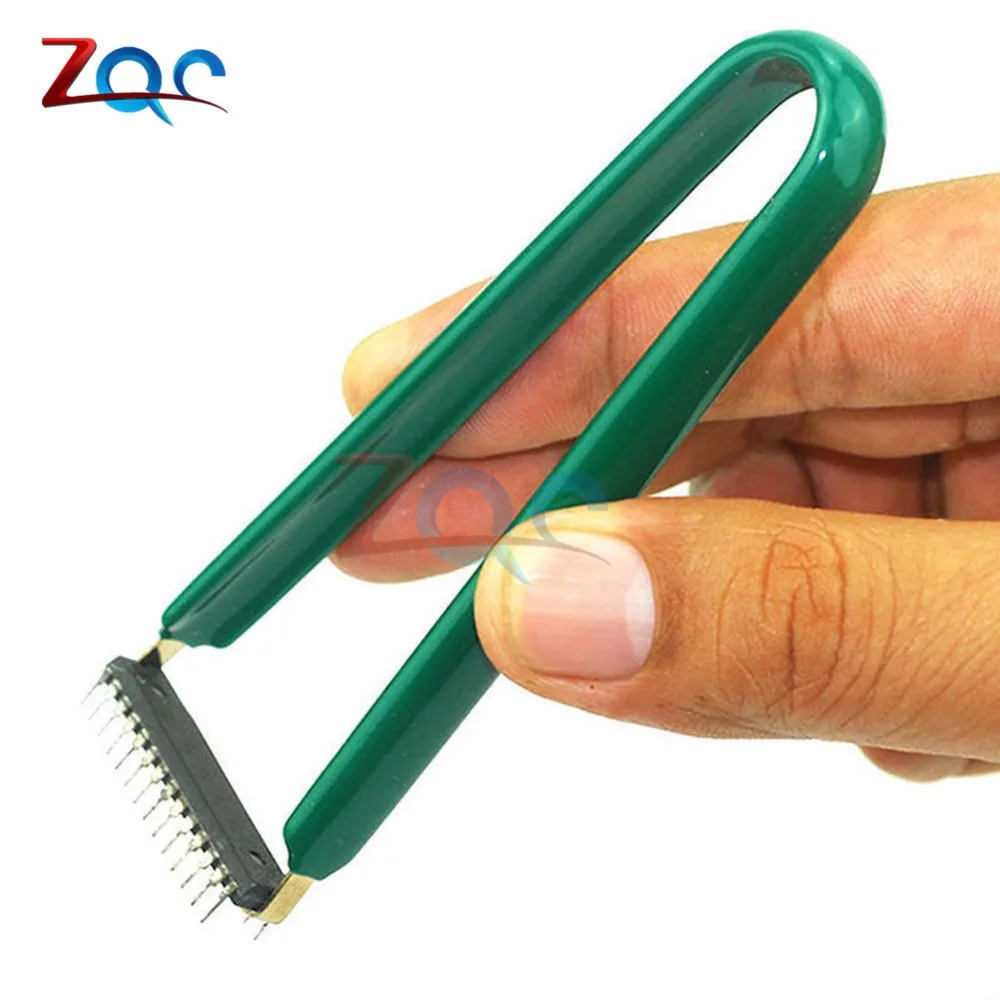
If you're talking about a DIP IC, this is not the most correct way to do it, but I normally use the thinnest micro screwdriver I have, and slip it in between the socket and the chip. The slight taper usually will release the chip. I wouldn't recommend doing this unless you have to, however, as it has the tendency to bend the pins on one side of the chip. Fortunately with a DIP IC, the pins are fairly easy to re-align as long as it isn't done too often. However, I would advise AGAINST doing this on anything with a PGA socket. Do you have a photo of the offending chip?
"And remember, this fix is only temporary, unless it works." -Red Green


