ChrisK wrote on 2022-10-13, 11:19:I think I can remember this name. I have spent quite some time on youtube and other sites on the web searching for some advice r […]
Show full quote
I think I can remember this name. I have spent quite some time on youtube and other sites on the web searching for some advice regarding this but most only deal with track zero problems.
I also found some specs regarding theoretical alignment of upper and lower head but none of that "knowledge" lead to anything useful for me in the end. It's just very difficult to move the head a defined amount just by hand.
I think there would be some more sophisticated apparatus needed for exact mechanical calibration as well as some test discs with special patterns and some knowledge how to interprete the read data on a scope.
Without special tools I don't see any real chance bringing this back to life, unfortunately.
Anyways, thanks for the tip. Maybe I will contact Adrain directly some day but for now I think I already spent too much time on this. In the end it's just some standard 3.5" Mitsumi drive...
Edit:
The conclusion I wanted to tell is:
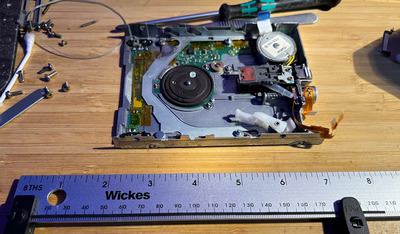
Never ever separate the two heads from each other, meaning never loosen or remove the two brass screws that can be seen in Thermalwrongs last photo just right above the cap he has put between the heads.
It is possible to remove both heads together as a unit from the drive but this unit should not be separated.
Are you using IMD to do this? it's the best alignment tool I've yet used since you can see in real time how the alignment is per head and per track. Adrian's said he uses it but I don't recall a video on it. PCRetroTech did a good video on how to use the tool here: https://youtu.be/VZ9xhFkHZ5c?t=525 I'm sure there are others but this is the video I followed to get a 5.25" drive working by combining 2 broken ones - I did a top head transplant on a 5.25" Toshiba floppy drive and had to align the replacement head with the lower which I didn't alter. So the track 0 position was unaltered but the lower head wasn't aligned with the top. It took a while but using IMD I was able to get the heads closely enough aligned that the drive is now able to read proper 5.25" disks.
With the size and density difference, aligning a 3.5" floppy drive is tougher. It's probably possible and I recall watching someone on youtube align a 3.5" track 0 and I think the heads through trial and error on an Amiga without realtime alignment software / scope.
It can help to have an oscilloscope to get the alignment perfect and 'retrofriends' youtube channel has done some videos on it, the most in-depth I've found so far for floppy drive alignment with a scope: https://www.youtube.com/c/retrofriends/search?query=align
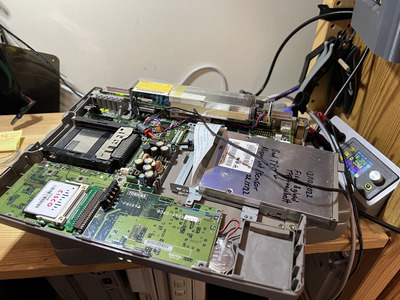
Im frazzled, the laptop drive (also an EME278TB) that I used to make the disks for the T2130CT that I loaded the disks onto, that drive has broken somehow and I seem to be making it worse, can't even read the RPM 🙁
I think I need a break from floppy drives for a while again, into the 'fix later' box you go little floppy drive.
Here's an STL for the EME279TC's belt. Seems to work pretty nicely.
edit: For the alignment disk, I just use a new known good disk usually. Or one that was just formatted a couple of times by my nicest floppy drive, the LS-120 superdrive.
edit 2: IMD is daunting since it does so much stuff. The part I use is specifically - run IMD, press Escape to get out of the help system.
Since I'm replacing belts a lot, the "T" for test RPM is one that's good to verify the 3.5" floppy is spinning at 300RPM reliably.
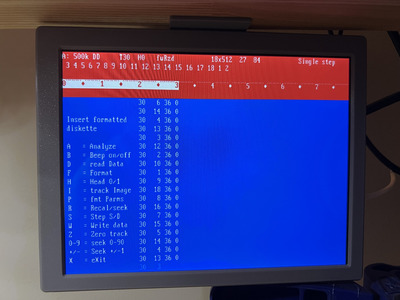
To get alignment sorted, go into "A" to align/test the drive. If it's reading well the 3.5" 1.44MB floppy correctly it'll look just like this. Press the number keys 0 to 7/8 to get from Track 0 to 79. As the drive moves across the disk it'll drop out briefly then go back to '36' if it's all good:
Switch between the heads to see if they're both reading well at that position - that should be helpful to you but isn't needed for track 0 alignment.
Press R to make the drive go back to Track 0 and then back to the track it was just on. That can be helpful if the heads ended up in a funny position past 79 and you go back down to like track 70. I find that even good drives can get bad reads if pushed past the 79 track point then back down. Reseeking essentially recalibrates the head position.
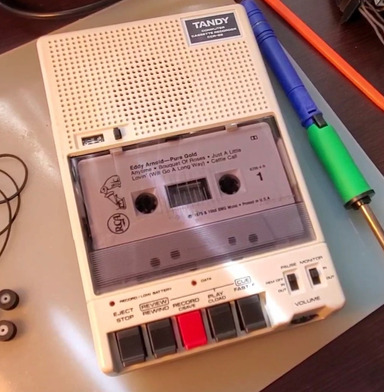
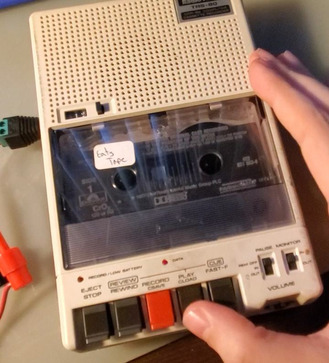
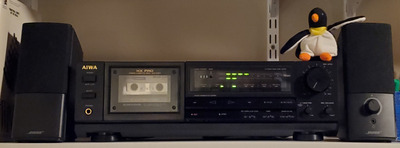
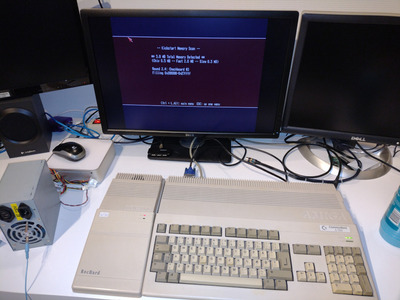
Today's floppy repair station - the spare drive was broken too and needed recalibrating but somehow I nailed it on the first try and that's now superglued in place. Hope it lasts.